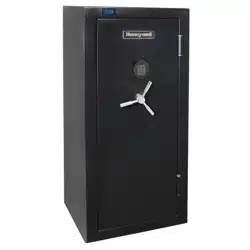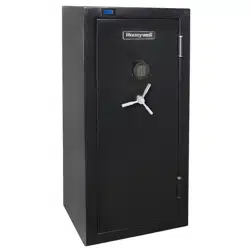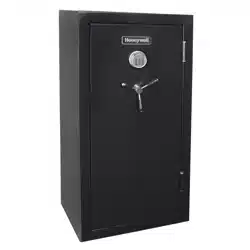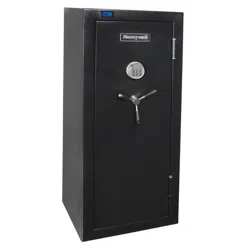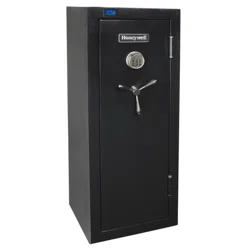
Model 3059
LONG GUN / EXECUTIVE SAFE
READ THIS MANUAL CAREFULLY AND
NEVER STORE IT INSIDE THE SAFE!
1
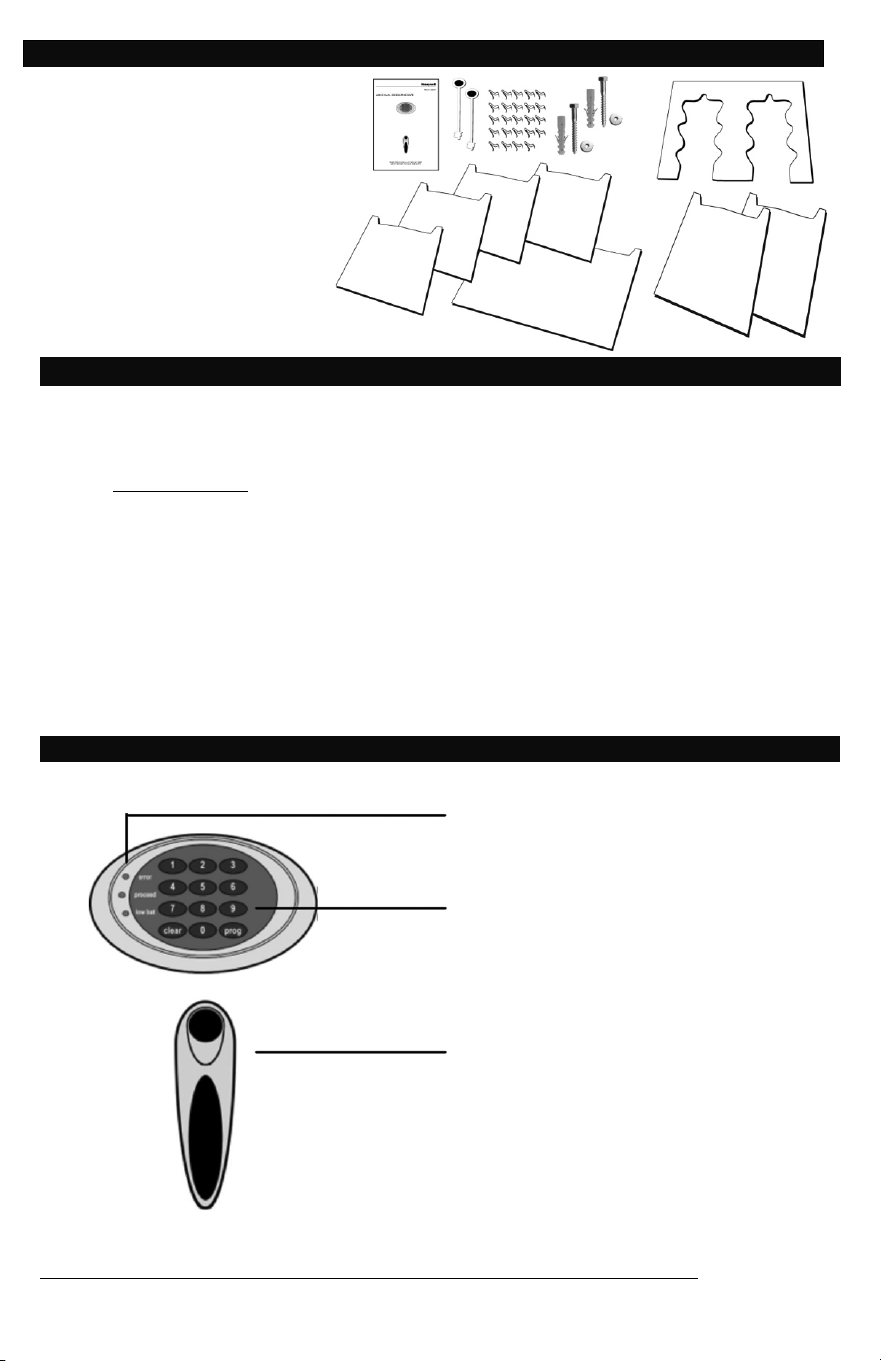
PACKAGE CONTENTS
• Operation Manual
• 2 Override Access Keys
• 1 Mounting Kit w/ Bolts
• 7 Removable Shelves
• 1 Gun Rack
• 24 Shelf Support Clips
ATTENTION
DO NOT RETURN SAFE TO STORE!
For missing parts or difficulty operating your safe, please contact our Consumer
Assistance Department by telephone.
Store will not accept returned products without prior authorization. You must first
contact our consumer assistance department.
US/Canada 1-877-354-5457 (Toll Free)
Mexico 01-800-288-2872 After English voice recording stops you must then enter
800-860-1677 to complete your call. (Toll Free)
Australia 0011-800-5325-7000 (Toll Free)
Germany/New Zealand 00-800-5325-7000 (Toll Free)
Other Countries XX*-310-323-5722
XX*- Dial U.S. Country Code first (Toll Charges Apply)
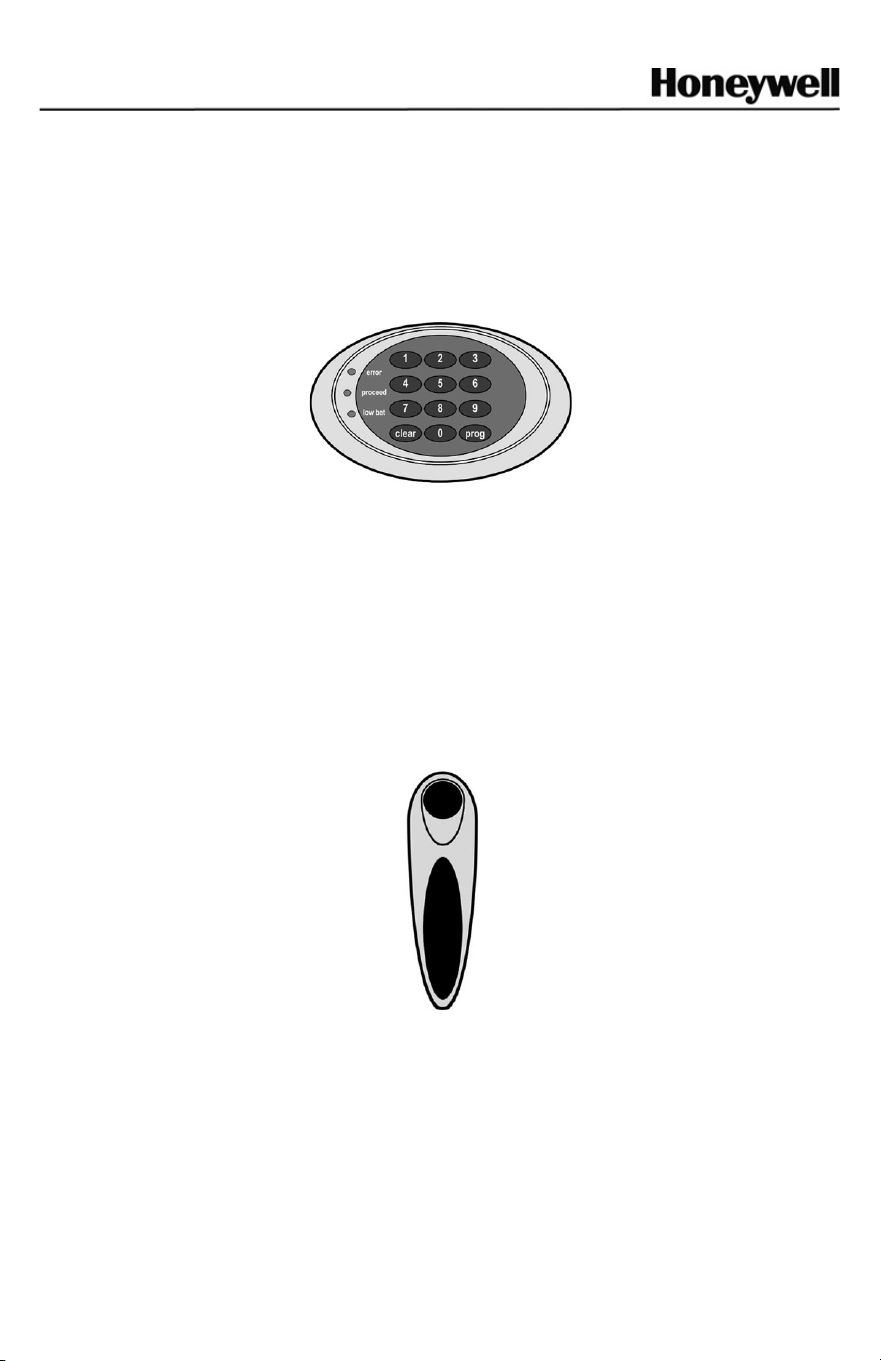
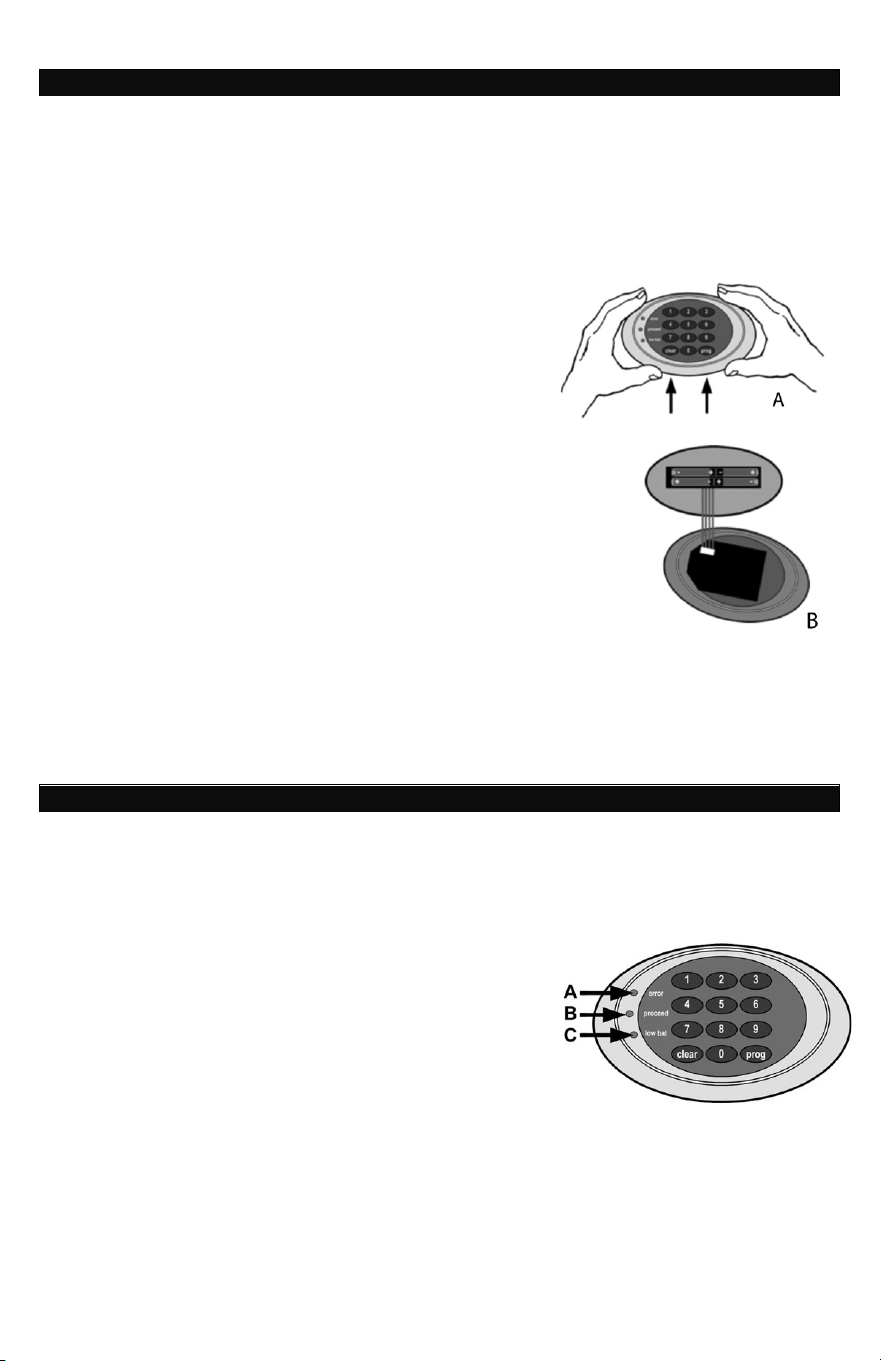
LOCK OVERVIEW
LED Indicator Lights
Digital Keypad
Open/Close Knob
IMPORTANT – TEST DIGITAL LOCK BEFORE INSTALLING!!
2
INSTALLING & REPLACING BATTERIES
NOTE: The pass code will not be erased if the batteries become weak or are
removed.
Four alkaline AA batteries, (not included) are required to activate the keypad.
NOTE: Non-alkaline and rechargeable batteries ARE NOT RECOMMENDED.
Dead or weak batteries should always be removed promptly:
When changing batteries you must always replace all 4 batteries.
1. Using two hands, hold the keypad, thumbs
down, on its left and right sides. Push up the
keypad with your thumbs, and disconnect it
from the safe by pulling it towards you (Fig. A).
2. Let the disengaged keypad hang by its wires.
This will expose the battery holder (Fig. B).
3. Install four alkaline AA batteries as illustrated
on the back of the battery holder.
4. DO NOT USE Non-alkaline or rechargeable batteries.
5. Ensure the batteries are installed in the correct direction
with regard to polarity (+ and -).
6. Reconnect the keypad by inserting the keypad’s three
posts into the matching holes.
7. Push down to snap into place.
8. The yellow light will come on if your batteries become
weak. If your batteries are dead and you cannot open
the safe by using the digital keypad, you must use the
override access key to open safe and access the battery compartment.
9. Do not close door before testing digital lock.
Remember to always remove batteries from safe if not using for an extended period
of time.
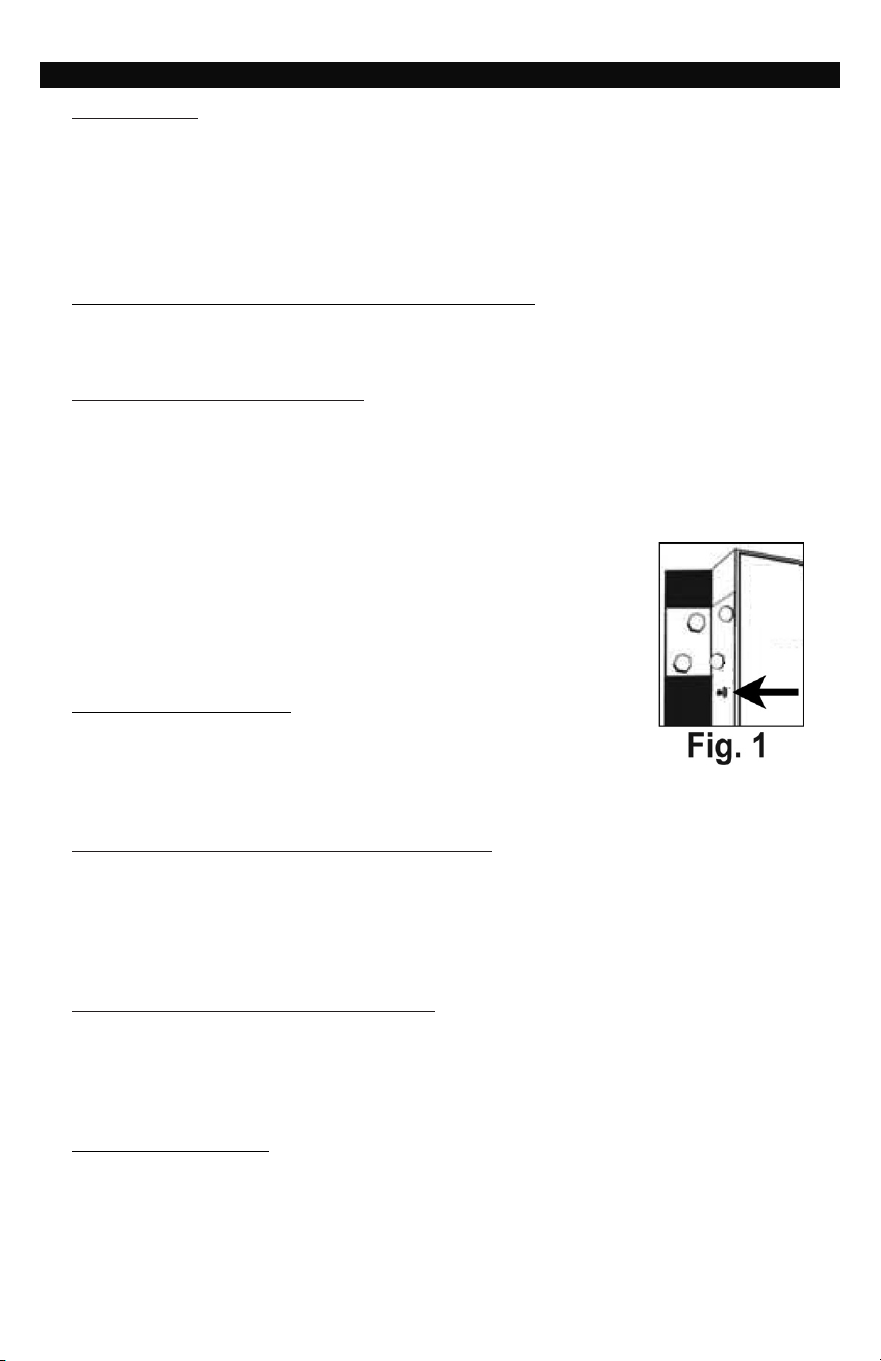
LED SIGNAL LIGHTS
Your electronic lock safe communicates by means of several audio/visual signals.
Red - Error (A):
1. Program key pressed out of sequence.
2. An invalid code or user pin entered.
3. 5 seconds or more between key presses.
4. Lights after three consecutive invalid codes are
input (2-minute delay mode).
Green - Proceed (B):
1. After you enter a valid code, remains lit for 4-
second period which safe can be opened.
2. Remains lit in Programming mode until finished
entering a 5-digit code.
Yellow - Low Battery (C):
Comes ON when the batteries need to be replaced.
3
SETUP & OPERATION
PASS CODES
There are three ways to unlock and access the safe:
1. Preset Factory Code - You can always open the safe by entering the 5-digit
Factory Code. This code cannot be deleted.
2. Programmed User Code - If you prefer to use your own code, you can program
the safe to open to the 5-digit User Code of your choice.
3. Temporary User Code - If you wish to give someone temporary access, you
can program a Temporary User Code that can later be erased.
OPEN SAFE WITH FACTORY PRESET PASS CODE
1. Using the digital keypad enter the factory preset pass code as printed on the
owners manual.
2. Rotate handle clockwise and open door.
PROGRAMMING A USER CODE
There are two ways to program a user code.
1. Press the Program key (Prog.).
2. Enter the Factory Code and the green LED will remain on.
3. Enter 5-digit User Code of your choice.
4. After code is entered the green LED turns OFF.
5. Do not close door before testing new pass code.
OR
1. With door open, press red reset button inside door (Fig. 1).
2. The lock will “beep” and the green LED will come on.
3. Enter 5-digit User Code of your choice.
4. After code is entered the green LED turns OFF.
5. Do not close door before testing new pass code.
To enter a new User Code, repeat these steps.
TEST NEW USER CODE
1. With door open, rotate handle counterclockwise to put
door bolts in lock position.
2. Enter new code.
3. Green light is on; rotate handle clockwise within 5 seconds.
4. Lock bolts should recede into the unlocked position.
PROGRAMMING A TEMPORARY USER CODE
1. Press the Program key.
2. Press it a second time.
3. Enter a 5-digit Code.
4. The green LED remains ON.
5. Enter 5-digit User Code of your choice (except 00000).
6. After code is entered the green LED turns OFF.
DELETING A TEMPORARY USER CODE
1. Press the Program key.
2. Press it a second time.
3. Enter your 5-digit USER CODE.
4. Enter 0-0-0-0-0.
5. Temporary User Code has been erased.
TO CLOSE THE SAFE
1. Make sure the lock bolts are in the unlocked position.
2. Close the door and hold it in the closed position.
3. Rotate handle counterclockwise to engage the bolts and lock safe.

4
SECURE LOCKOUT PERIODS
If a wrong code is entered three times in a row, the digital keypad will begin a
2 minute secure lockout period. During this secure lockout period the keypad will
become disabled. Once the lockout period has expired, the safe can be unlocked
using the correct pass code.
OVERRIDE ACCESS KEY
Your safe if equipped with an emergency key lock, which allows immediate access in
case you forget your Pass code or the batteries need replacing.
1. Using two hands, hold the keypad, thumbs down, on its left and right sides. Push
up the keypad with your thumbs, disconnect and remove the battery holder.
2. Insert the skeleton key into the key hole inside the opening for the battery.
3. Turn the key to the right.
4. Rotate the lever handle clockwise to the right, and then pull the door open.
5. After re-programming or changing batteries, replace the keypad and store keys in
a safe and secure location away from the safe.
IMPORTANT: The override key is used to gain access to the safe to change batteries
or if the digital lock fails to operate. This key should be stored in a secure place away
from your safe.
SAFETY PRECAUTIONS
The safe door is heavy. Do not open the door with the safe on an uneven or unstable
floor. Hanging on an open door may cause the safe to tip forward when not lag-
bolted to the floor, resulting in serious injury or death to yourself or others. If you
have or have occasion to have small children in your home, please make sure you
never leave your safe unsecured. It is possible for small children to climb inside your
safe and become locked in. This could result in serious injury or death.
MOVING YOUR SAFE
Before moving your safe, verify the load bearing weight of the floors and stairs, and
types of flooring the safe will be moved over (tile, wood, and other flooring can be
damaged by the weight of the safe). To determine whether or not your safe will make
it through doorways, stairs or corners take the empty safe box and see if it will fit all
the way through to its final location.
5
PLACEMENT OF YOUR SAFE
Proper installation and anchoring are critical to the security of your safe.
Install near a load-bearing wall to support the weight of the safe.
To help protect the exterior finish of your safe, install inside in a dry location where
there is climate control (heat in the winter and cooling in the summer).
ANCHORING YOUR SAFE
You may bolt the safe to the floor to increase protection from theft and resistance to
tipping. This safe was manufactured with bolt down holes pre-drilled in the floor
panel. To secure your safe to the floor:
1. Locate the pre-drilled holes on the floor panel.
2. Anchor the safe using the mounting hardware kit
which includes (2) lag screws and anchors.
NOTE: Bolting/unbolting of the unit is at the consumer’s
expense and discretion. LH Licensed Products is not
responsible for any costs incurred if the unit is to be replaced.
If you have any questions about mounting the safe, please
check with your local home center/hardware retailer or
independent contractor.
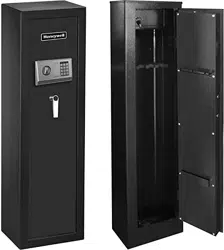
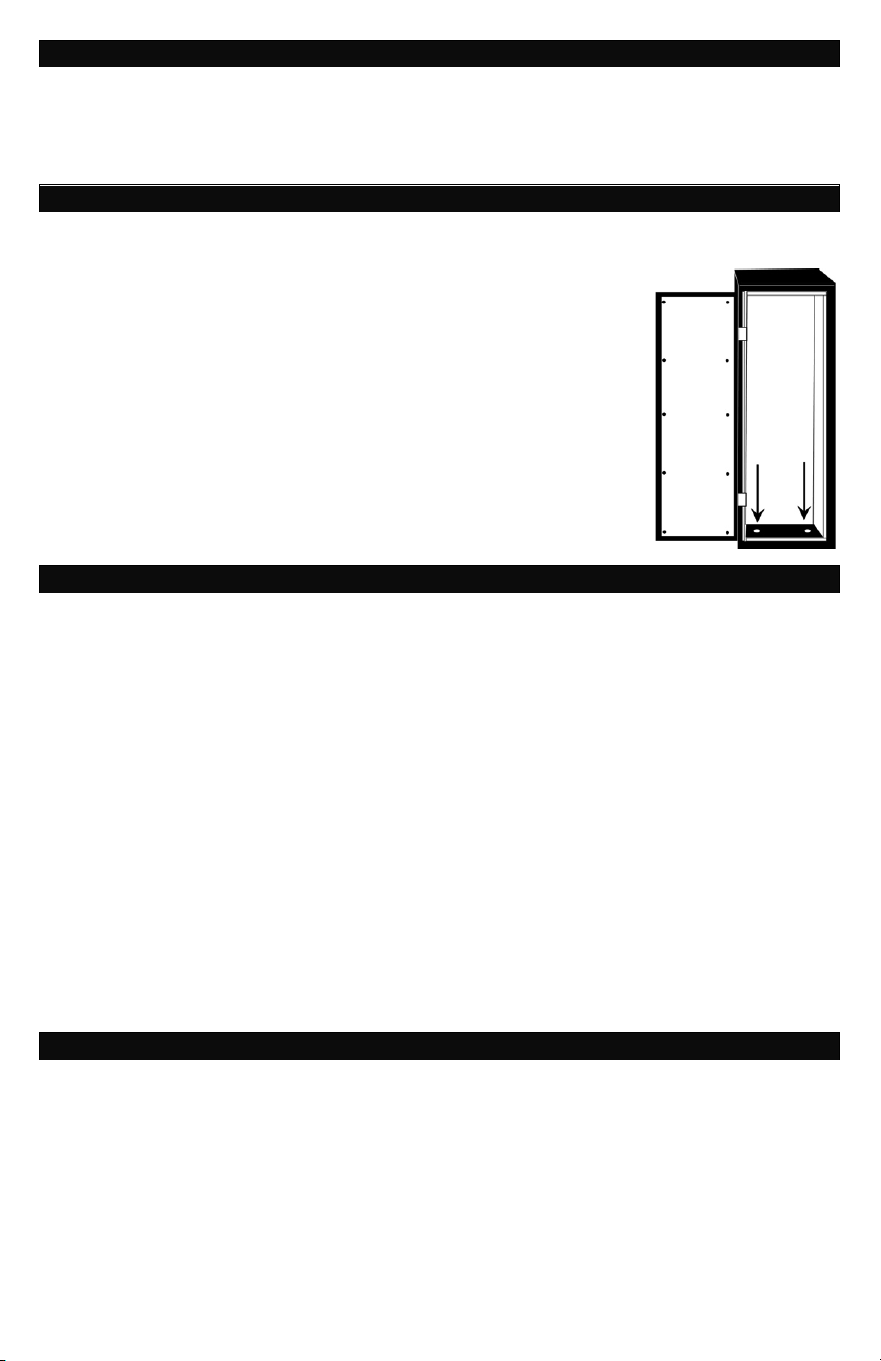
INSTALLING SHELVES
This safe includes (7) adjustable/removable shelves and (1) gun rack.
To install:
1. Remove shelves, gun rack and (24) shelf support clips from protective
wrapping.
2. Each shelf will require (4) support clips.
3. Determine the desired location of your shelf and/or gun rack and note the
corresponding support guide slots on the vertical standards that are best
suited to support the shelf in that location.
4. Insert (1) support clip into each of the vertical standards. The top of the
support clip should be placed into the selected slot first and then the bottom
of clip will lock in place when pushed back.
IMPORTANT: Make sure all (4) clips are installed at the same height on the
vertical standards so that the shelf is level.
5. Install the shelf into position by placing inside the safe (tilting if necessary) and
lowering into position on the support clips.
6. Repeat procedure for 2
nd
shelf.
HINT: If shelves are not being used, they can be stored in the bottom of the
safe.
LOADING YOUR SAFE
Store documents and ammunition in the bottom of the safe for greatest protection
against fire damage. If you are storing electronic media, use a Media Cooler (not
included) to provide additional protection. Do not put anything in your safe that will
put pressure against the door when it is closed. If you live in a humid environment, it
is recommended that you use a dehumidifier or desiccant to protect the contents
from rust or mildew.
6
ORDERING NEW / REPLACEMENT KEYS
The following information is required to order keys:
1. PROOF OF OWNERSHIP (1 of 2 Options Below)
SALES RECEIPT & IDENTIFICATION – INTERNATIONAL ORDERS ONLY!
• Copy of sales receipt showing Store, Date & Product Description.
• Copy of your picture I.D. (Drivers license, passport, regular I.D.).
PRODUCT OWNERSHIP VERIFICATION FORM
If sales receipt is not available, contact us by email or telephone to request
a “Product Ownership Verification Form”.
2. ORDER INFORMATION
CONTACT INFORMATION
• Name & Shipping Address
• E-mail address (If Available)
• Telephone Number
• Best Time to Contact You
PRODUCT INFORMATION
• Safe Model #
• Safe Serial #
• Lock Key #
• Quantity of Keys Ordered
3. METHOD OF PAYMENT
• Telephone:
Visa or MasterCard
• Mail:
Check or Money Order
NOTE: For pricing please contact Consumer Assistance.
Contact information is located on the back cover of this manual.
Terms subject to change without prior notification.
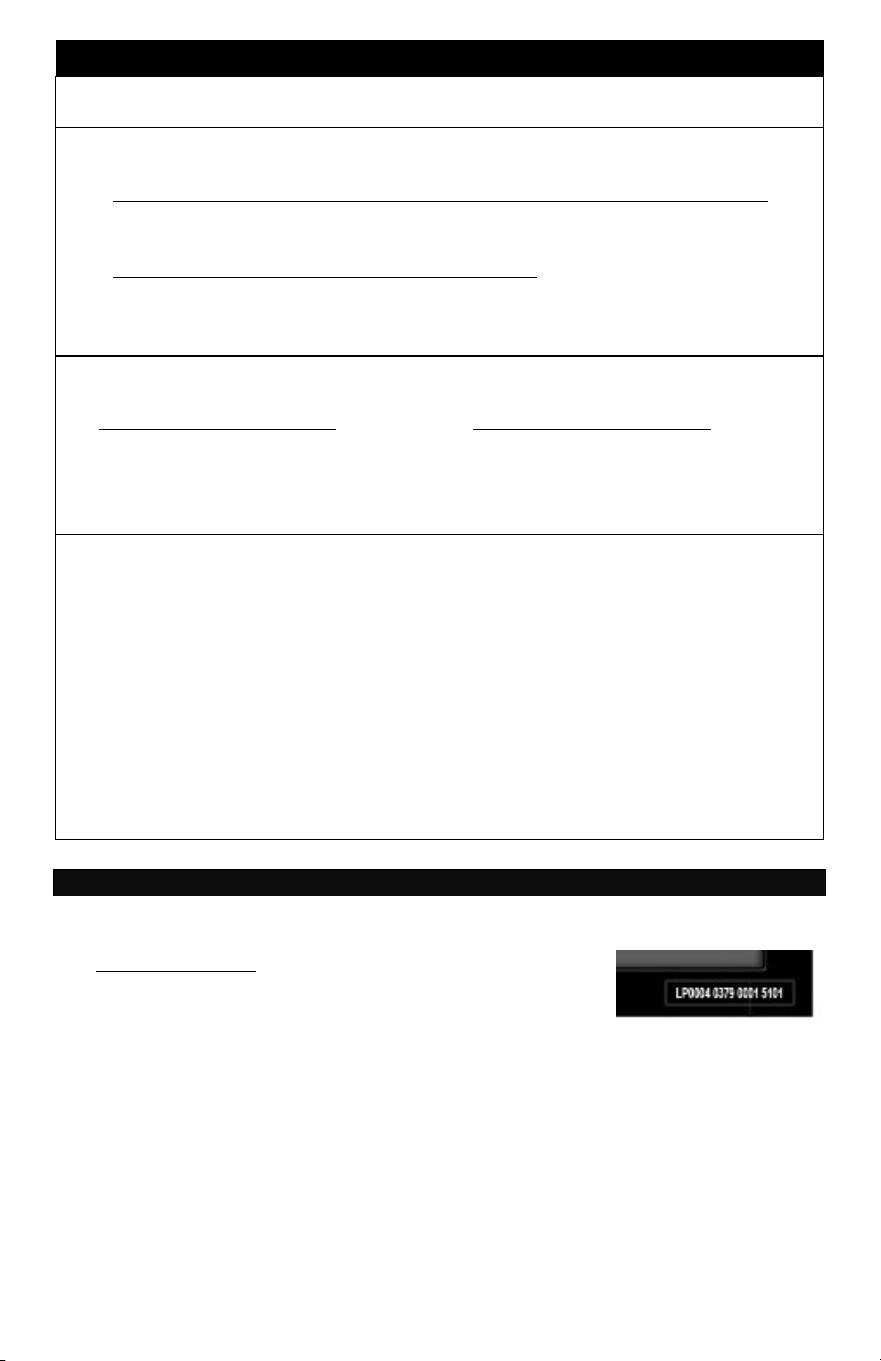
LOCATING SAFE IDENTIFICATION NUMBERS
When contacting Customer Service you will need to provide the following information:
SERIAL NUMBER
Located on lower right corner on front of safe.
Do Not Remove Safe I.D. Tags!

7
LIMITED WARRANTY
LH Licensed Products, Inc., (“LHLP, Inc.”) warrants that for a period of seven (7) years
from the date of purchase, this product will be free from structural or mechanical
defects resulting from materials or workmanship. LHLP, Inc., at its sole option and as
the purchaser’s sole remedy under this warranty, will repair or replace this product or
any component of the product found to be defective during the warranty period.
Replacement or repair will be made with a new or remanufactured product or
component. If the product is no longer available, replacement may be made with a
similar product of equal or greater value. THIS IS YOUR EXCLUSIVE WARRANTY.
This warranty is only valid for the original retail purchaser from the date of initial retail
purchase and is not transferable. You must keep the original sales receipt. Proof of
purchase is required to obtain warranty service.
LHLP, Inc. dealers, service centers, or retail stores selling this product do not have the
right to alter, modify or in any way change the terms and conditions of this warranty.
This warranty does not apply to the finish on the product. This warranty does not cover
normal wear and tear of parts or damage resulting from any of the following: negligent
use or misuse of the product, use contrary to the operating instructions, disassembly,
repair or alteration by anyone other than LHLP, Inc. or an authorized service center,
improper installation, or exposure to extremes of heat or humidity. Further, the
warranty does not cover Acts of God, such as fire, flood, hurricanes and tornadoes.
LHLP, Inc. shall not be liable for any incidental or consequential damages caused by
the breach of any express or implied warranty or otherwise relating to the sale of this
product. LHLP, Inc. is also not responsible for: costs associated with removing or
installing the product; damage or loss of the contents of the product; nor for the
unauthorized removal of the contents; or damages incurred during shipment.
THE ABOVE WARRANTY IS IN LIEU OF ALL OTHER WARRANTIES, EXPRESS OR
IMPLIED, INCLUDING ANY WARRANTIES OF MERCHANTABILITY OR FITNESS FOR
A PARTICULAR PURPOSE, AND LHLP, INC. DISCLAIMS ANY AND ALL OTHER
COVENANTS AND WARRANTIES.
Except to the extent prohibited by applicable law, any implied warranty of
merchantability or fitness for a particular purpose is limited in duration to the duration
of the above warranty period. Some states, provinces or jurisdictions do not allow the
exclusion or limitation of incidental or consequential damages or limitations on how
long an implied warranty lasts, so the above limitations or exclusion may not apply to
you. This warranty gives you specific legal rights, and you may also have other rights
that vary from state to state, or province to province, or jurisdiction to jurisdiction.
8
CONSUMER ASSISTANCE
EMAIL (Best Contact
Method):
WEBSITE:
www.Honeywellsafes.com
ADDRESS:
Consumer Assistance Dept.
LH Licensed Products, Inc.
860 East Sandhill Avenue
Carson, CA 90746 USA
TELEPHONE:
US/Canada 1-877-354-5457 (Toll Free)
Mexico 01-800-288-2872 After English voice recording stops you
must then enter 800-860-1677 to complete your call. (Toll Free)
Austrailia 0011-800-5325-7000 (Toll Free)
Germany/New Zealand 00-800-5325-7000 (Toll Free)
Other Countries XX*-310-323-5722 (Toll Charges Apply)
XX*- Dial U.S. Country Code first
CALL CENTER HOURS:
US/Canada 7am – 5pm (PST**) Mon – Fri
CALL BACK HOURS:
Other Countries 7am – 8pm (PST**) Mon – Fri
PST**- Local time in Los Angeles, CA, USA
INTERNATIONAL CALL BACK HOURS:
If you need to speak with a consumer assistant and cannot contact us during the Call
Center hours above, please send an email or leave a telephone message, including your
Name, Telephone Number and the best time for us to contact you during the Call Back hours
above and we will make our best effort to contact you and help to answer any of your
questions or concerns.
Manufactured by
LH Licensed Products, Inc.
860 East Sandhill Avenue
Carson, CA 90746
The Honeywell Trademark is used under license from Honeywell
International Inc. Honeywell International Inc. makes no representations
or warranties with respect to this product.
REV. 12-12-2013