SERENE BACKGROUND LIGHT - QUICK START GUIDE
STEP 1 - Background Film and Background LED Light Installation
Unroll and flatten Background Film. Measure
length (L) and height (H) of glass aquarium panel*
(glass only, don’t include the plastic frame), and
lightly mark cutting lines using a pencil.
*If you have a standard rectangular/cube tank, the front panel is
the same size as the back panel. For bowfront or corner aquariums,
you will need to measure the actual back glass panel.
Using sharp scissors, carefully cut Background
Film to size. You can also use a razor blade and
straight edge for cutting/trimming.
Remove any hang-on filters or other accessories from
back of aquarium. Use a cloth/sponge and freshwater
(NO SOAP or CHEMICALS) and clean back glass panel.
Dry with cloth towel.
(For the best lighting effects, it’s also a great time to clean the inside of your
tank glass and remove any algae!)
STEP 1: MEASURE
STEP 2:
CUT-TO-SIZE
H
L
BEFORE INSTALLATION: The only tools required for basic installation are a pair of scissors and clear tape.
STEP 3:
CLEAN GLASS PANEL
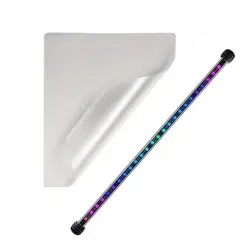
Starting at one side of aquarium, attach Background
Film to back glass panel (textured side facing in, smooth
glossy side facing out) using clear tape. Unroll material,
covering entire back glass panel, tape edge on other side
of aquarium. Ensure material is tight against glass.
STEP 4:
ATTACH WITH TAPE
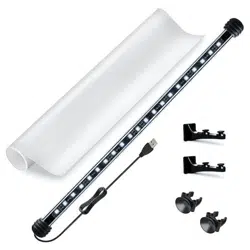
Moisten suction cups, position Background LED
light in desired location, and press firmly to attach
to aquarium. We recommend mounting it to the
bottom or top of plastic aquarium frame.*
*NOTE: For Rimless Aquarium installations and
using attachment brackets, please visit:
www.current-usa.com/serene-led-guide
STEP 5:
ATTACH BACKGROUND LED LIGHT
r
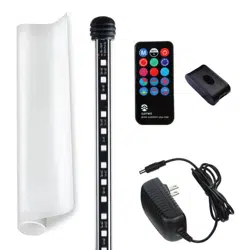
STEP 2 - Background LED Controller Installation
1. Choose a cabinet/stand location (on or under) that is free of
excessive moisture and will allow for direct line of site for IR
sensor (located on controller).
2. Connect LED light to controller using USB plug. Mount controller
to aquarium cabinet using attachment tape included.
3. Plug in 12V DC power supply into a GFCI approved outlet and
ensure a drip loop is in place for all cables
(see warranty page for drip loop).
Integrated
IR Sensor
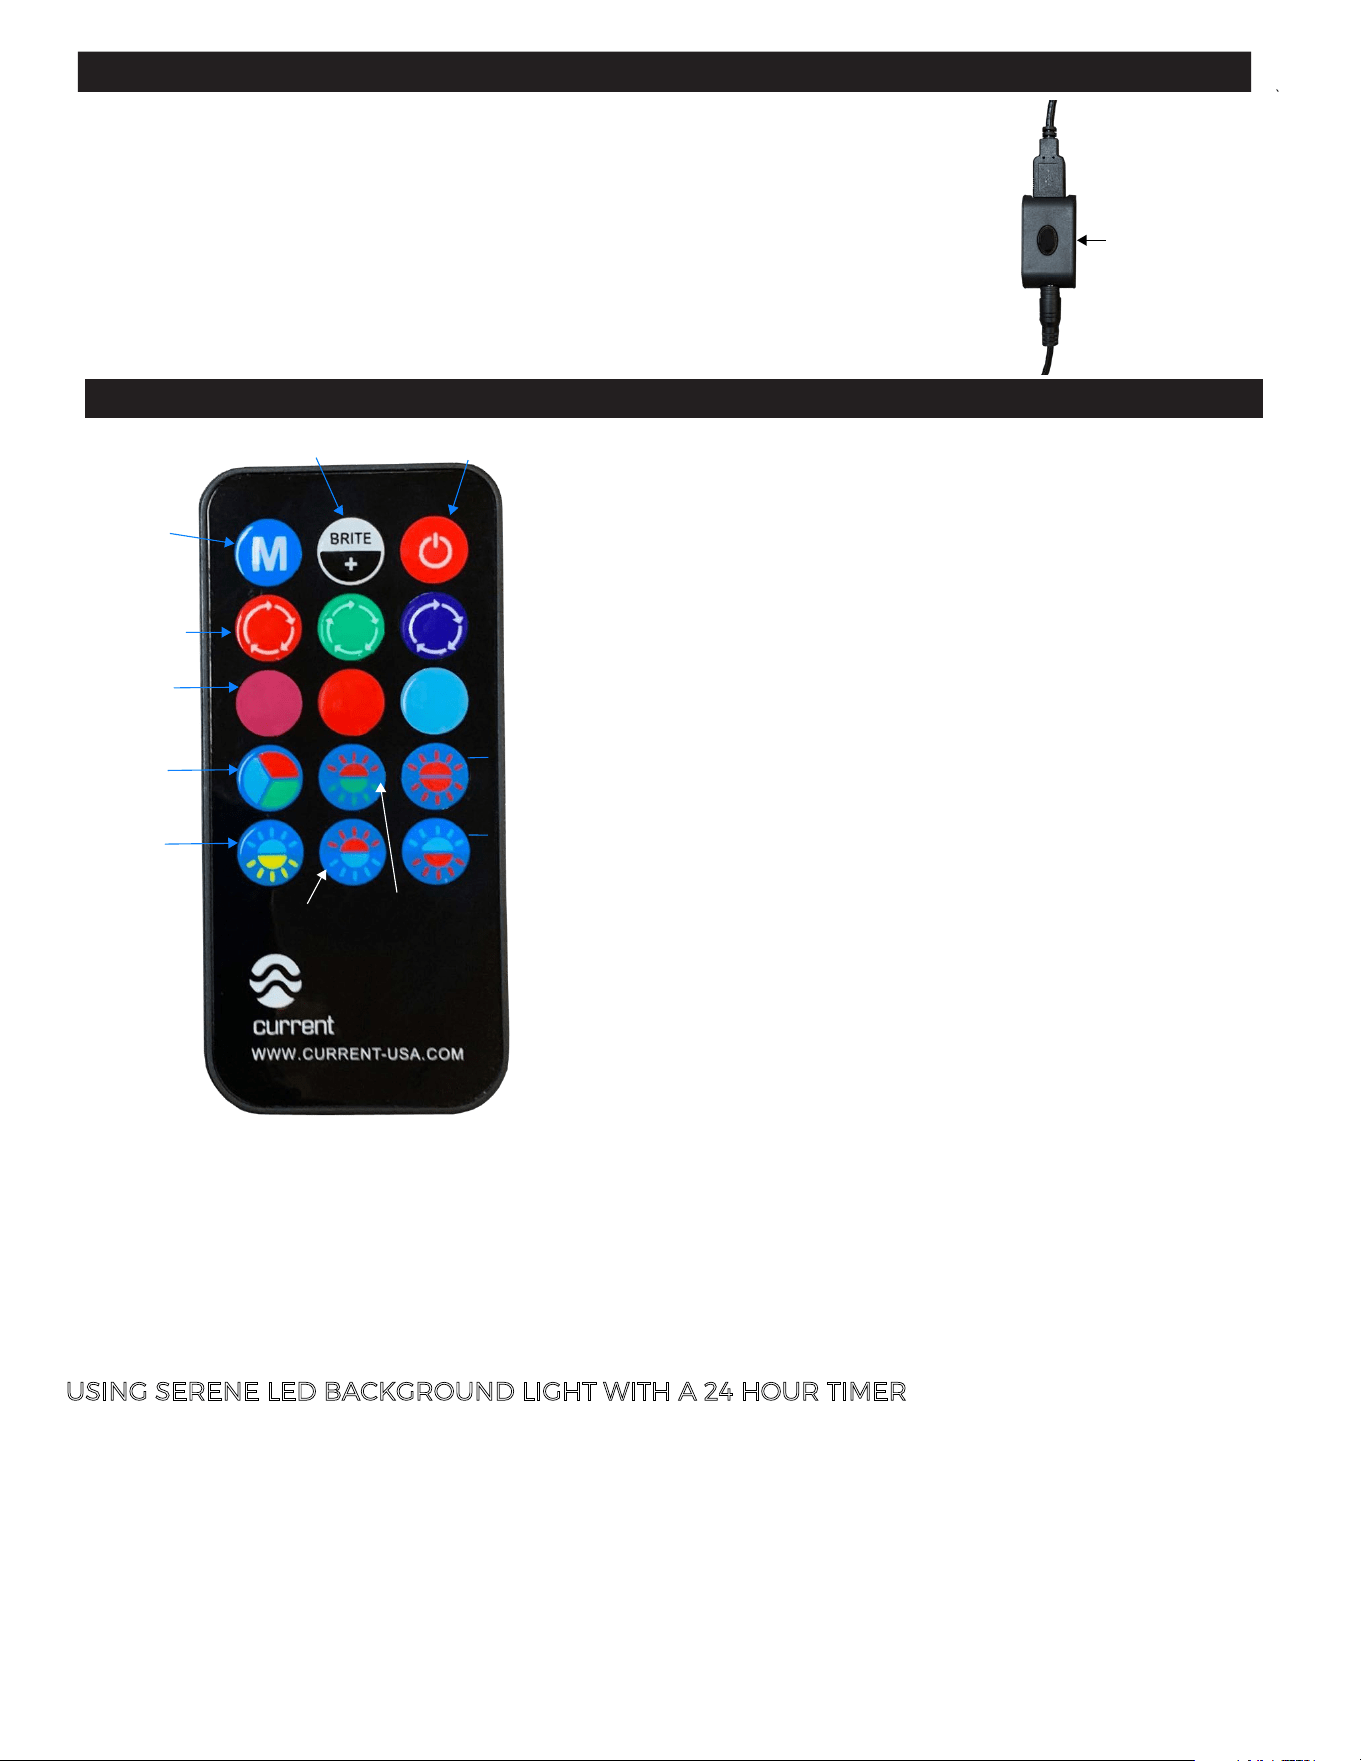
STEP 3 - Controlling the Serene LED Background Light
ON/OFF
CUSTOM
COLOR
RGB
ADJUST
BRIGHTNESS
POPULAR
STATIC
COLORS
FUCHSIA
Remove clear tape at bottom of remote to activate
battery connection, then press ON/OFF key.
Select any color fade program and light will slowly fade
through the selected color spectrums. Press RGB Fade
to gently fade through all color spectrums.
To adjust the intensity of any solid color or fade mode,
simply press the BRITE+ key and adjust to 50% or 100%.
U
SING SERENE LED BACKGROUND LIGHT WITH A 24 HOUR TIMER
The Serene LED Background light is compatible with most 24 hour automatic wall timers and
our Single Ramp Timer in On/Off mode. An internal flash memory saves the last setting on the
Background light. To use with timer:
1. Plug 12VDC power supply into 24 Hr. timer.
2. Follow timer instructions to program on/off times.
3. When timer is in "on" mode, select background fade desired or press Custom Color "M".
4. Simply leave background light in this mode and timer will turn on/off daily as programmed.
SUN
RED
ICE
BLUE
RGB FADE
BLUE to
AQUA
RED to
ORANGE
BLUE to
ORANGE
PURPLE to
GREEN
RED to
BLUE
STATIC COLOR METHOD 1:
Press any static color, then adjust using the RGB keys to adjust to color (0%,25%,50%,75%,100%).
When color spectrum desired is reached, press and hold the “M” key for 5 seconds, light will blink.
Press a static color at any time to use as a base color
or bring attention to your aquascape!
POPULAR STATIC COLORS
TURN LIGHT ON/OFF
ADJUST BRIGHTNESS/INTENSITY
COLOR FADE PROGRAMS
You can use one of two methods to save a custom color:
CUSTOM STATIC COLOR (M)
RGB FADE METHOD 2:
Press the RGB Fade key, colors will rotate through spectrum. When the desired spectrum is reached,
press the RGB Fade key again to pause. Press and hold the “M” key for 5 seconds, light will blink.
RGB ADJUST
Use to adjust custom color (see below).
0%, 25%, 50%, 75%, 100%