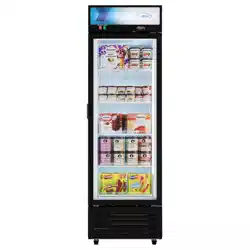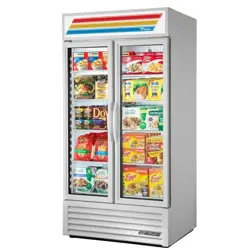
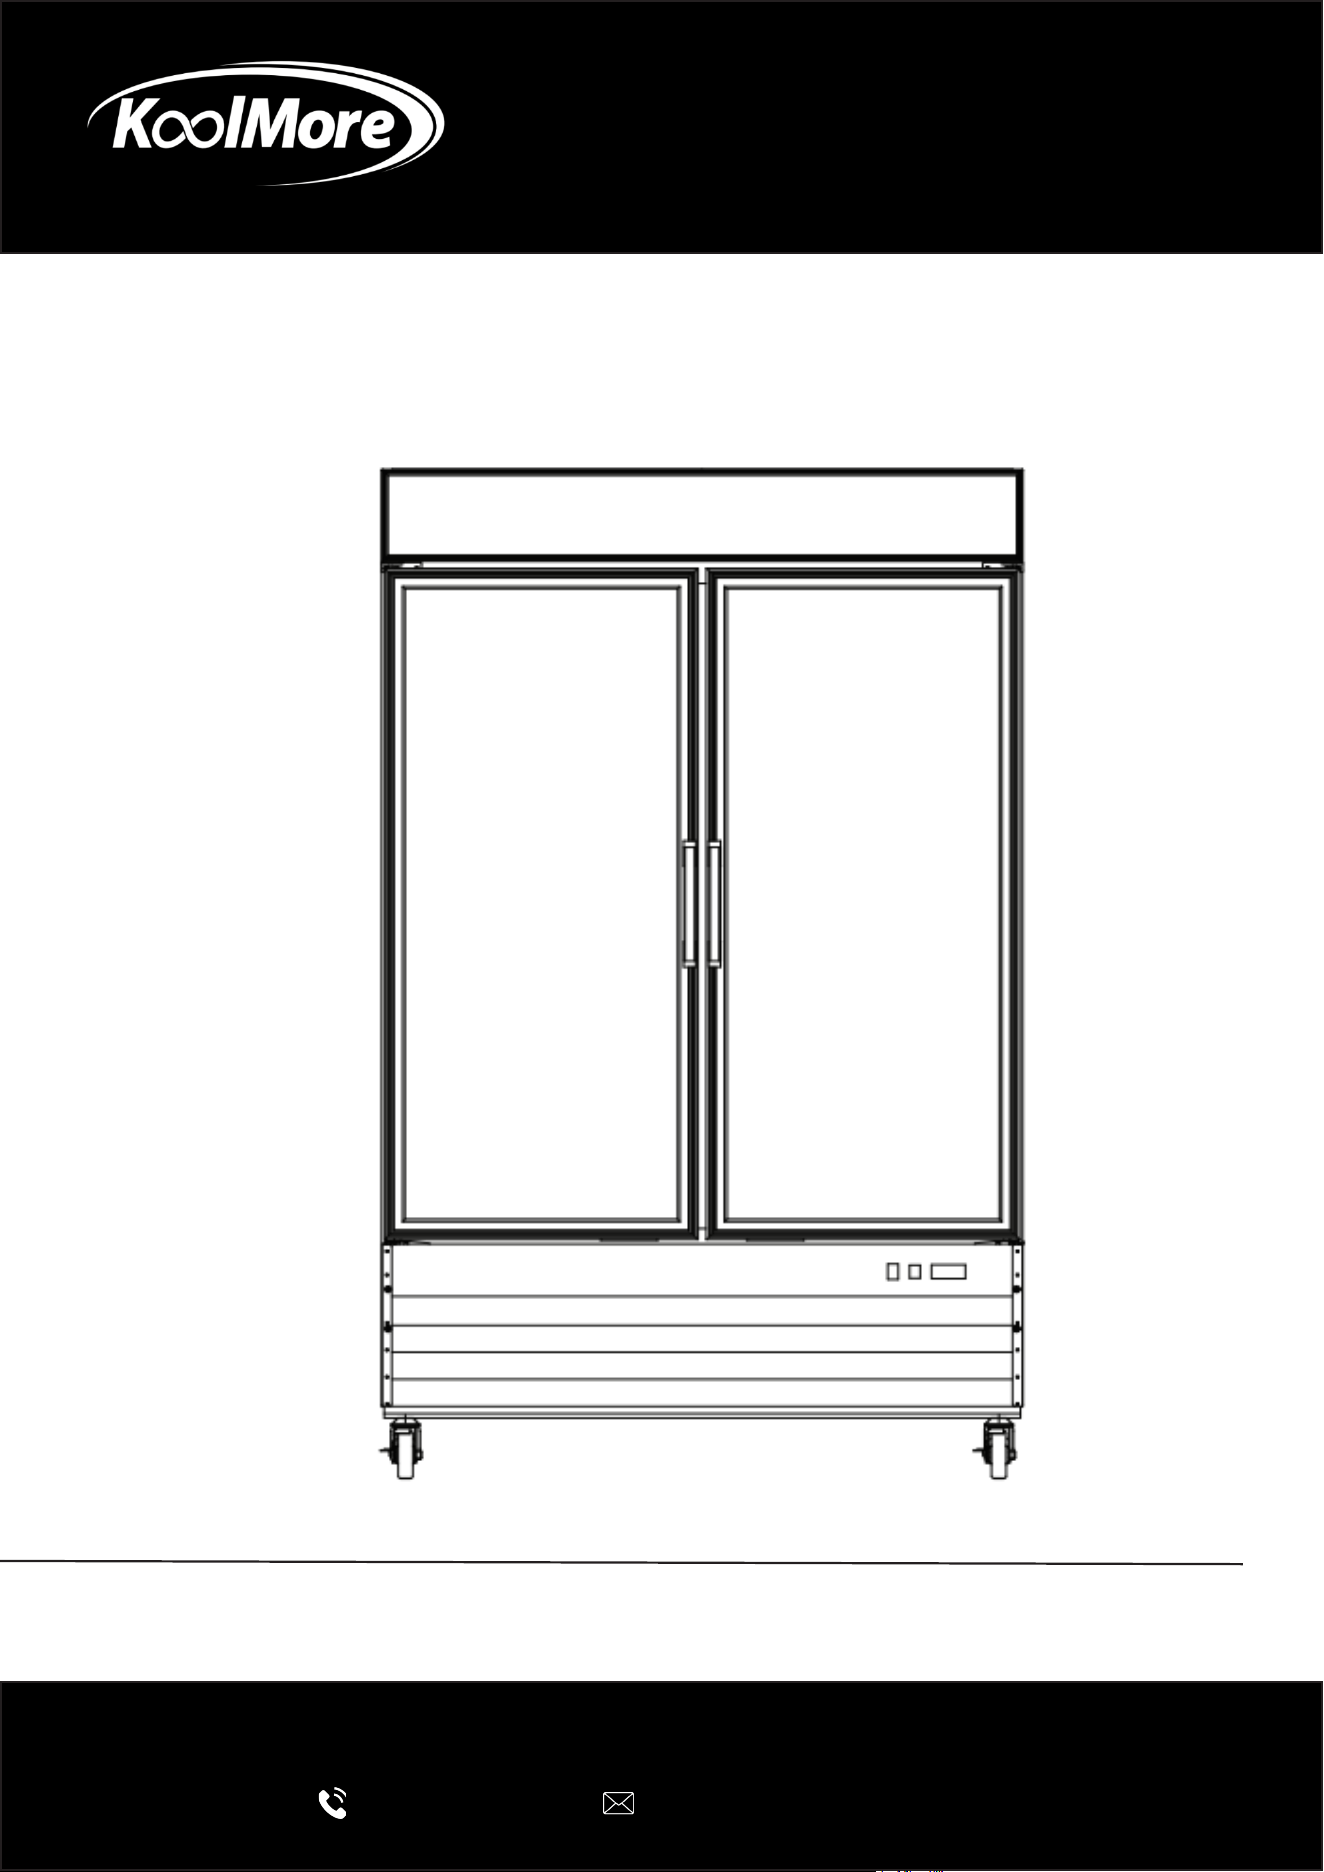
Ice Merchandiser
ICE MERCHANDISER FREEZER
USER MANUAL
Before using, please read the operating instructions carefully to
ensure proper application and achieve satisfactory results.
For any service related issues, please contact us:
718-576-6342
suppor[email protected]
Model: KM-IM31-1GD, KM-IM53-2GD
Stay informed with the latest information for your
KoolMore Reserve Appliance.
Scan the QR code above to access the most recent user manual
on our website, which is constantly being updated and improved.
If you need any assistance or have questions, our customer support
team is here to help.
P- 718-576-6342 E- Suppor[email protected]
Please write down the model number and serial number below for future reference. Both numbers are located on the
rating label on the back of your unit or inside of the unit and are needed to obtain warranty service. You may also
want to staple your receipt to this manual as it is the proof of your purchase and may also be needed for service
under warranty.
Model Number:
Serial Number:
Date of Purchase:
To better serve you, please do the following before contacting customer service:
If you received a damaged product, immediately contact the retailer or dealer that sold you the product.
Read and follow this instruction manual carefully to help you install, use, and maintain your unit.
Refer to the Troubleshooting section of this manual as it will help you diagnose and solve many common issues.

3
Contents
Safety ............................................................................................ 4
Installation .................................................................................... 8
Operation .................................................................................... 9
Maintanence ................................................................................ 12
Troubleshooting ........................................................................... 13
Warranty ....................................................................................... 14

4
Safety
Intended Use:
• This appliance is not intended for use by individuals with reduced physical, sensory, or mental
capabilities, or those lacking experience and knowledge, unless they are supervised or properly
instructed by someone responsible for their safety.
• Children must be supervised to ensure they do not play with the appliance.
• Children should not perform cleaning or maintenance without supervision.
General Warnings:
• Do not store explosive substances, such as aerosol cans with ammable propellants, in the
appliance.
• Ventilation openings in the appliance or built-in structure must be kept clear of obstructions.
• Do not use mechanical devices or any other methods to accelerate the defrosting process—
this appliance features automatic defrosting.
• Do not damage the refrigerant circuit.
• Do not use electrical devices inside the food storage compartments unless specically recom-
mended by the manufacturer.
Approved Usage Locations:
This appliance is intended for household and similar environments, including:
• Staff kitchen areas in shops, oces, and other workplaces.
• Farmhouses and use by guests in hotels, motels, and other residential settings.
• Catering facilities and similar non-retail applications.
Installation & Components:
• Do not install the appliance in public corridors or lobbies.
• Only original or identical replacement parts should be used to prevent re risks due to incorrect
components.
• The appliance must be installed following all relevant safety standards.
Storage Precautions:
• Store the appliance in a room free of continuous ignition sources, such as open ames, gas
appliances, or electric heaters.
• Do not pierce or burn the appliance.
• Be aware that refrigerants may be odorless.
• The appliance must be kept in a well-ventilated area, with room dimensions matching those
required for proper operation.
• Ensure the appliance is protected from mechanical damage.
Electrical and Cable Safety:
• Verify that wiring is not exposed to wear, corrosion, pressure, vibration, sharp edges, or other
environmental damage.
• Consider effects of aging and vibrations from components like compressors or fans.

5
Decommissioning and Refrigerant Handling
• Only trained technicians familiar with the appliance should perform the decommissioning pro-
cedure.
• Before removing refrigerant, take samples of refrigerant and oil for potential future analysis.
• Ensure electrical power is available before starting the procedure.
• Use recovery equipment that is in proper condition, follows manufacturer guidelines, and is
suitable for all types of refrigerants, including ammable ones.
• Recovered refrigerant must be:
-Returned to the supplier in the appropriate recovery cylinder.
-Documented with a proper waste transfer note.
-Never mixed with other refrigerants in recovery units or cylinders.
General Safety Instructions:
• All maintenance staff and nearby personnel must be informed of the nature of the work being
performed.
• Avoid working in conned spaces whenever possible.
• If hot work (e.g., welding, soldering) is required on refrigerating equipment or associated parts,
ensure suitable re extinguishing equipment (such as dry chemical or CO₂ extinguishers) is
readily available.
• This equipment uses Refrigerant Class A3 (per ANSI/ASHRAE 34), which is ammable.
Warning: Risk of re – Take precautions to prevent ignition of ammable materials.
Weight & Environmental Limits:
• Maximum weight capacity: 395 lbs / 790 lbs.
• The appliance should be used only within the ambient temperature and humidity limits of the
specied climate class.
Fire Safety:
• A CO₂ re extinguisher must be placed adjacent to the refrigerant charging area.
• “No Smoking” signs must be visibly displayed around the work area.
• Ignition sources, including cigarettes, must be kept far away from the equipment during instal-
lation, servicing, removal, or disposal.
Servicing Guidelines:
• All servicing should be conducted strictly according to the manufacturer’s instructions.
• Complex repairs requiring specialized knowledge should be done under the supervision of a
qualied technician, especially when dealing with ammable refrigerants.
• Before performing any hot work or opening the system:
• Survey the area to identify and eliminate ammable hazards or potential ignition sources.
• Ensure the area is well-ventilated or outdoors. Ventilation should continue during the entire
work period to safely disperse any leaked refrigerant into the atmosphere.
• Do not use open ames or any ignition-based devices when checking for refrigerant leaks.
• Devices such as halide torches are strictly prohibited.
• Use only approved leak detection equipment that is non-sparking, properly sealed, or intrinsical-
ly safe, and is suitable for all applicable refrigerants.

6
Refrigerant Detection:
• Before and during servicing, use a refrigerant detector to check for the presence of ammable
or toxic gas.
• Conrm the detection device is suitable for the specic refrigerants used.
Electrical Safety:
• When replacing electrical components, ensure they are:
• Correctly specied for the system.
• Safe and compatible with ammable refrigerants.
• Always follow the manufacturer’s service manual and consult the technical department if un-
certain.
CAUTION – SAFETY INSTRUCTIONS
Ventilation & Placement:
• Ensure at least 20 cm of clearance between the back of the cabinet and the wall.
• Do not fully seal the back of the cabinet; provide an air vent to the outside to allow proper heat
dissipation.
• Remove all external packaging from the bottom of the unit to ensure safe heat radiation and to
prevent re hazards.
Prohibited Storage:
• Do not store ammable or volatile chemicals inside the appliance, as this may lead to explo-
sion or re.
Electrical Safety:
• Use a dedicated single-phase socket with a reliable grounding connection.
• Do NOT connect the grounding wire to water or gas pipes.
Handling & Transport:
• Avoid strong impact or vibrations during transportation.
• When moving the cabinet, ensure the inclination does not exceed 45°.
Maintenance & Repairs:
• Refer to the Troubleshooting section in the manual for common issues.
• Do not attempt repairs yourself. All service work must be done by certied or factory-autho-
rized technicians only.
DANGER – Fire & Explosion Risk (Flammable Refrigerant Used)
• Do NOT use mechanical devices to defrost the refrigerator.
• Do NOT puncture any refrigerant tubing.
• Repairs must only be performed by trained service personnel.
• Always consult the repair manual or owner’s guide before attempting any service.
• Follow all safety precautions without exception.

7
DISPOSAL & SERVICING WARNINGS
• Dispose of the unit properly and legally, in accordance with local or federal regulations.
• Take extreme caution to avoid puncturing refrigerant tubing during handling.
• Ventilation openings in the appliance or its built-in structure must always be kept clear of ob-
structions.
• All servicing must be carried out by authorized personnel to prevent risk of ignition due to in-
correct parts or improper procedures.

8
INSTALLATION
• Avoid tilting the unit more than 45 degrees during transport.
• The refrigeration system operates most eciently when installed in an area with cool, dry air
circulation.
• There must be at least 2 inches of clearance in back of the cabinet.
• Select a location away from the heat and moisture-generating equipment such as stoves, ov-
ens, etc.
• Avoid direct sun rays.
• Be sure that the oor where you intend to install the unit is strong and level enough to support
the total weight of the unit and its contents.
• To minimize shock and re hazards, be sure that the unit is properly grounded. For your safety
and protection, all units are equipped with a special three-prong grounding plug on the service
cord.
• All units are designed for indoor use. Outdoor use may cause signicant damage to the unit.
PRECAUTIONS
• To minimize shock and re hazards, be sure not to overload the outlet.
• To minimize electric shock and malfunction, do not spray the unit with water.
• To minimize re hazards, do not use ammable spray products near the unit.
9
Operation
• After unplugging the unit, wait at least 6 minutes before re-plugging it. It may cause
compressor failure if plugged in before 6 minutes waiting period.
When loading the unit:
• Be careful not to block the air duct located at the back and the fan on the ceiling of
the unit with contents.
• Blocking the air ow may cause a decrease in performance.
• For the best performance, maintain at least 4 inches of clearance between the con-
tents and the air duct.
Temperature controller:
• The controller is located at the right, front corner.
• Do not leave the unit door open for a long period of time. For the most ecient
operation, close the door immediately after use.
add safety lock
Interior Lights switch is located next to the controler. use it to turn on the interior
lights.
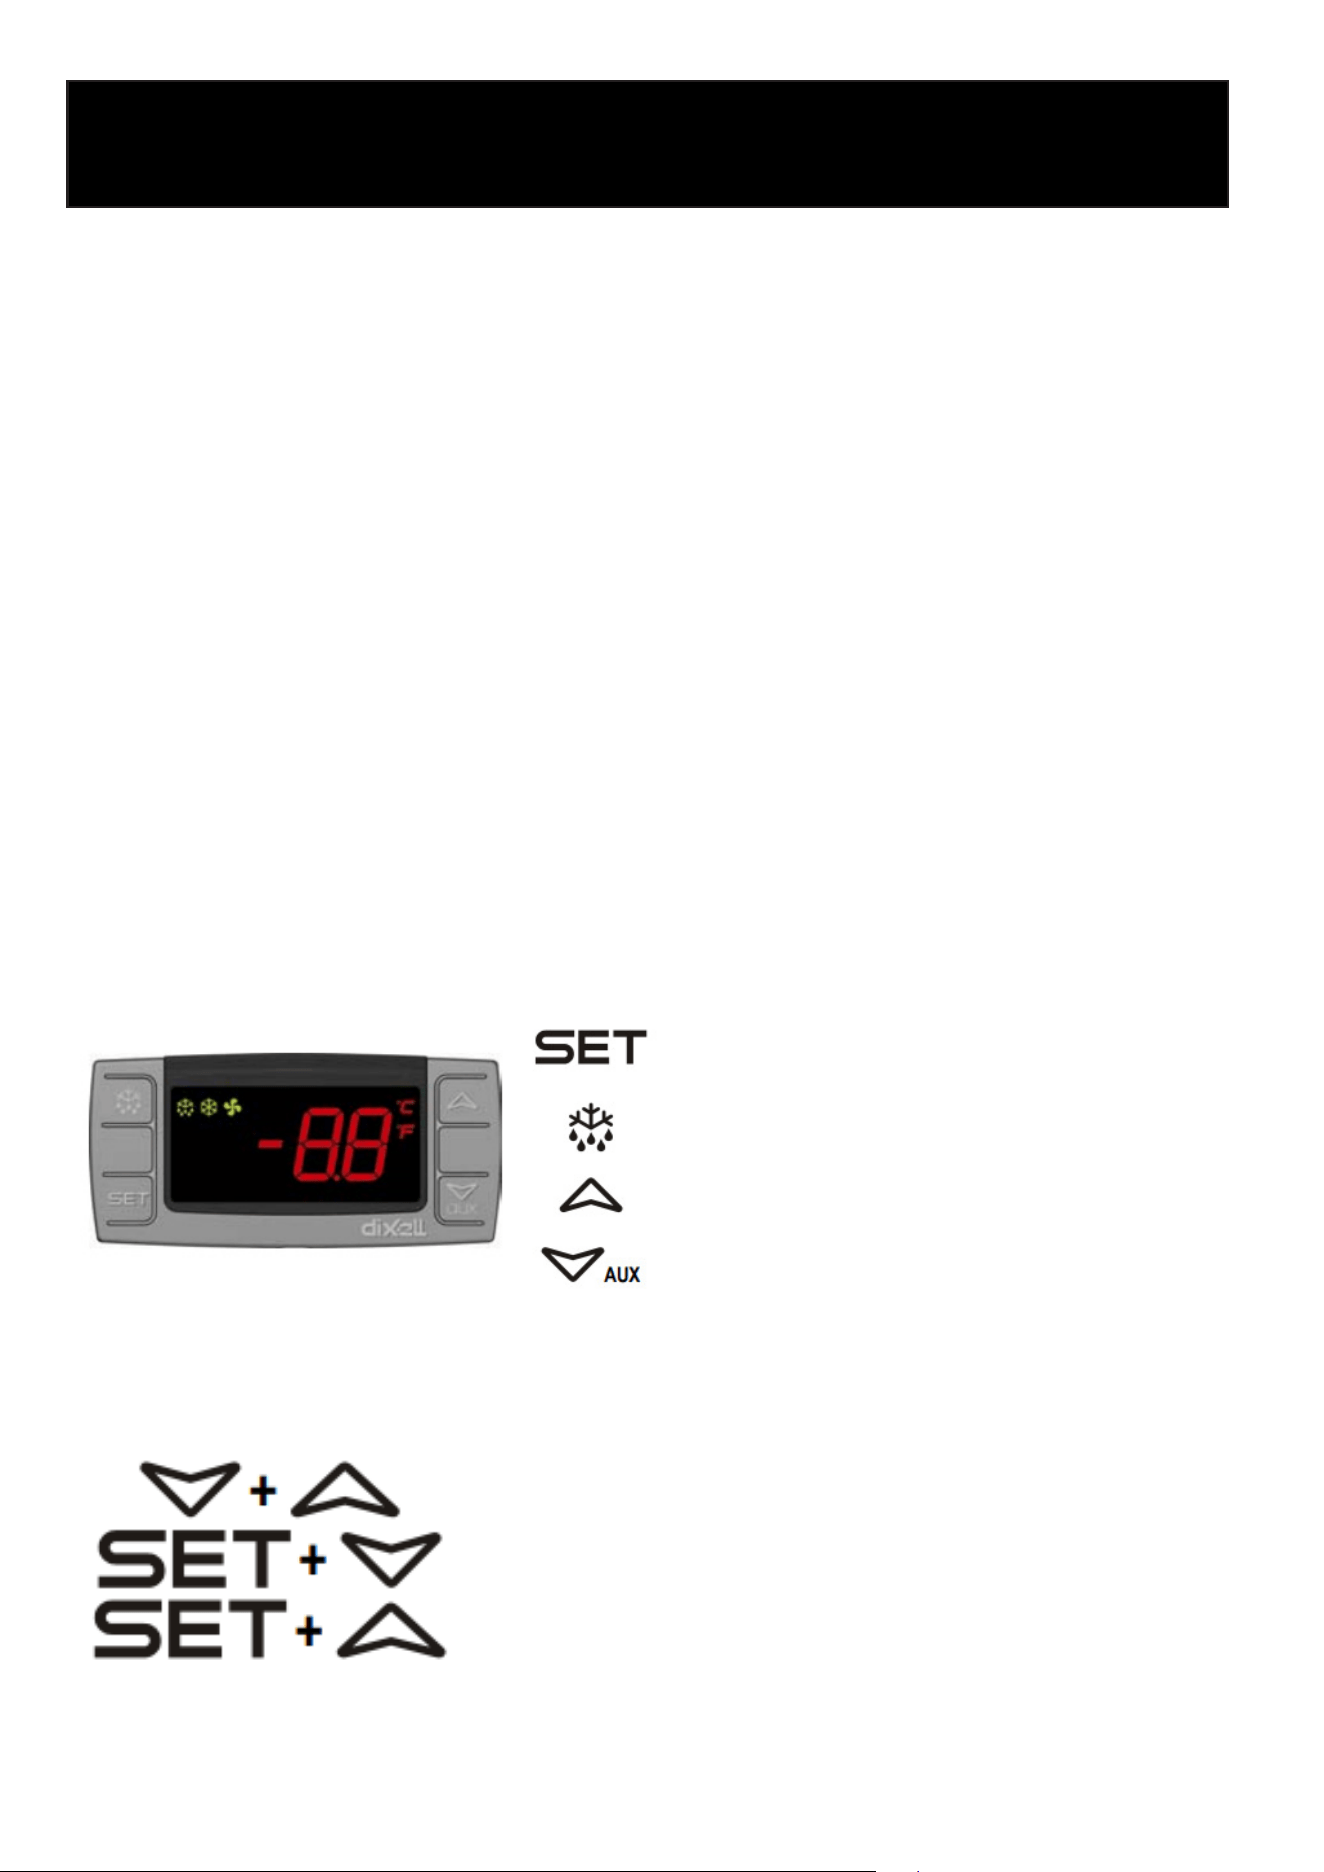
Temperature Controls
To display target set point, in program-
ming mode it selects a parameter or
conrm an operation
To start a manual defrost
In programming mode it browses the
parameter codes or increases the dis-
played value In programming mode it
browses the parameter codes or
decreases the displayed value
KEYS COMBINATION
To lock or unlock the keyboard
To enter in programming mode
To return to room temperature display
10
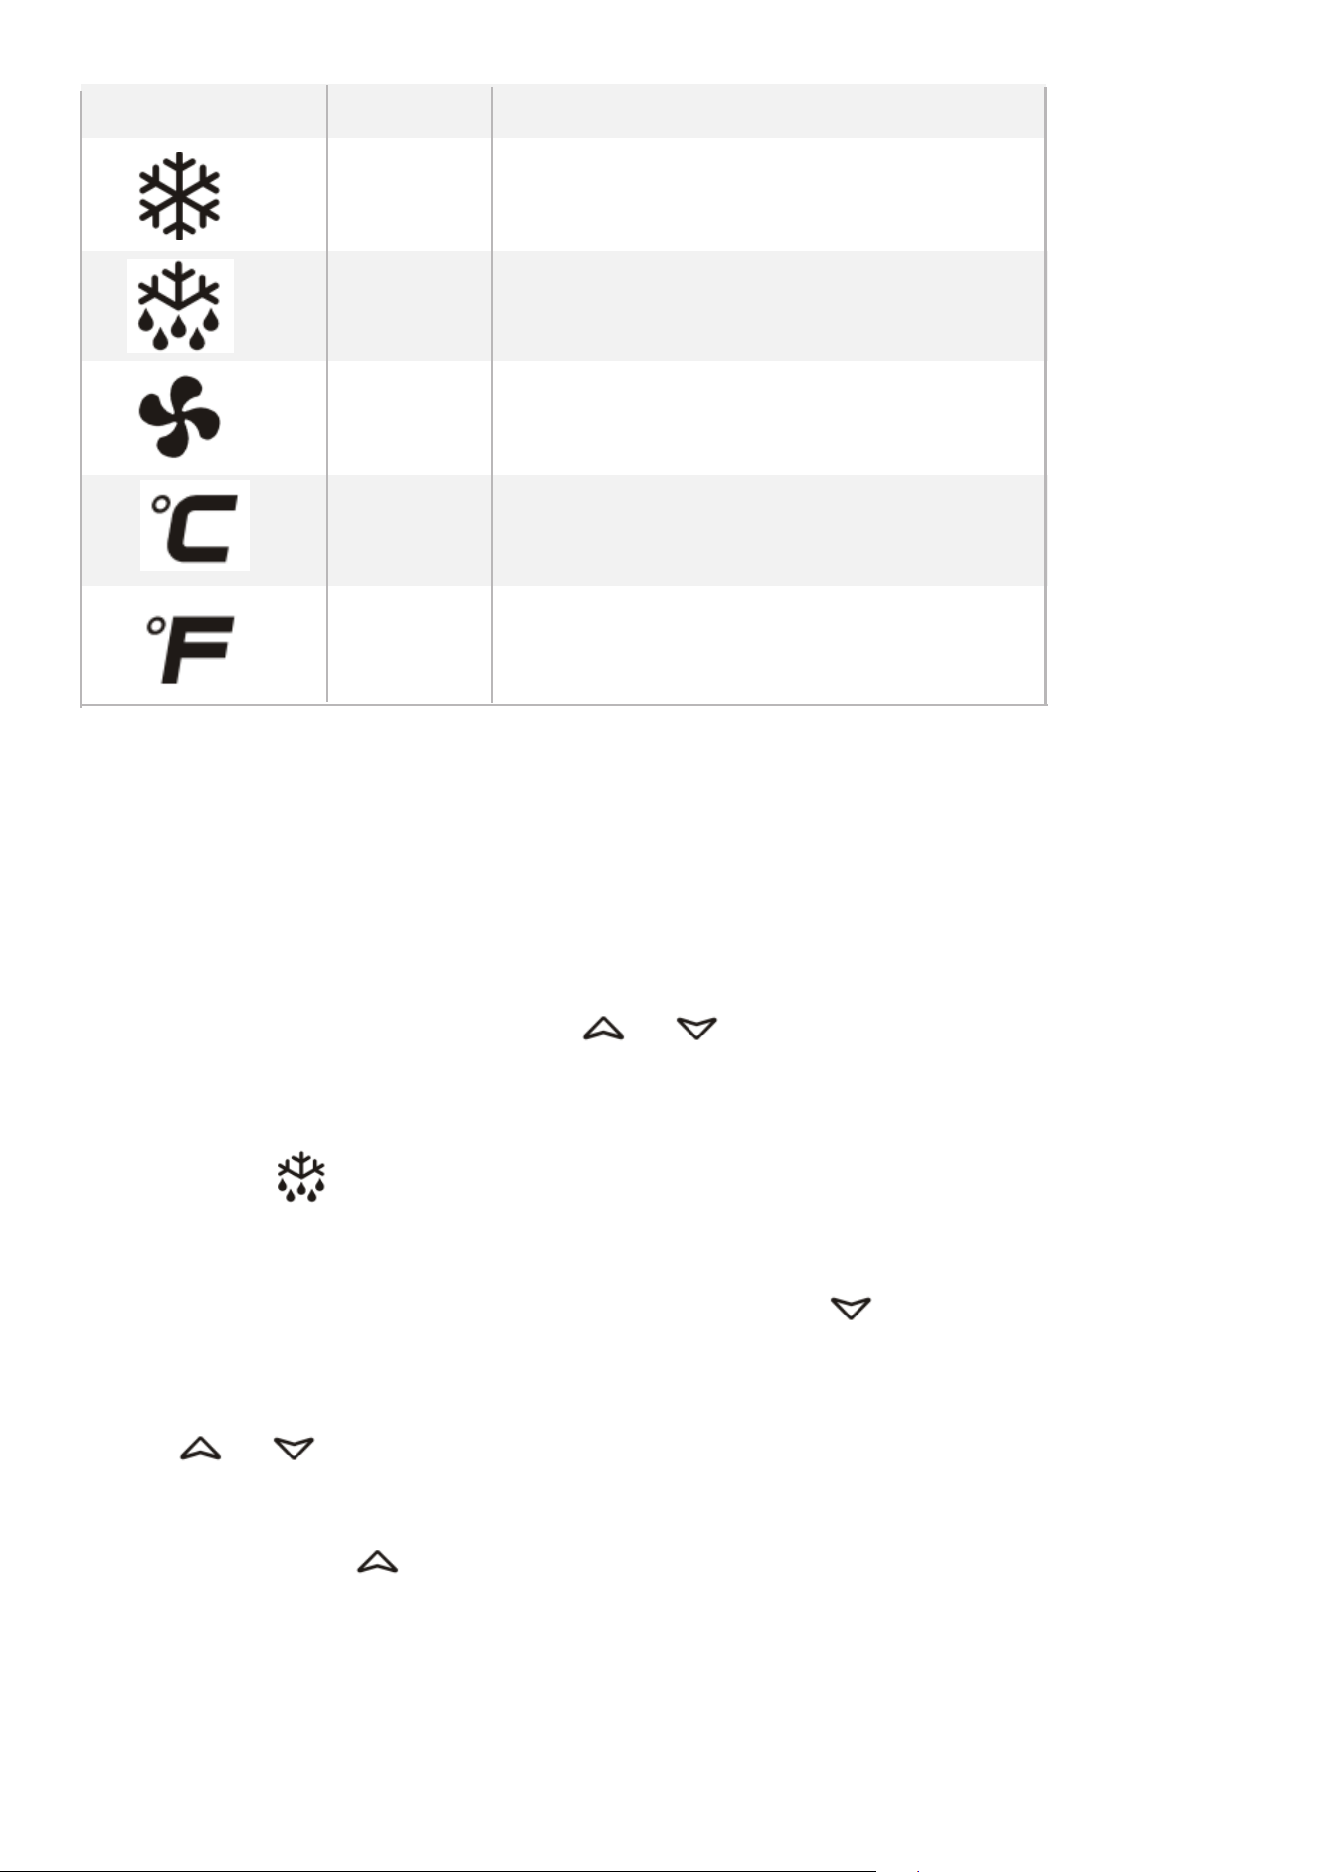
LED MODE SIGNIFICATO
On Compressor enabled
Flashing Anti short cycle delay enabled (AC parameter)
On Defrost in progress
Flashing Dripping in progress
On Fans output enabled
Flashing Fans delay after defrost
On Measurement unit
Flashing Programming mode
On Measurement unit
Flashing Programming mode
HOW TO SEE THE SET POINT
1. Push and immediately release the SET key, the set point will be showed;
2. Push and immediately release the SET key or wait about 5s to return to normal
visualisation.
HOW TO CHANGE THE SETPOINT
1. Push the SET key for more than 2 seconds to change the Set point value;
2. The value of the set point will be displayed and the “°C” or “°F” LED starts blinking;
3. To change the Set value push the or arrows.
4. To memorise the new set point value push the SET key again or wait 10s.
HOW TO START A MANUAL DEFROST
Push the DEF key for more than 2 seconds and a manual defrost will start
HOW TO CHANGE A PARAMETER VALUE
To change the parameter’s value operate as follows:
1. Enter the Programming mode by pressing the SET+ keys for 3s (“°C” or “°F”
LED starts
blinking).
2. Select the required parameter. Press the “SET” key to display its value
3. Use or to change its value.
4. Press “SET” to store the new value and move to the following parameter.
To exit: Press SET+ or wait 15s without pressing a key.
NOTE: the set value is stored even when the procedure is exited by waiting the time-
out to expire.
HIDDEN MENU
The hidden menu includes all the parameters of the instrument.
11
HOW TO ENTER THE HIDDEN MENU
1. Enter the Programming mode by pressing the SET+ keys for 3s (“°C” or “°F”
LED starts blinking).
2. Released the keys, then push again the SET+ keys for more than 7s. The L2
label will be displayed immediately followed from the Hy parameter.
NOW YOU ARE IN THE HIDDEN MENU.
3. Select the required parameter.
4. Press the “SET” key to display its value
5. Use or to change its value.
6. Press “SET” to store the new value and move to the following parameter.
To exit: Press SET+ or wait 15s without pressing a key.
NOTE1: if there aren’t any parameter in L1, after 3s the “nP” message is displayed.
Keep the keys pushed till the L2 message is displayed.
NOTE2: the set value is stored even when the procedure is exited by waiting the
time-out to expire.
HOW TO MOVE A PARAMETER FROM THE HIDDEN MENU TO THE FIRST LEVEL
AND VICEVERSA.
Each parameter present in the HIDDEN MENU can be removed or put into “THE
FIRST LEVEL” (user level) by pressing SET+ . In HIDDEN MENU when a parameter
is present in First Level the decimal point is on.
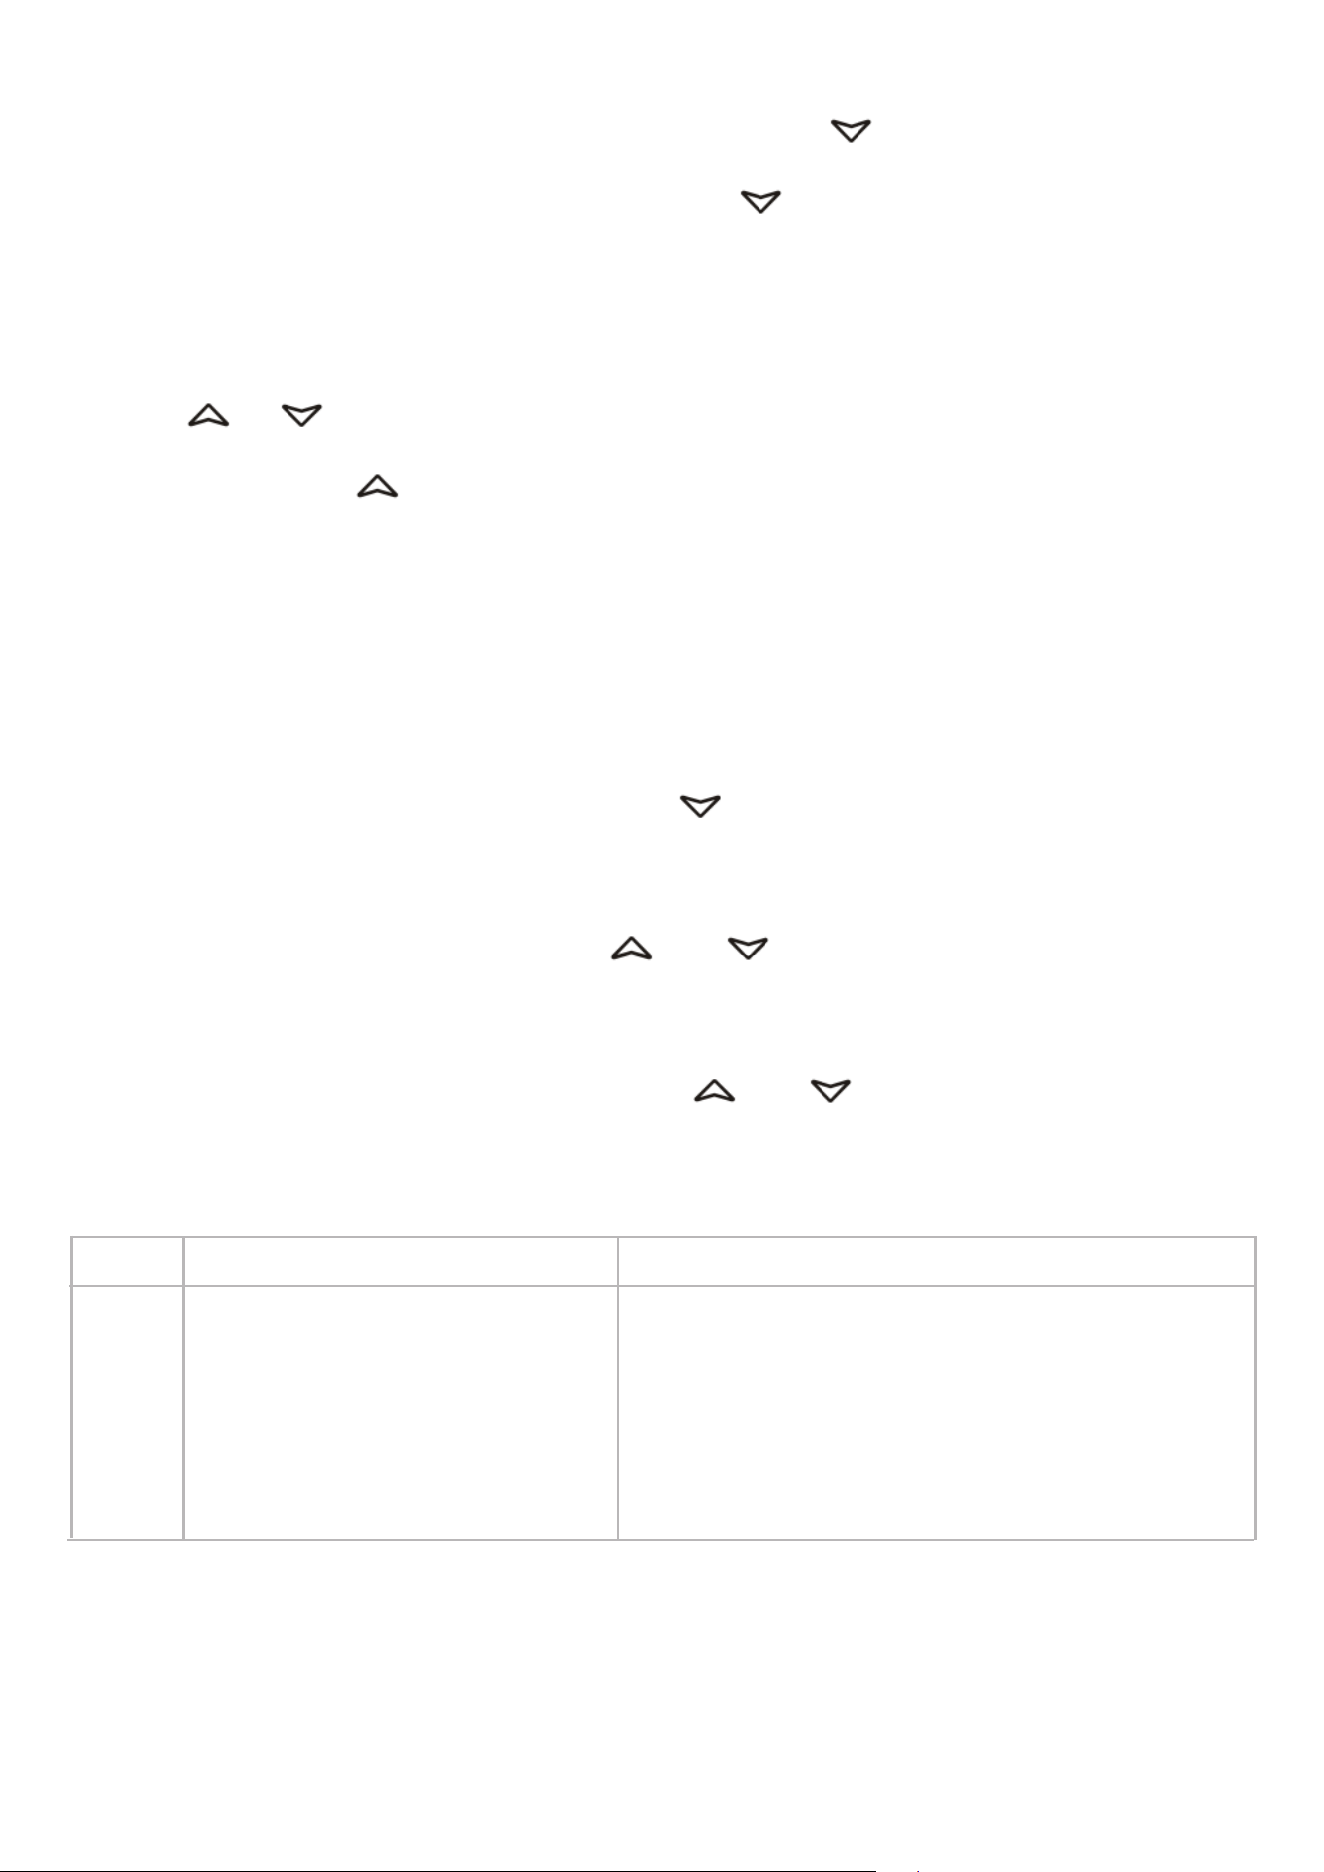
TO LOCK THE KEYBOARD
1. Keep pressed for more than 3s the and keys.
2. The “OF” message will be displayed and the keyboard will be locked. If a key is
pressed more than 3s the “OF” message will be displayed.
TO UNLOCK THE KEYBOARD
Keep pressed together for more than 3s the and keys till the “on” message
will be displayed.
ALARM SIGNALLING
Mess. Cause Outputs
“P1” Room probe failure Compressor output according to “Cy” e “Cn”
“P2” Evaporator probe failure Defrost end is timed
“HA” Maximum temperature alarm Outputs unchanged
“LA” Minimum temperature alarm Outputs unchanged
“EA” External alarm Outputs unchanged
“CA” Serious external alarm All outputs OFF
“dA” Door Open Compressor and fans restarts
ALARM RECOVERY
Probe alarms “P1” and “P2” start some seconds after the fault in the related probe;
they automatically stop some seconds after the probe restarts normal operation.
Check connections before replacing the probe. Temperature alarms “HA” and “LA”
automatically stop as soon as the temperature returns to normal values.
Alarms “EA” and “CA” (with iF=bL) recover as soon as the digital input is disabled.

12
Maintanence
Cautions for cleaning:
• Unplug the power cord before cleaning.
• Do not unplug/plug the power cord with wet hands.
• Do not use an abrasive cleaners, solvents or polishing agents on plastic parts. Doing so might
cause cracking or discoloring.
When it is not in use:
• Unplug the power cord.
• Wipe inside with dry cloth, and you may leave the door slightly open to eliminate moisture and
odor.
Maintenance
• Regular cleaning of the freezer is essential. Before cleaning, disconnect the power, empty the
appliance, and wipe the interior with water or a mild detergent.
• Avoid the use of harsh chemicals such as boiling water, acids, strong solvents, petroeum-based
products, or abrasive powders.
• After cleaning, thoroughly dry the interior and exterior surfaces.
• To maintain the door seal and prolong its life, lightly apply talcum powder to the seal after it
has dried naturally.
• For external surfaces, use a soft cloth dampened with water or a small amount of detergent.
Ensure that the power source is not exposed to water during cleaning.

13
Troubleshooting
Problem
Remedy
• Check if the power cord has been plugged in.
• Check for blown fuse.
• Move the unit from direct sun light, and avoid installing heating devices
near the unit.
• Install the unit in a well ventilated place with a minimum of 6” clearance
in the back.
• Check the condenser, and clean if heavy dust is collected.
• Check to see if contents are blocking the air duct.
• Check the temperature controller for possible incorrect temperature
setting.
• Check to see if refrigerant charge is low.
• Make sure the door is completely closed.
COMPRESSORS WILL NOT START
POOR PERFORMANCE
• Turn off the light switch and turn it on again.
• Make sure the bulb is correctly inserted into the sockets.
• Check the bulb, and replace it if blown
NO INTERIOR LIGHT
• Make sure to install the unit on a level surface.
• Make sure to maintain the minimum clearance of 2” from the wall.
• Check for the loose parts or mounting.
• Make sure the tubing is free from any contact to avoid tubing rattle.
UNIT NOISY
• Reduce the relative humidity in the area where the unit is installed.
• Gasket on door or head section is not sealing properly. Repair or replace
gasket as necessary.
CONDENSATION ON CABINET
AND/OR FLOOR

14
LIMITED WARRANTY
Koolmore Supply, Inc. extends a limited warranty to the original purchaser, guaranteeing that this Koolmore product is
free from manufacturing defects in material or workmanship for one year from the date of purchase.
Should you discover any such defect within the warranty period, Koolmore Supply, Inc., reserves the right to repair or
replace the product without charge, or to cover the cost of replacement parts and repair labor needed to correct de-
fects present at the time of purchase or resulting from regular usage, when the appliance has been installed, operated,
and maintained as per the instructions provided.
At its sole discretion, Koolmore Supply Inc. may decide to replace the product. In such an event, your replace- ment
appliance will carry the warranty for the remaining term of the original unit’s warranty period.
This warranty is valid exclusively to the original purchaser of the product and only applicable within the United States.
The warranty commences from the date of original consumer purchase. Proof of the original purchase date will be
required to obtain service under this warranty.
Under this limited warranty, your sole and exclusive remedy will be product repair, as outlined above. All services must
be provided by a Koolmore-designated service company.
To claim warranty or request repair service:
Email [email protected]. Please include your name, address, phone number, warranty repair request, and a copy
of your proof of purchase receipt. Alternatively, visit koolmore.com and use the contact us page. A Koolmore custom-
er service representative will promptly arrange service for your appliance.
We thank you for choosing Koolmore.
WARRANTY EXCLUSIONS
This limited warranty will not cover:
1. Failure of the product to perform during power failures or interruptions,
or due to inadequate electrical service.
2. Damage incurred during transportation or handling.
3. Damage caused by accidents, vermin, lightning, winds, re, oods, or acts of God.
4. Damage resulting from accidents, alterations, misuse, abuse, improper installation, repair, or mainte- nance. This
includes using any external device that alters or converts the voltage or frequency of electricity.
5. Unauthorized product modications, repairs by unauthorized centers, or use of non-approved replacement parts.
6. Abnormal cleaning and maintenance not aligned with the user’s manual.
7. Use of incompatible accessories or components.
8. Any costs associated with repairs or replacements under these excluded circumstances shall be the responsibility
of the consumer.
WARRANTY