Quickstart
Guide
Light Years Beyond the
Oven You Know
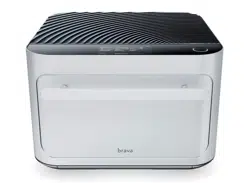
Your new secret weapon in the kitchen, Brava is a countertop
oven designed with the instincts of a chef and an element
of precision and taste never experienced before. We use Pure
Light Cooking™ technology to demystify cooking and
empower you to make healthier, great tasting food at home,
any day of the week.
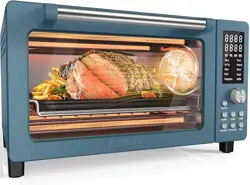
The rst oven to truly sear, Brava brings home the ability
to cook proteins and vegetables like a pro. It’s capable of
cooking up to three different foods at the same time, each
to their own desired temperature making complete dinners
in under 20 minutes, whether cooking a Brava Meal Kit or
using your own ingredients. Standard oven functions like
toasting, baking and reheating are enhanced with a new
level of ease and condence for the novice and the
seasoned home chef alike.
01
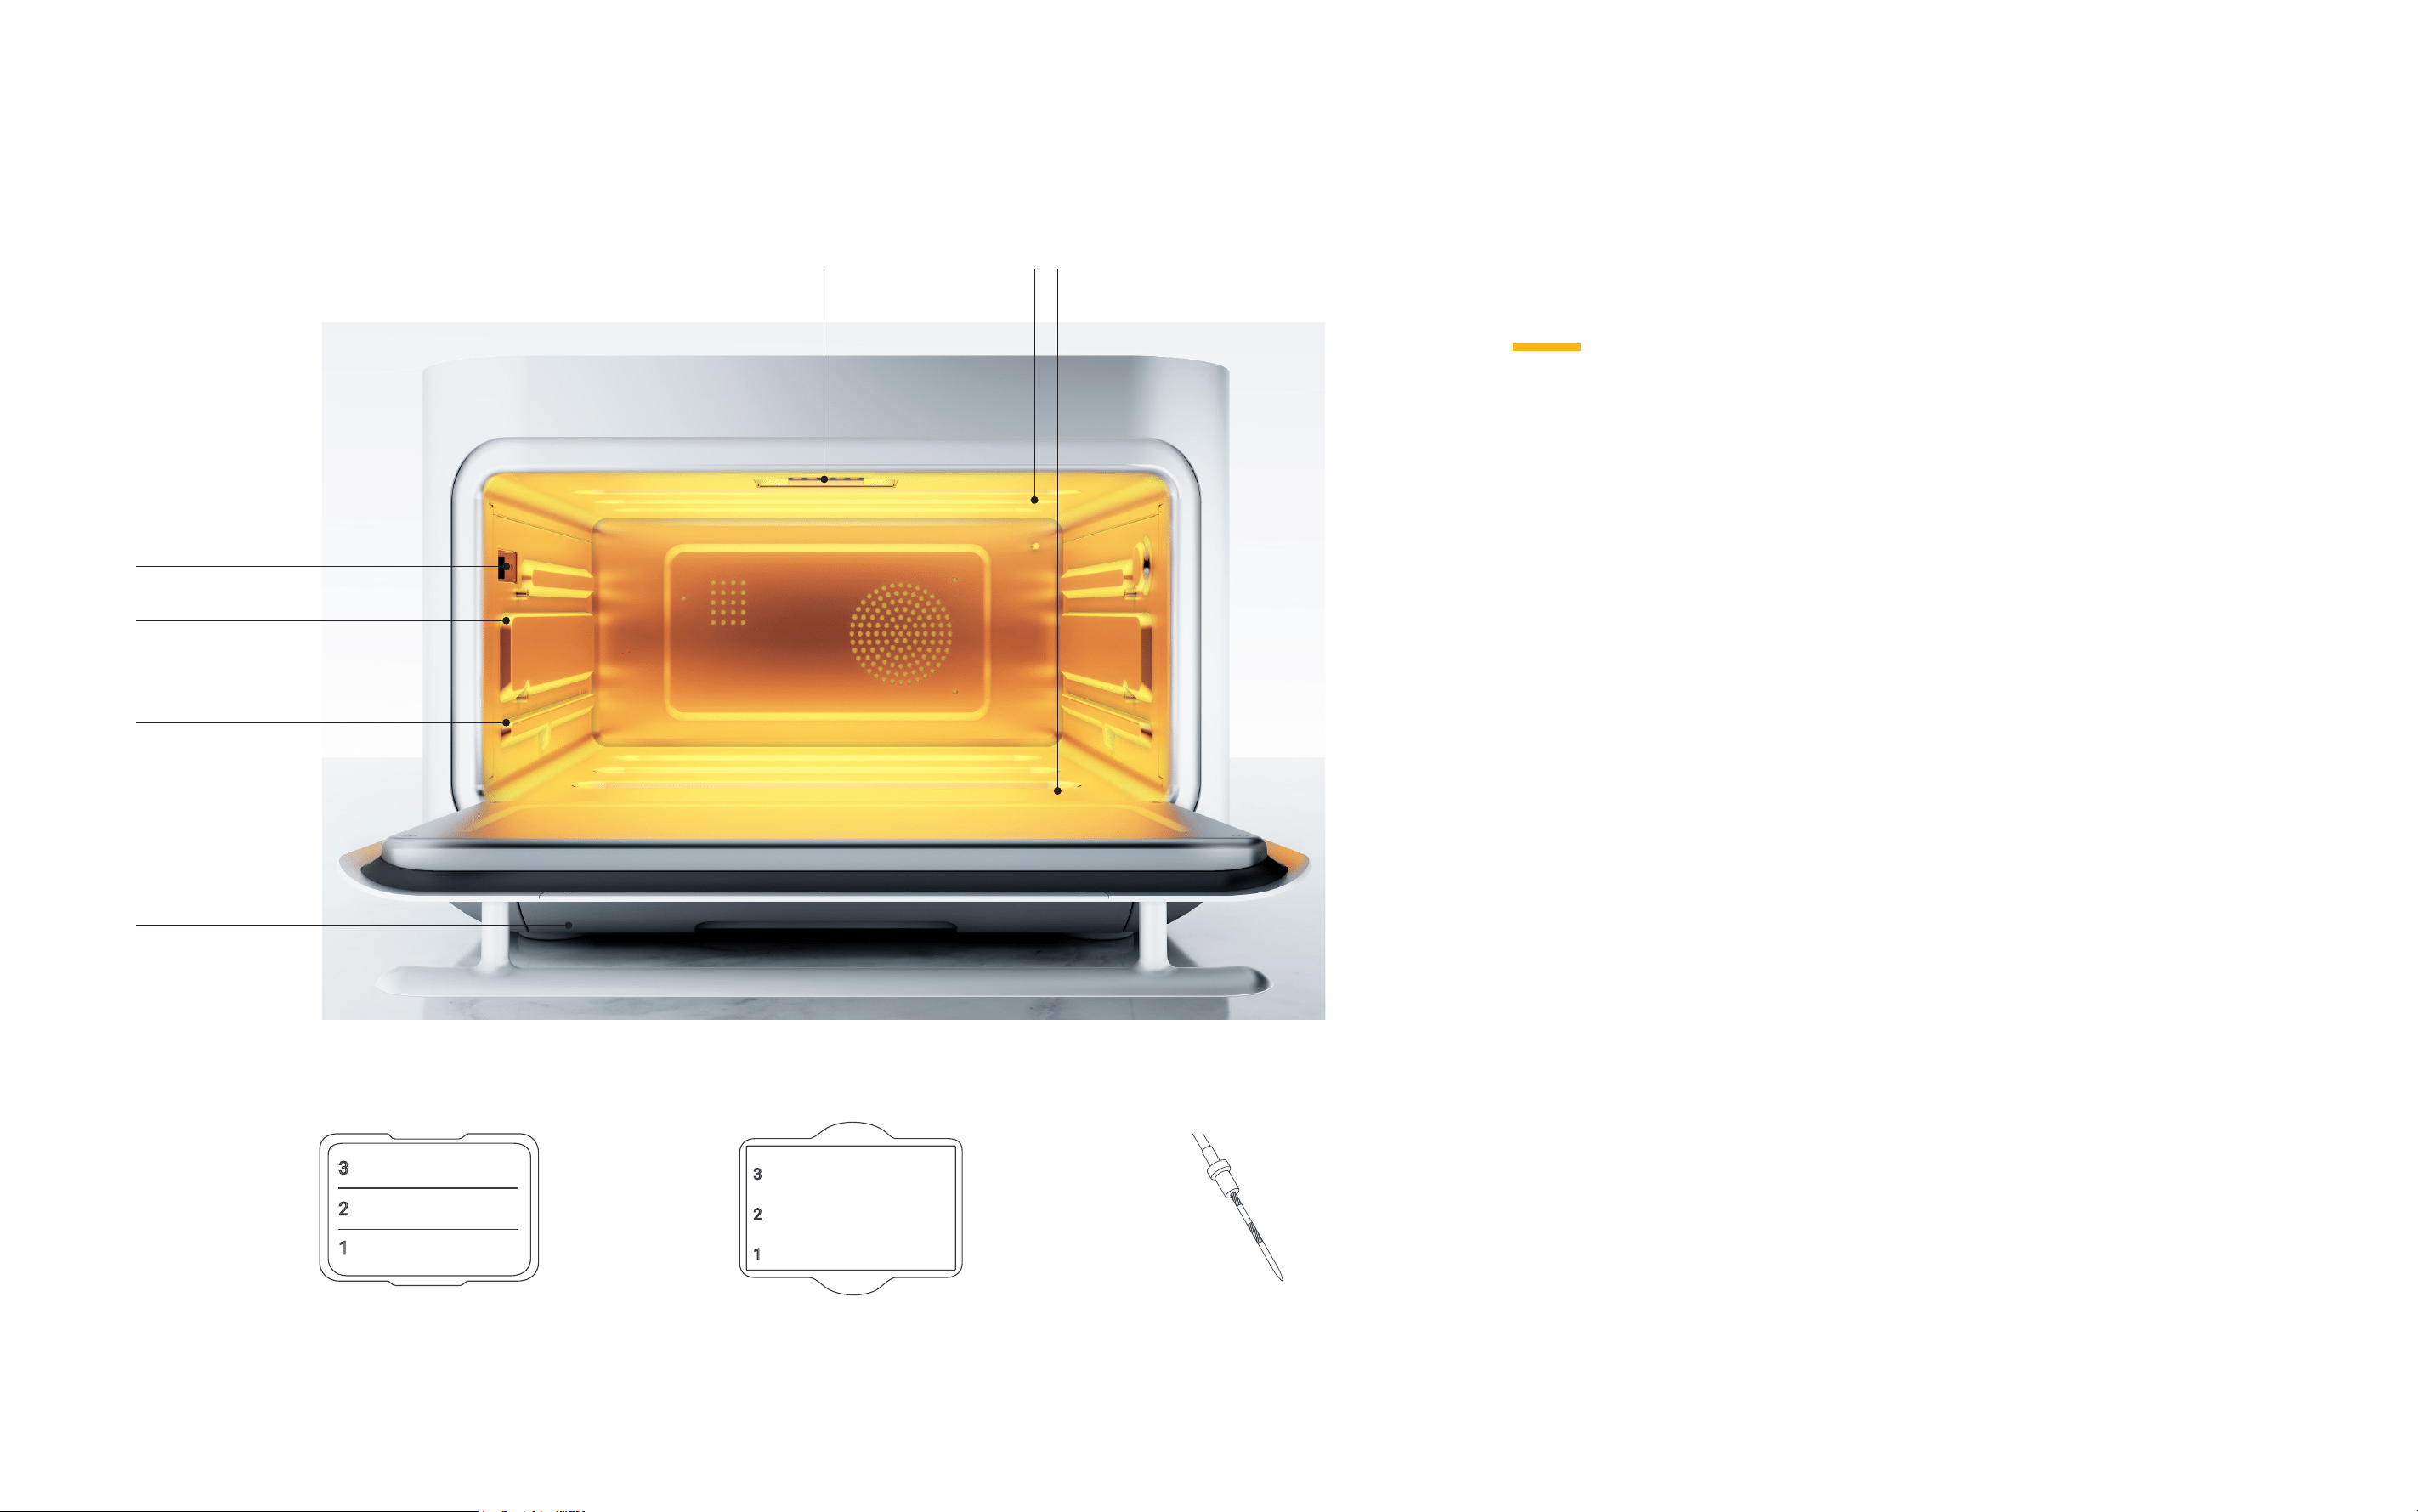
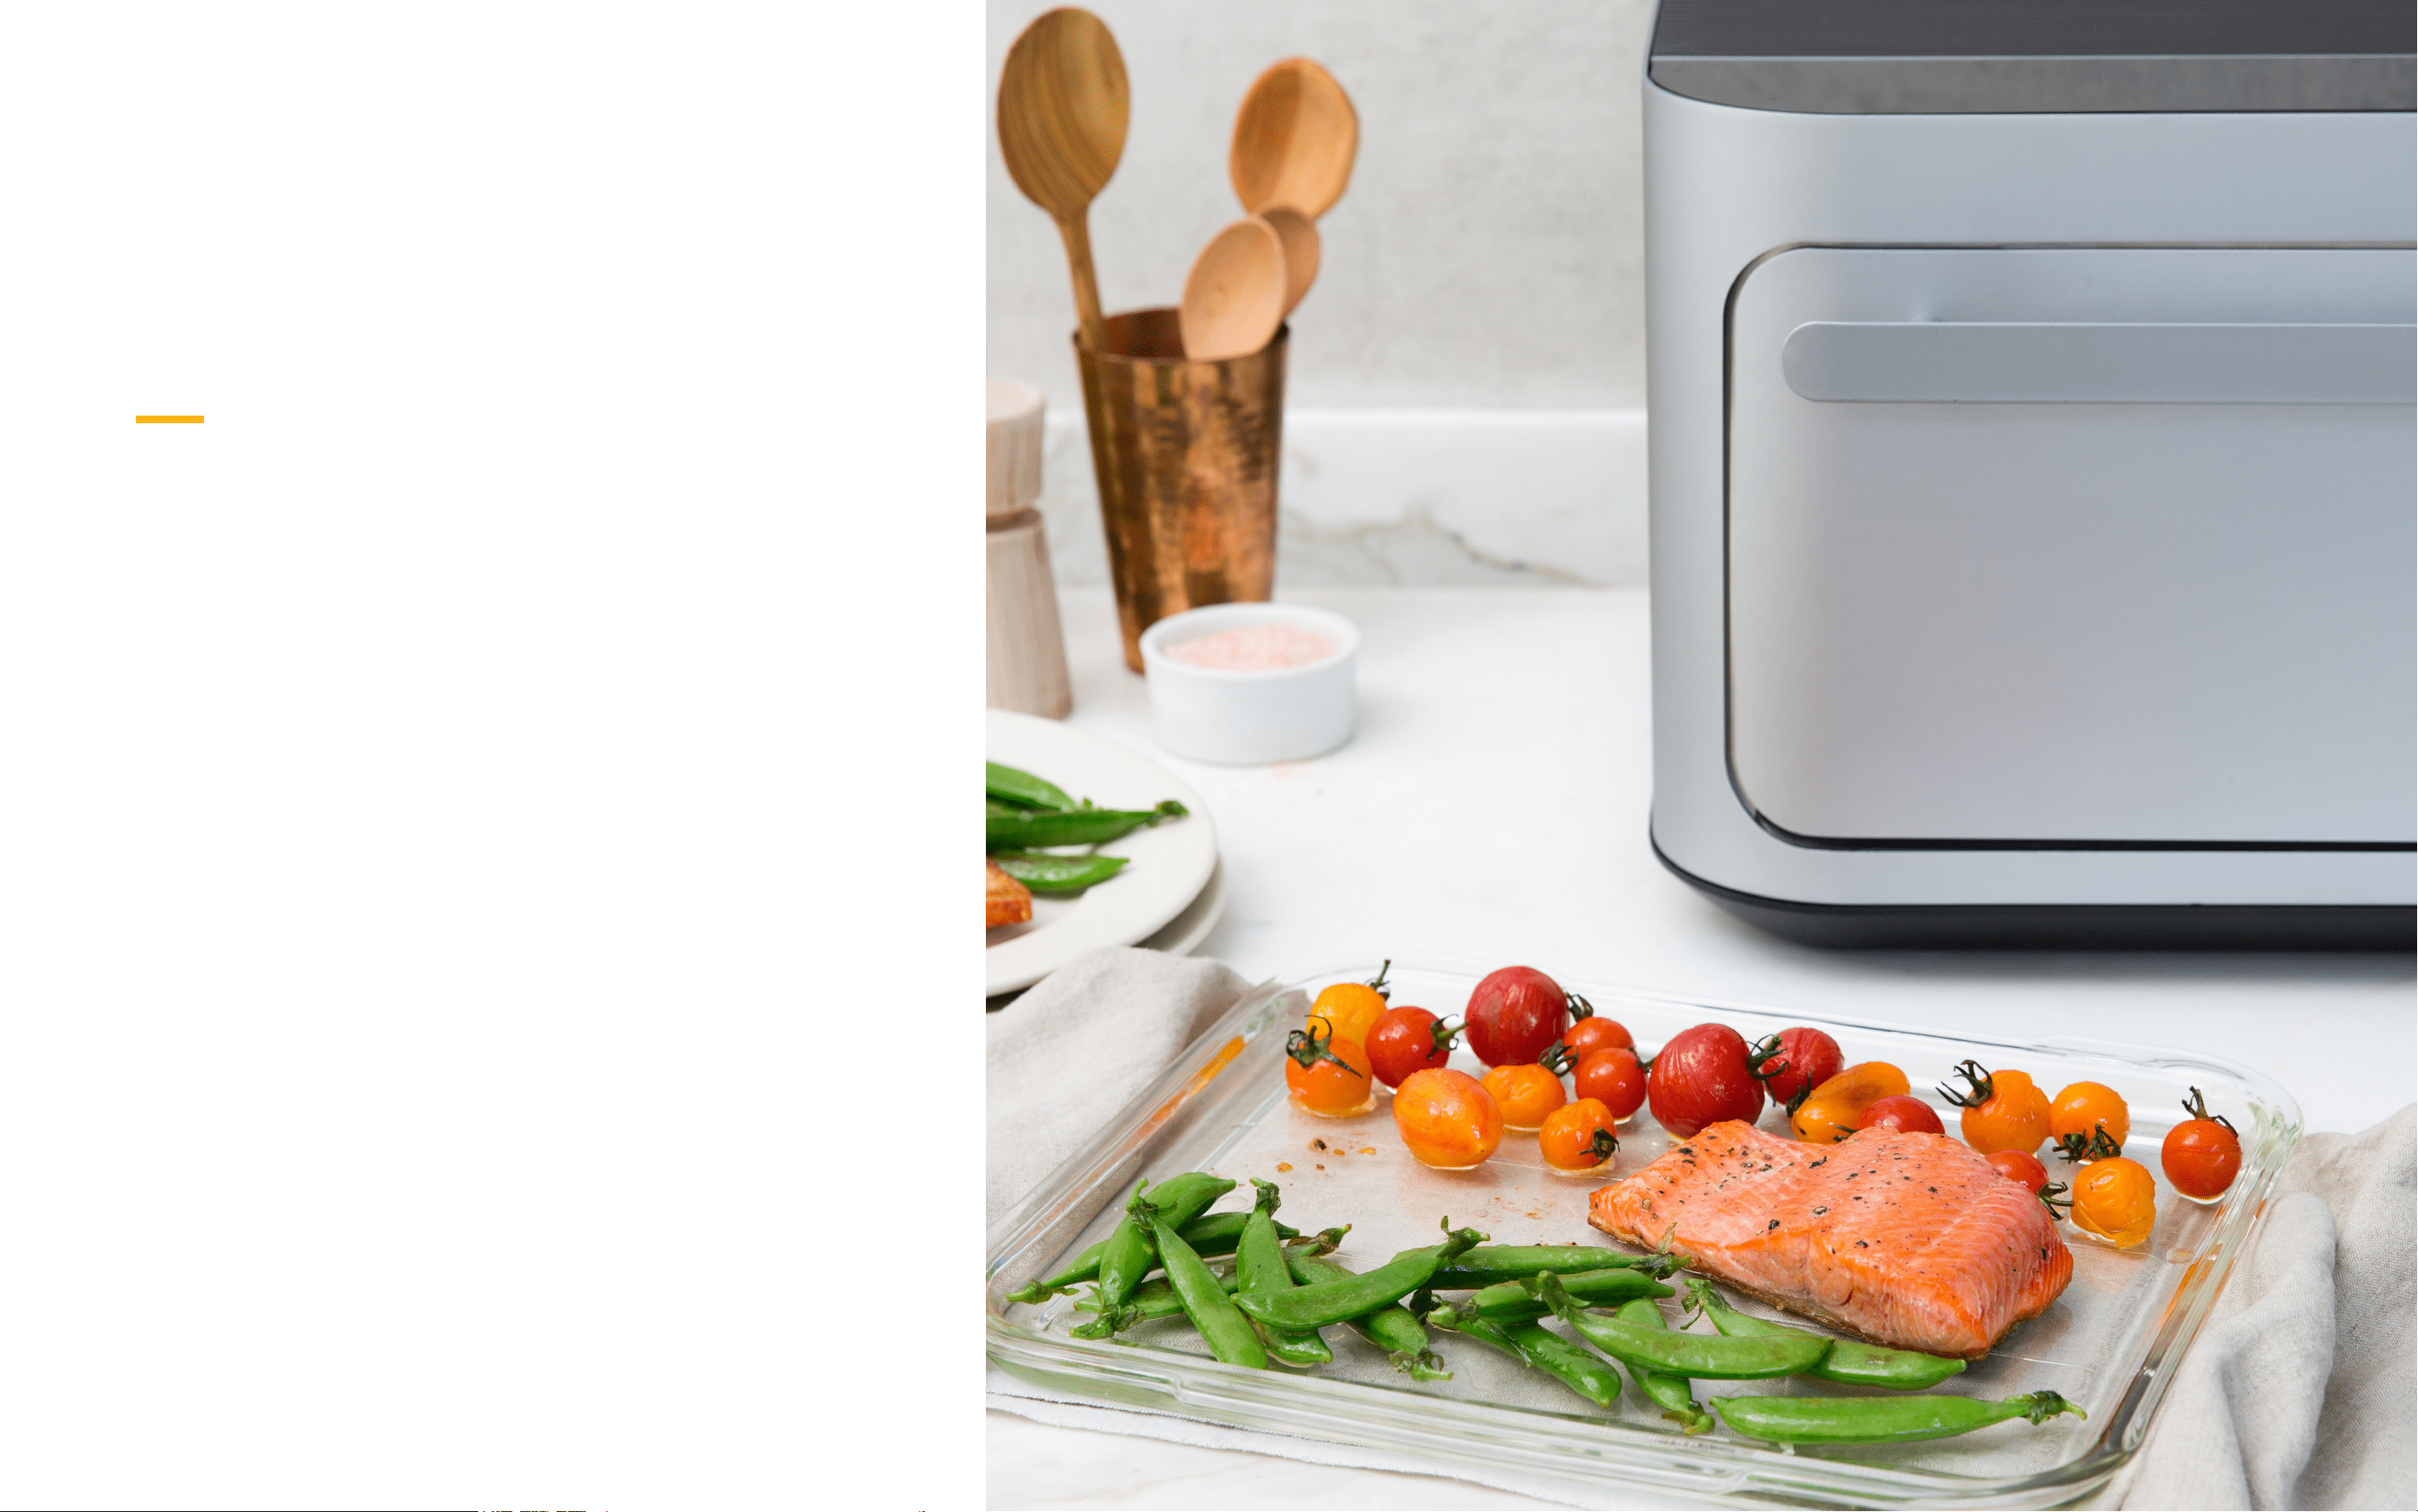
Inside the Brava Oven
Six Lamps
Six individual lamps deliver Pure Light to specic tray zones
simultaneously to cook a complete meal in record time.
Sensor System
Our TempSensor and camera work together to help us measure
how fast food is cooking so we can adjust the power in real time.
Materials and Design
Accessories and oven chamber designed to give the
most exibility for optimum cook results every time.
Lamps
Camera
Connector
Top shelf
Bottom shelf
02
TempSensorBrava Glass Tray
Brava Metal Tray
Crumb tray
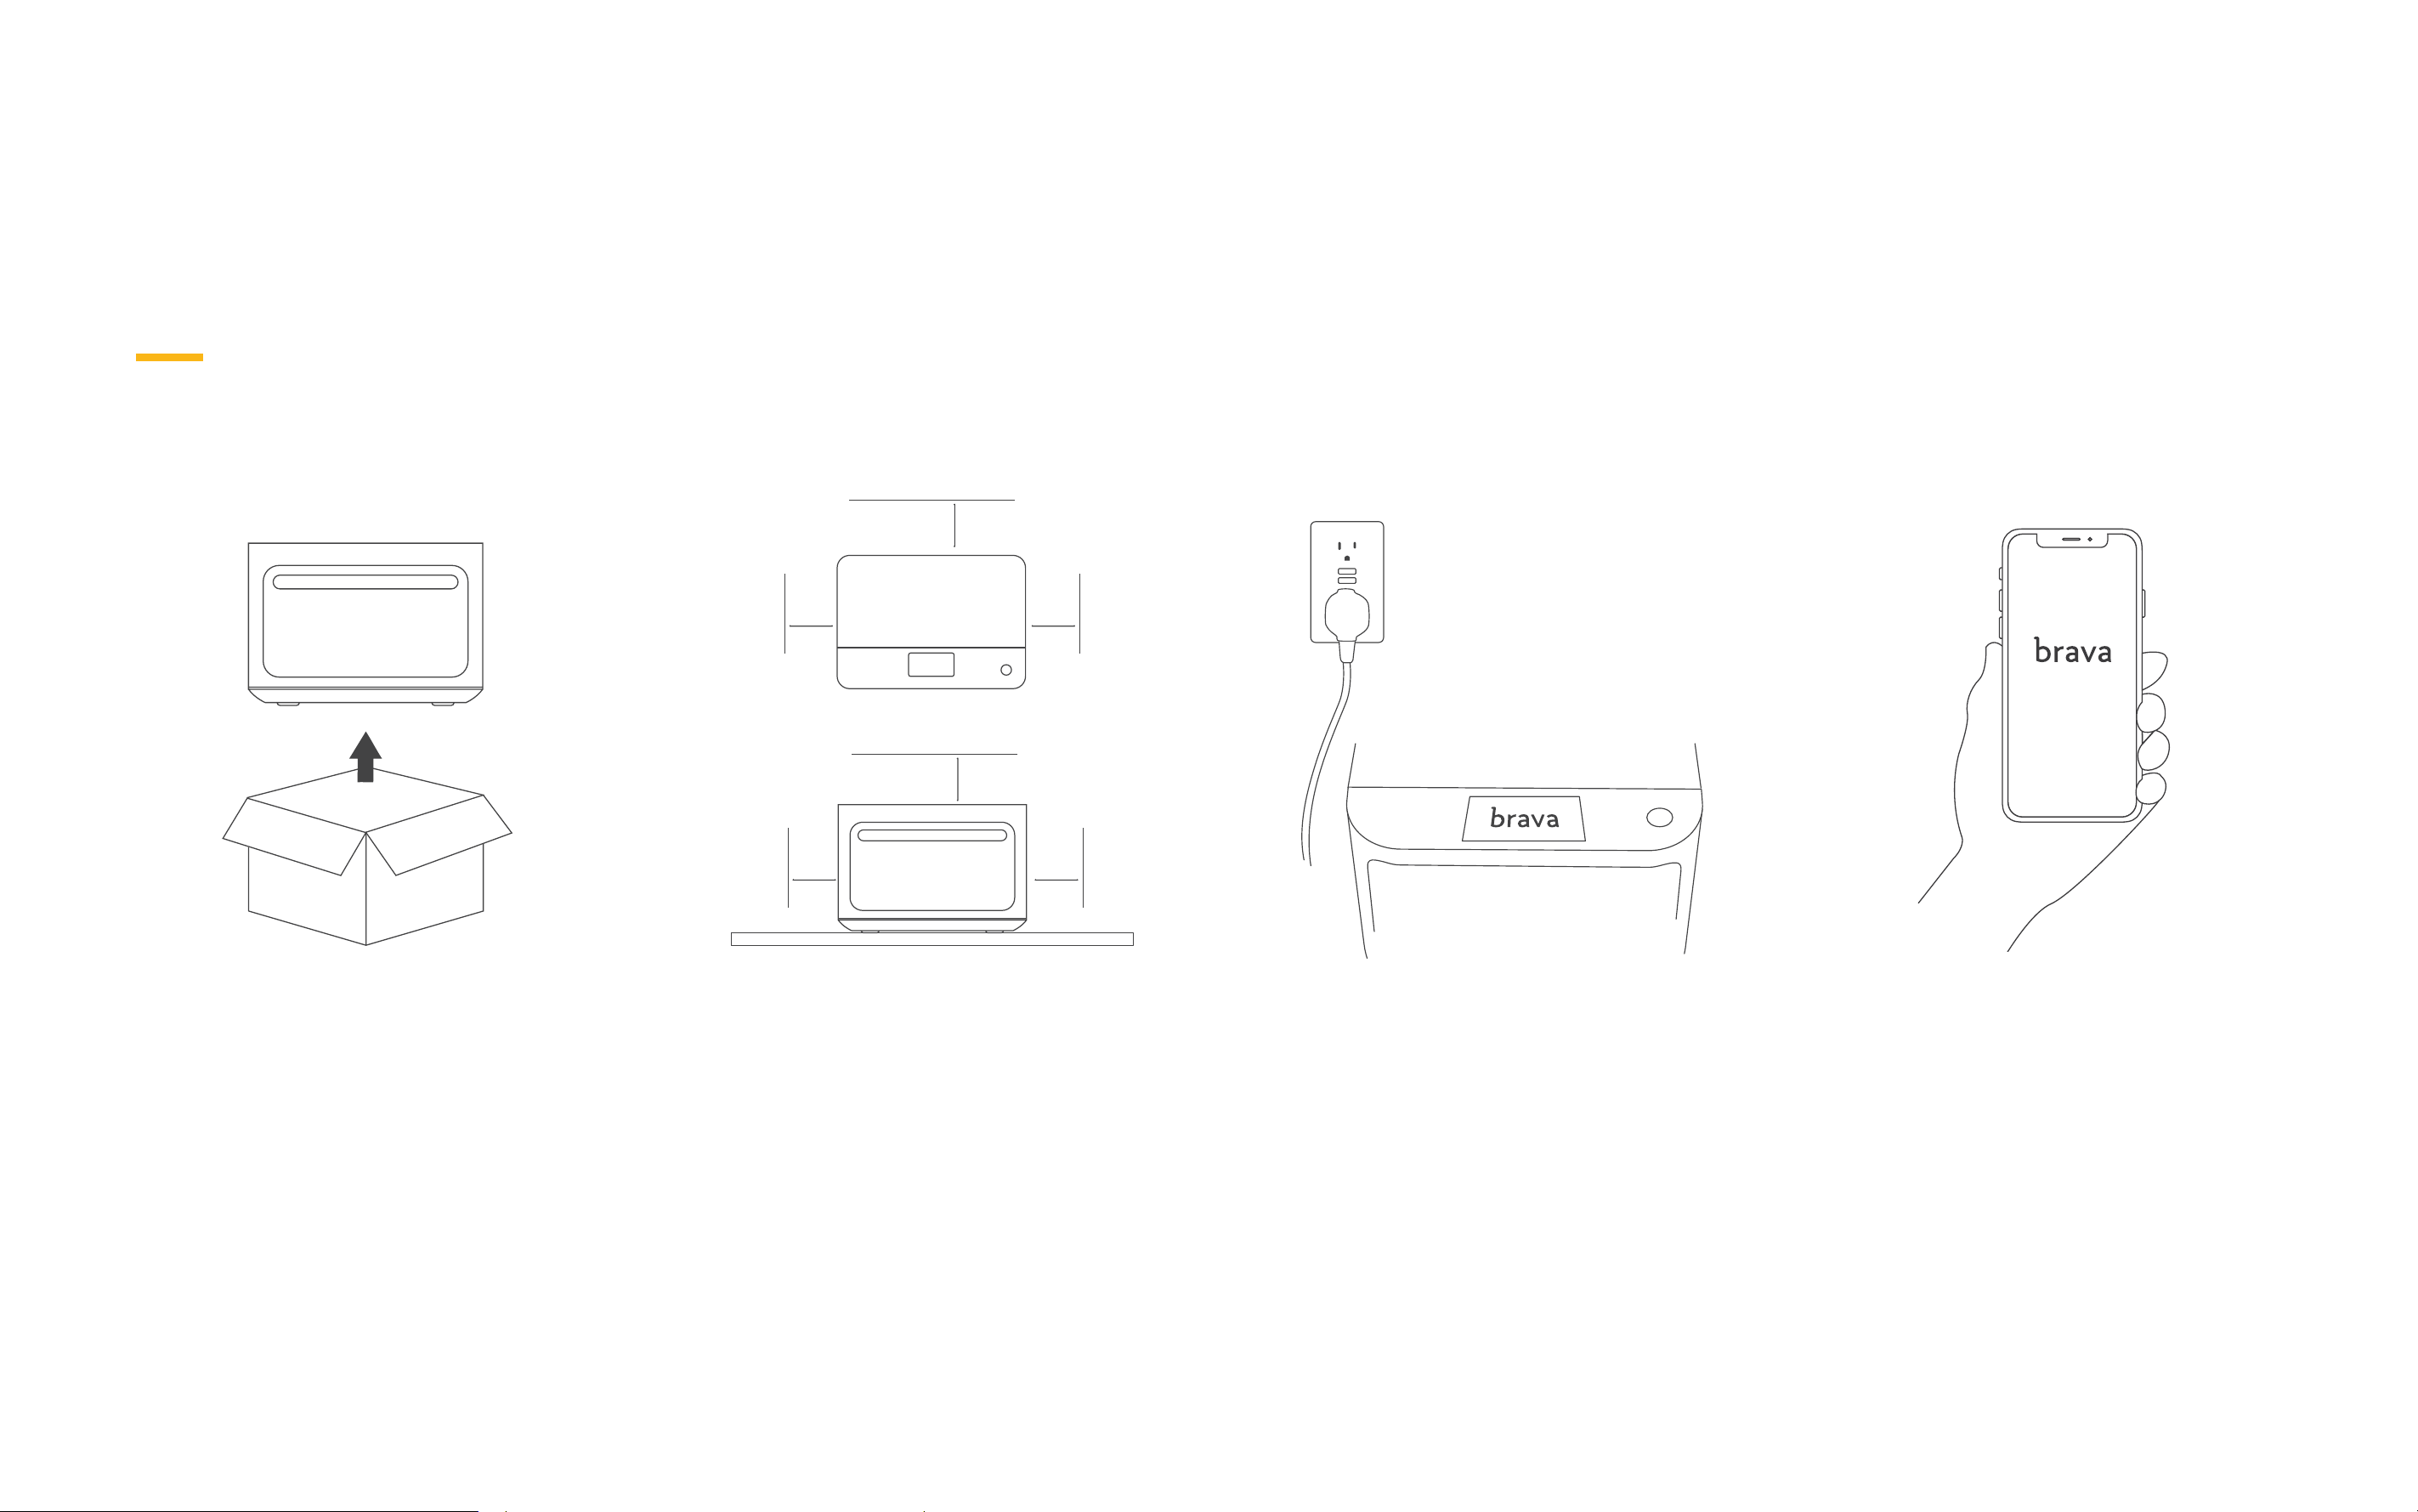
1
Remove oven from box. Lift with care.
2
Place on kitchen countertop 4” from any
surface including wall. Choose a safe spot,
away from water and anything ammable.
3
Plug into outlet directly (never with
extension cord). Follow on-Oven
instructions to get started.
4
Download the Brava App to unlock
recipes and more.
03
4”
4” 4”
4”
4” 4”
Setting up the Oven
Always follow basic guidelines on ingredient height, size, temperature, freshness and seasoning as found in app and on Oven.
04
1
Use the designated tray, place your
ingredients in the proper tray zone, as
indicated on the oven touchscreen.
2
Use the designated oven shelf, top
or bottom, as indicated on the oven
touchscreen.
4
Take a last look at your tray. Ensure
nothing moved and that food is cut to the
right size and spread in a single layer.
3
Insert the TempSensor properly to
measure height and temperature when
cooking meats or sh.
For the Best Results in Your Brava Oven
With great power comes great responsibility
05
Things like Whole Chicken will require unique Temp Sensor instructions. View on-Oven tutorials.
Using the TempSensor
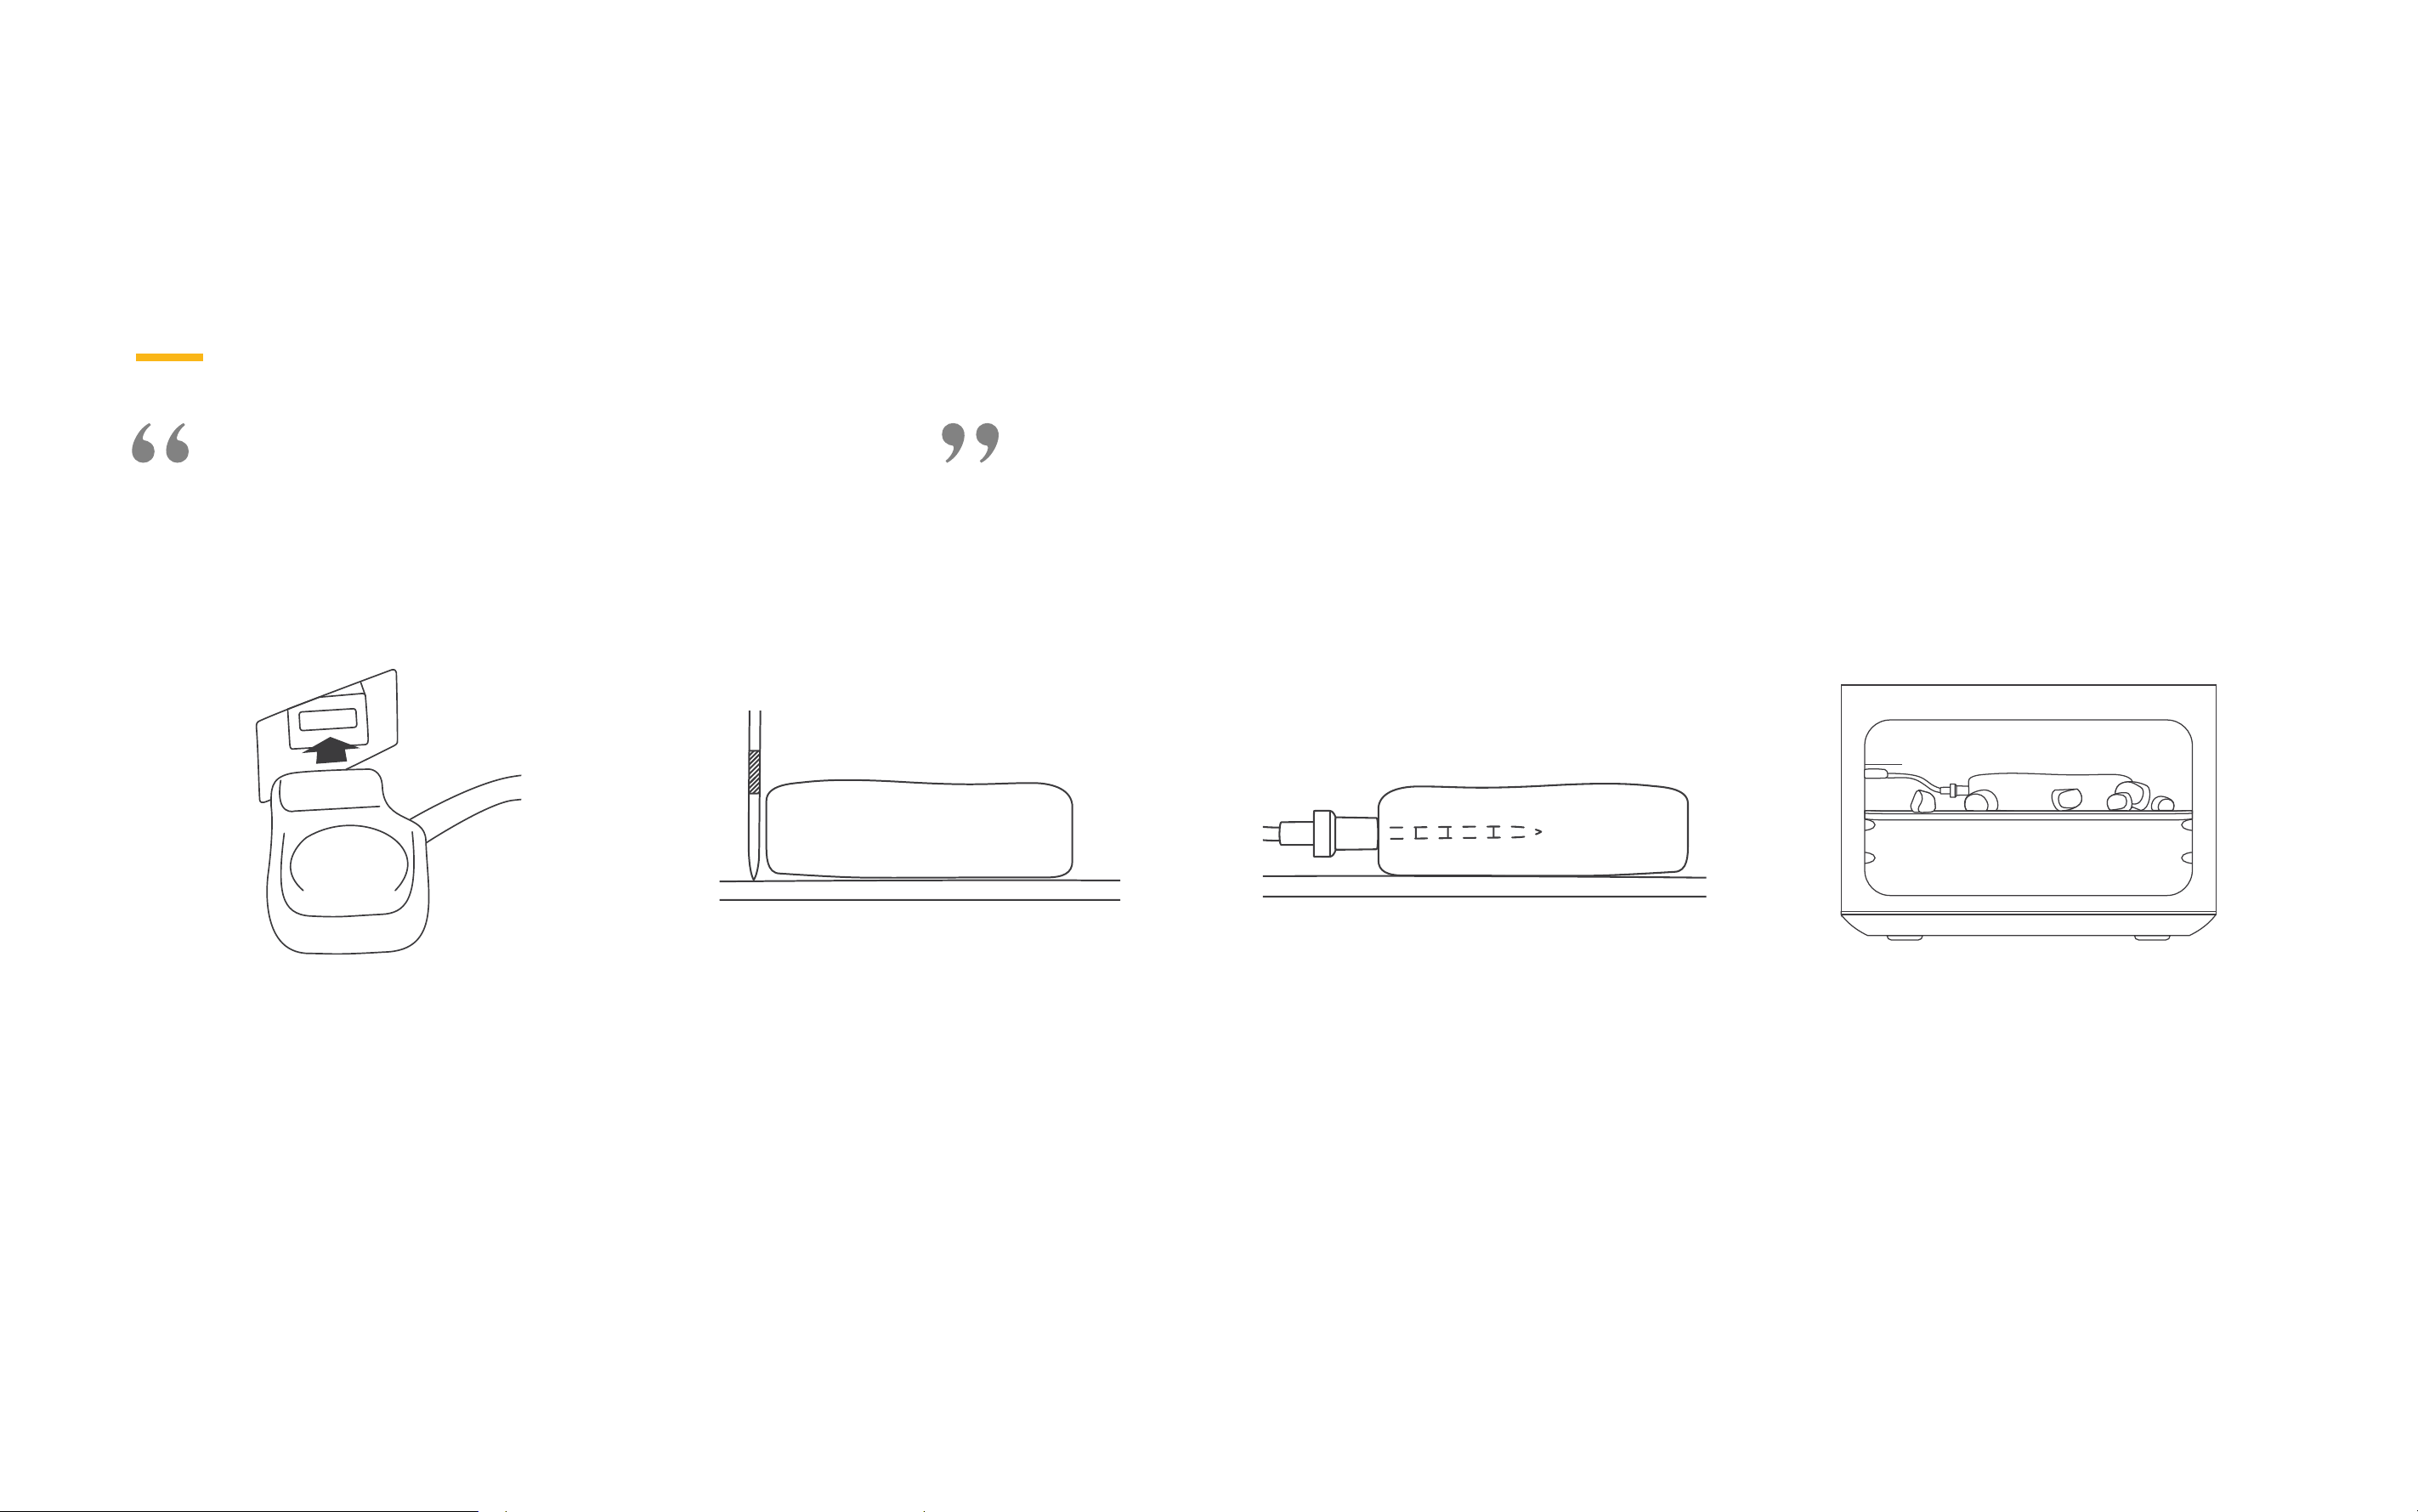
1
When cooking most meats and sh, start
with TempSensor connected to oven.
2
Height matters. Use the hatch marks on the
TempSensor to accurately measure height
of proteins and vegetables.
4
Take a last look at your tray. Ensure
cord is tucked away from the lamps and
rests under TempSensor Guard.
3
Insert TempSensor horizontally into
protein. Insert into the exact middle of
the food, all the way to the handle.

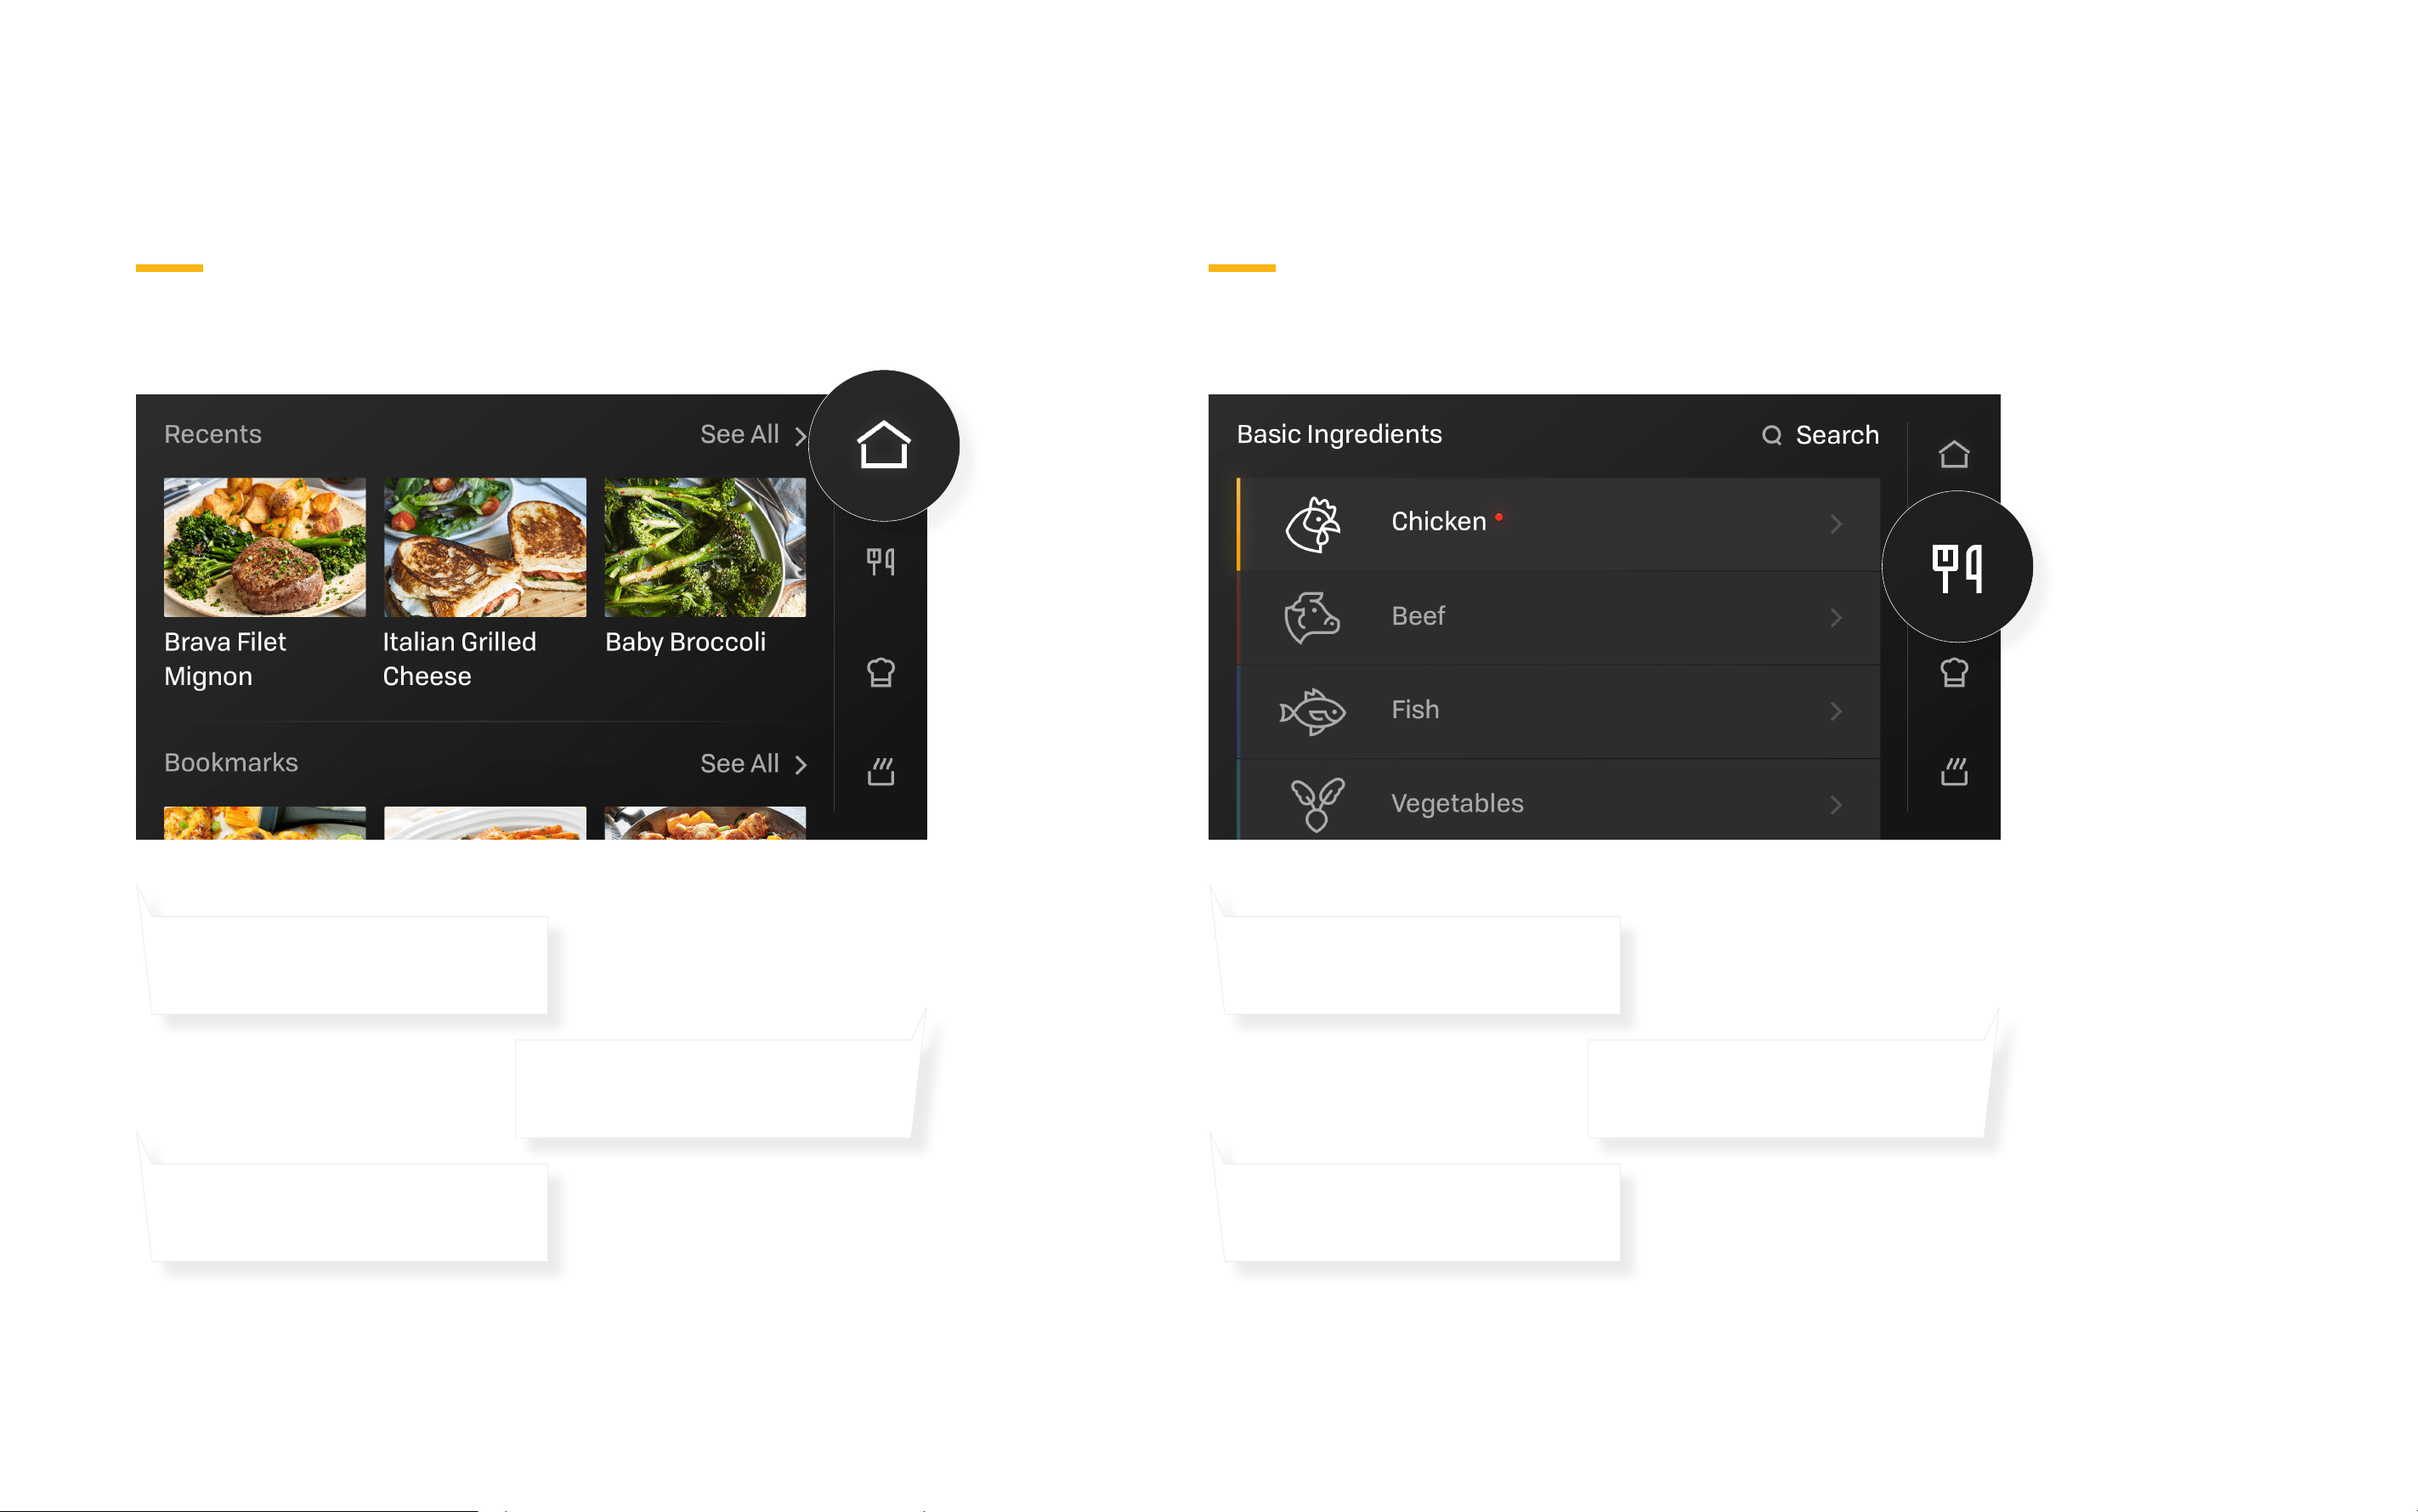
Basic Ingredients
Go here to cook basic single ingredients, no recipe
required. Searchable items are growing weekly!
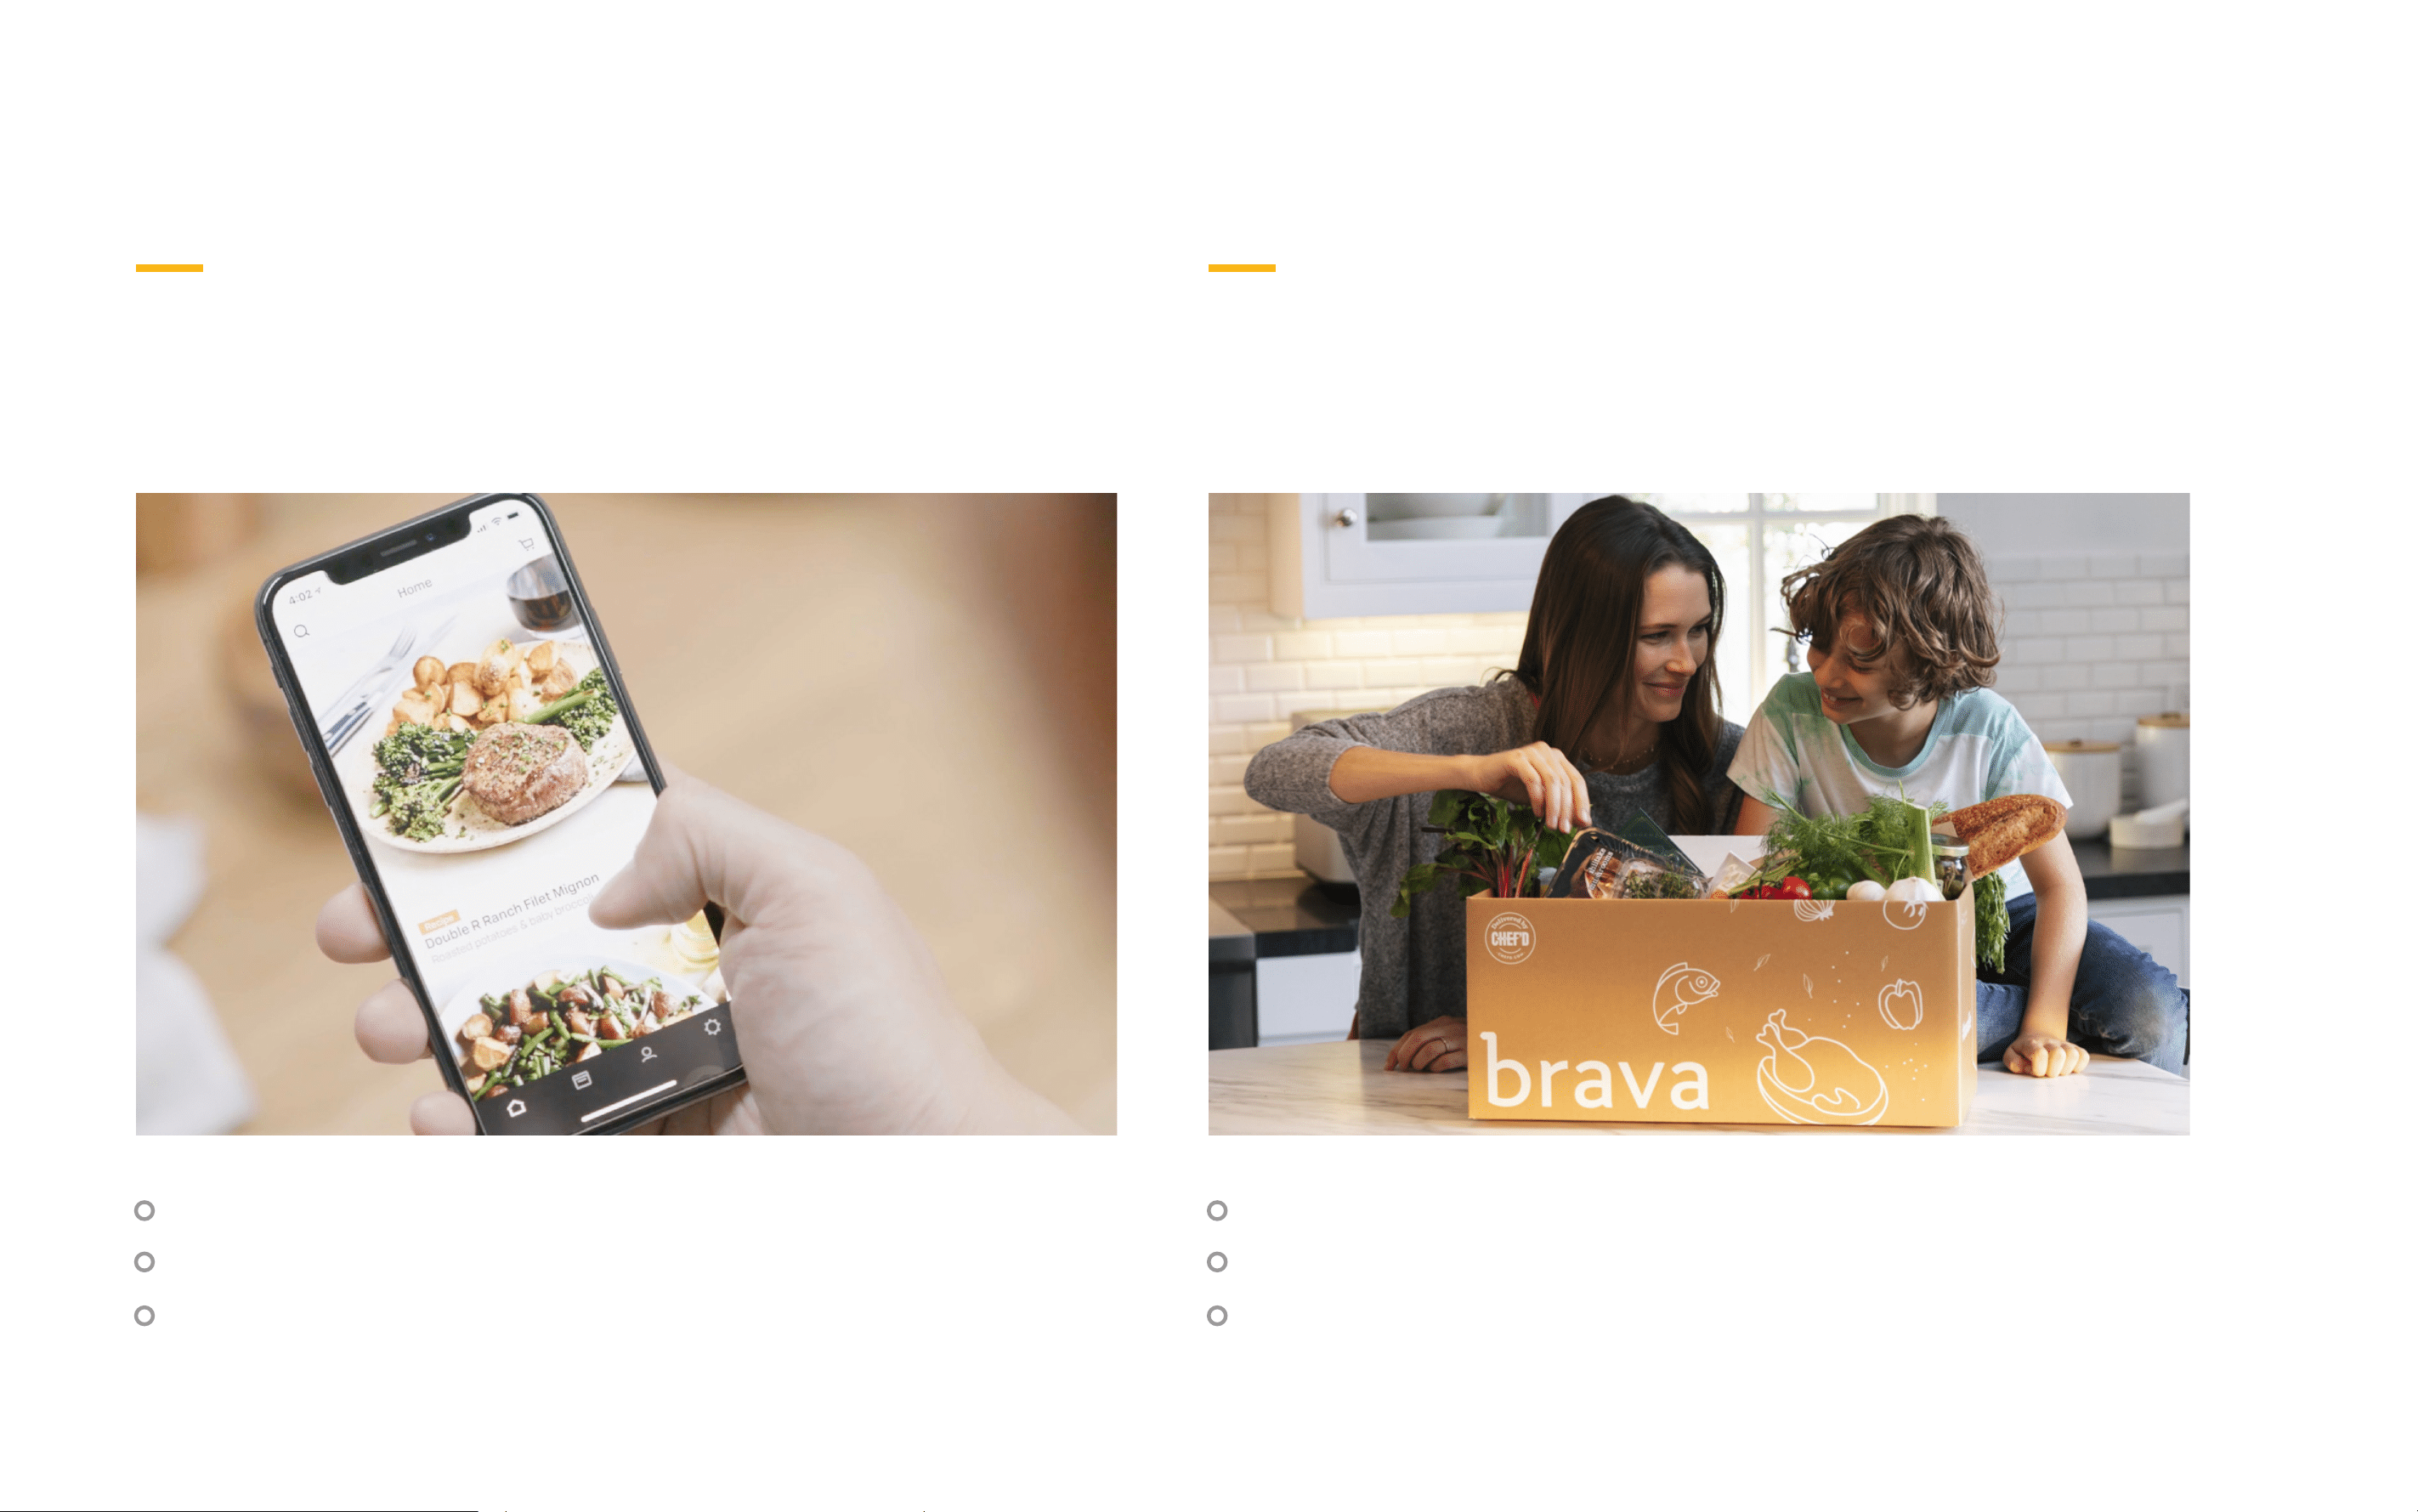
My Brava
The seamless app to oven experience, nd Brava
Recipes you’ve bookmarked, Brava Meal Kits you’ve
ordered and recipe recommendations from our chefs.
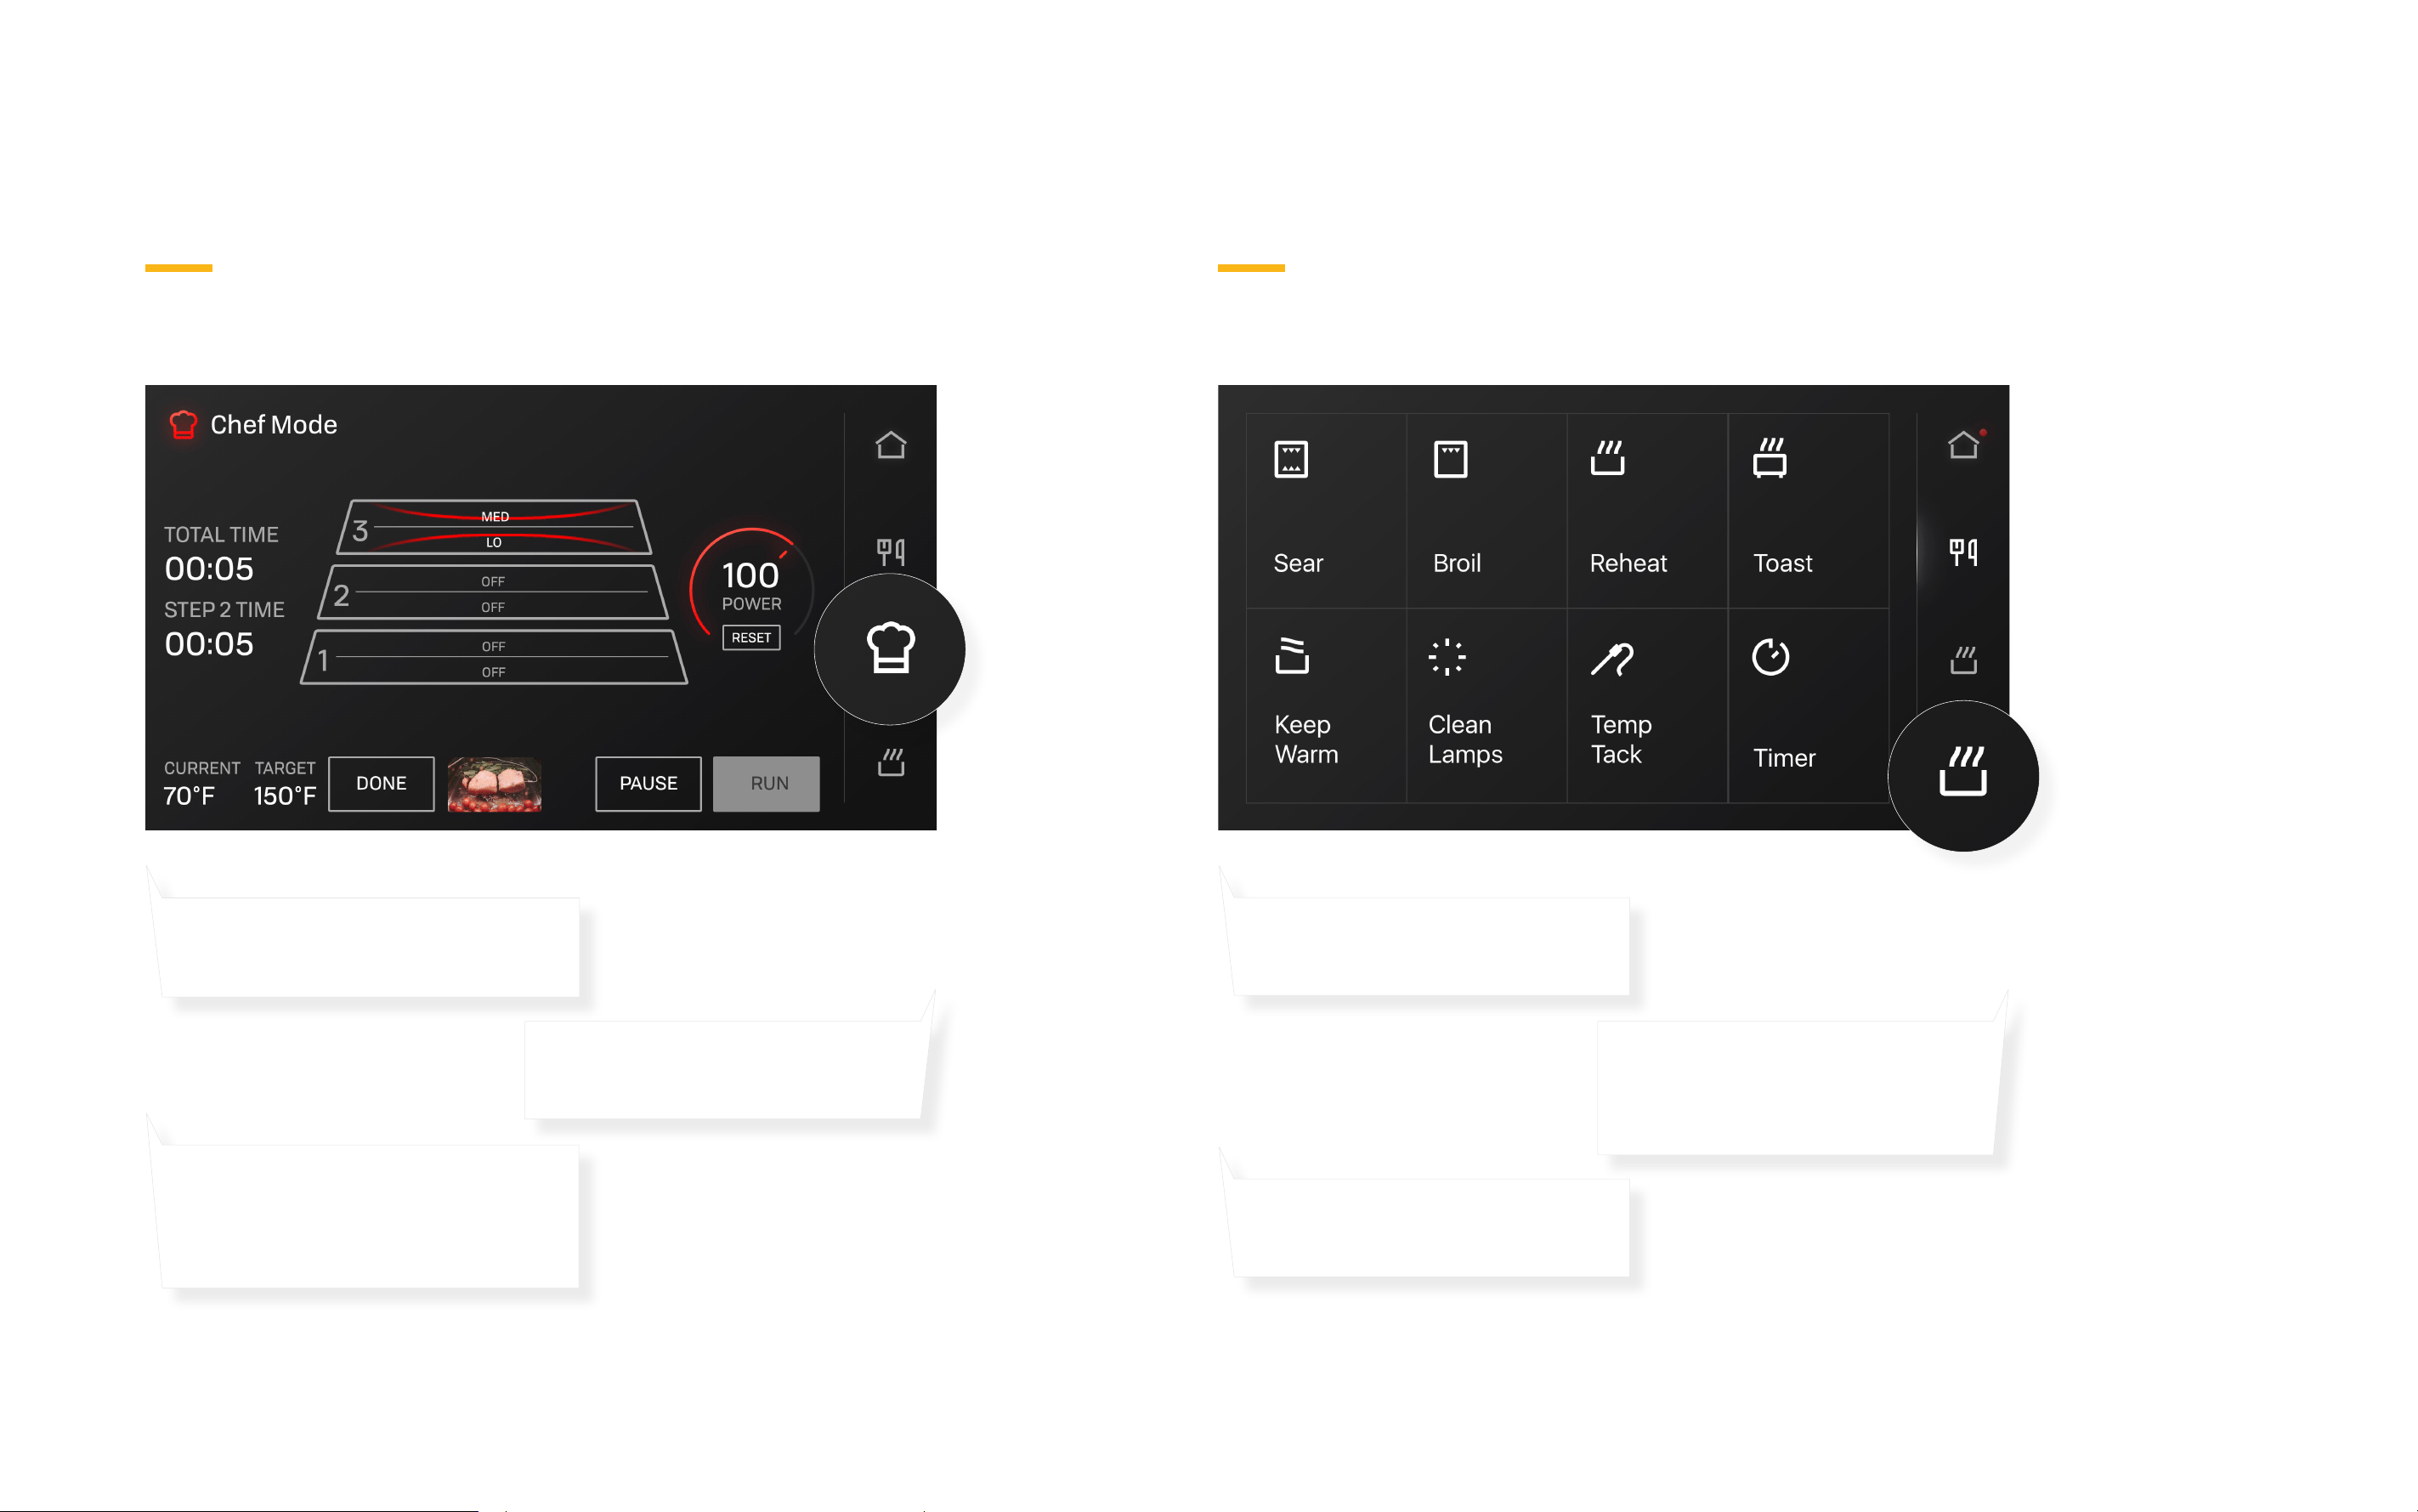
Chef Mode
Take control of Brava’s lamps in Chef Mode to create
and save your own unique Brava recipes for the most
customized experience.
Standard Modes
Go here to let Brava enhance your traditional functions
like toasting, baking and reheating.
06
Cooking with the Brava Oven
07
My Brava Basic Ingredients
“Tonight I’m cooking a recipe
I found in the Brava App”
“I’m craving roasted
potatoes tonight”
“I bookmarked a recipe for
something I’ve never made”
“I’m making chicken breasts
for the weekend”
“I’m making a Brava Meal Kit
that I have in the fridge”
“I want to add a steak to my
salad tonight”
08
Chef Mode Standard Modes
“I’m going to create my own
recipe tonight!”
“I’m never going to burn
my toast again!”
“I couldn’t nd the ingredient
I was looking for”
“Need to quickly reheat
leftovers for an afternoon
snack”
“My steak was too thin and
Brava doesn’t have a setting
for it (yet)”
“Kids are making frozen
pizza tonight”
09
Using the Brava App
Our chefs have sourced a growing selection of meal kits available for delivery through
our partners.
Browse the Chef’s Feed for inspiration and learn about all the things you can do with
your Brava Oven.
Brava Meal Kits
Order meal kits from our market place.
Save recipes to your Oven for seamless cooking.
Watch your meal cook.
Order as needed through our app or website, no meal plan required.
Explore Brava Plus for discounts on meal kits and shipping benets.
Order Brava Signature Entrees, Crowd-pleasers, Starters, Sides and Snacks.

Brava Best Practices
10
Height matters
Proteins should be similar in size and match cut and height
shown on the Oven touchscreen.
Veggies should be consistent in size. Smaller pieces (1” or less)
will cook quicker than larger pieces.
Let your Oven touchscreen guide you
Your Oven will notify you when your food is ready. We recommend you
cut into your proteins immediately to preserve your chosen doneness
level. Rest times are built into each cook so there is no need to let
proteins rest after they’ve nished cooking.
Start each cook right
Pat your proteins dry with a paper towel.
Cook foods straight from the fridge, with temperature ranging
from 35° - 50°F.
Tips from the kitchen
It’s easiest to use a dry kitchen towel to grip and remove the tray.
Use a paper towel to remove the Temp Sensor and wipe it clean.
The Top Oven Mat is heat resistant, it’s ok to rest your tray on top.
Give your food space
Don’t stack, food should be spread in a single even layer.
Don’t overload items on tray.
Season it right
We always recommend kosher salt for cooking and a aky salt
for nishing.
Pepper should be used to taste as a nishing spice.
No need to use oil when cooking most proteins. If you do, use one that
performs well under high temperatures like vegetable or grapeseed oil.