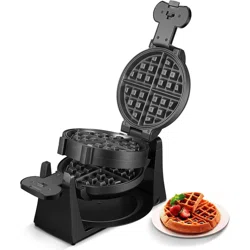
WAFFLE MAKER GH-6005
USER MANUAL
Please read these instructions carefully and retain
for future reference.

TABLE OF CONTENTS
Important Safegards
Caution
Product Components
Before First Use
Using Your Wae Maker
Clean And Maintenance
01
03
03
04
04
06
IMPORTANT SAFEGARDS
When using electrical appliances, basic precautions should
always be followed, including the following:
• Read all instructions.
• Do not touch hot surfaces. Use handles or knobs.
• Before using, always check that the electrical rating of the power socket
corresponds to that of the appliance.
• To protect against fire, electric shock and injury to persons, do not
immerse cord, plug, or the grill in water or other liquid.
• If the supply cord is damaged, it must be replaced by the manufacturer,
its service agent or similarly qualified persons in order to avoid a
hazard.
• Close supervision is necessary when any appliance is used by or near
children.
• Unplug from outlet when not in use and before cleaning. Allow to cool
before putting on or taking o parts, and before cleaning the appli-
ance.
• Do not operate any appliance with a damaged cord or plug or after the
appliance malfunctions, or has been damaged in any manner. Return
appliance to the nearest authorized service facility for examination,
repair or adjustment.
• The use of accessory attachments not recommended by the appliance
manufacturer may result in fire, electric shock or injury to persons.
01

• Do not use outdoors.
• Do not place on or near a hot gas or electric burner, or in a heated
oven.
• Extreme caution must be used when moving an appliance containing
hot oil or other hot liquids.
• To disconnect, turn o any control, then remove plug from wall outlet.
• Do not use appliance for other than intended use.
• The appliance must not be used by an external timer or remote control
system. Don’t use an accessory not recommended by the manufacturer.
• Don’t wrap food with plastic film, polythene bags or metal foil. You’ll
damage the grill and may cause a fire hazard. Don’t leave food to cool
on the grill. Remove food while hot.
• Don’t use metal or sharp utensils on the grill. They’ll damage the
non-stick cooking surface. Use wooden or plastic spatulas or tongs.
• This appliance is not intended for used by persons (including children)
with reduced physical, sensory or mental capabilities, or lack of
experience and knowledge, unless they have been given supervision or
instruction concerning use of the appliances by a person responsible for
their safety.
• Children should be supervised to ensure that they do not play with the
appliance.
• WARNING: charcoal or similar combustible fuels must not be used with
this appliance.
• CAUTION-‘hot surface’. The appliance generates heat and escaping
steam during use. Take proper measures to prevent injury, burn or fire.
• Never transport the appliance with handle.
• This appliance is intended to be used in household and similar applica-
tions such as:
– Sta kitchen areas in shops, oces and other working environments;
– Farm houses;
– By clients in hotels, motels and other residential type environments;
– Bed and breakfast type environments
• The appliance is not intended to be operated by means of an external
timer or separate remote-control system.
• Save these instructions
02
BEFORE FIRST USE
1. Remove all packaging, including any temporary stickers.
2. Hold the handle and open the upper lid.
3. Using non-abrasive sponge for cleaning the plates.
4. Wipe the inside and outside of the wae maker with a slightly moist
cloth. Dry with a towel.
5. Place the wae maker on a stable, level, heat-resistant surface, away
from areas that can be damaged by steam (such as walls or
cupboards).
6. Try a small amount of batter first in case it overflows, it is a matter of
trial and error to get the right amount of batter.
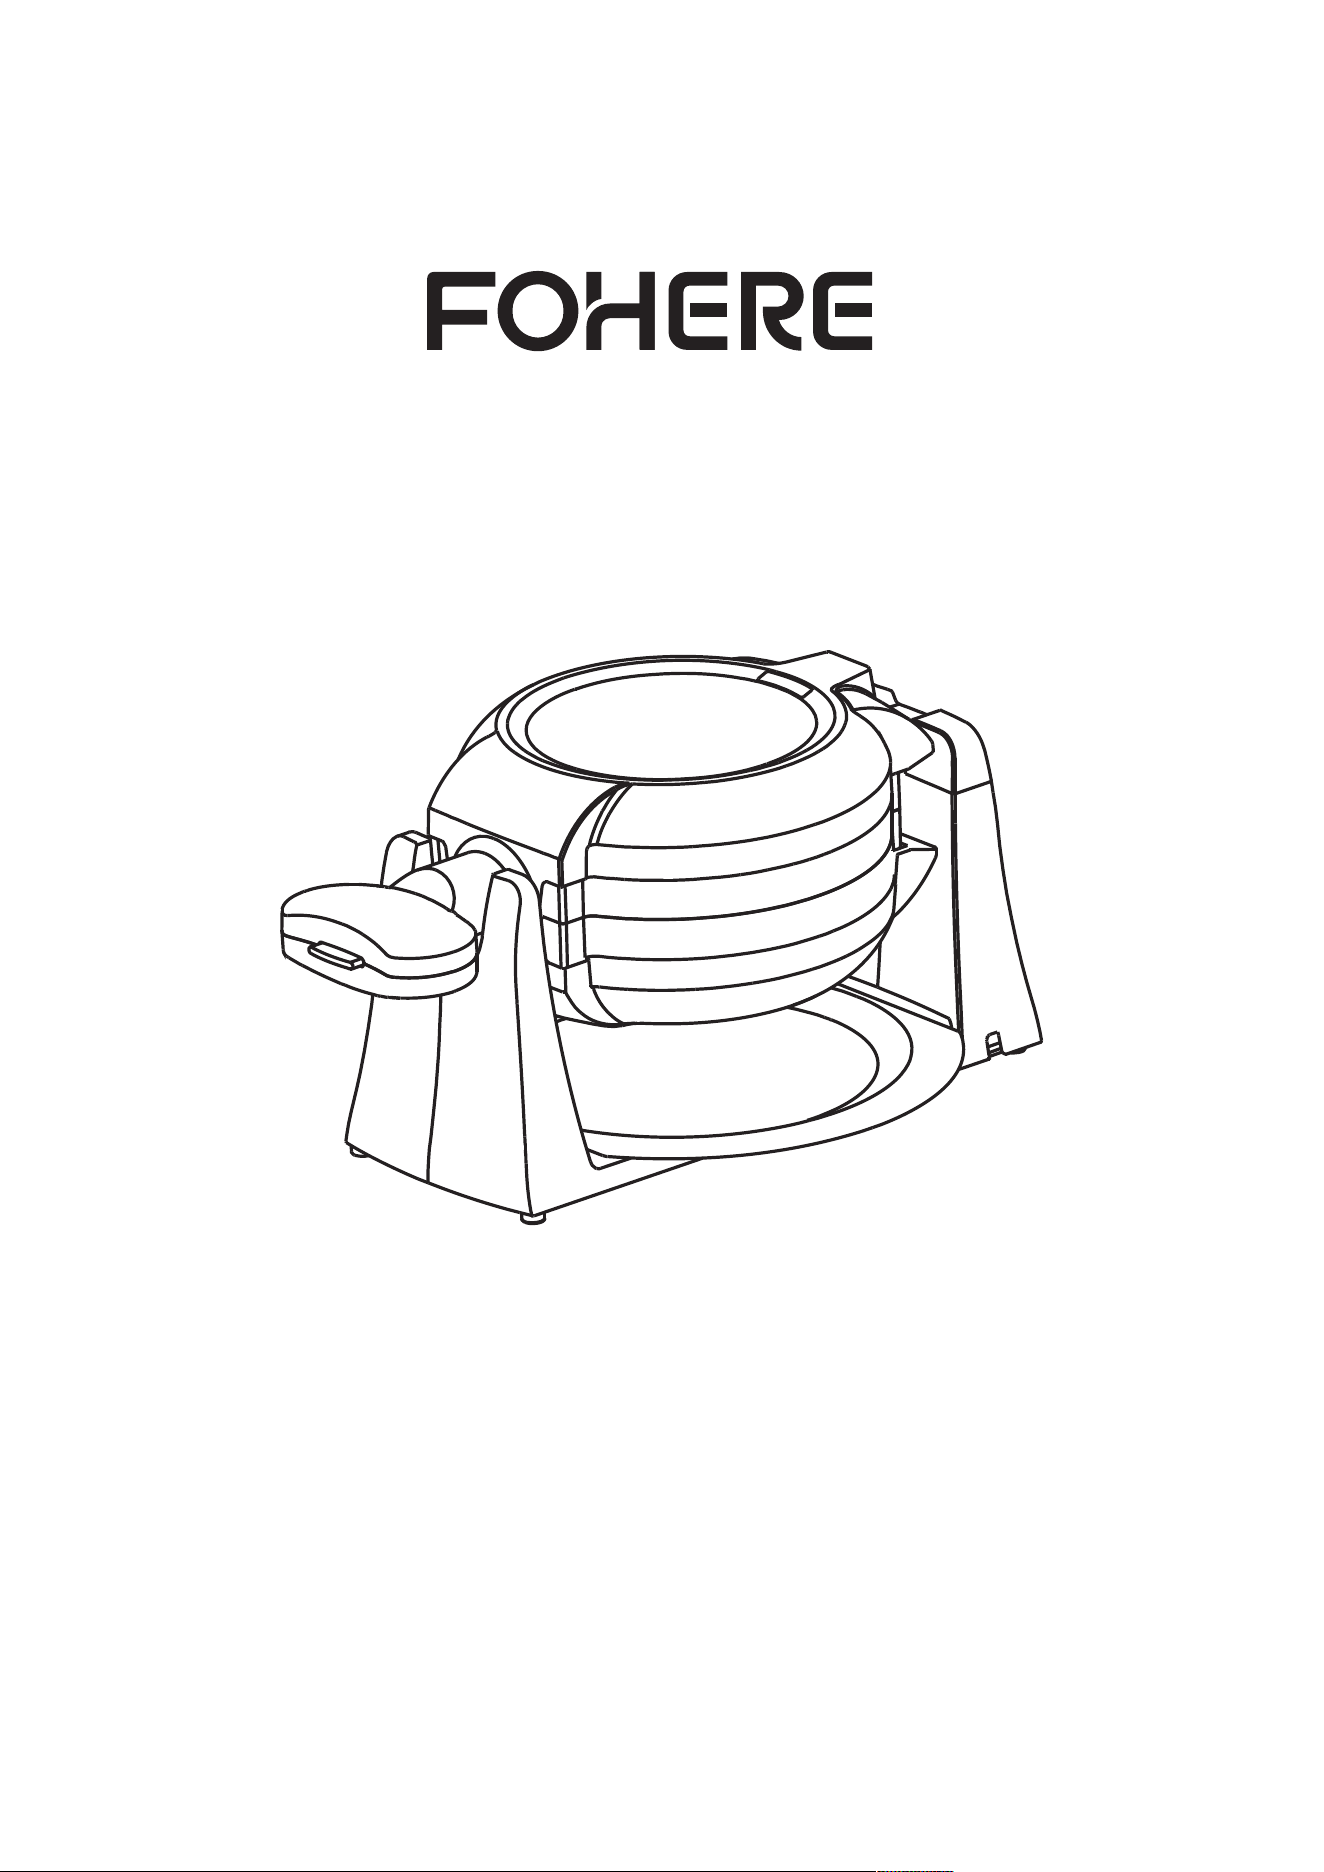
CAUTION
Please note that if you use the machine to make only one wae instead of
two, ensure that you use the side marked with the notice to prevent the
machine from malfunctioning. (Please don't tear o the notice.)
FILL THIS SIDE FIRST
Whether you want to make one or two
waes, pour the batter on the side
pasting the tips first, that's the secret to
success. (Please don’t tear o the tip, in
case you forget which side to use first.)
03
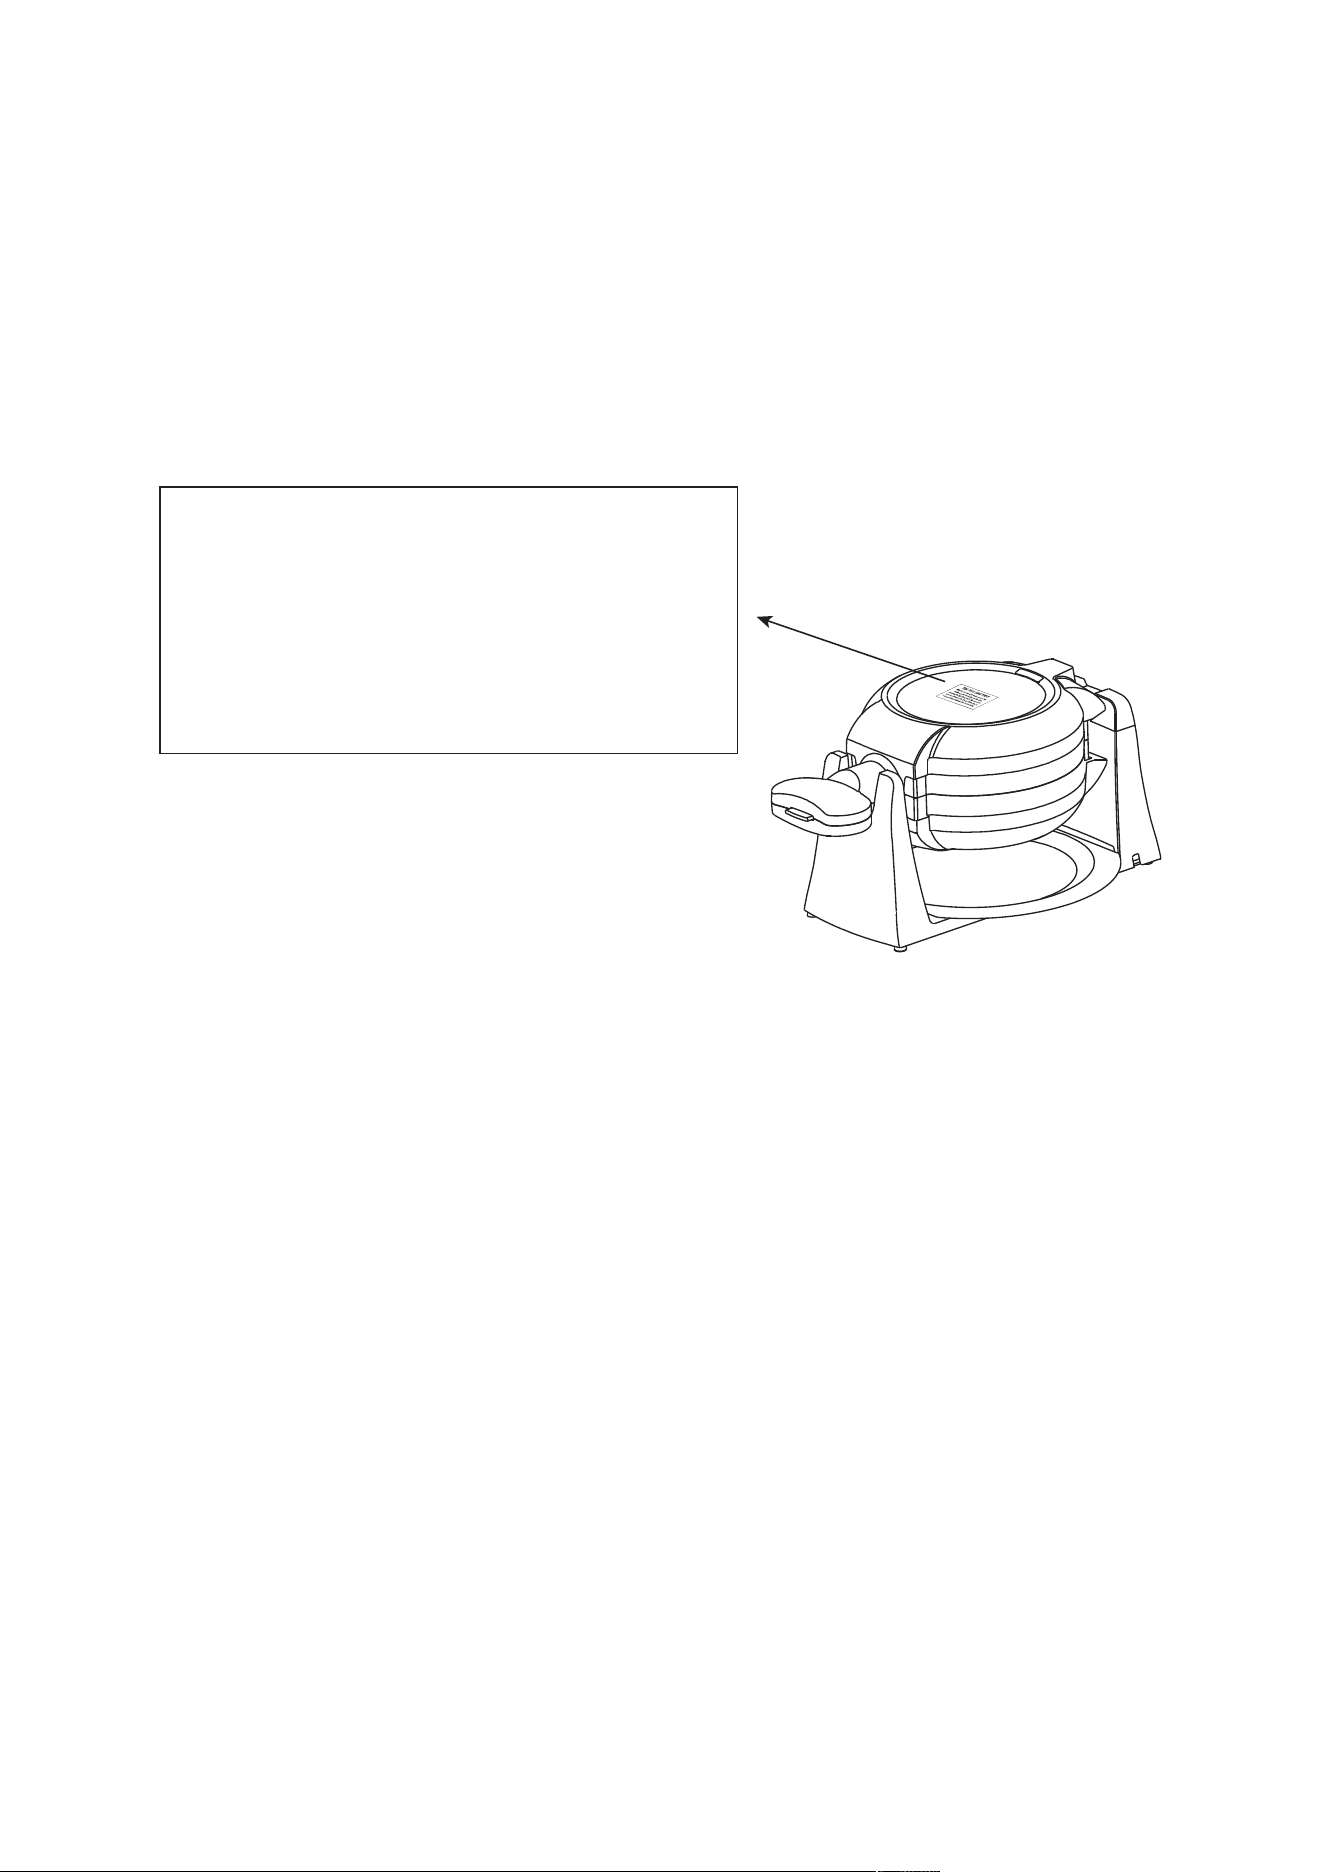
PRODUCT COMPONENTS
1. Red POWER Light(Top)
2. Green READY Light(Top)
3. Non-Stick Cooking Plate(Top)
4. Non-Stick Cooking Plate(Top)
5. Non-Stick Cooking Plate(Bottom)
6. Non-Stick Cooking Plate(Bottom)
7. Removable Drip Tray
8. Red POWER Light(Bottom)
9. Green READY Light (Bottom)
10. Handle
4
3
6
5
7
2
1
9
8
10
USING YOUR WAFFLE MAKER
NOTE:
When the wae maker is preheated for the first time, it may emit a
slight amount of smoke or odor. This is a normal phenomenon with many
heating appliances and is not a safety issue. However, it may aect the
flavor of the first set of waes, which are recommended to be
discarded.
Try a small amount of batter first in case it overflows, it is a matter of
trial and error to get the right amount of batter.
04

1. Plug unit into an electrical outlet. The red POWER light will illuminate
and remain lighted during use.
2. Preheating is finished when the green light illuminate.
3. Open the upper lid, pour an appropriate amount of wae batter on
the upper baking plate and then green READY Light(Top) goes out.
4. Lower the top cooking plate to close the Rotating Wae Maker and
rotate unit 180° to the bottom side.
5. Open the down lid, pour an appropriate amount of wae batter on the
down baking plate close the downer lid.
6. The Rotating Wae Maker will cook until the green READY light (on the
backside of the Wae Maker) illuminate. Rotate Wae Maker 180° to
the top side, until it is flat and locked into a stable position.
7. After rotating to the top side, lift the top cooking plate gently; if it pulls,
continue cooking for 1 minute and test again. If the waes need to
bake to a darker finish, close the lid and continue baking until the
desired color is achieved.
8. When the green light(Top)illuminate, baking is finished.
NOTE:
- Before baking, the plates can be slightly oiled.
- Waes made later will bake faster because extra heat has been
retained.
- A Bit More Time: Thanks to 1400W two sets of high-eciency
double-sided heating, we can always make the perfect wae you want
without a temperature control knob. Prolong the baking time for 2-3
minutes after the wae is finished if you want it to browner or crisper.
05

CLEAN AND MAINTENANCE
1. Always unplug the wae maker and allow it to cool before cleaning.
There is no need to disassemble the wae maker for cleaning. Never
immerse the wae maker in water or place it in the dishwasher.
2. Brush away any loose crumbs from the grooves. Wipe grids clean with
a paper towel, absorbing any oil or butter that might be down in the
grooves of the grid. You can also wipe grids with a damp cloth. Do not
use anything abrasive that can scratch or damage the non-stick
coating.
3. Wipe the outside of the wae maker with a damp cloth only. Do not
clean the outside with any abrasive scouring pad or steel wool, as this
will damage the finish. Do not immerse in water or any other liquid.
4. Should any batter become stick to the grids, pour a little cooking oil
onto the hardened batter, let it sit for 5 minutes to soften batter, then
wipe o with a paper towel or soft cloth.
5. Do not use metal utensils to remove your waes, which can damage
the non-stick coating.
STORAGE
1. Always unplug the wae maker before storage.
2. Always make sure the wae maker is cooled and dry before storage.
3. The power cord can be wrapped around the bottom housing for
storage.
06