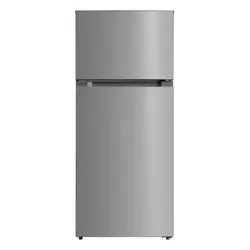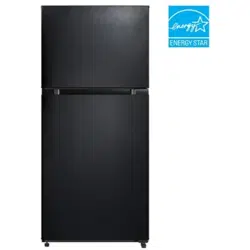

10.1 cu. ft. Top Freezer Refrigerator
ENR10TFGBW ENR10TFGBB ENR10TFGBS
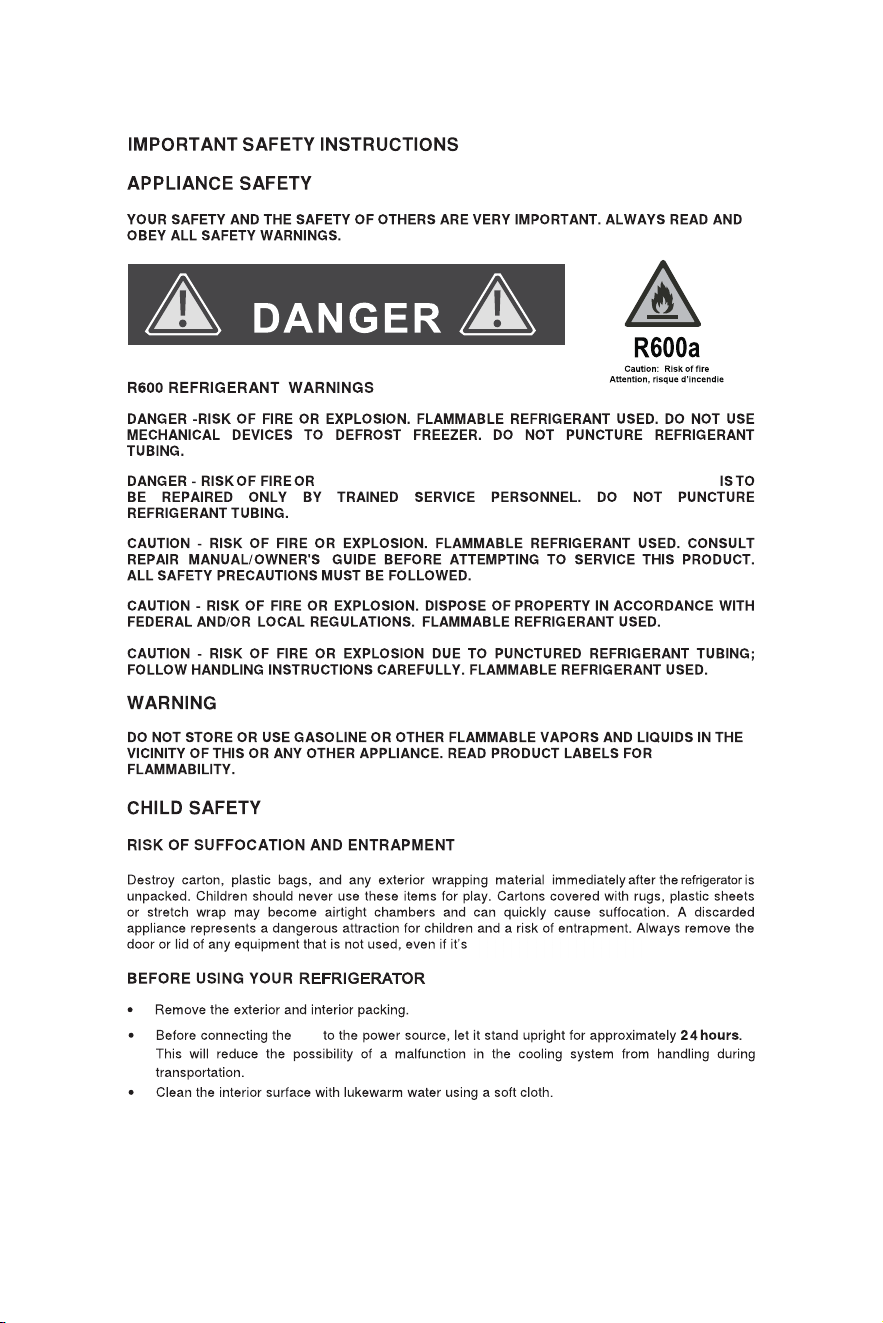
EXPLOSION. FLAMMABLE REFRIGERANT USED. THE UNIT
unit
1
only for a few days.
Installation Instructions
Remove exterior and interior packaging, wipe the outside thoroughly with a soft, dry cloth, and the inside with a wet,
lukewarm cloth. Avoid placing the unit in a narrow recess or near any heat source, direct sunlight, or moisture. Let
air circulate freely around the unit. Keep the rear of the refrigerator 2 inches away from the wall.
LOCATION
1) Select a place with a strong, level floor.
2) Allow 2 inches of space between the back of the refrigerator and any adjacent wall.
3) Avoid direct sunlight and heat. Direct sunlight may affect the acrylic coating. Heat sources nearby will cause
higher electricity consumption.
The refrigerating system in this refrigerator is a “Frost Free” system. This type of system requires no user interven-
tion (i.e. defrosting) other than selecting required cooling temperatures and the usual care and
maintenance.
To avoid vibration, the unit must be set level. This is accomplished by adjusting the front leveling legs, located
under the refrigerator.
The refrigerator temperature will vary depending on the quantity of food stored and the frequency with which the door
is opened.
NOTES:
FREE-STANDING INSTALLATION ONLY, and is NOT intended to be built-in.
electrical power supply, leave it to stand for approx. 24 hours, which will
reduce the possibility of malfunction in the cooling system due to transport handling.
INDOOR USE ONLY and is NOT intended for outdoor operation.
Install this appliance in an area where the ambient temperature is
between 55°F (13°C) and 110°F (43°C). If the temperature around
the appliance is too low or high, cooling ability may be affected.
ELECTRICAL REQUIREMENTS
This appliance must be grounded. In case of a short circuit, grounding reduces the risk of electric shock by providing
an escape for the electrical current.
This appliance is equipped with a cord having a grounding wire with a grounding plug. The plug must be plugged into
an outlet that is properly installed and grounded.
LE
V
E
LING YOUR REFRIGERATOR
r
WARNING - Improper use of the grounding plug can result in a risk of electric shock. Consult a qualified electrician or
service man if the grounding instructions are not completely understood or if doubt exists as to whether the appliance is
properly grounded.
DO NOT USE AN EXTENSION CORD
Use an exclusive 115V wall outlet. Do not connect your refrigerator to extension cords or together with any other
appliance in the same wall outlet. Do not splice the cord.
2
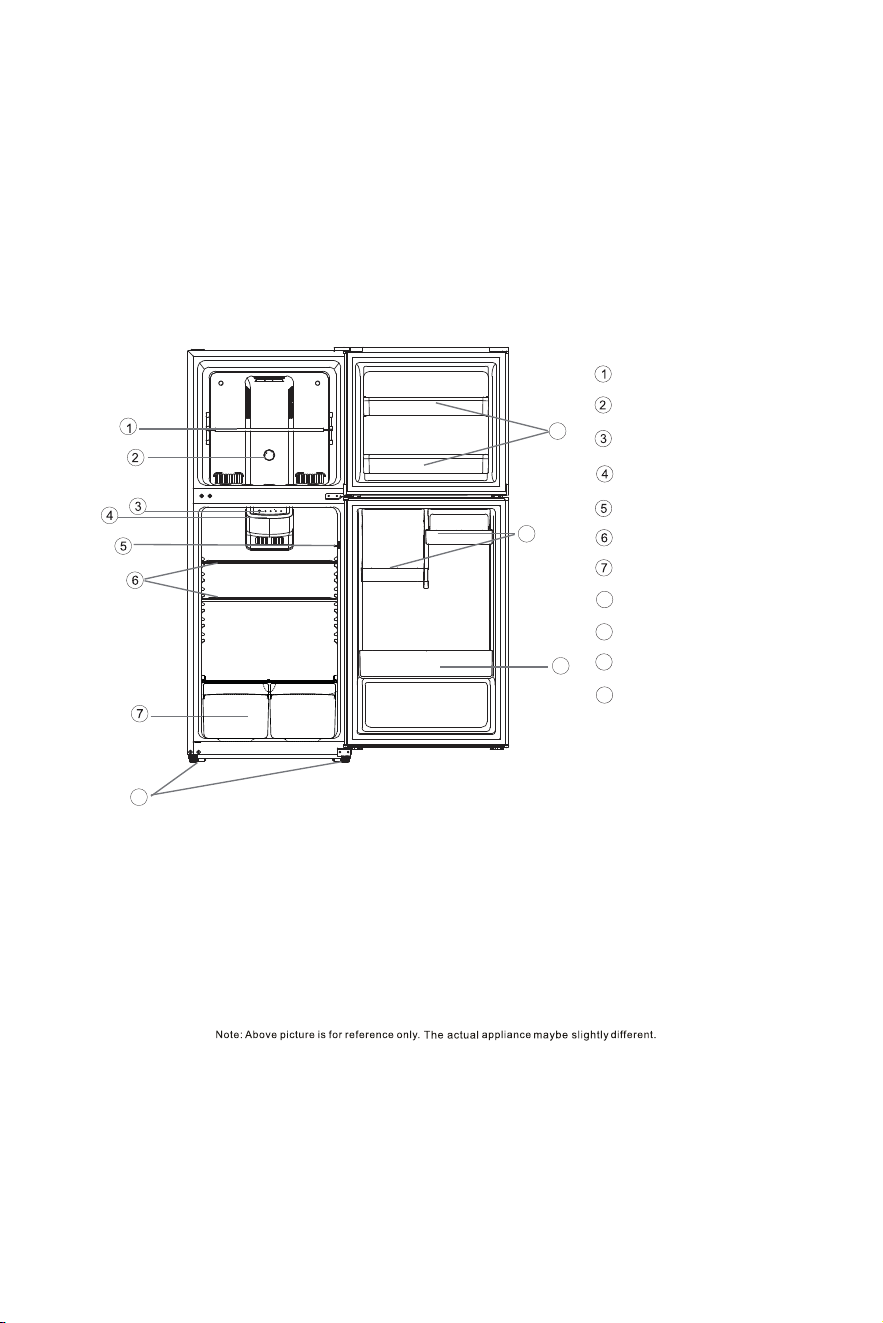
Features
8
9
Freezer Shelf
Adjustable Temperature Control
Interior Light
Full-Width Glass Shelves
Clear Crisper
Leveling Legs
Freezer Door Bins
10 Small Door Bins
11
Large Door Bins
Light Switch
Freezer Temperature Control Panel
8
9
10
11
3
Operating Instructions
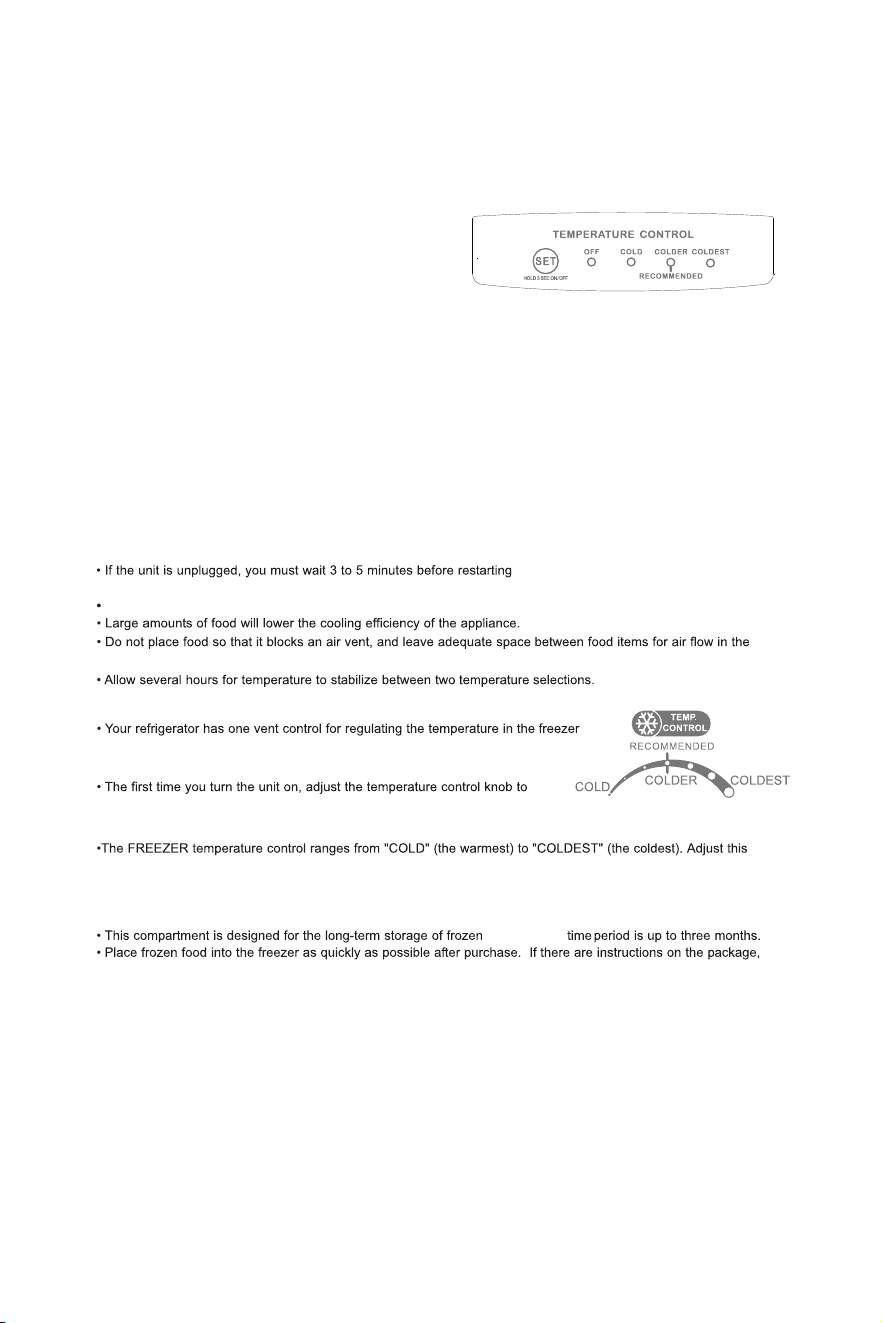
FREEZER TEMPERATURE CONTROL
compartment . The temperature control is located on the center of the freezer
compartment’s interior back panel.
“COLDEST” and let the unit run for at least 2 hours before putting food inside.
This will ensure that the freezer cabinet is thoroughly chilled before food is put in.
control to get the desired temperature. The recommended factory setting is COLDER (half way between “COLD”
and “COLDEST”).
THE FREEZER COMPARTMENT
carefully follow these instructions regarding storage times.
food. Storage
NOTE:
Your refrigerator will automatically maintain the temperature
level you select. The temperature control has 3 settings. COLD
is the warmest setting, COLDEST is the coldest setting.
The temperature setting is cycle change among “COLD”,
“COLDER” and “COLDEST”, when you push the “SET” button. At first, set the panel to the “COLDER” indicator marking
(middle setting), and allow 24 hours to pass before adjusting the temperature to your need.
The power will be switched off after pressing “SET” button for 3 second, and the “OFF” indication light will be on. To switch
the power on, press the “SET” button for another 3 seconds.
NOTE: If the refrigerator has been placed in a horizontal or tilted position for any period of time, wait 24 hours before
plugging the unit in.
The appliance may not operate at the correct temperature if it is in a particularly hot environment, or if the door is constantly
opened.
Unplugging the unit stops the cooling in both the refrigeration and freezer sections.
the unit (plugging the unit back in). If you
attempt to restart before 3 to 5 minutes, the
refrigerator will not start.
If the power goes out, the unit should restart itself when the power comes back on.
cabinet.
REFRIGERATOR TEMPERATURE CONTROL
4
Care and Maintenance
POWER FAILURE
Most power failures are corrected within an hour or two, and will not affect your refrigerator temperatures. However,
you should minimize the number times you open the door while the power is off. During power failures of longer dura-
tion, take steps to protect your food.
IF YOU MOVE
Remove, or securely fasten down, all loose items inside the refrigerator. To avoid damaging the leveling legs, turn
them all the way into the base.
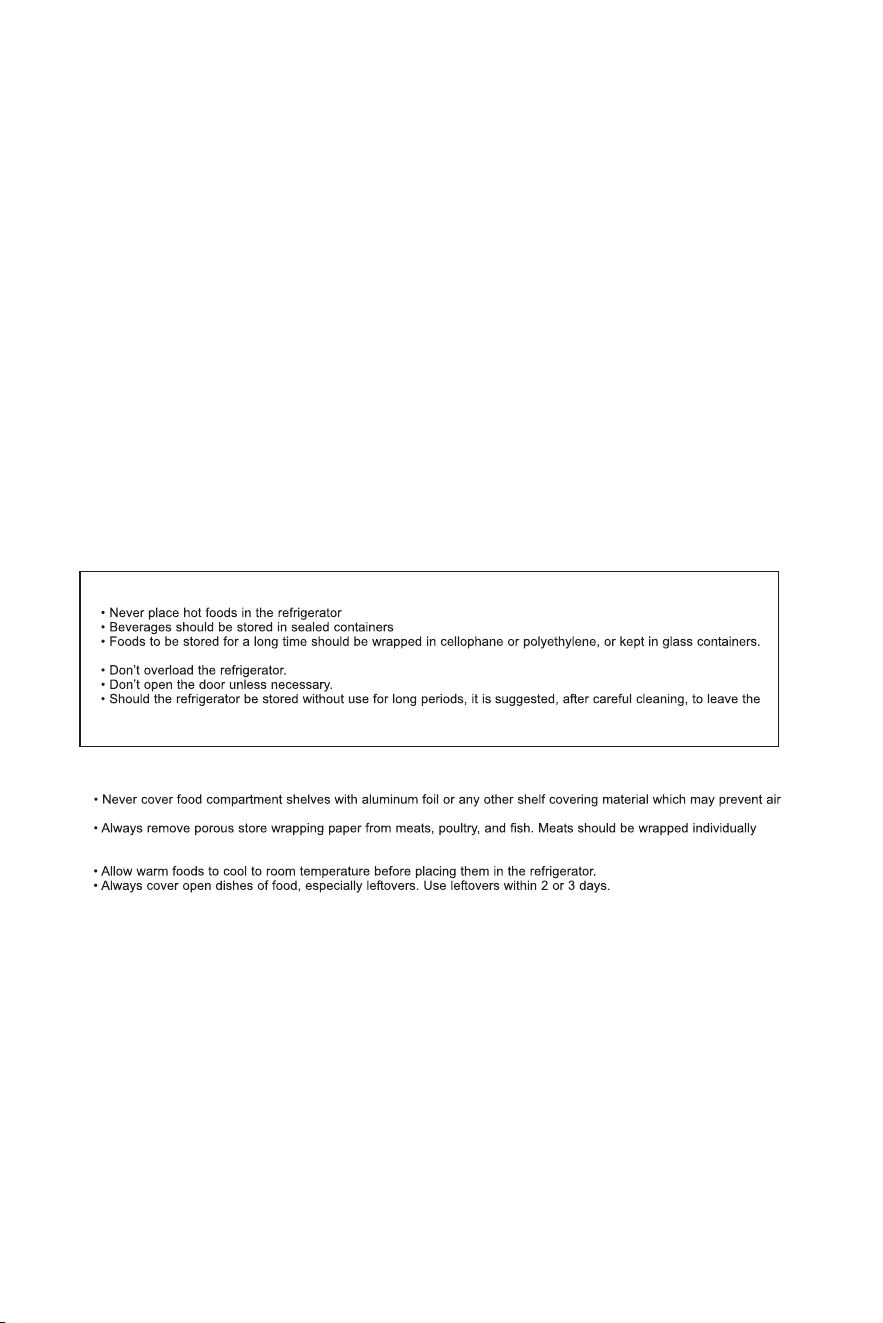
SOME IMPORTANT RULES FOR THE CORRECT USE OF THE REFRIGERATOR
Never place spoiled food in the refrigerator.
door ajar to allow the air to circulate inside the unit in order to avoid the possible formations of condensation, mold,
or odors.
FOOD STORAGE SUGGESTIONS
Fresh Food Compartment
circulation.
and placed in a container for storage. Wrap fish and poultry in foil or heavy wax paper. Most fish should be used the
same day of purchase. Packaged meats such as pork, beef, or deli meat, etc. store best in their original packages.
VEGETABLE CRISPER
The tray at the bottom of the refrigerator is covered to retain moisture. The crisper compartment will enable you to
store vegetables and fruits which would otherwise dry out rapidly.
COOLING SYSTEM
This refrigerator is inclusive of a “Frost Free” type cooling system, which means you never have to defrost the freezer
compartment. The defrost water is routed into a defrost pan located near the compressor, where it then evaporates.
CLEANING
Before cleaning the refrigerator or freezer, always disconnect the refrigerator from the power supply. To clean the
inside, use a soft cloth and a solution of a tablespoon baking soda to one quart (4 cups) of water, or a mild soap suds
solution or mild detergent. Wash ice cube tray, drip tray, and glide out shelves in a mild detergent solution, then wipe
dry with a soft cloth. Clean the outside with a damp soft cloth and some mild detergent or appliance cleaner.
VACATION TIME
For short vacation periods, leave the control knob at the usual setting. During longer absences:
a) remove all food,
b) disconnect from electrical outlet,
c) leave the door open to avoid possible formations
of condensation, mold, or odors.
LED LIGHTING REPALCEMENT
Do not change the LED light by yourself, please contact an authorized service personnel.
5
6
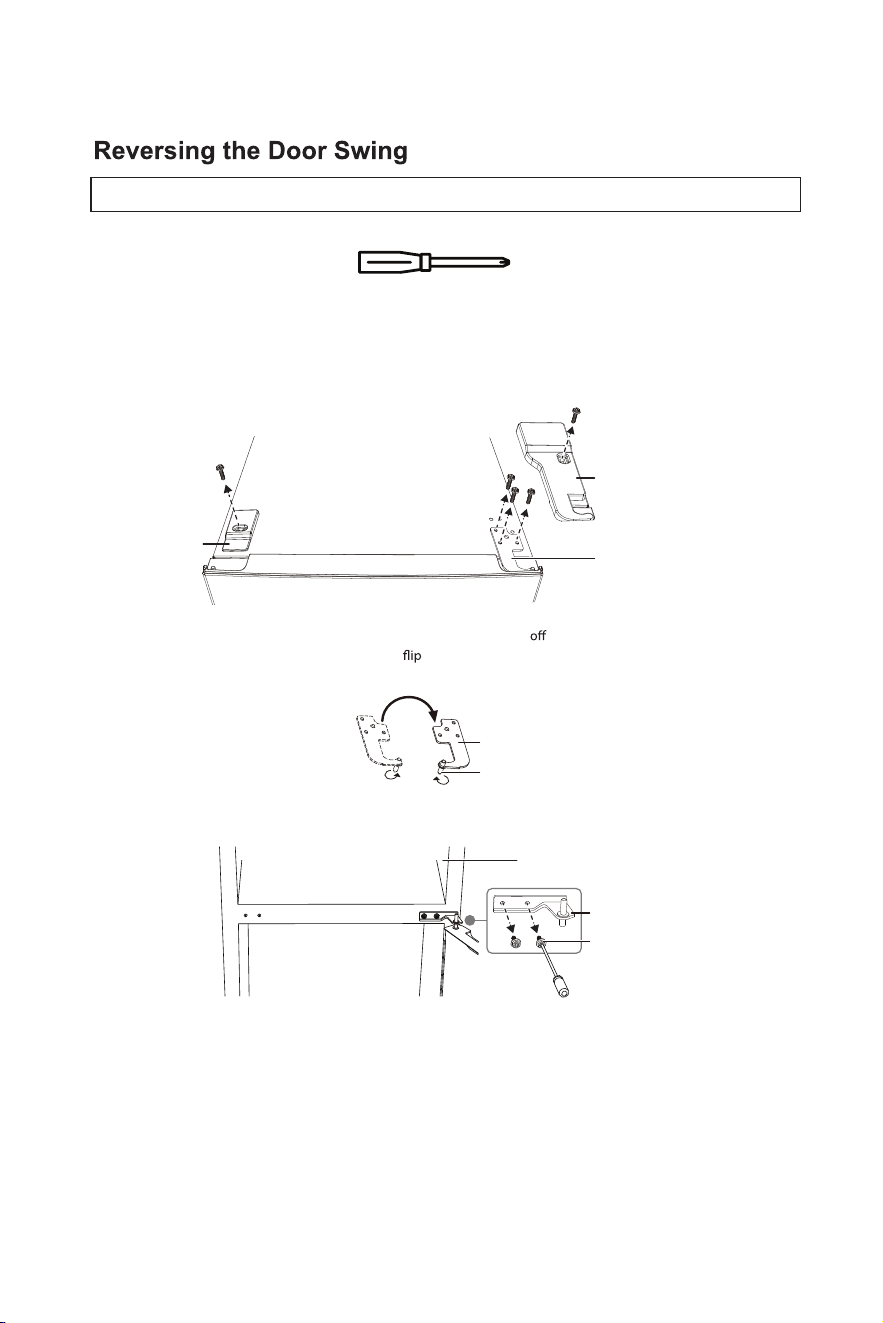
You will need the following tool to reverse the refrigerator door:
1 Make sure that your refrigerator is unplugged.
2 Remove the screw and the screw hole cover on the top left side of your refrigerator, then remove the screw and hinge
cover on the top right side of your refrigerator.
3 Remove the screws that secure the upper hinge to the door, then remove the upper hinge.
4 Remove the freezer compartment door from the refrigerator by lifting it
the hinge pin.
5 Remove the hinge pin from the upper hinge, then
the hinge over and install the hinge pin on the other side of the
upper hinge.
6 Remove the two screws that secure the center hinge to the refrigerator, then remove the center hinge.
7 Remove the refrigerator compartment door.
Phillips screwdriver
Upper hinge
Hinge cover
Screw hole
cover
Upper hinge
Hinge pin
Freezer compartment
Center hinge
Screws
CAUTION: If you lay your refrigerator on its back or side for any length of time, wait six hours after you stand it up before you plug it in.
Otherwise, you may damage internal components.

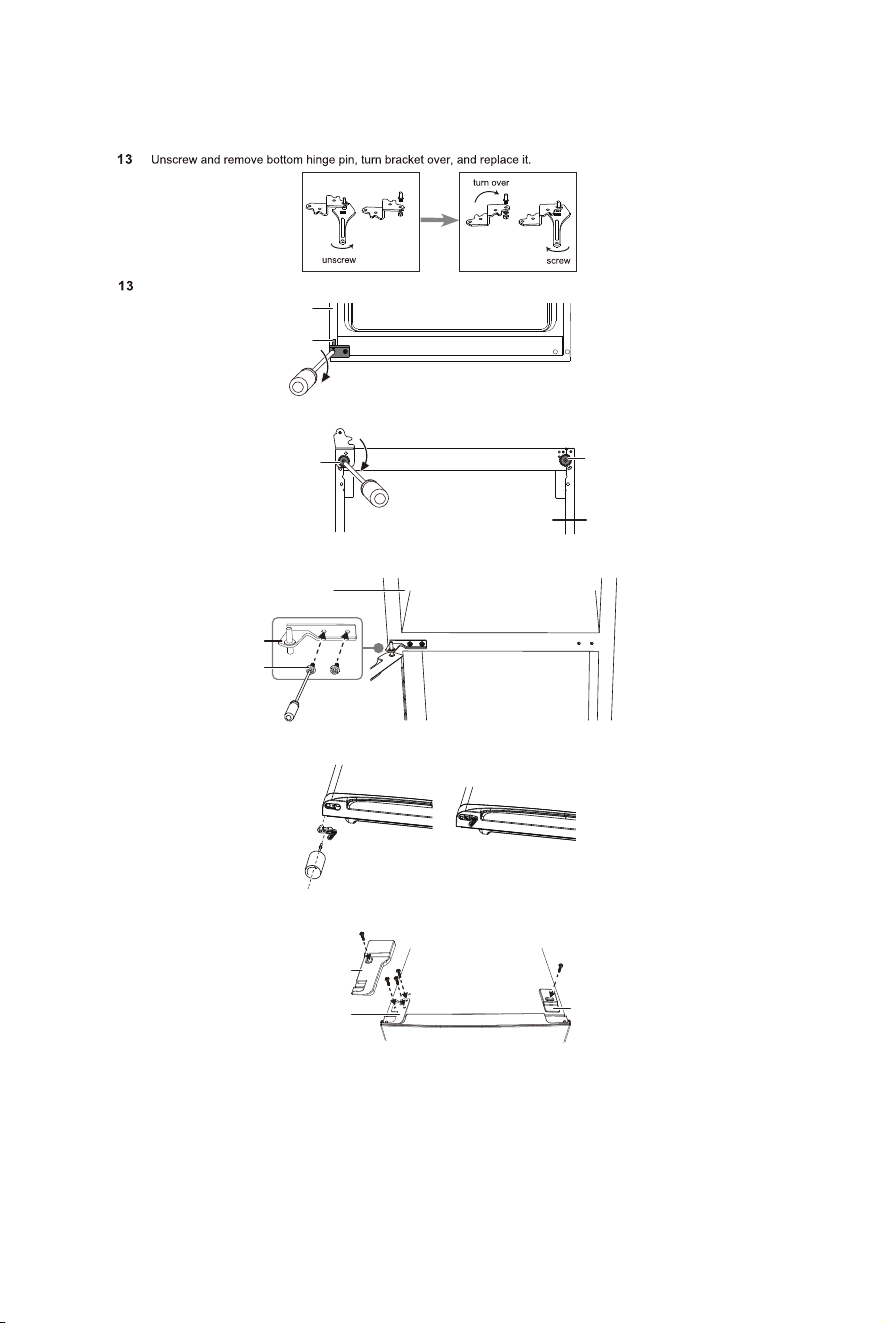
7
8 M
ove the hinge hole sleeve from the top right side of the refrigerator door to the top left side of the door, then move
the hinge hole cover from the top left side of the refrigerator door to the top right side of the door. Set the refrigerator
door aside.
9 Remove the screw hole covers from the center left side of the refrigerator and install them in the center right side of the
refrigerator.
10 Lay the refrigerator on its back and remove both adjustable feet from the bottom of the refrigerator, then remove the
production-use screw. This screw is for production use only and is not needed after reversing the door.
11 Remove the screws that secure the lower hinge to the rig
ht side of the refrigerator, then remove the hinge.
12 Remove the screw hole covers from the bottom left side of the refrigerator and install them in the bottom right side of
the refrigerator.
Hinge hole cover
Hinge hole sleeve
Refrigerator door
Screw hole cover
Bottom of
refrigerator
Adjustable foot
Adjustable foot
Production-use screw
Lower hinge
Front of refrigerator
Sc
rew hole covers
Front of refrigerator
8
14 Install the adjustable feet on the bottom of the refrigerator, then set the refrigerator upright.
15 Flip the center hinge, then install the refrigerator compartment door. Install the hinge on the center left side of the
refrigerator.
16 Remove the right aid closer and put it in a safe place, then install the left aid closer (found in the accessory bag) on the
freezer compartment door.
17 Install the freezer compartment door, then install the upper hinge and the left side upper hinge cover (found in
accessory bag) on the top left side of the refrigerator.
18 Install the screw hole cover on the top right side of the refrigerator.
Lower left hinge
Front of refrigerator
Adjustable foot
Adjustable foot
Refrigerator bottom
Center hinge
Screws
Freezer
Upper hinge cover
Upper hinge
Screw hole cover
-1
-2
I
nstall the lower left hinge on the lower left side of the refrigerator.
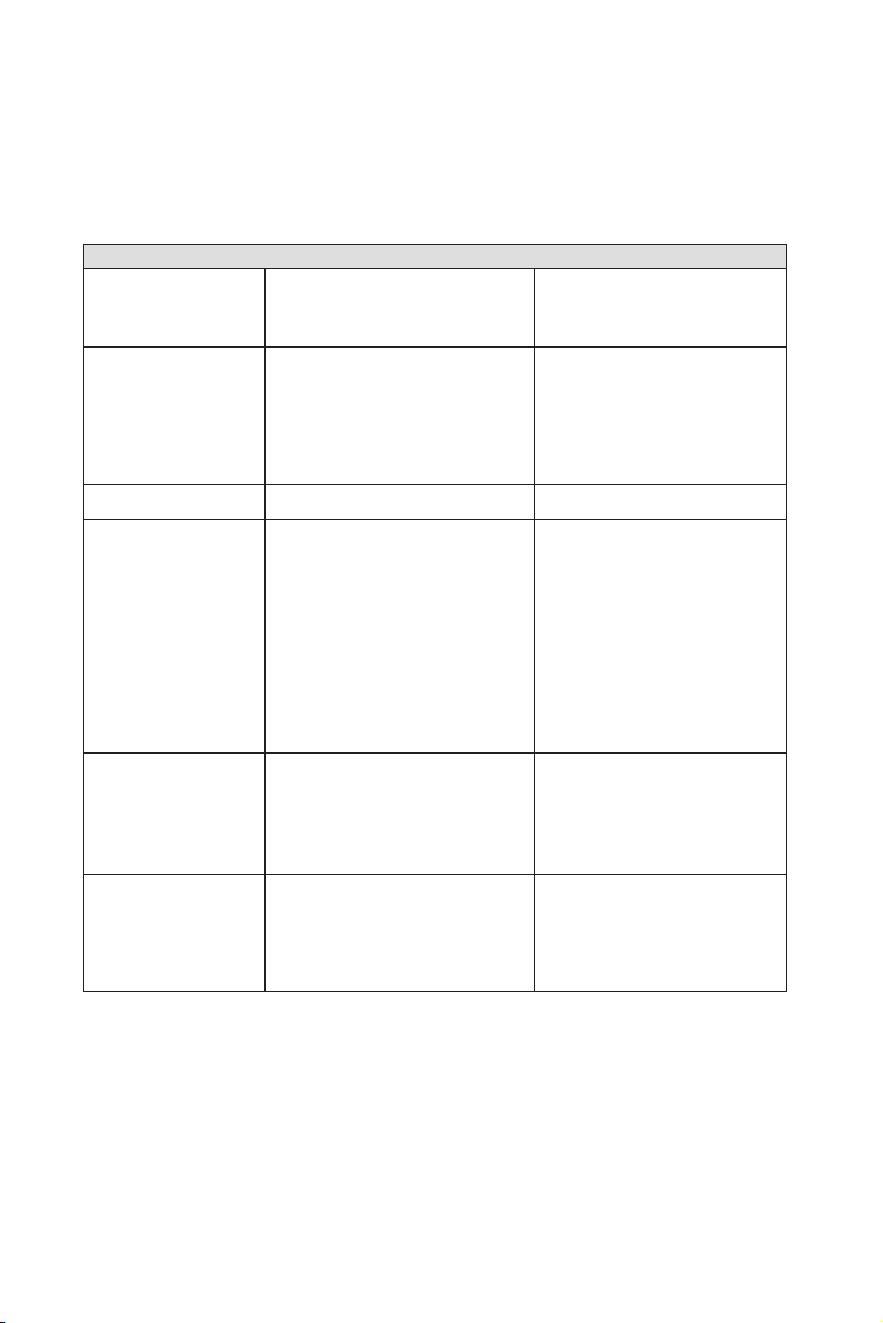
Troubleshooting
Occasionally, a minor problem may arrise, and a service call may not be necessary- use this troubleshooting guide for a
possible solution.
1) Unit does not work.
• No power to unit.
• Power cord is unplugged.
• Wrong voltage is being used.
• Check connection of power cord
at power source.
• Plug in unit.
• Use proper voltage.
2) Refrigerator running too
frequently.
•
T
emperature control too cold.
• Door not closed.
• Hot food inserted.
• Doors open too long/of
ten.
• Close proximity to heat source or direct
sunlight.
• Check/adjust settings as needed.
• Close the door securely
.
• Cool food before inserting.
• Minimize door openings/duration.
• DO NOT place unit close to heat sources
or in direct sunlight.
3) Internal temperature too
cold.
• Temperature set too cold.
• Check/adjust settings as needed.
4) Internal temperature
not cold enough.
• No power to unit.
• Power cord is unplugged.
• Wrong voltage is being used.
• Temperature control too warm.
• Hot food inserted.
• Doors open too long/often.
• Air flow obstruction.
• Close proximity to heat source or direct
sunlight.
• Check connection of power cord at
power source.
• Plug in unit.
• Use proper voltage.
• Check/adjust settings as needed.
• Cool food before inserting.
• Minimize door openings/duration.
• Allow room for air to circulate around the
unit.
• DO NOT place unit close to heat sources
or in direct sunlight.
5) Freezer not cold enough.
• Temperature control too warm.
• Door not closed.
• Hot food inserted.
• Doors open too long/often.
• Wrong voltage is being used.
• Check/adjust settings as needed.
• Close door securely.
• Cool food before insterting.
• Minimize door openings/ duration.
• Use proper voltage.
6) Light will not work.
• No power to unit.
• Power cord is unplugged.
• Bulb is loose/needs replacing.
• Door switch is stuck.
• Check connection of power cord to
power source.
• Plug in unit.
• Tighten or replace bulb.
• Check the switch for obstructions, clean
if necessary.
PROBLEM
POSSIBLE CAUSE
SOLUTION
SERVICE FOR YOUR APPLIANCE


Element Appliance Company, LLC. Customer Service
Copyright ©2022
Element Appliance Company,LLC. All rights reserved.
Element Appliance Company and E Element are trademarks of Element Brand Holding, LLC
Customer Support:
888-842-3577
CONTACT US: