
Need to speak to a bike expert?
1-(201) 379-4900 · RIF6.com/support · [email protected]
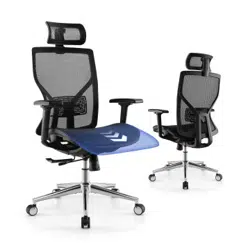
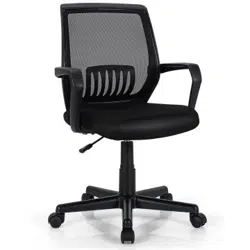
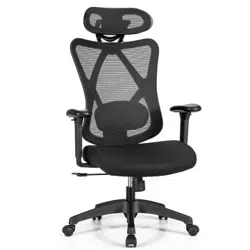
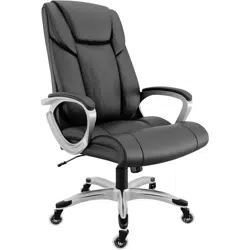
Executive Chair

TABLE OF CONTENTS
Important Safety
Instructions
Installation
Specifications
Warranty Information
Warning
Parts Description
Operation
Cleaning and Maintenance
04
06
17
18 18
05
14
17
EXECUTIVE CHAIR | 4
EXECUTIVE CHAIR | 5
IMPORTANT SAFETY INSTRUCTIONS
• Read this manual carefully and keep it for future use.
• If this product is passed to a third party, these instructions must be included.
• Follow the safety precautions in this manual to reduce the risk of injury.
• This product is for domestic and oce use only.
• A competent adult is required to install this product.
• Keep children and pets away while installing this product.
• Do not let children climb on or play with this executive chair.
• Always use this executive chair on firm and level ground.
• Do not use this executive chair if any parts are missing, damaged or worn.
• Do not over-tighten the fasteners on the executive chair.
• Regularly examine this executive chair for wear or tear. Stop using it immediately if any parts are damaged or detached.
• Do not stand on the seat of the executive chair.
• Do not sit or stand on the armrest of the executive chair.
• The executive chair is intended for users up to 275 lbs (125 kg).
• The gas lift should only be replaced and repaired by qualified personnel.
Important
• Before first use, check the executive chair for transport damages. Remove all the packaging materials.
• Risk of suocation! Keep any packaging materials away from children. These materials are potential sources of danger.
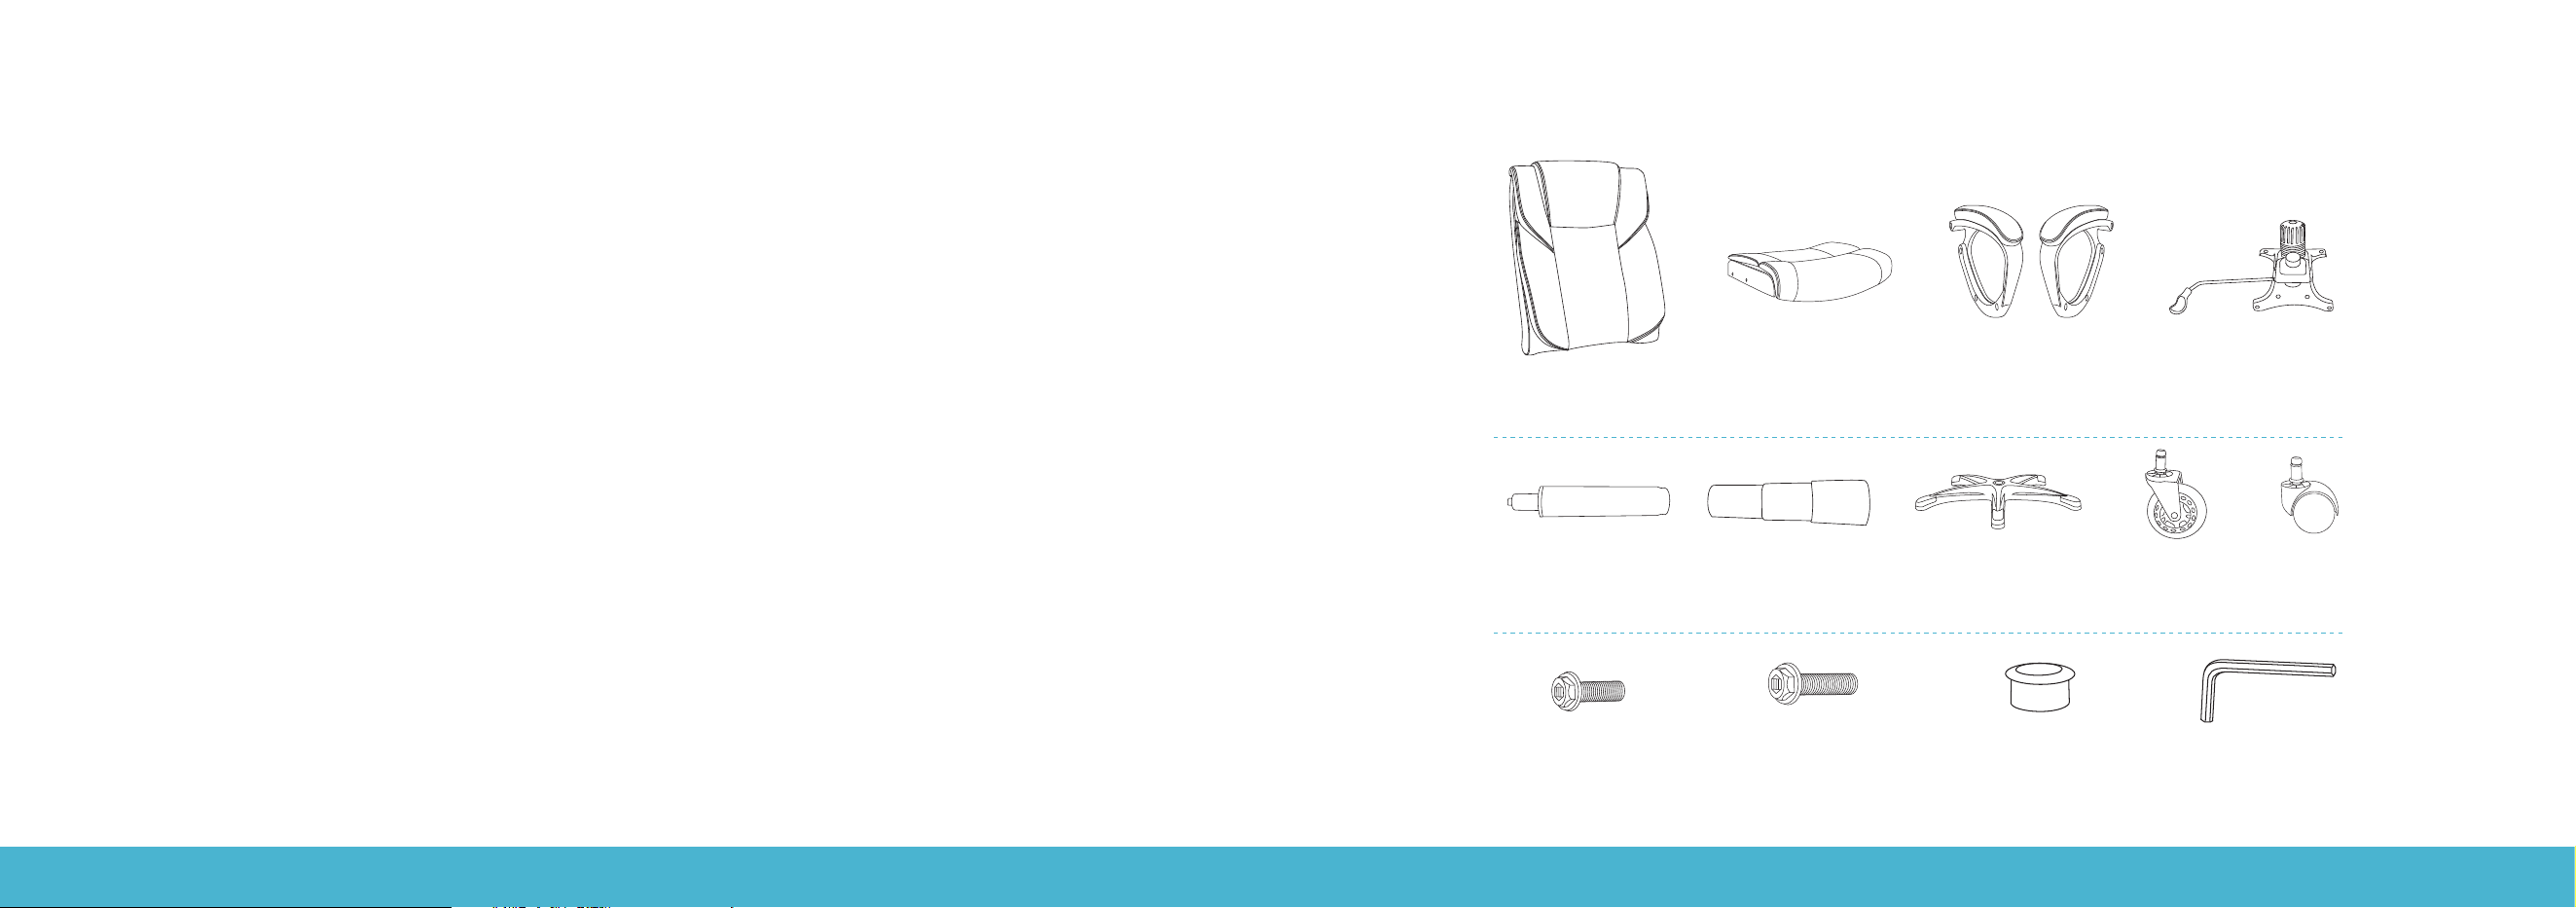
PARTS DESCRIPTION
A (× 1)
Chair back
Chair cylinder Cylinder cover
Ø1/4 × 1" Bolt Ø5/16 × 7/8" Bolt Protective cap Wrench
Chair base
Rollerblade Nylon caster
Chair seat Chair armrest
Mechanical system
B (× 1) C (× 1, R/L) D (× 1)
E (× 1) F (× 1) G (× 1) H1 (× 5)
I (× 4) J (× 8) K (× 8) L (× 1)
H2 (× 5)
EXECUTIVE CHAIR | 6
EXECUTIVE CHAIR | 7
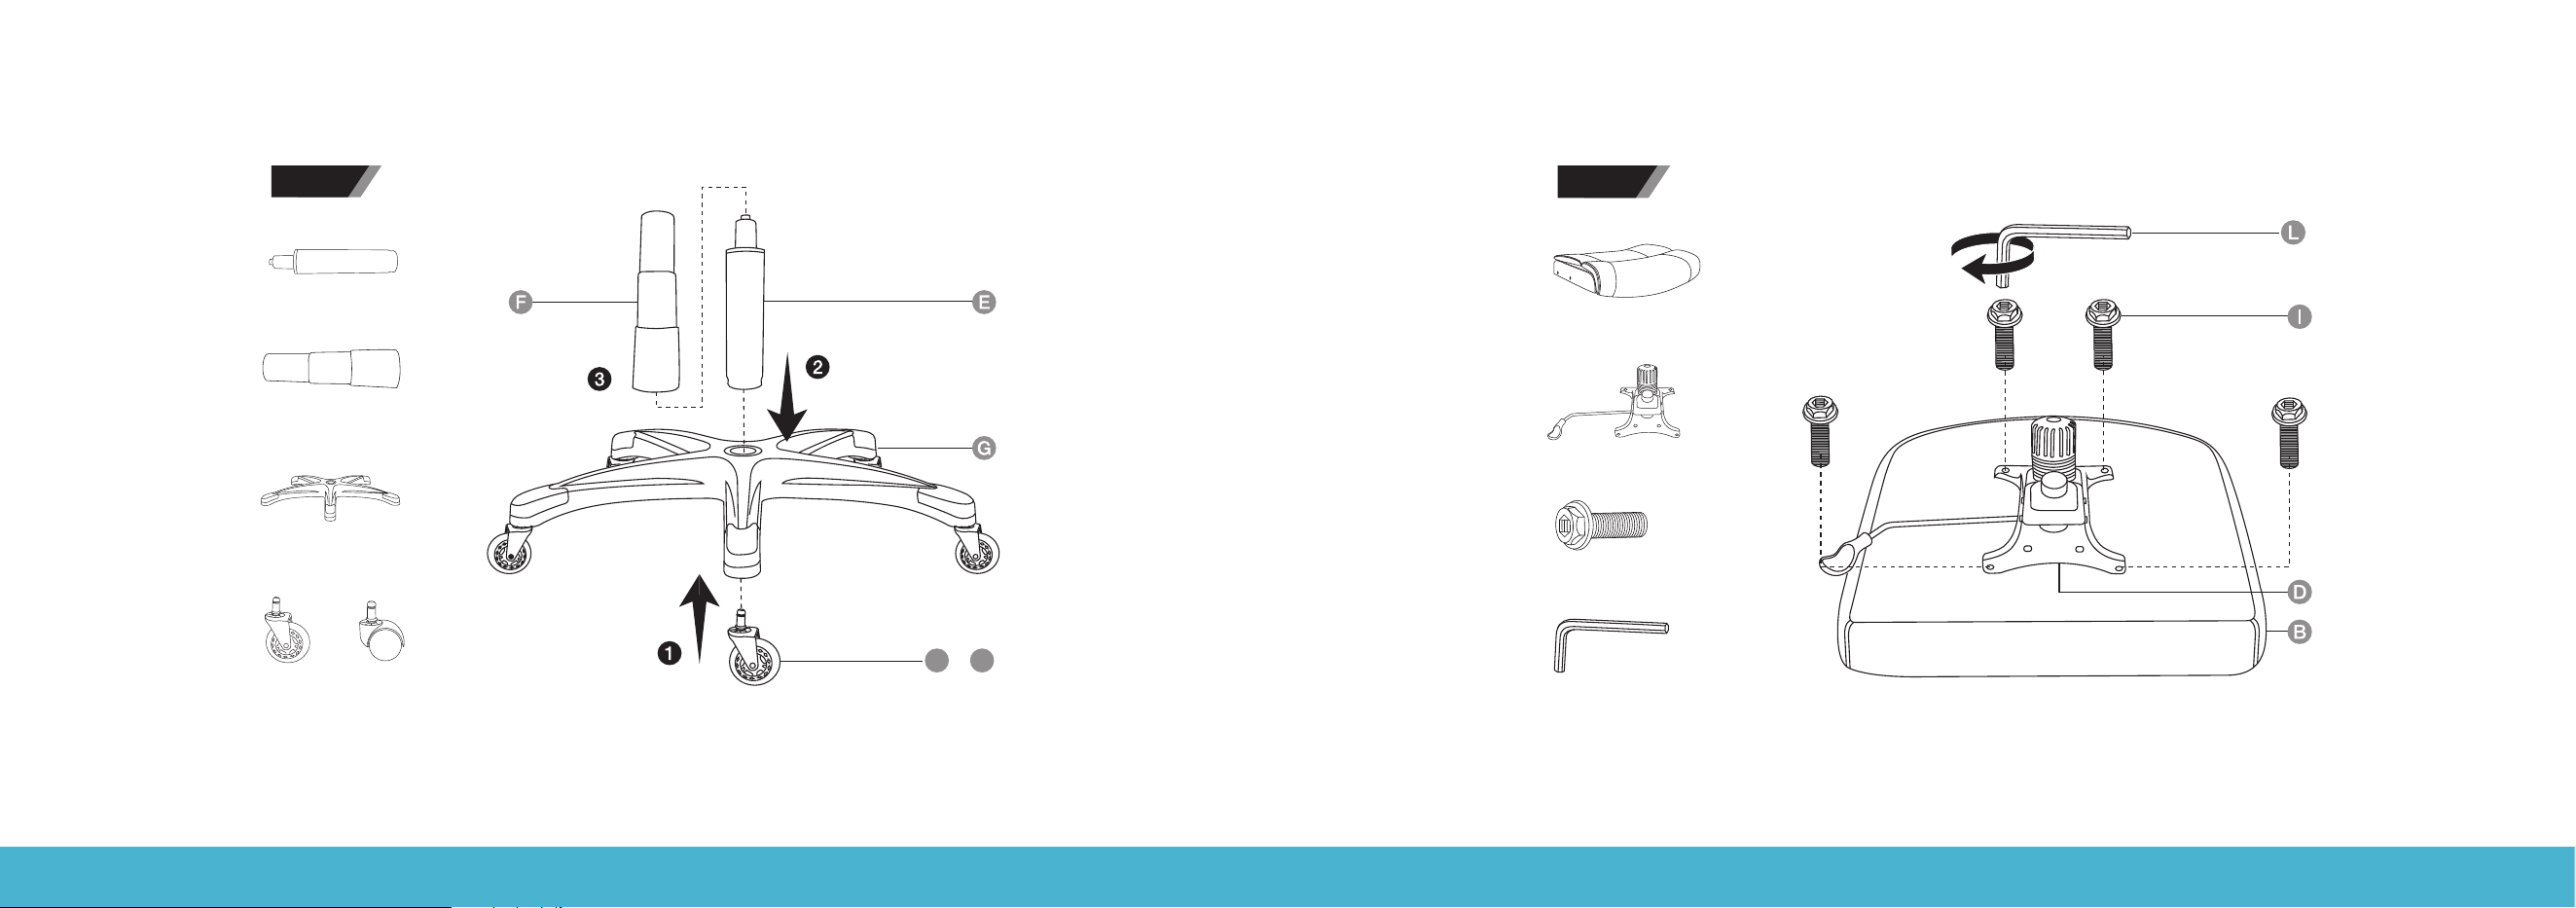
INSTALLATION INSTALLATION
E (× 1)
F (× 1)
G (× 1)
H1 (× 5)
H1 H2
or
STEP 1
H2 (× 5)
B (× 1)
D (× 1)
I (× 4)
L (× 1)
H2 (x 5)
STEP 2
Note: You can choose to install either the nylon caster wheels or the rollerblade wheels (but not a combination of both) based on the type of rolling
motion and appearance you prefer. The rollerblade wheels roll more easily while the nylon casters tend to require more force to move.
EXECUTIVE CHAIR | 8
EXECUTIVE CHAIR | 9
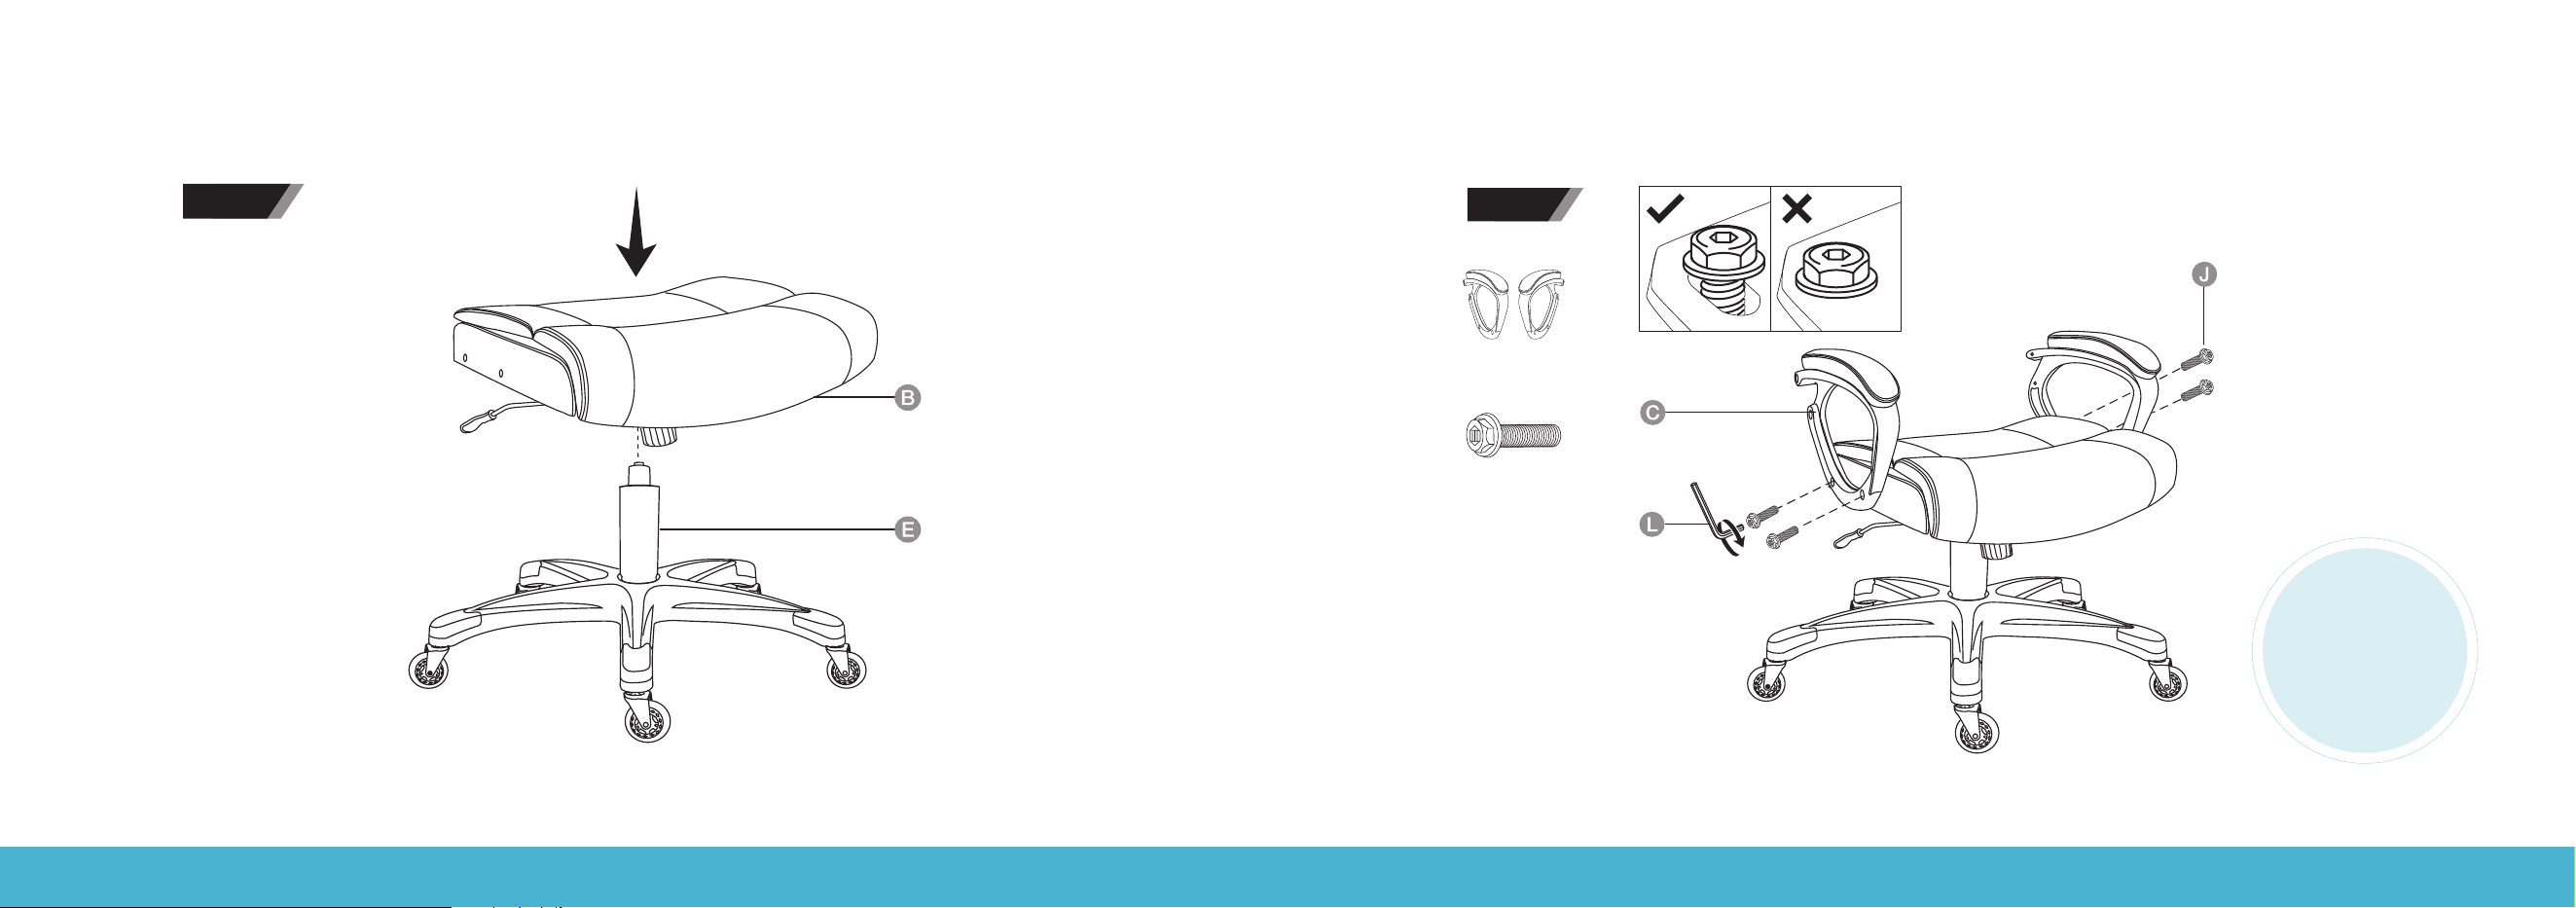
INSTALLATION INSTALLATION
H2 (x 5)
STEP 3
"
C (× 1, R/L)
J (× 4)
H2 (x 5)
STEP 4
DO NOT FULLY
TIGHTEN THE
BOLTS UNTIL
THE ASSEMBLY
IS FINISHED.
EXECUTIVE CHAIR | 10
EXECUTIVE CHAIR | 11
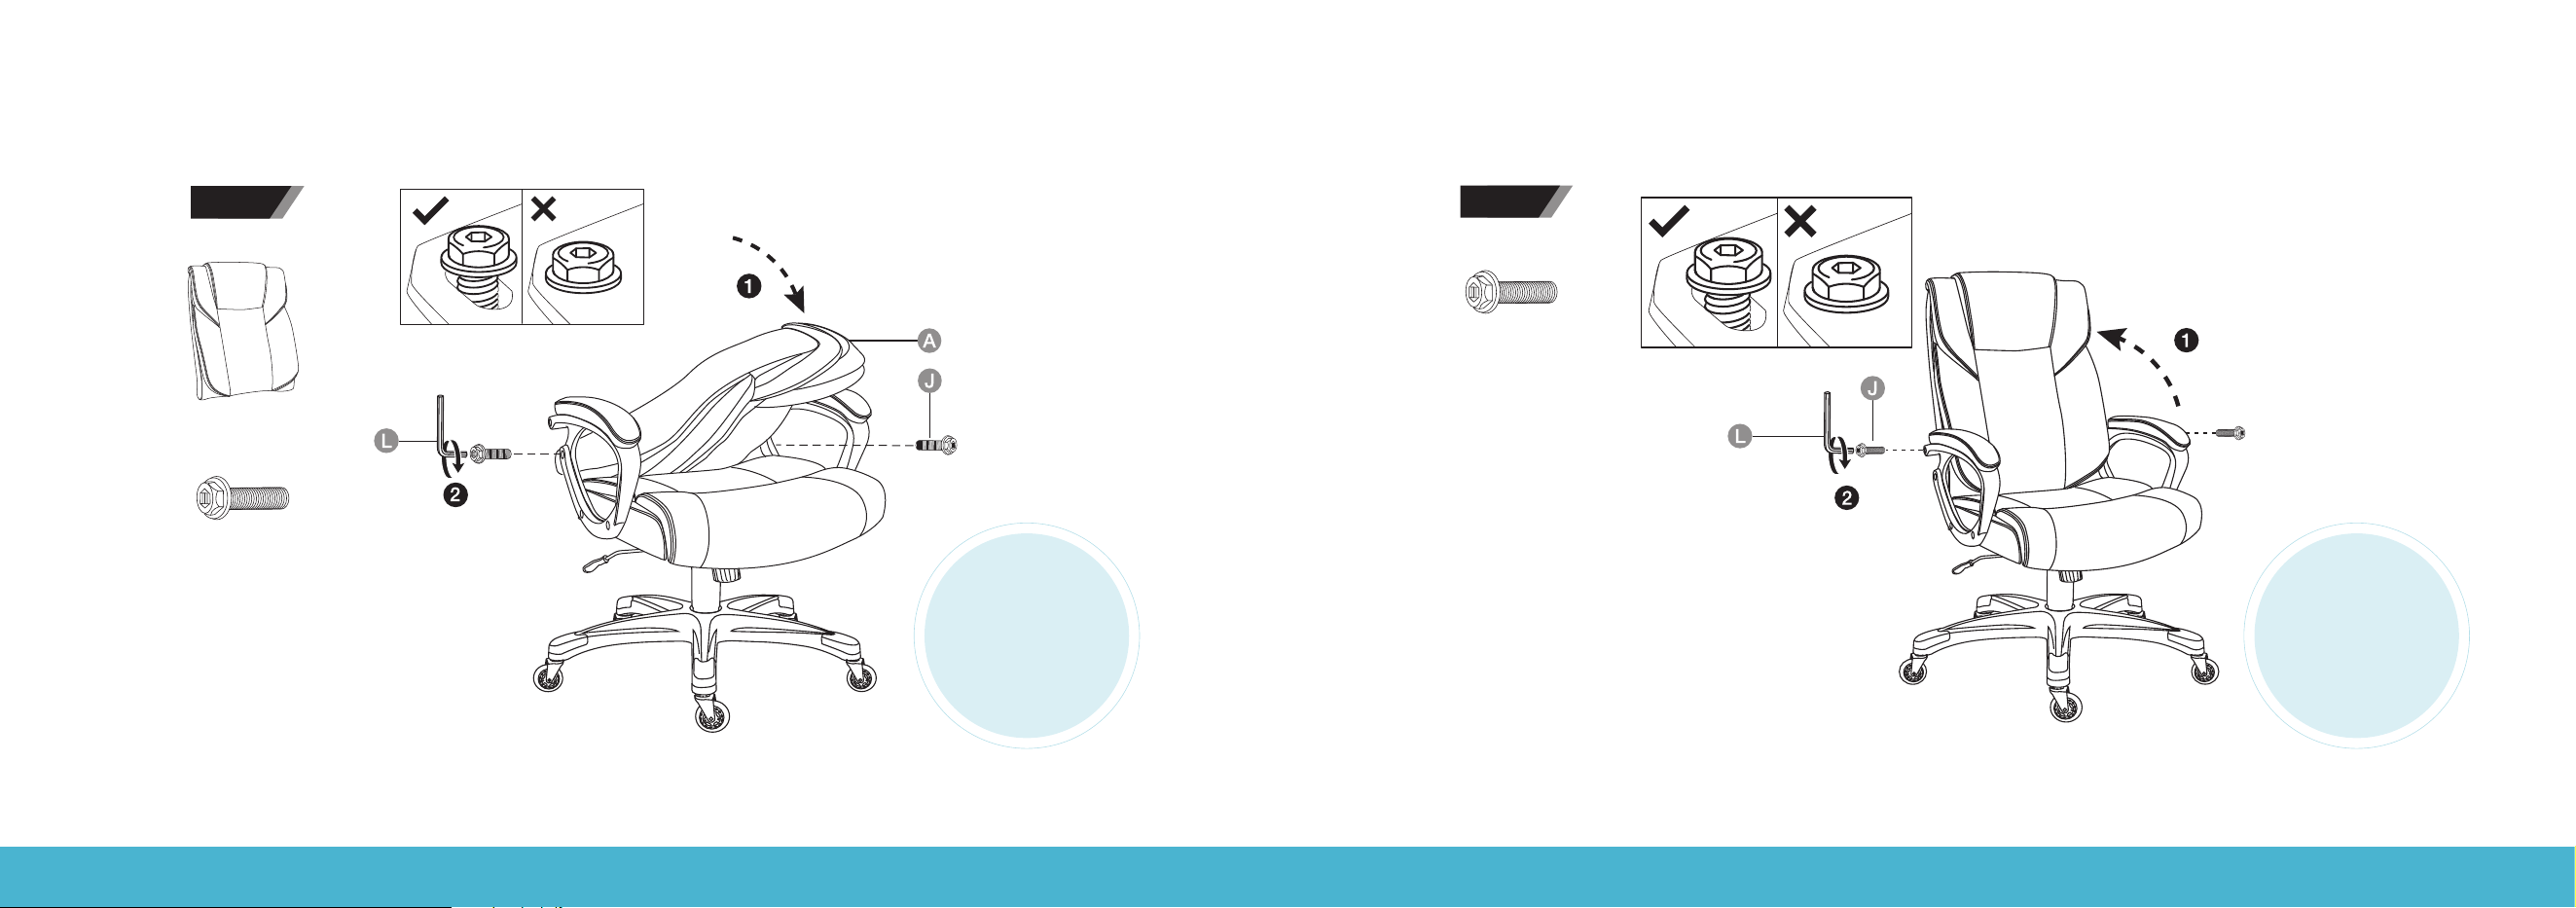
INSTALLATION INSTALLATION
A (× 1)
J (× 2)
H2 (x 5)
STEP 5
J (× 2)
H2 (x 5)
STEP 6
DO NOT FULLY
TIGHTEN THE
BOLTS UNTIL
THE ASSEMBLY
IS FINISHED.
DO NOT FULLY
TIGHTEN THE
BOLTS UNTIL
THE ASSEMBLY
IS FINISHED.
EXECUTIVE CHAIR | 12
EXECUTIVE CHAIR | 13
INSTALLATION INSTALLATION
H2 (x 5)
STEP 7
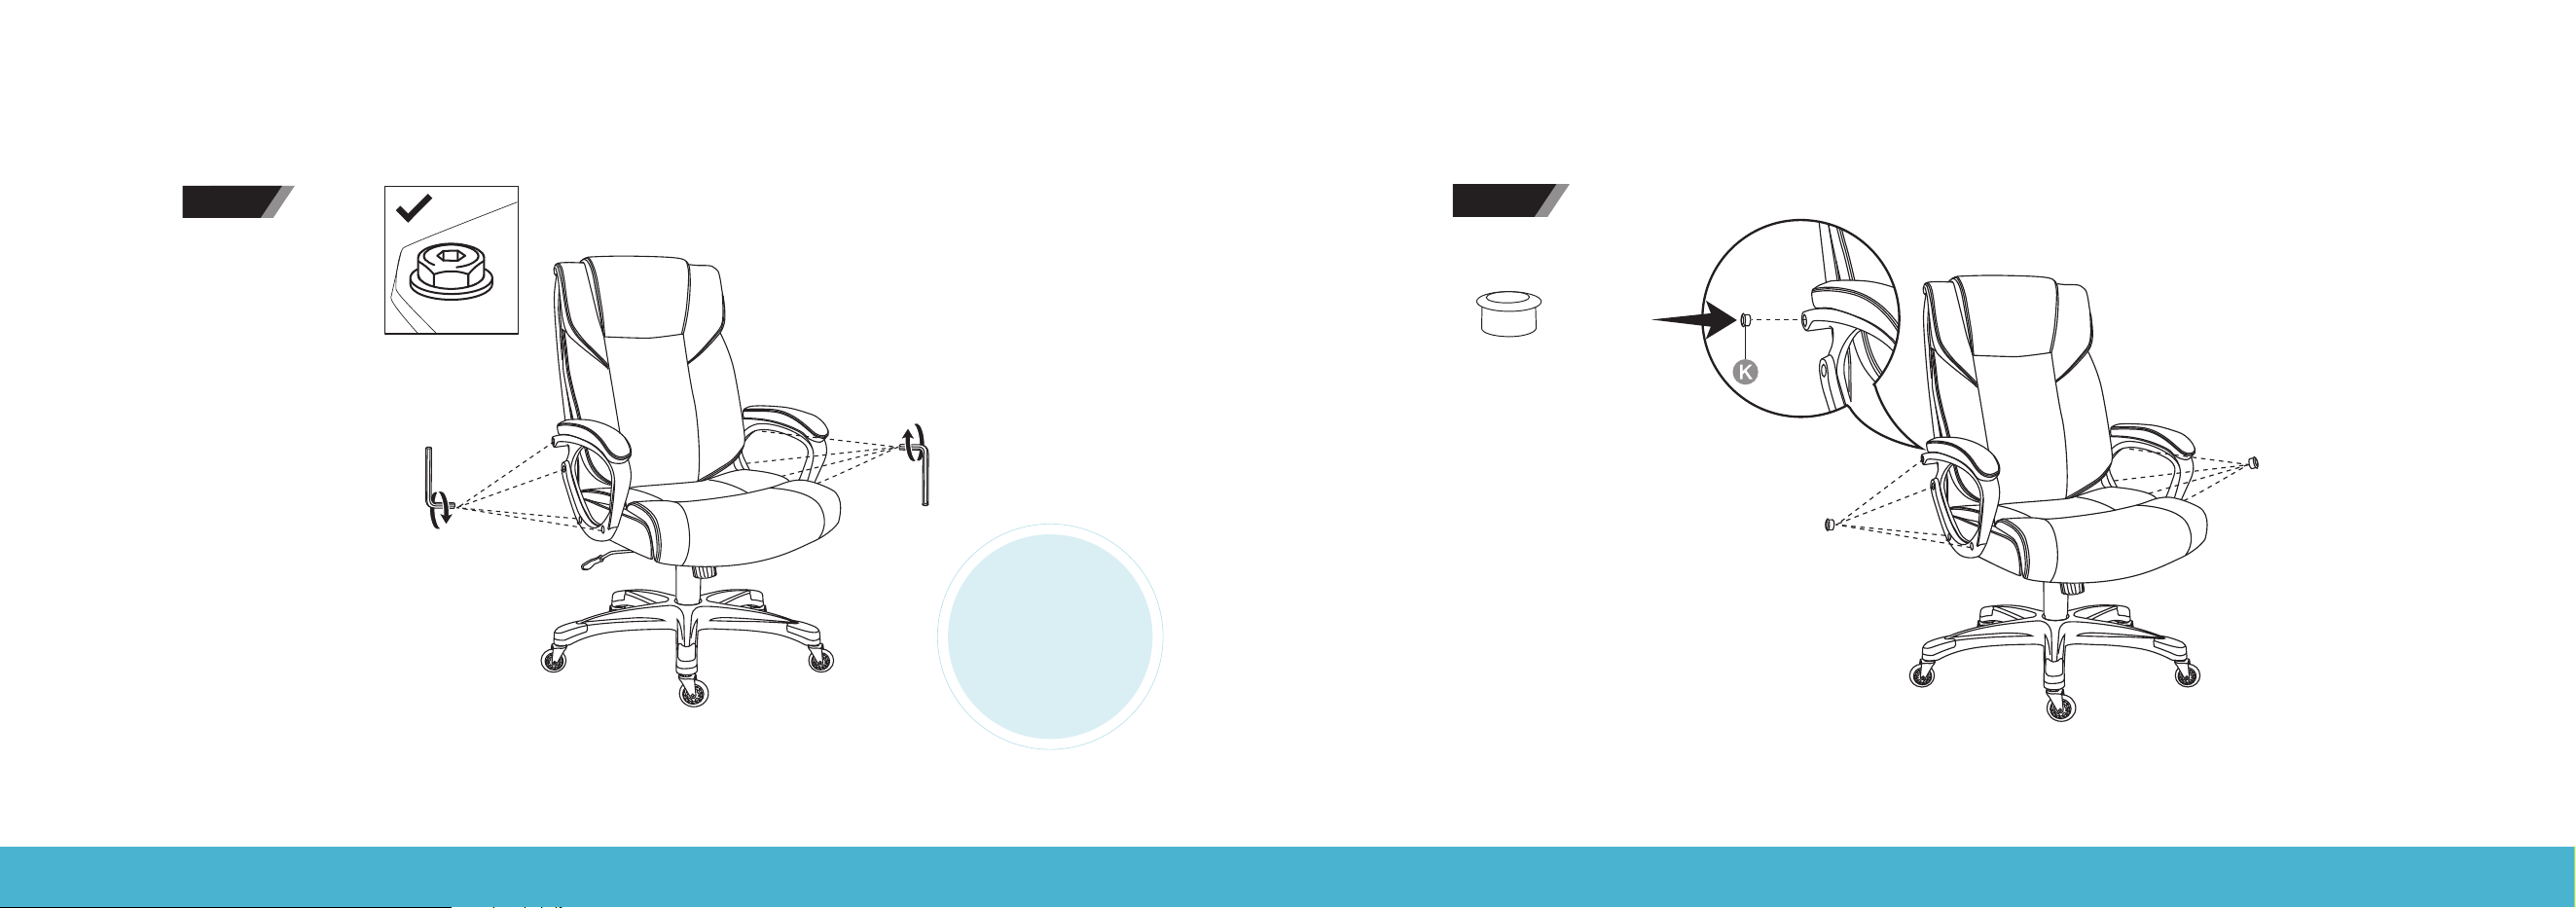
K (× 8)
H2 (x 5)
STEP 8
TIGHTEN
ALL THE BOLTS
EXECUTIVE CHAIR | 14
EXECUTIVE CHAIR | 15
OPERATION OPERATION
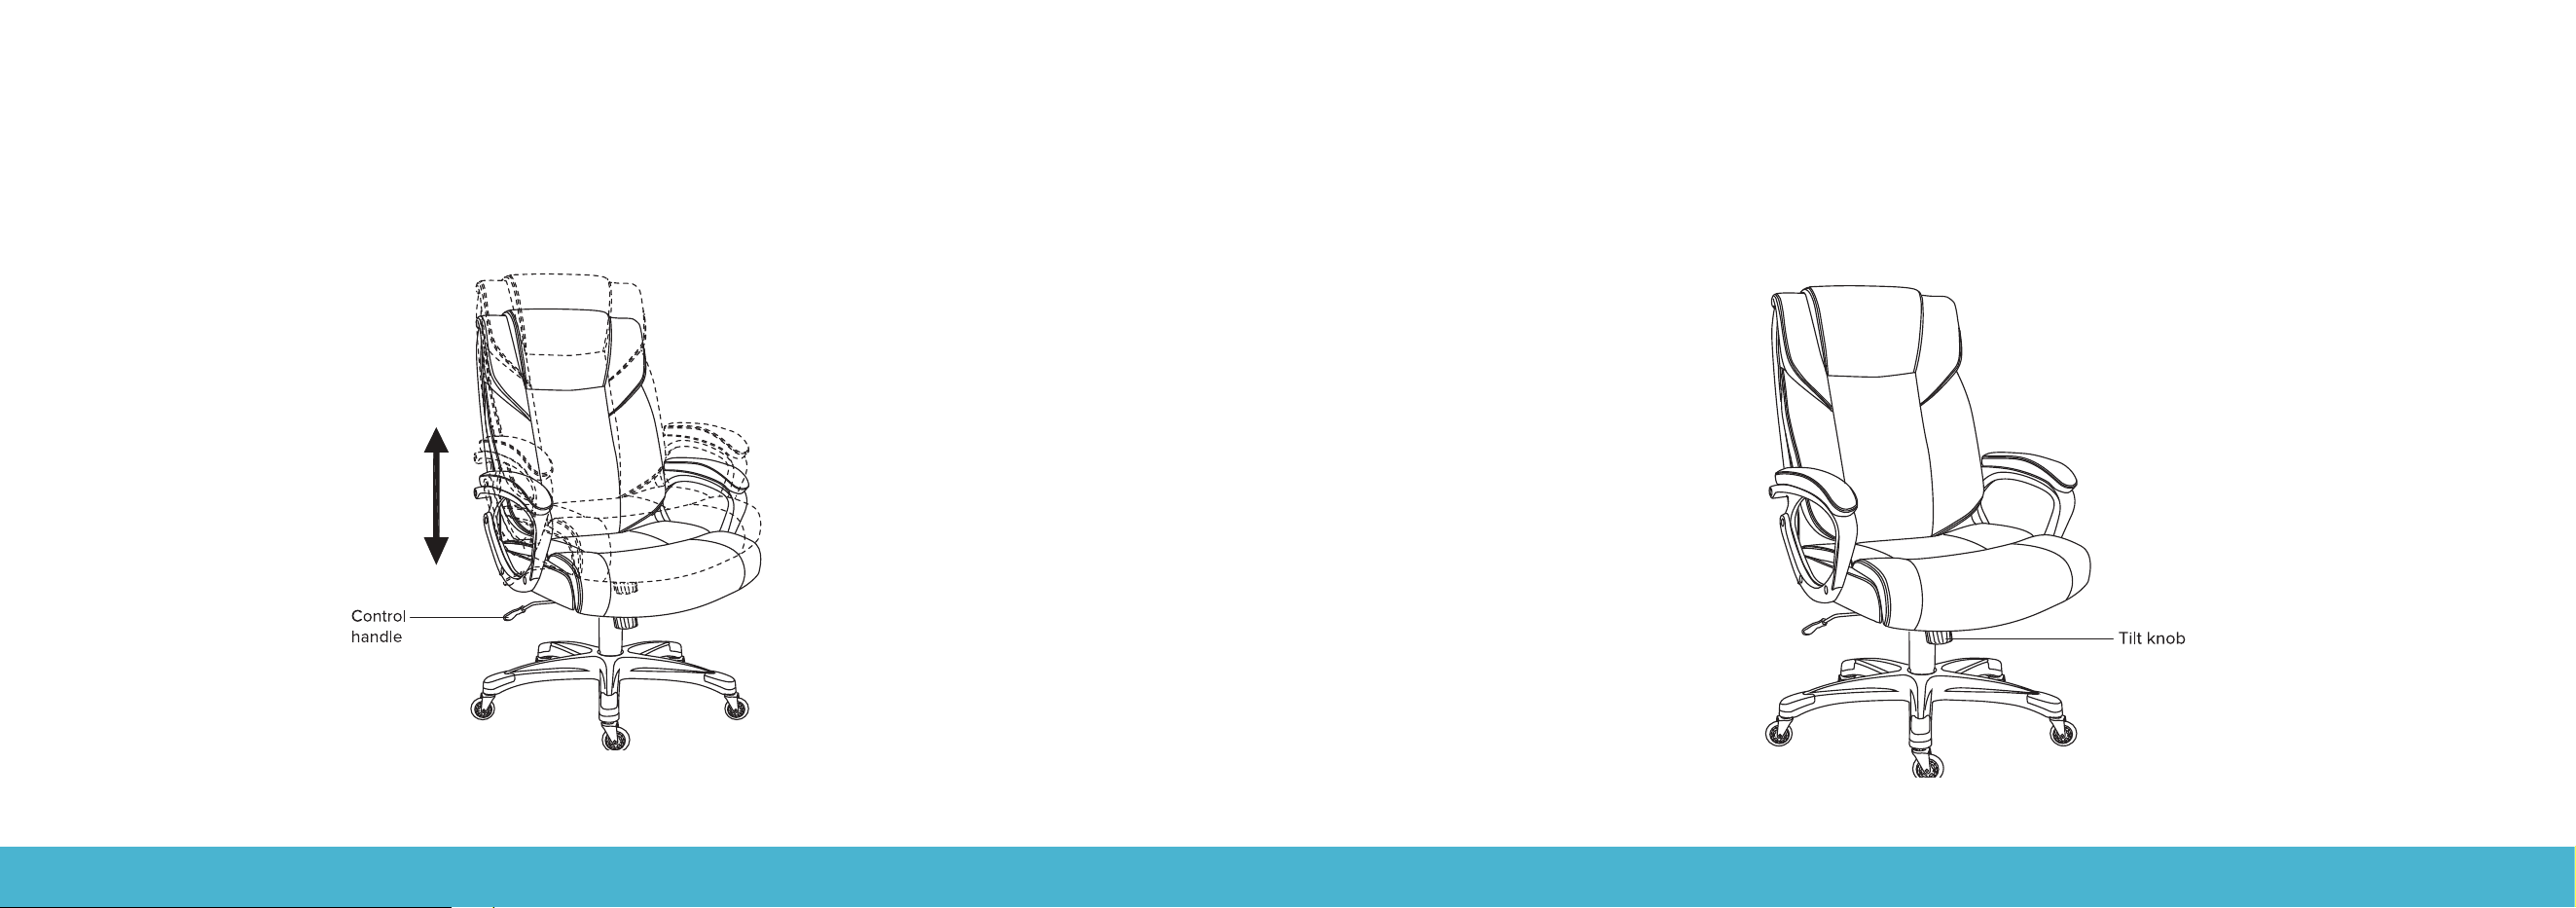
Adjust seat height
To raise your seat, lean forward to lift your body weight from the seat, then pull up the control handle.
To lower the seat, pull up the control handle while you’re seated.
Adjust the tilt tension
Turn the tilt knob clockwise to make it easier to rock your chair backwards.
Turn the tilt knob counter-clockwise to make it harder to rock your chair backwards.
Note: If your chair won’t tilt back, pull out the control handle.
EXECUTIVE CHAIR | 16
EXECUTIVE CHAIR | 17
SPECIFICATIONS
CLEANING AND MAINTENANCE
• Net weight: 33.8 lbs
• Dimensions (W × H × D): 25.8 × 42.3
–
45.5 × 28.0 inches
• For best results, simply wipe the executive chair with a moist, soft cloth.
• Do not use corrosive detergents, wire brushes, abrasive sources or sharp items to clean the executive chair.
• Regularly check that all the components and fasteners are tightened securely.
• Store the executive chair in a cool and dry place away from children and pets.
• Avoid any vibrations and shocks to the executive chair.
• Vacuum the executive chair regularly. Small dust particles are very abrasive and can damage the executive chair.
• Avoid placing the executive chair in direct sunlight as color may fade over time.
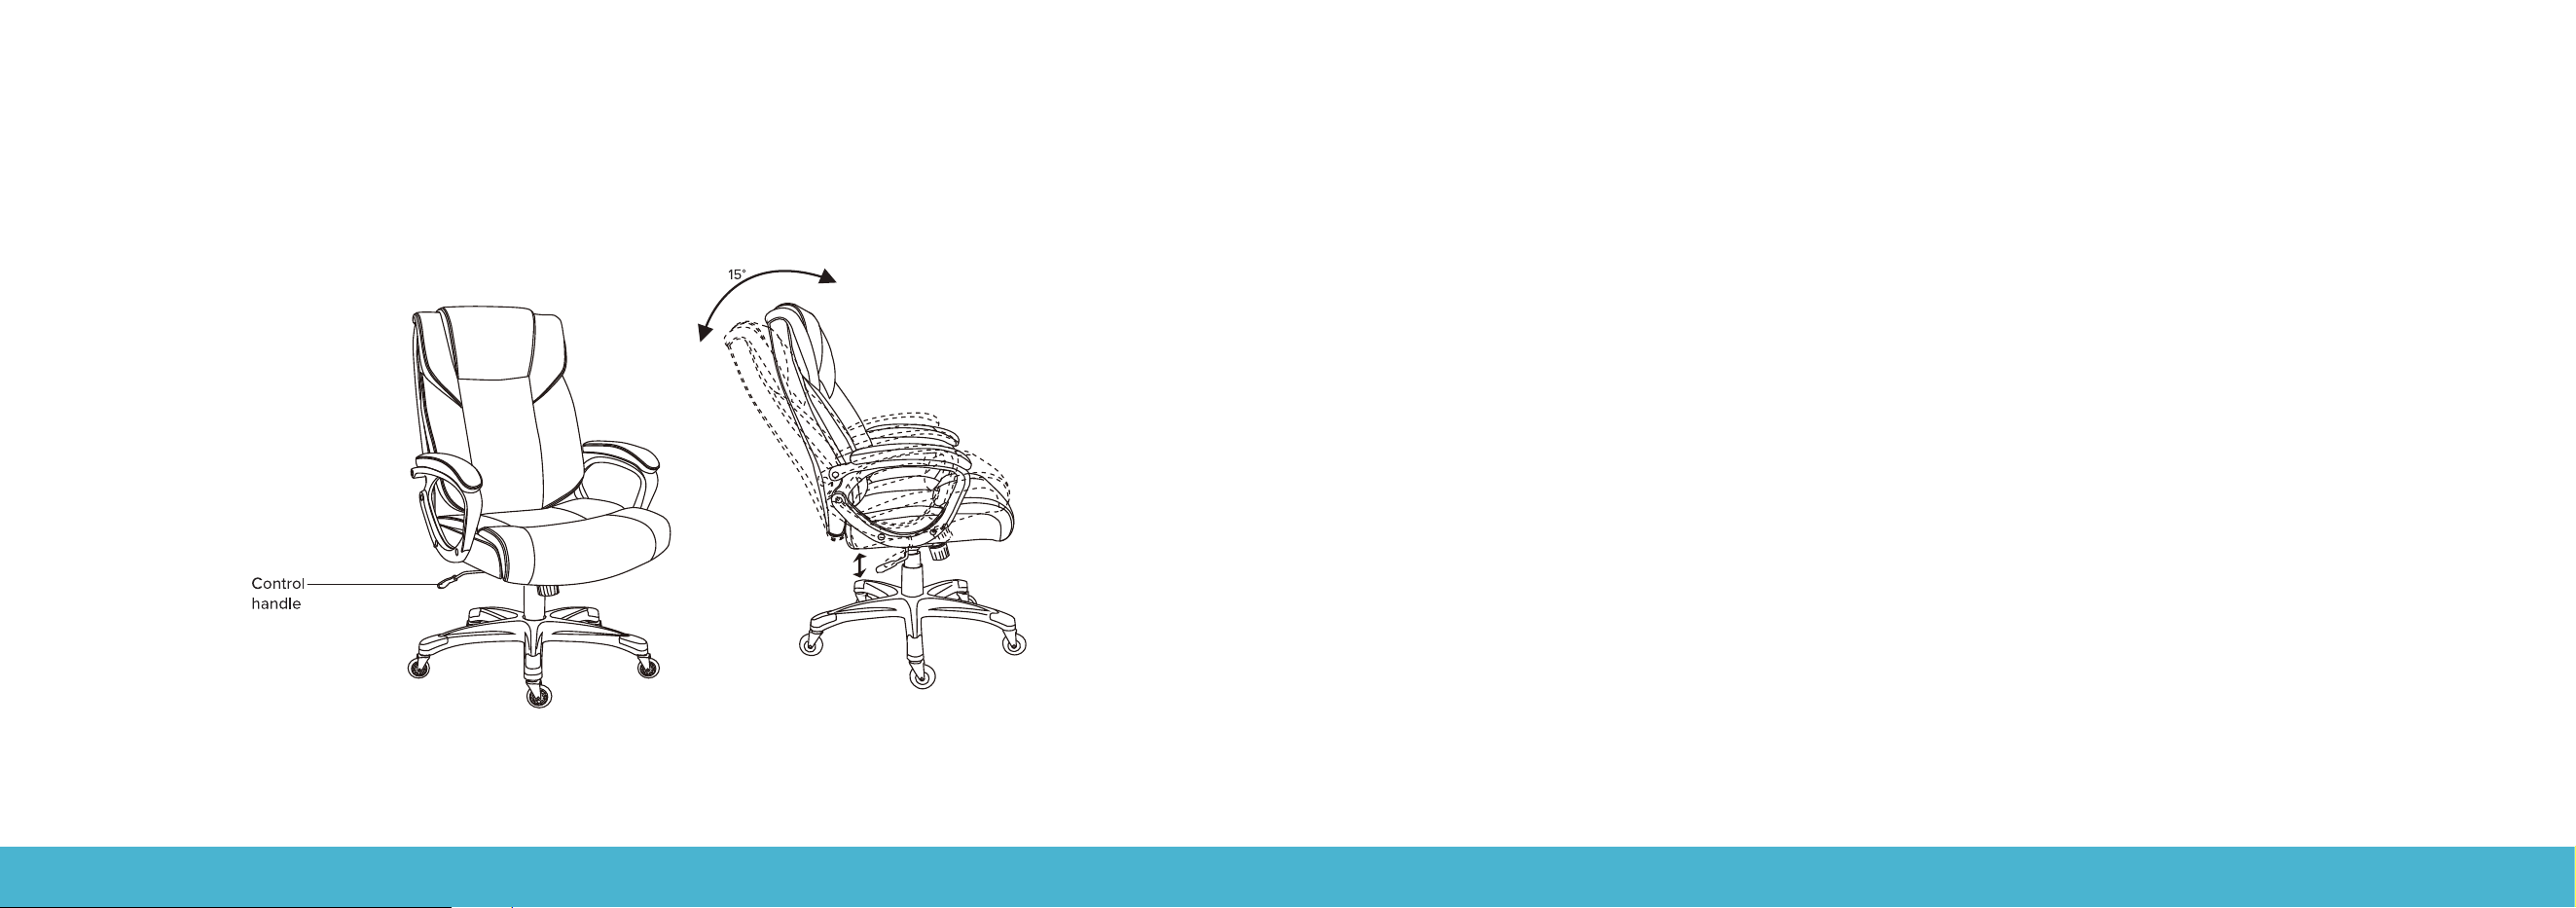
OPERATION
Operate the tilt lockout
To let your chair tilt back, pull the control handle out.
To stop your chair from tilting, sit forward, then push the control handle in.
.

EXECUTIVE CHAIR | 18
CONTACT US
RIF6 oers the 12-month warranty period on all of our products purchased new and unused from RIF6 or an authorized
reseller, with an original proof of purchase and where a defect has arisen, wholly or substantially, as a result of faulty
manufacturing, parts or workmanship during 12-month warranty period. The warranty does not apply where damage
is caused by other factors, including but without limitation: (a) normal wear and tear; (b) abuse, mishandling, accident
or failure to follow operating instructions; (c) exposure to liquid or infiltration of foreign particles; (d) servicing or
modification of the product other than by RIF6. These are our general terms for the warranty service, but we always
urge our customers to reach out to us with any issue, regardless of warranty terms. If you experience an issue with a
RIF6 product, please contact us at [email protected], and we will do our best to resolve it for you.
WARRANTY INFORMATION
WARNING
This manual is to be used with all items with the model number
RIF090101N
Keep all plastic bags away from children.

EXECUTIVE CHAIR | 20
learn more at rif6.com