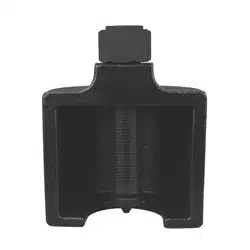

18631
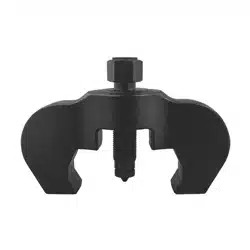
18633
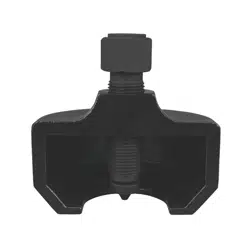
18632
PASM110
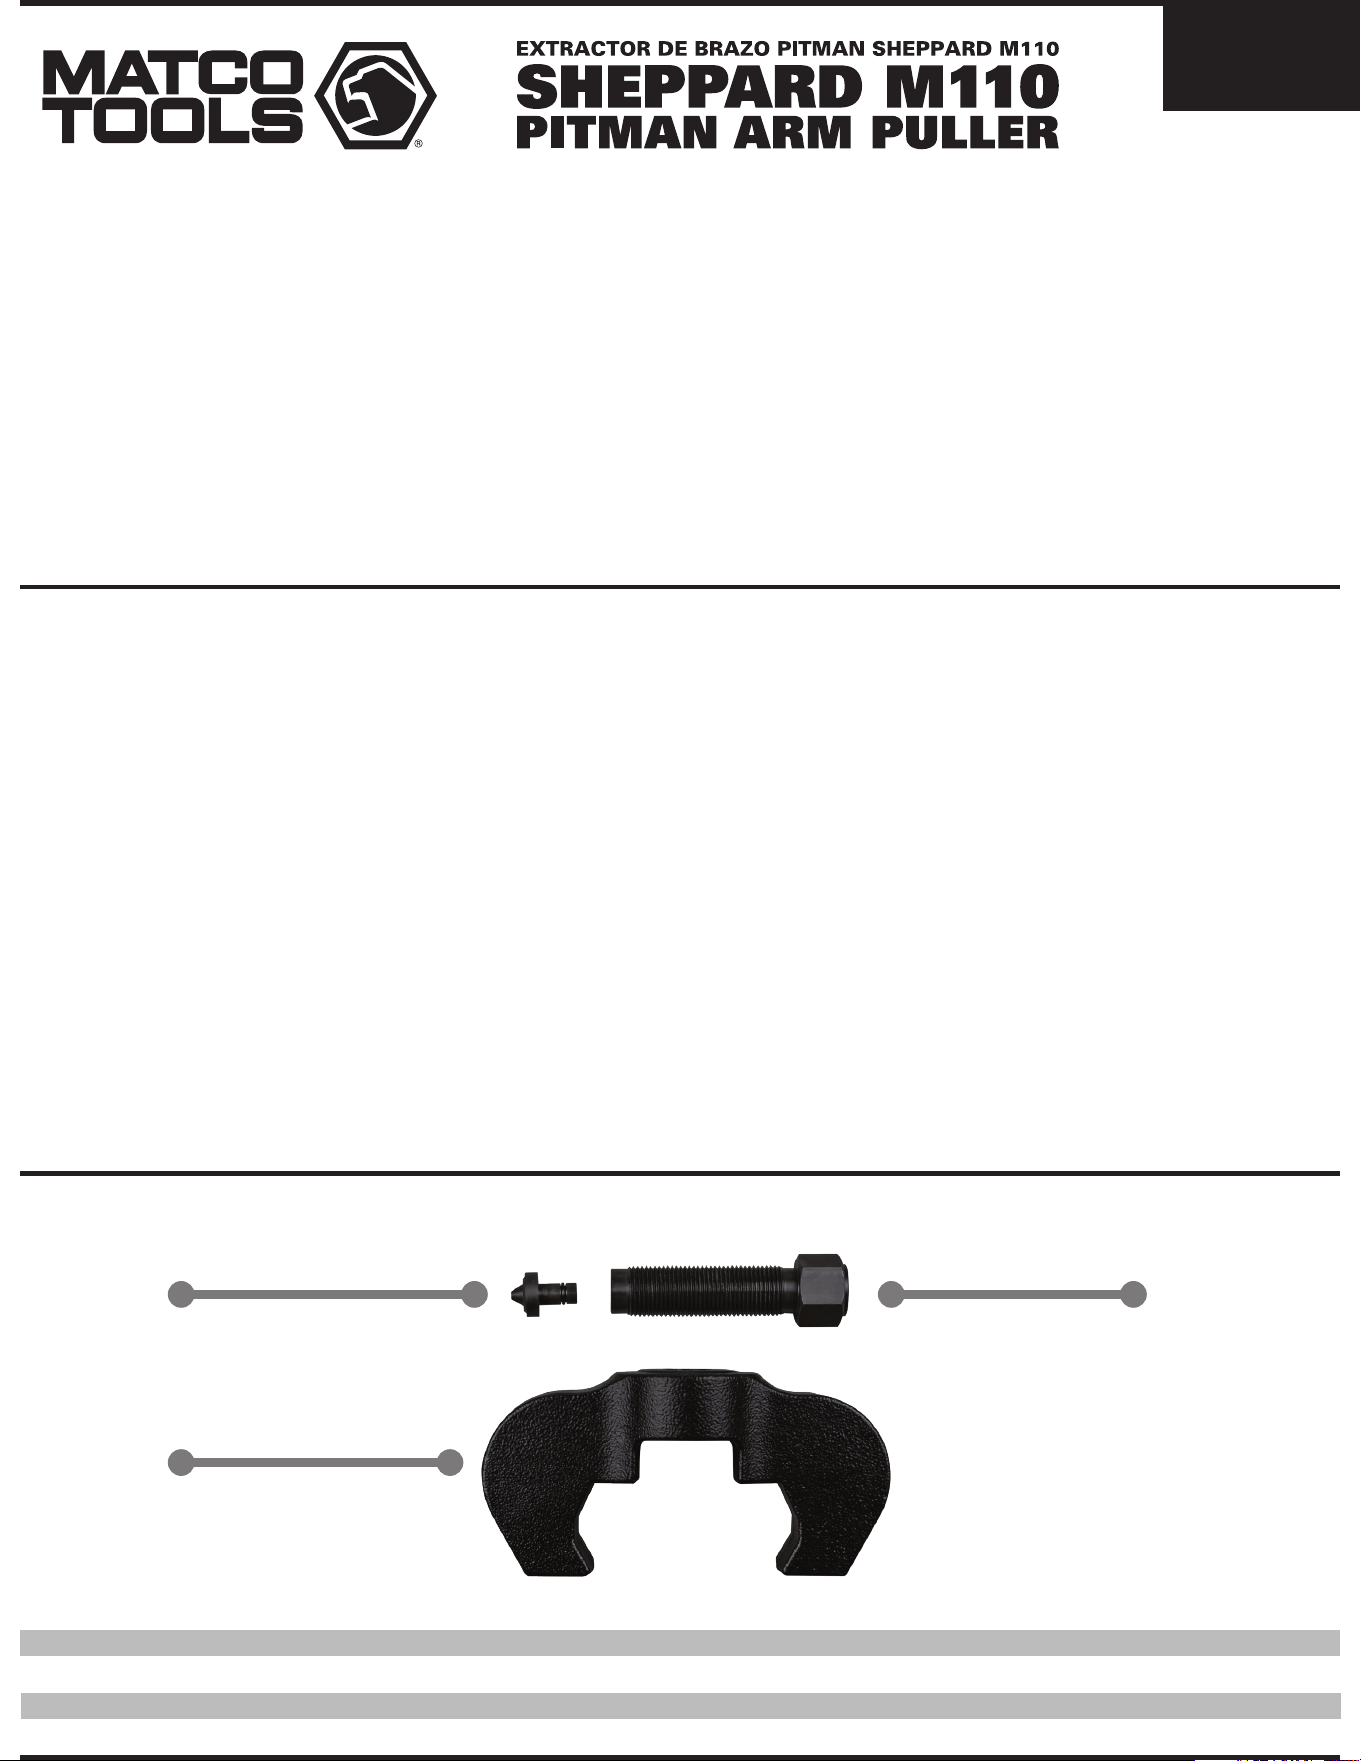
Parts Breakdown:
Part Number Description Qty.
18631 Body Sheppard M110 1
18632 Forcing Screw M110 1
18633 Push Cone/W O-Ring M110 1
2104100-17
Safety Warning:
Read all instructions and warnings before attempting to use this product.
Failure to comply can result in damage, injury, or possibly death.
Consult the vehicle’s service manual before using this product for specific removal instructions.
Note: Hammering this tool will void the warranty.
Operating Instructions:
• Stay alert! Be aware of your surroundings and use
common sense when operating this tool.
• Inspect tool for damage prior to using; do not use if
tool is in unsafe condition.
• Always use safety equipment. Approved face and eye
protection must be worn in the work area at all times.
• Keep hair, clothing, jewelry, and gloves away from any
moving parts at all times.
1. With a punch, bend the locking tabs away from the retaining bolt.
2. Loosen and remove the retaining bolt with an Allen wrench or bit.
3. Lubricate the center screw threads and the point of contact where the center screw
and the sector shaft will meet.
4. Reverse the center screw, allowing enough space for the cup to go over the pitman arm,
then slide the tool over the pitman arm.
5. Tighten the center screw by hand, keeping it aligned and centered on the sector shaft.
Note:
Be sure the tool has sufficent contact with the pitman arm to avoid slippage during the next step.
6. While maintaining proper alignment, turn the center screw with an 1/2" drive impact to
remove the arm from the sector shaft.
18631
18633
18632
PASM110
Sheppard del cuerpo M110
Tornillo de fijación M110
Cono de presión con junta tórica M110
Desglose de Piezas:
Número de la Pieza Descripción Cantidad
18631 1
18632 1
18633 1
2104100-17
Advertencias de Seguridad:
Lea todas las instrucciones y advertencias antes de intentar utilizar este producto.
El incumplimiento de ellas puede provocar daños, lesiones o posiblemente la muerte.
Consulte el manual de servicio del vehículo antes de usar este producto para obtener
instrucciones específicas de extracción.
Nota: Martillar esta herramienta anulará la garantía.
Instrucciones de Uso:
• ¡Manténgase alerta! Esté consciente de su entorno y
use el sentido común al operar esta herramienta.
• Inspeccione la herramienta en busca de daños antes
de usarla; no utilice la herramienta si no está en
condiciones seguras.
• Utilice siempre equipo de seguridad. Se debe usar en
todo momento protección facial y ocular aprobada en
el área de trabajo.
• Mantenga el cabello, la ropa, las joyas y los guantes
alejados de las piezas móviles en todo momento.
1. Con un impacto, doblar las solapas de bloqueo en el sentido contrario al perno de retención.
2. Aflojar y retirar el perno de retención con una llave o broca Allen.
3. Lubricar los hilos de roscado del centro y el punto de contacto en el que el tornillo del centro
y el eje del sector se unirán.
4. Invertir el tornillo del centro para permitir que quede suficiente espacio para que la taza pase
por encima del brazo auxiliar. A continuación, deslizar la herramienta sobre el brazo auxiliar.
5. Ajustar el tornillo del centro a mano; mantenerlo alineado y centrado con el eje del sector,
y garantizar que la taza permanezca en total contacto con el brazo auxiliar.
Nota:
Asegurarse de que la herramienta tenga suficiente contacto con el brazo auxiliar para evitar el
deslizamiento durante el siguiente paso.
6. Al tener una alineación correcta, girar el tornillo del centro con un impacto de tracción de 1/2"
para retirar el brazo del eje del sector.

18631
18633
18632
PASM110
Corps Sheppard M110
Vis de force M110
Cône de poussée/avec joint torique M110
Répartition des pièces :
Numéro de pièce Description Qté.
18631 1
18632 1
18633 1
2104100-17
Avertissement de sécurité :
Lisez toutes les instructions et avertissements avant d'essayer d'utiliser ce produit.
Le non-respect de cette consigne peut entraîner des dommages, des blessures ou
éventuellement la mort.
Consultez le manuel d’entretien du véhicule avant d’utiliser ce produit pour obtenir
des instructions de retrait spécifiques.
Remarque : Marteler cet outil annulera la garantie.
Instructions de fonctionnement :
• Restez attentif! Soyez conscient de votre environnement
et faites preuve de bon sens lorsque vous utilisez cet outil.
• Inspectez l'outil pour déceler tout dommage avant de
l'utiliser; ne pas utiliser si l'outil est dans des conditions
dangereuses.
• Utilisez toujours un équipement de sécurité. Une
protection du visage et des yeux approuvée doit être
portée à tout moment dans la zone de travail.
• Gardez les cheveux, les vêtements, les bijoux et les gants
éloignés de toute pièce en mouvement à tout moment.
1. Avec un poinçon, pliez les languettes de verrouillage loin du boulon de retenue.
2. Desserrez et retirez le boulon de retenue avec une clé Allen ou un embout.
3. Lubrifiez les filetages de la vis centrale et le point de contact où la vis centrale et l'arbre
du secteur se rencontreront.
4. Inversez la vis centrale en laissant suffisamment d'espace pour que la coupelle passe sur
le bras pitman, puis faites glisser l'outil sur le bras pitman.
5. Serrez la vis centrale à la main, en la gardant alignée et centrée sur l'axe du secteur.
Remarque :
Assurez-vous que l'outil est suffisamment en contact avec le bras du pitman pour éviter
tout glissement lors de l'étape suivante.
6. Tout en maintenant un alignement correct, tournez la vis centrale avec un impact d'entraînement
de ½" pour retirer le bras de l'arbre du secteur.