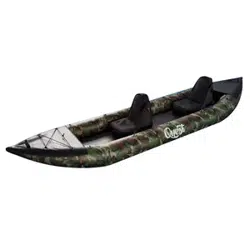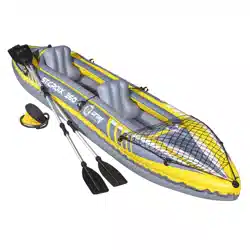
INFLATABLE TWO PERSON KAYAK, BLUE/YELLOW/WHITE,
PUMP, BAG, 2 X PADDLES
Model No: DL155
Thank you for purchasing a Dellonda product. Manufactured to a high standard, this product will,
if used according to these instructions, and properly maintained, give you years of trouble free performance.
www.dellonda.co.uk
DL155 Issue 4 10/05/24
SPECIFICATION
INTRODUCTION
Congratulations on your purchase of an inatable Kayak/Canoe. Please read this manual carefully before inating, assembling or using
your Kayak/Canoe. Familiarise yourself with the features of the Kayak/Canoe and ask for professional training if you are inexperienced
in handling this type of Kayak/Canoe.
For your full enjoyment it is important to follow proper safety procedures and rules of the waterway that apply to all kayaks. Always
check the local weather conditions before taking the Kayak/Canoe out. Do not let yourself get caught out by currents in tidal inlets,
open seas, small channels or shallow water regions. Always use materials of good quality and of the correct specications whenever
Working on the Kayak/Canoe. Maintenance work and repairs on the kayak should be implemented only by qualied personnel.
IMPORTANT: Store this manual in a dry safe place in your Kayak/Canoe, also hand this manual over to the new owner when selling the
Kayak/Canoe. If this is your rst water craft, or you are not familiar with this type of watercraft, please ensure that you obtain handling
and operating experience before using. Your stockist or national sailing federation, or yacht club will be pleased to advise you of local
sea school or competent instructors.
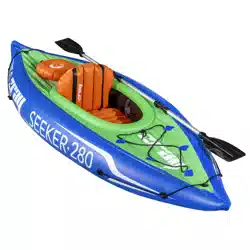
The following illustration below will introduce details of the watercraft, the equipment supplied or tted. Please be familiar with each
part of the watercraft before using. See g.1. The Kayak/Canoe is designed for voyages on small lakes, rivers and canals, where
conditions are up to including wind force 4 and signicant wave heights up to and including 0,5m.
CONTENTS
All boats have a CIN (Craft Identication Number)
and a manufacturer plate. DO NOT alter, cover or
remove the CIN. It may invalidate the warranty and
maybe illegal. (Depending on local laws in your
country). Record the CIN of your boat and keep it
in a safe place with this instruction manual.
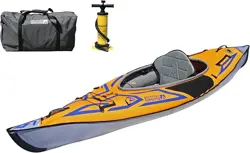
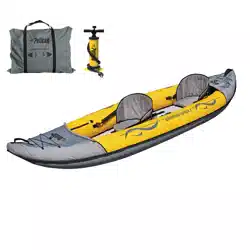
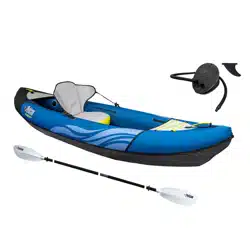
Accessories Included with Kayak/Canoe
Removable PVC seat 2
Foot pump 1
Aluminium Paddle 2
Footrest 1
Repair patch 2
Bag 1
Important Information
Please read these instructions carefully. Note the safe operational requirements, warnings & cautions. Use the product correctly and with care
for the purpose for which it is intended. Failure to do so may cause damage and/or personal injury and will invalidate the warranty. Keep these
instructions safe for future use.
Refer to
instruction
manual
MODEL NO: DL155
Colour: Blue/Yellow/White
Maximum Load Capacity: 160kg/352lbs
Maximum Number of Persons Two
Net Weight: 11.5kg
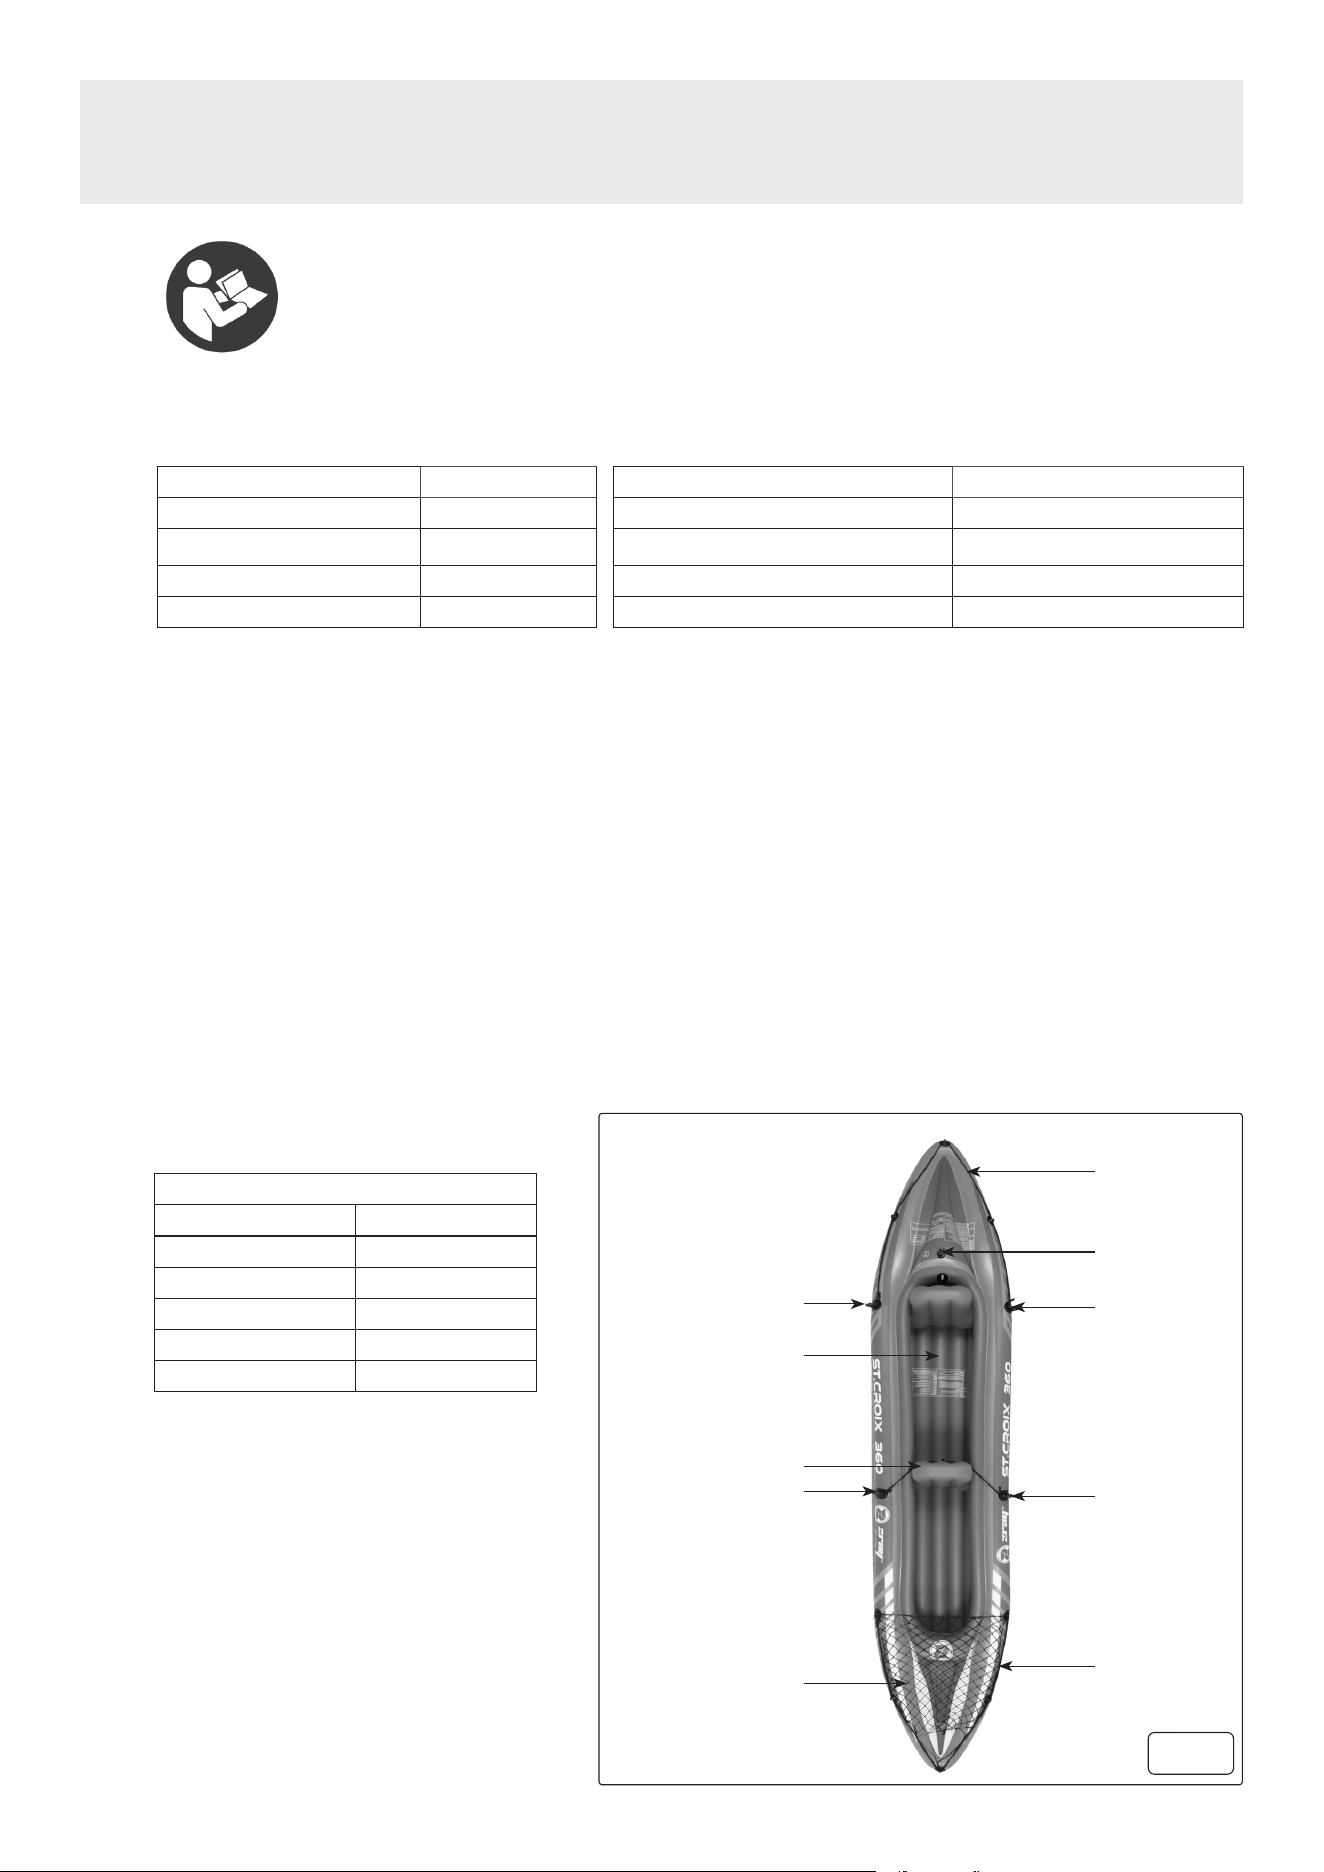
Ination valve
I-Beam Inatable Floor
Removable PVC Seat
fig.
1
Cargo net
Product Depth (Front to Back): 350cm
Product Dimensions (W x D x H): 3500 x 780 x 520mm
Product Height (Floor to Top): 52cm
Product Width (Side to Side): 78cm
Maximum Working PSI: 0.725psi
Paddle Storage
Paddle Storage
Paddle Storage
Paddle Storage
Grab Line
Grab Line

SAFETY INSTRUCTIONS
WARNING! The warnings, cautions and instructions in this manual cannot cover all possible conditions and situations that may occur.
It must be understood by the operator that common sense and caution are factors which cannot be built into this product, but must be
applied by the operator.
This manual explains the proper use of your Kayak/Canoe, please read it carefully before using even if you are familiar with the product.
The manual should be kept in a safe place for future reference.
GENERAL SAFETY
READ THESE INSTRUCTION
9 Keep away from re.
9 This is not a life saving device. Use only under competent supervision.
9 Never allow diving/jumping into this product.
9 Never leave in or near the water when not in use.
9 Never tow from any vehicle.
9 Adult assembly and operation required.
9 Adults should inate the chambers numbered. Excessive inating the Kayak/Canoe can cause the chambers to burst or cause damage
to the welded seams.
9 Take the kayaking safety course and get hands-on training from your local kayaking authorities. Review all safety requirements regularly.
9 Never navigate alone.
9 A Personal Flotation Device (PFD) is required for each passenger. It is especially important that children and non-swimmers wear a
Personal Flotation Device at all times. Children and non-swimmers need special instruction in the use of PFD.
9 Care should be taken when stepping or climbing into the Kayak/Canoe. Step into the centre of the Kayak/Canoe for maximum stability.
Distribute the weight of passengers, gear, tackle box and accessories (if applicable) evenly so that the Kayak/Canoe sits even front to
back and each side.
8 DO NOT use your Kayak/Canoe if you suspect it has a puncture or an air leak. It might be unsafe and is dangerous.
WARNING! Beware of offshore winds and under-currents.
WARNING: It is the responsibility of the Kayak/Canoe operator to identify and obey all local and state laws pertaining to Kayak/Canoe
safety and required safety equipment. Please consult your local authorities to ensure compliance.
8 DO NOT allow unattended children in the Kayak/Canoe. Always make sure that at least one responsible adult is supervising all children
and those who don’t know how to swim at all times.
9 Always maintain the proper Kayak/Canoe safety equipment in an easily accessible place. Indicate clearly emergency phone numbers
as well as safety advisories and rules (such as “No jumping or Diving”).
9 The total number of persons and total weight shall not exceed the information printed on the Kayak/Canoe. DO NOT exceed the
maximum recommended capacities. Overloading violates regulations, and is dangerous.
8 DO NOT place the Kayak/Canoe against or near any open ames, heaters, furnaces or other hot objects.
WARNING! Children must not be left unattended when using the Kayak/Canoe. Use only under adult competent supervision.
9 Keep pets away from Kayak/Canoe. Pets may tear or puncture the Kayak/Canoe.
9 Children shall not play with the Kayak/Canoe.
Note: Follow these rules to avoid drowning, paralysis or other serious injuries.
If you are kayaking on waterways in England or Wales it is best to get a waterway licence. Although some waters do not require a
licence, if you are planning to travel about you will appreciate knowing that you are always covered.
The licence is not expensive, and the money goes towards the upkeep of the waterways to keep them safe by improving access points
and taking care of the environment. You can get a licence from British Canoeing UK for £45 per year (2023) that will also include civil
liability insurance or go direct to the Environment Agency.
Many people take their dogs kayaking and there is something rather lovely about sharing a relaxing time with your pooch. Remember
to make sure they are wearing their own buoyancy aid as if they fall or jump in the water it can be impossible to get them back aboard
without a handle to grab. It’s a good idea to take your mobile phone with you when out on the water and let someone know where you
are going in case of an emergency.
OPERATION
TO INFLATE KAYAK/CANOE
WARNING! Please read the following instructions before inating Kayak/Canoe.
• Remove the Kayak/Canoe from it’s storage bag.
• Lay out Kayak/Canoe onto the oor ensuring there is no sharp objects underneath and there is enough space around the Kayak/Canoe
to inate.
• With your inator/foot pump, inate the numbered panel sections indicated in the Kayak/Canoe.
8 DO NOT use high-pressure air compressors. It’s very important to follow the numbered sequence: Failure to do so will result in an
improperly inated Kayak/Canoe. Fill each chamber until it is rm.
INFLATING THE SCREW VALVE
1). Insert valve ring retainer into the groove on the thread.
2). Screw the middle part of the valve into the thread. Inate Kayak/Canoe using the supplied air pump.
3). Screw the valve cap tight after inating.
1
2
3
Groove
INFLATING THE FOOTREST
4). Inate the footrest to capacity.
5). After inating the footrest insert the footrest into the front cabin section.
6). Prop up the footrest when paddling.
WARNING! If the Kayak/Canoe is inated during cold weather or without direct sunlight on the tubes, care must be taken not to over-
inate the tubes. As the air inside the tubes heats up due to temperature rises or sunshine, the pressure will increase. The Kayak/Canoe
is not tted with safety valves, ensure the pressure is monitored at all times.
CAUTION: DO NOT over inate, or use a high-pressure pump/compressor!
ASSEMBLY OF THE PADDLE
Take a Paddle Coupler (C) unscrew a few turns each side of the two screw collars. Take a paddle blade (A) and the shaft (B). Insert into
the coupler and tighten up the screw collars. Repeat the same steps to assemble the other side of the paddle. See illustration below:
PREPARATION BEFORE DEPARTURE
Acquire necessary information and inform other passengers:
9 Get information on local laws, regulation and hazards related to water activities and kayak/Canoe operation.
9 Check weather forecast, local currents, tides and wind conditions.
9 Advise someone on land of the time you plan to be back.
9 Keep a fully charged mobile phone in a dry place inside the Kayak/Canoe.
9 Explain basic Kayak/Canoe operation to all passengers.
9 Be sure that at least one of your passengers can operate the Kayak/Canoe in case of an emergency.
9 Learn how to determine the distance you can cover, and remember that bad weather conditions can alter this.
WORKING CONDITION OF THE KAYAK/CANOE
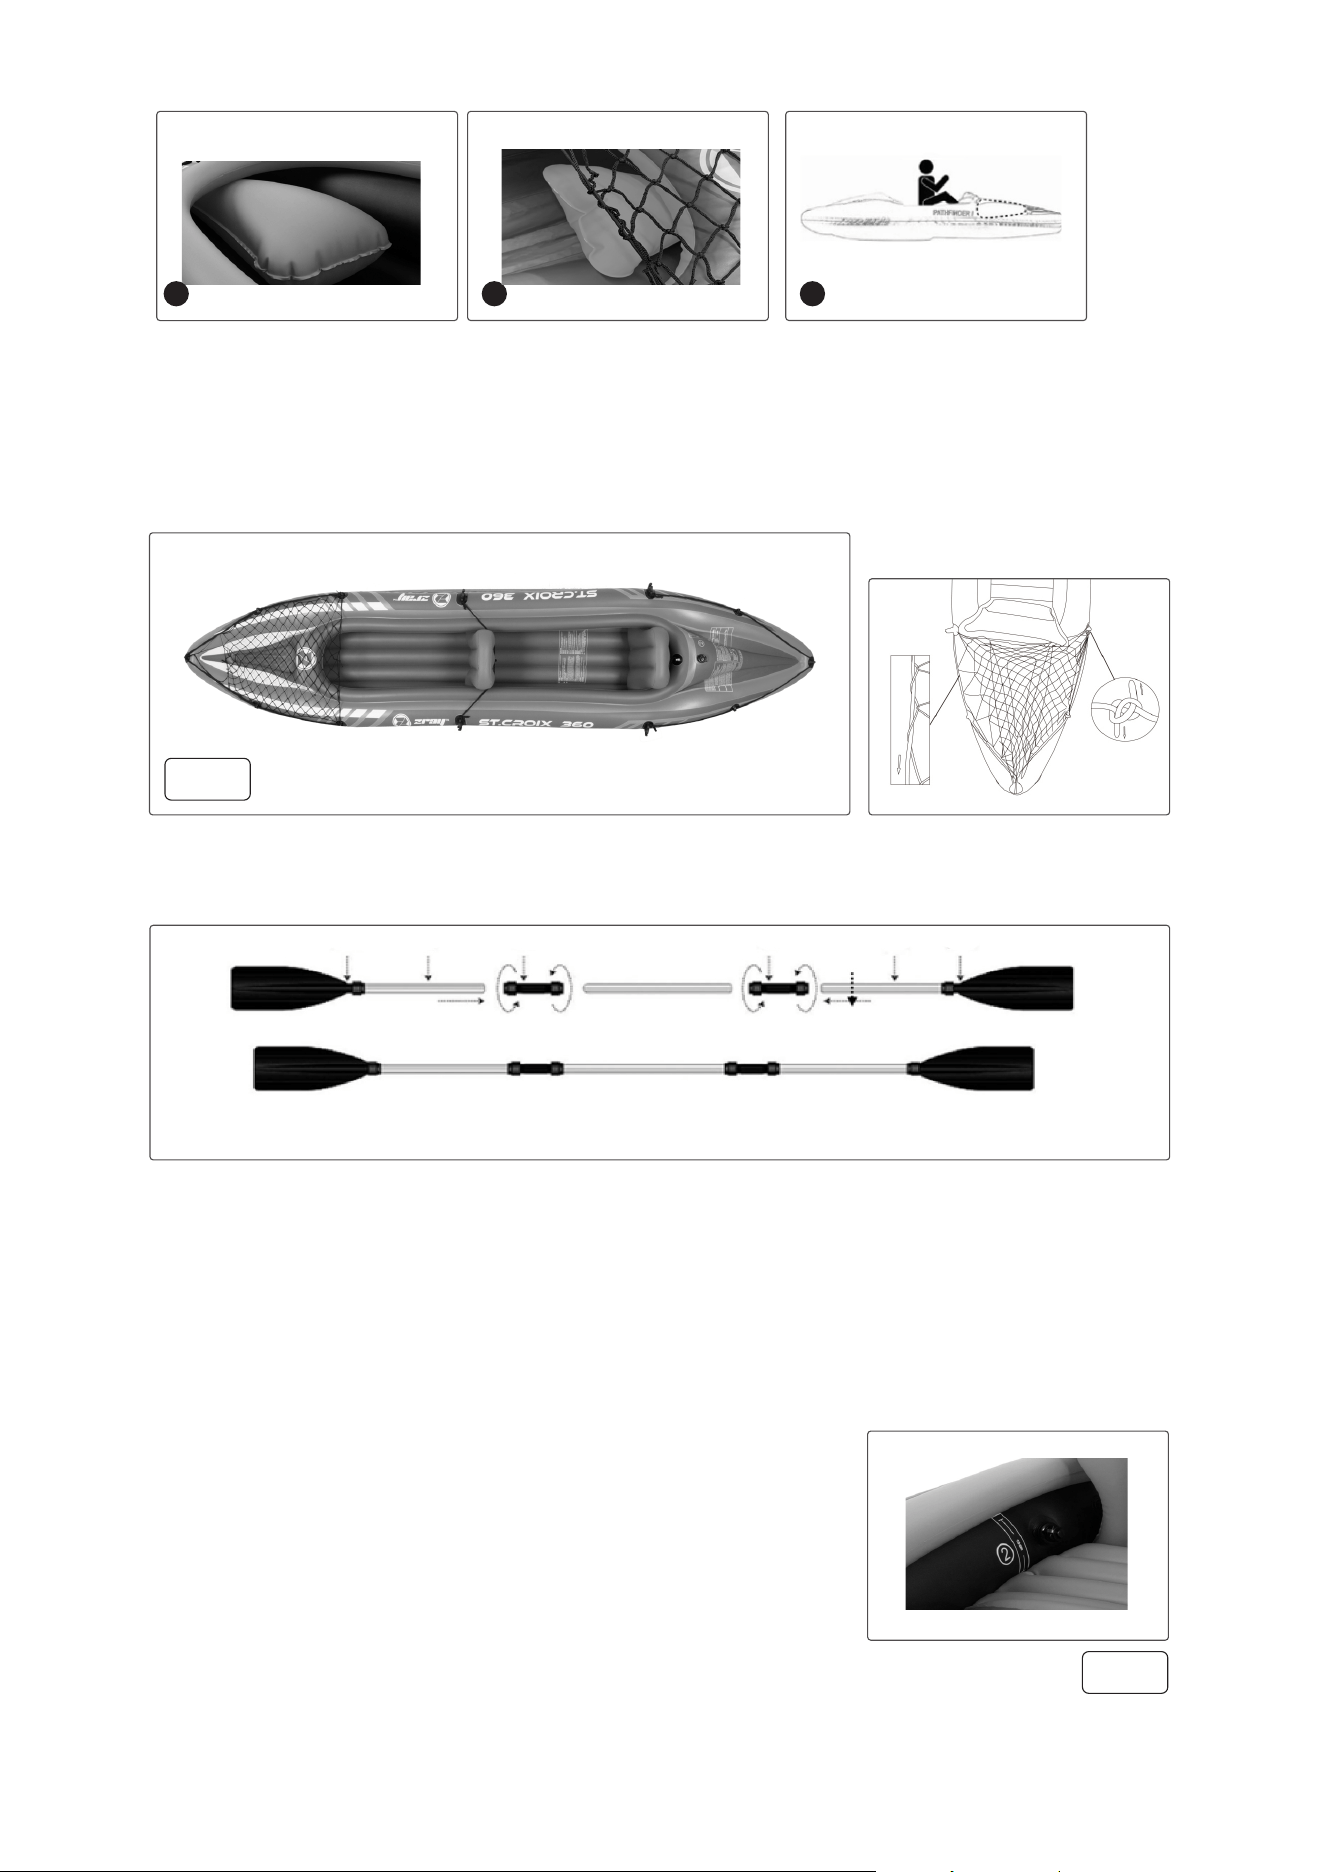
9 Check ination pressure. Use printed mark beside the valve in the Kayak/Canoe to
check the main chamber for proper ination. When the size is correct the printed mark
should measure 10cm approximately, use a plastic ruler to check. See g.3. Continue
to inate the rest of the chambers until rm and supportive. DO NOT over inate.
9 Check all safety valves.
9 Check the load is evenly distributed on deck of Kayak/Canoe: Front to back and both
sides.
9 Check the footrest does not entangle the feet of the occupants in the event of a
capsize.
CHECK THAT THE REQUIRED SAFETY EQUIPMENT IS ON BOARD (CHECK THE
LAWS AND REGULATIONS OF THE COUNTRY OR LOCALITY IN WHICH YOU’RE KAYAKING)
9 One Personal Flotation Device (PFD) for each passenger.
9 The air pump, paddles, repair kit.
9 The mandatory equipment.
9 The Kayak/Canoe papers and your kayaking license (if applicable).
9 Lights are required if operating after dark.
A: Paddle Blade B: Shaft C: Coupler
A B C C B A
4 5 6
Cargo net is tted on the front of the Kayak/
Canoe as shown in g.2.
fig.
2
fig.
3

RULES TO OBSERVE DURING NAVIGATION
9 Be responsible and strictly follow safety rules.
9 Learn to keep control of the Kayak/Canoe.
9 Respect local regulations and practices.
9 Navigate on ‘‘sheltered water only’’.
9 Keep away from re. DO NOT smoke on board.
9 Weather conditions can rapidly deteriorate. Always be sure that you can reach land rapidly.
8 DO NOT drink alcohol or take drugs before or while operating your Kayak/Canoe.
9 Make sure your passengers remain seated.
8 DO NOT ride on the bow. Bow riding is extremely dangerous.
WARNING! Be very careful when landing the Kayak/Canoe. Limbs may get hurt when hanging off the Kayak/Canoe.
WARNING! Always avoid areas where divers/swimmers are in the water. Keep a sharp lookout especially when operating near beaches
and launch sites. The Alpha ag indicates proximity of divers. You MUST stay a good distance away (minimum 50 meters).
DISASSEMBLY
9 Remove all the accessories from the kayak: paddles, repair-kit.
9 Open all valves and deate the Kayak/Canoe completely.
9 Fold the Kayak/Canoe (make sure that the Kayak/Canoe is clean and dry). (See the Maintenance & Storage chapter below).
9 Put Kayak/Canoe, air pump, and paddles away in storage bag.
DEFLATING THE KAYAK/CANOE
9 Let all the air escape by lightly pressing the top of the Kayak/Canoe until all the air has been let out from the Kayak/Canoe. Once all the air
has escaped from the Kayak/Canoe lightly fold the Kayak/Canoe away in storage bag.
MAINTENANCE AND STORAGE
9 Depending on the parts usage, keep some spares available, consult your local agent for factory authorised parts when servicing your
Kayak/Canoe.
9 Clean your Kayak/Canoe after use to prevent damage from sand, salt water or sun exposure.
8 DO NOT use solvents to clean Kayak/Canoe, solvents may damage material or plastic components. Use a garden hose, sponge, and
mild soap to clean Kayak/Canoe. Make sure it is completely clean and dry before storing away. Store all accessories in a dry storage
location with ventilation.
9 Store the Kayak/Canoe inated or deated.
9 Choose a dry and cool place to store the Kayak/Canoe. DO NOT hang the Kayak/Canoe up.
8 DO NOT place any heavy or sharp objects on Kayak/Canoe.
9 The Kayak/Canoe is designed to be storable, If you live in a temperate area in which the Kayak/Canoe will not be in use all year-round, it
is STRONGLY RECOMMENDED to deate the Kayak/Canoe and dry it thoroughly, store in a protected area for the off-season.
WARNING: Certain household cleaning solvents, chemicals and other liquids (such as battery acid, oil and gasoline) could damage the
PVS fabric. In the event of spill or mishandling, you should check for leaks and inspect for structural integrity.
TROUBLE SHOOTING
If the Kayak/Canoe has slightly deated, it might not denitely be because of an air leak. Firstly, check if the valve caps are loose. If all
valves are in good condition, you may consider if it is caused by temperature variation: If the Kayak/Canoe was inated in the day time
at a higher temperature of, say, 35 °C (95 °F), the air may of cooled down over night to 25 °C (77 °F), so that the air pressure will appear
softer the next morning. If the valves and temperature variation are not the reasons, you need to start looking for an air leak:
1. Find the position of the leak area: Check your Kayak/Canoe from a few feet away, or ip it over and closely check over the outer side.
Any large leaks should be clearly visible.
2. Pinpoint the location of the leak: Spray mild soapy water over the suspicious areas. Any leak will produce bubbles.
REPAIRS
Small holes or punctures can be repaired with the repair kit included with the Kayak/Canoe.
1. Find the leak.
2. Thoroughly clean the area surrounding the leak to remove any dirt. Cut a piece of repair material into a round shape, this should be
larger than the damaged area.
4. Using a piece of the repair kit, trace the outline of the patch lightly.
5. Apply adhesive to the under side of the patch and around the area to be repaired. Coat the area affected completely with glue. (not
included, please purchase glue separately).
6. Put the patch on the damaged area, press down rmly. Allow 12 hours for glue to dry. After patch has dried, apply glue around the
edges for a complete seal allowing 4 hours to dry. Pump up and check for air leaks.
Dellonda Limited
Kempson Way, Suffolk Business Park, Bury St Edmunds, Suffolk. IP32 7AR
01284 757575 [email protected] www.dellonda.co.uk
Environment Protection and Waste Protection
Recycle unwanted packaging materials. When this product is no longer required, or has reached the end of it’s useful life, please dispose of it
in an environmentally friendly way. Drain any uids (if applicable) into approved containers, in accordance with local waste regulations. It is our
policy to continually improve products and we reserve the right to alter data, specications and parts without prior notice. No liability is accepted
for incorrect use of this product. Guarantee is 12 months from purchase date, proof of which is required for any claim.