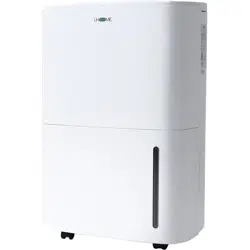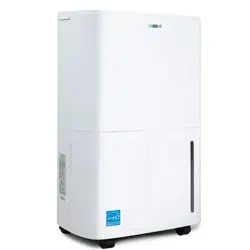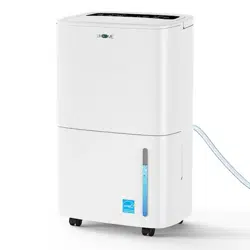

Model:
UDL5-30P
Dehumidifier
Thank you very much for selecting this new model of dehumidifier,
please read this Operation Manual carefully before installing and
using this appliance. Please keep this Operation Manual properly
for future reference.

CONTENTS
Safety Instructions ...........................................................................................
2
4
Features...........................................................................................................
4
Installation .......................................................................................................
5
Positioning the Dehumidifier ..........................................................................
5
Parts ................................................................................................................
6
Control Panel ...................................................................................................
7
Water Drainage ................................................................................................ 10
Care and Maintenance ..................................................................................... 11
Trouble shooting ............................................................................................... 12
Technical Data .................................................................................................. 13
Warranty............................................................................................................ 14
1
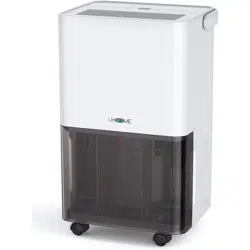
Quick Visual Safet y Guide...............................................................................

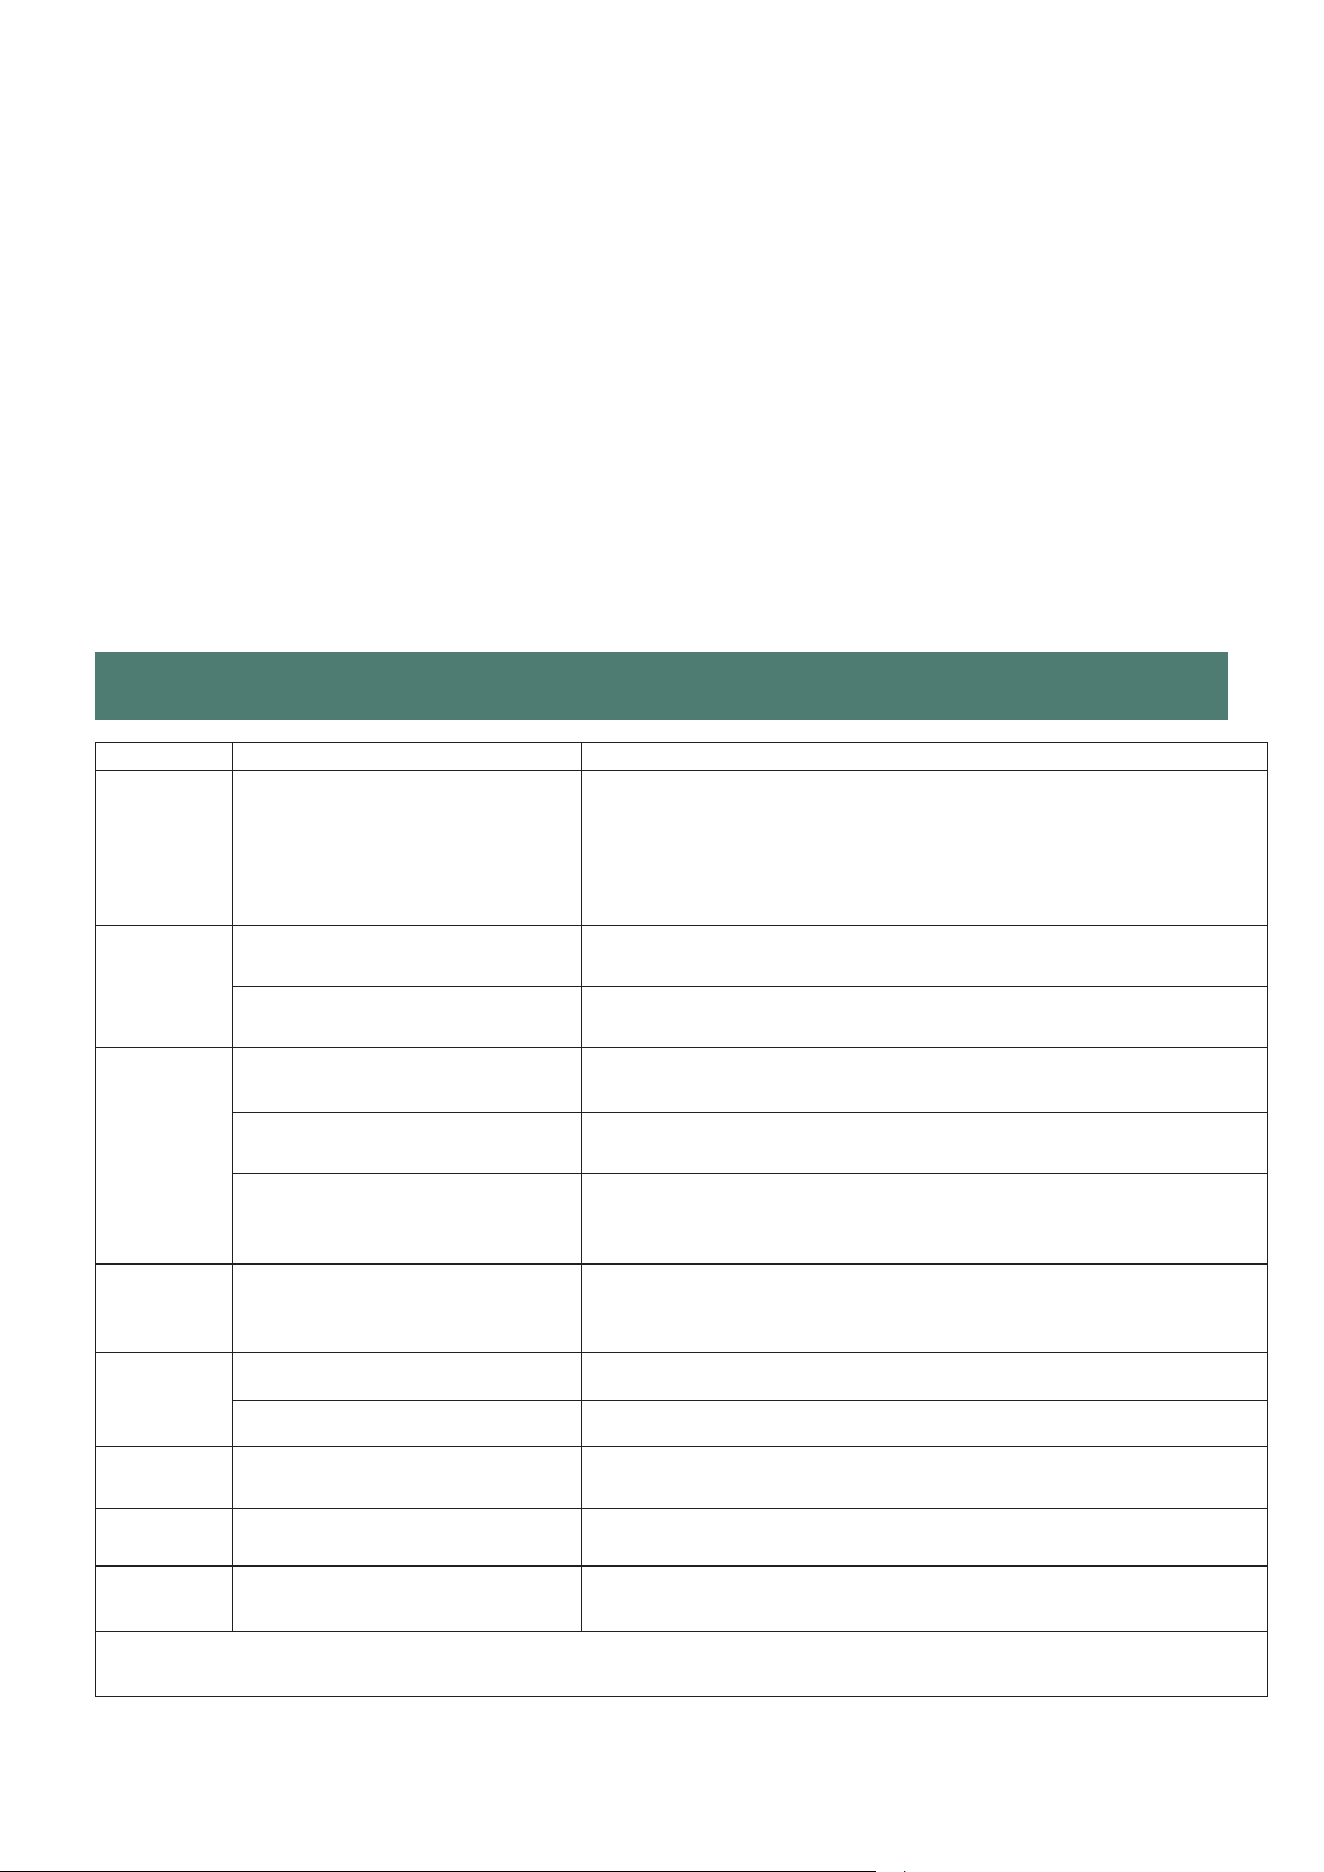
SAFETY INSTRUCTIONS
IMPORTANT
2
• Carefully read the instructions before operating the unit.
• This appliance is for indoor use only and intended for use in a domestic environment
only. Any other use is not recommended by the manufacturer and may cause fire,
electrical shocks or other injury to user or property.
• If you are in any doubt about the suitability of your electrical supply, have it checked
and if necessary, modified by a qualified electrician.
• This dehumidifier has been tested and is safe to use. However, as with any electrical
appliance,use it with care.
• Disconnect the power before dismantling, assembling or cleaning.
• Avoid touching any moving parts within the appliance.
• Never insert fingers, pencils or any other objects though the guard.
• This appliance is not intended for use by persons (including children) with reduced
physical, sensory or mental capabilities. It is also not intended for use by those with a
l ack of experience and knowledge, unless they have been given supervision or
instruction, concerning the use of the appliance by a person responsible for their
safety.
• Do not leave children unsupervised with this appliance.
• Do not clean the unit by spraying it or immersing it in water.
• Never connect the unit to an electrical outlet using an extension cord. If a power outlet
is not available, one should be installed by a qualified electrician.
• Never operate this appliance if the cord, power adapter or plug is damaged. Ensure
the power cord is not stretched or exposed to sharp objects/edges.
• A damaged power supply cord should be replaced by the manufacturer or a qualified
electrician in order to avoid a hazard.
• Any service other than regular cleaning or filter replacement should be performed by
an authorised service representative. Failure to comply could result in a voided
warranty.
• Do not use the appliance for any purpose other than its intended use.
• Do not tilt the unit while in use. The unit is design to work only in vertical position.
• This dehumidifier must always be stored and transported upright, otherwise
irreparable damage may be caused to the compressor; if in doubt we suggest waiting
at least 24 hours before starting the unit.
• Avoid restarting the dehumidifier unless 5 minutes have passed since being turned
off. This prevents damage to the compressor.
• Never use the plug as a switch to start or turn off the dehumidifier. Use the provided
POWER button located on the control panel.
• Always place the unit on a dry and stable surface.
• Do not dry laundry above the unit to prevent water entering the dehumidifier. Place
the laundry at least 1 meter away from your dehumidifier.

• Do not store or use gasoline, petrol, paint, solvents or other flammable vapours or
liquids in the vicinity of this dehumidifier or any other appliance.
This dehumidifier must not be used in spaces where there is a high concentration of
gases, solvent or other volatile organic compounds; in very dusty environments; in
any domestic, commercial or industrial environment where the air composition is
flammable.
•
ENERGY SAVING AND UNIT SAFETY PROTECTION TIPS
3
• Before moving the appliance,the water tank should be emptied.
• The handle on the appliance is designed to aid in its movement and should not be
used to support the full weight of the dehumidifier. When carrying the unit, it should
be kept upright and sufficiently supported from its base.
• The appliance must be placed in a room without sources of ignition (for example:
open flames, an operating gas appliance or an operating electric heater).
• Do not use or store the appliance in an unventilated space with an area smaller than
43 sq.ft (4m
2
)per unit.
• If the appliance is installed, used or stored in an unventilated room, the room must
be such as to prevent stagnation of possible leaks of refrigerant gas as there could be
a danger of fire or explosion once the refrigerant comes into contact with electric
heaters, stoves or other sources of ignition.
• Do not use the product and contact the retailer for advice, if damage has occurred to
the unit which may have compromised the refrigerant system.
• Any repairs or maintenance must only be carried out on the unit by a suitably
qualified engineer.Before opening and servicing the unit,the authorized engineer
must be in possession of a copy of the manufacturer’s service manual and must
follow the safety information contained within it to ensure all hazards are minimized.
• The refrigerant system should not be perforated or punctured.
• Do not place the unit next to heat sources (e.g. electrical fires, fireplaces, etc.)
• Avoid mishandling the dehumidifier. Dropping, throwing the unit can cause
damage to its internals and increases the risks of operating it.
•
Do not cover or restrict the airflow from the outlet or inlet grills. Do not operate and
follow troubleshoot procedure if the self-opening louvers do not open on power on.
For maximum performance the minimum distance from a wall or objects should be
7.9 in(20cm).
Keep the filters or grills of the unit clean. Under normal conditions, filters or grills
should only need cleaning once every three weeks (approximately).
Since the filters remove airborne particles, more frequent cleaning maybe
necessary, depending on the air quality. Vacuum both mesh and optional activated
carbon filters and wash the mesh filters with hot soapy water and dry them before
placing them back in the unit.
•
•
•
Exposed to the
weather outdoors
Near water If the power cable
wires are frayed
or cut
Where small children
may be left
unattended
If an extension lead
may become
overloaded
Where the power
cable may be
damaged
On a slope or uneven
surface
Where there is risk
of fire or close to
a naked flame
Where it may be
damaged by
chemicals
Where there is a risk
or interference by
foreign objects
This product is not
made for DIY repair
If there is a risk
of water falling
on the unit
QUICK VISUAL SAFETY GUIDE
FEATURES
4
1. Easy to use controls.
2. Easy to carry around handle.
3. Great for up to 3 bed houses.
4. Cost effective way to combat mould, condensation and damp.
5. Laundry mode - dries laundry more efficiently than a tumble
dryer.
6. Designed to complement any modern space.
7. Intelligent CPU controlled digital humidistat with 30-80% RH and
room humidity display.
8. 24 hours start / stop timer.
9. Easy to remove front tank with water level indicator.
10. Tank operation or permanent drainage option with splash proof
tank.
11. Tank full alarm & auto-stop function.
12. Power failure memory function.
13. Sleep and child lock mode.
INSTALLATION
• Be sure to remove all packaging material from inside the appliance.
• It is recommended to insert pads or damping rubber sheets, etc. under this
dehumidi-fier to reduce vibration, noise and possible sinking of woodfloors or carpets.
BEFORE USE:
• Make sure that all products’ packaging has been removed.
• Some parts of the appliance have been lightly greased. Consequently, the first time
the appliance is used a light smoke may be detected. After a short time, this smoke
will disappear.
• To eliminate the smell given off by the appliance when used for the first time, it is
recommended to have it on at full power for 2 hours in a well-ventilated room.
• In order to save energy,do not open windows or doors while the unit is running.
• Place the unit on a hard / flat surface.
USE:
• Extend the cable completely before plugging in.
• Plug the appliance into the mains.
• Turn the appliance on, by using the on/off button.
• Select the desired function.
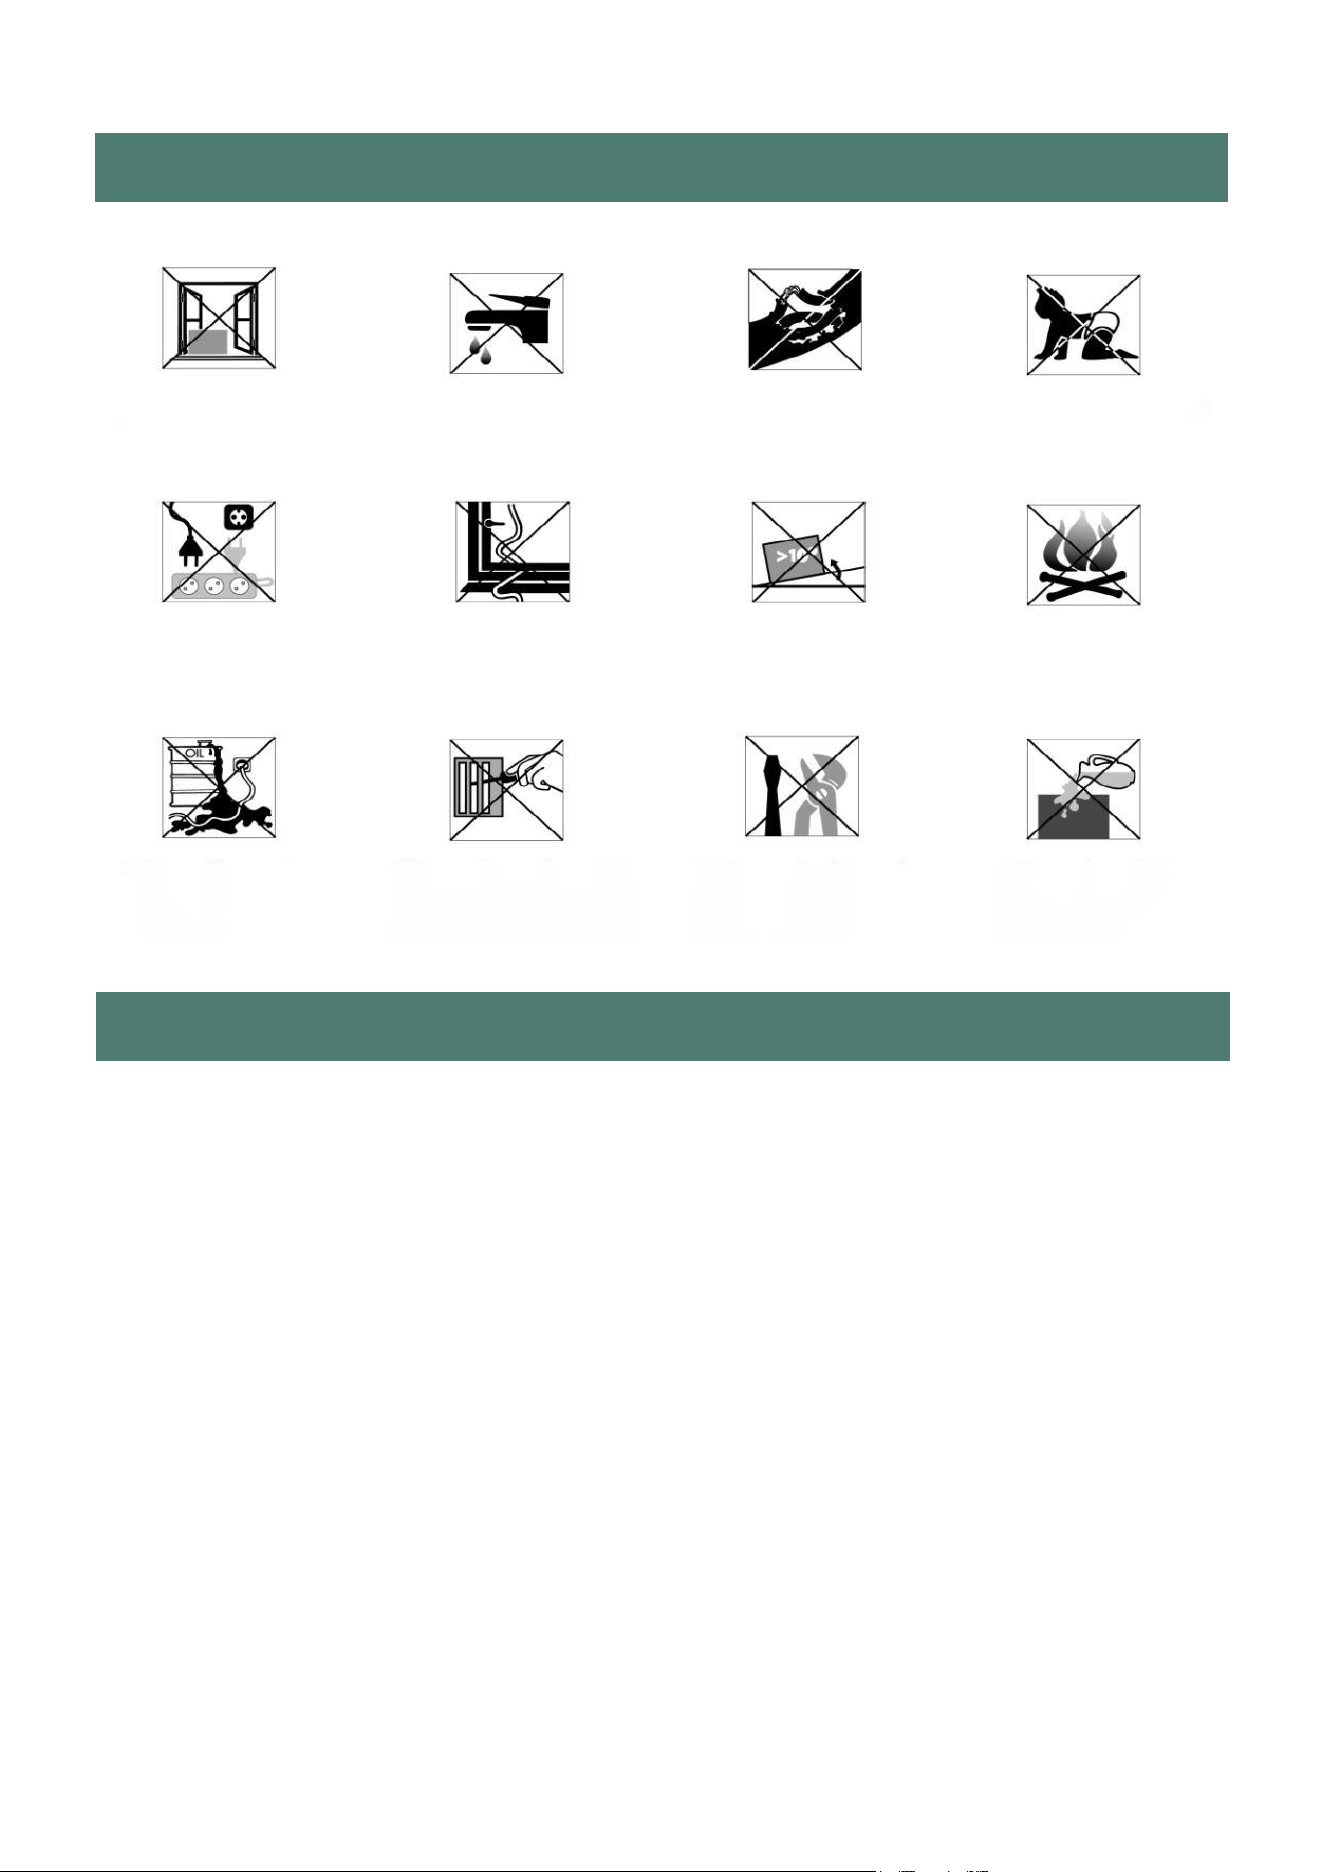
POSITIONING THE DEHUMIDIFIER
A badly positioned dehumidifier will have little
effect.In positioning the dehumidifier, please
ensure circulation of air is not restricted around the
unit.
Allow at least 7.9in(20cm) space around the unit.
This dehumidifier is designed only for indoor
residential or small office applications and any
commercial or industrial use will invalidate the
warranty.
Use in an enclosed area for maximum efficiency. Close all doors, windows to create an
effective operating environment.
Do not use outdoors.
Your dehumidifier will begin to protect your space from the harmful effects of excessive
moisture as soon as it is turned on. Excess moisture is dispersed throughout your home.
For this reason, the dehumidifer should be positioned in a central and clear location so
that it can draw this moisr air towards it from all over the home. A warm hallway or landing
is an excellent position for your dehumidifier. If possible, leave interior doors ajar to allow
air circulation.
Alternatively, if you have a serious peoblem in one area you can begin by positioning the
dehumidifier there and moving it to a more central lacation at a later date. For the most
effective use, run your dehumidifier with external doors and windows kept closed. Please
note the unit should not be placed directly against a radiator or other heat source.
5
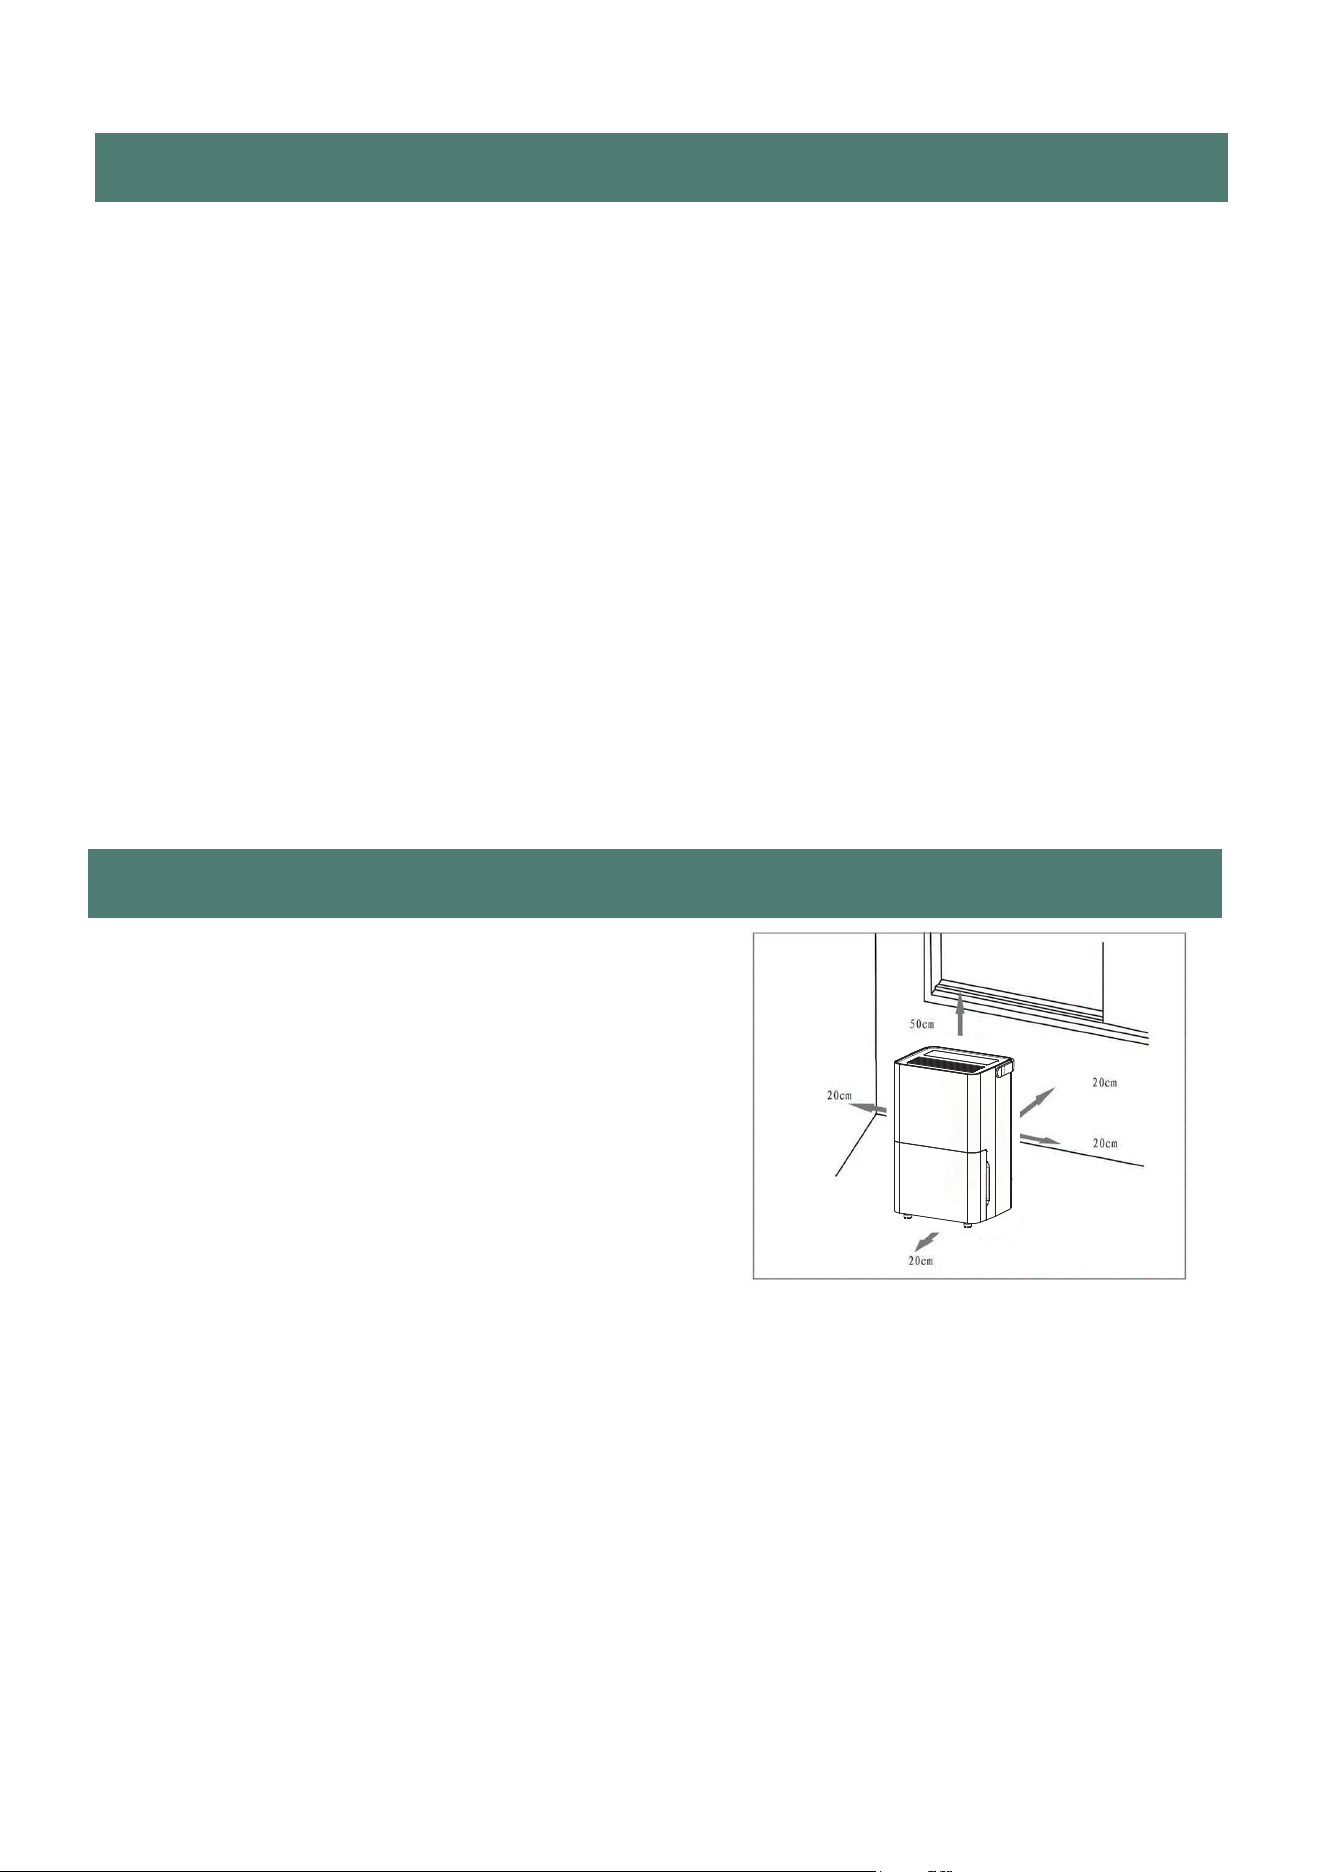
PARTS
B
C
A
D
E
F
G
H
I
J
OPTIONAL
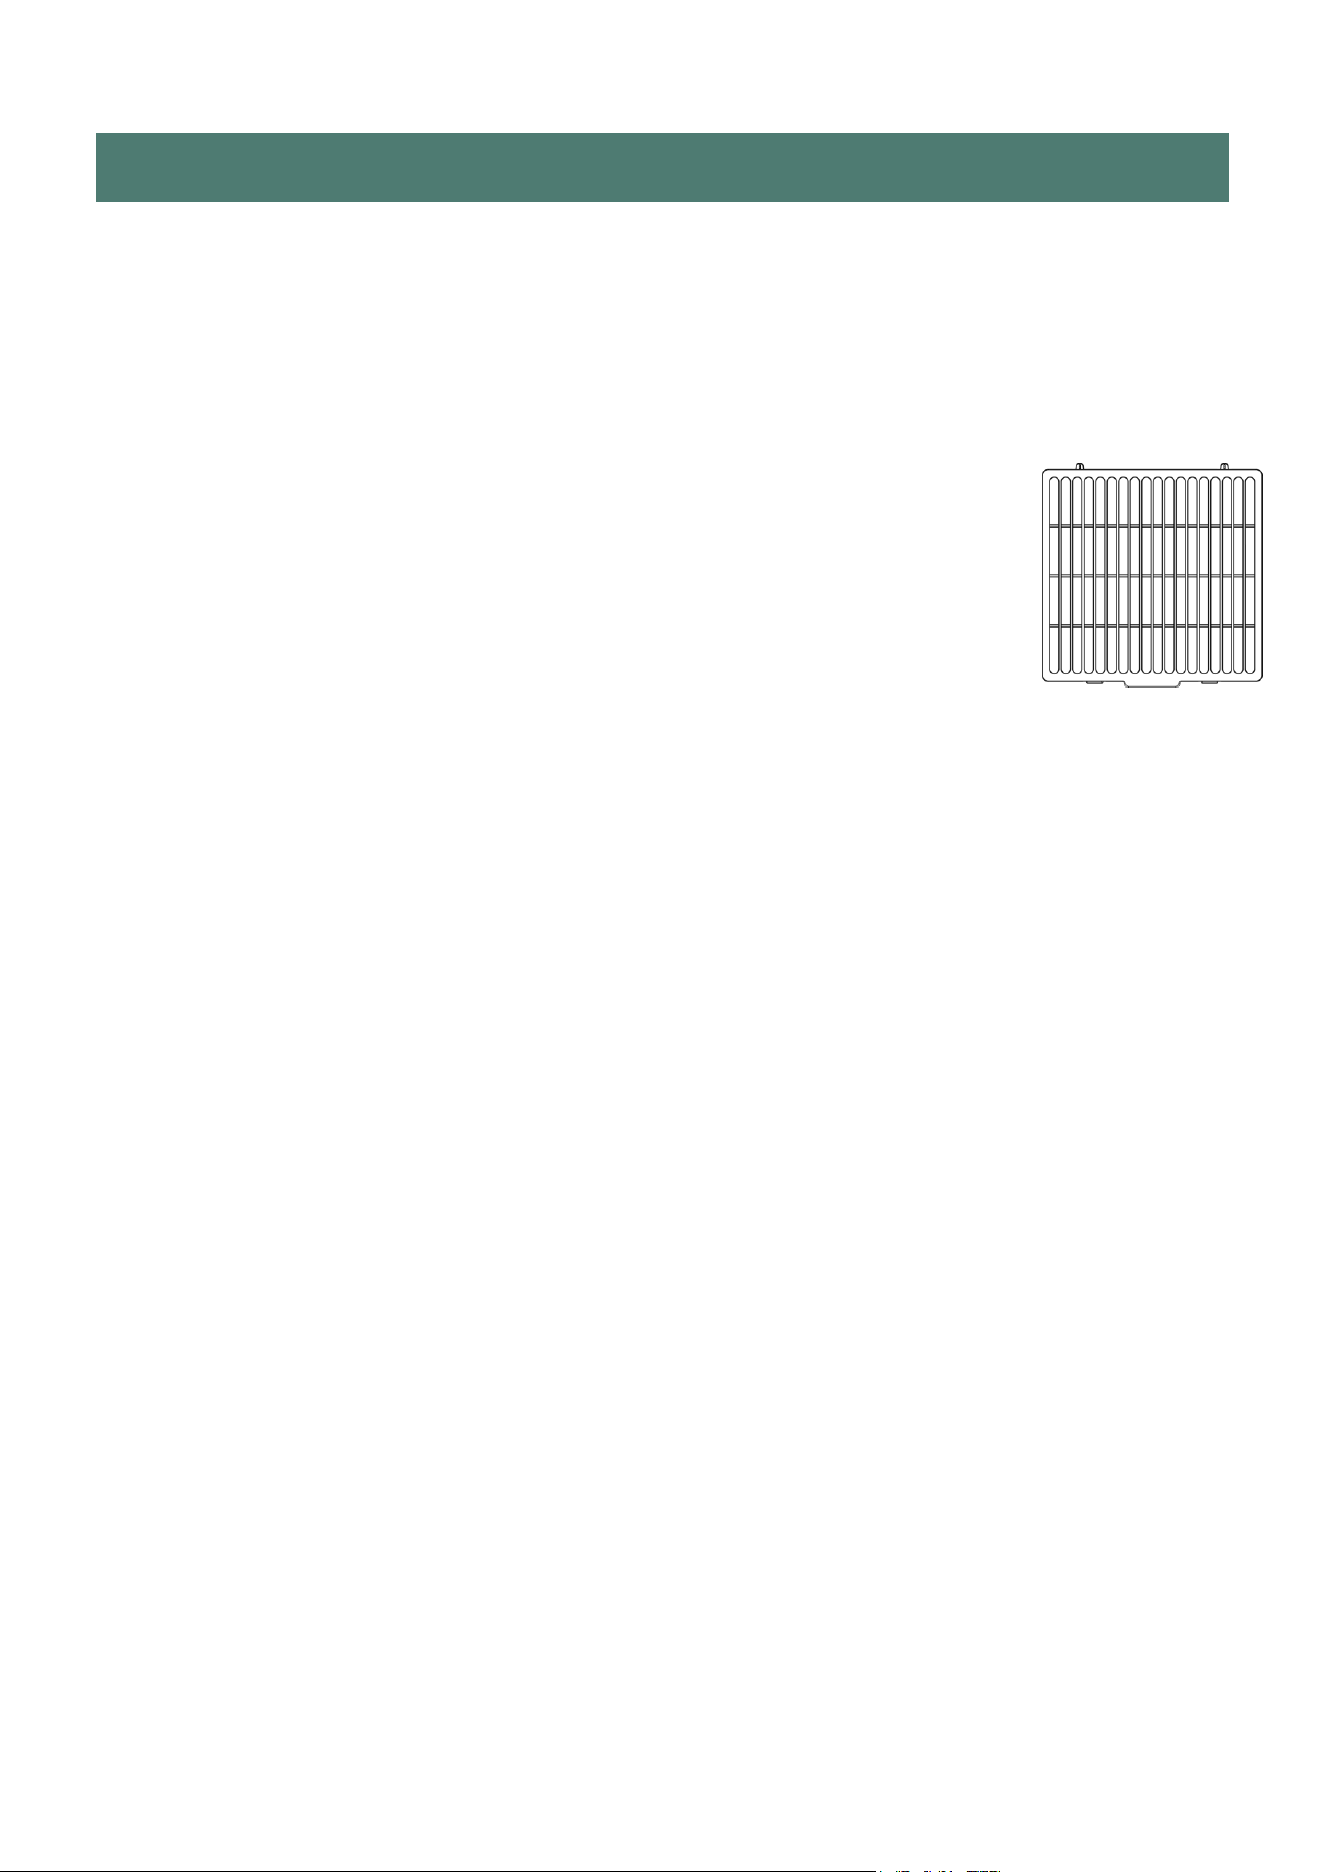
Activated carbon filter (Optional)
The replacement time of the activated carbon
filter depends on the frequency and location of
your use. It is recommended to replace it every
six months, not more than one year at most. and
replacement needs to be purchased by yourself.
6
DESCRIPTION
AA
Handle
BB
Control Panel
CC
Front Panel
DD Back Panel
EE
Water Tank
FF
Casters
GG
Filter Frame
H Drainage Outlet
Power Cord Storage Column
Drainage Hose
I
J
KK
Active Carbon Filter
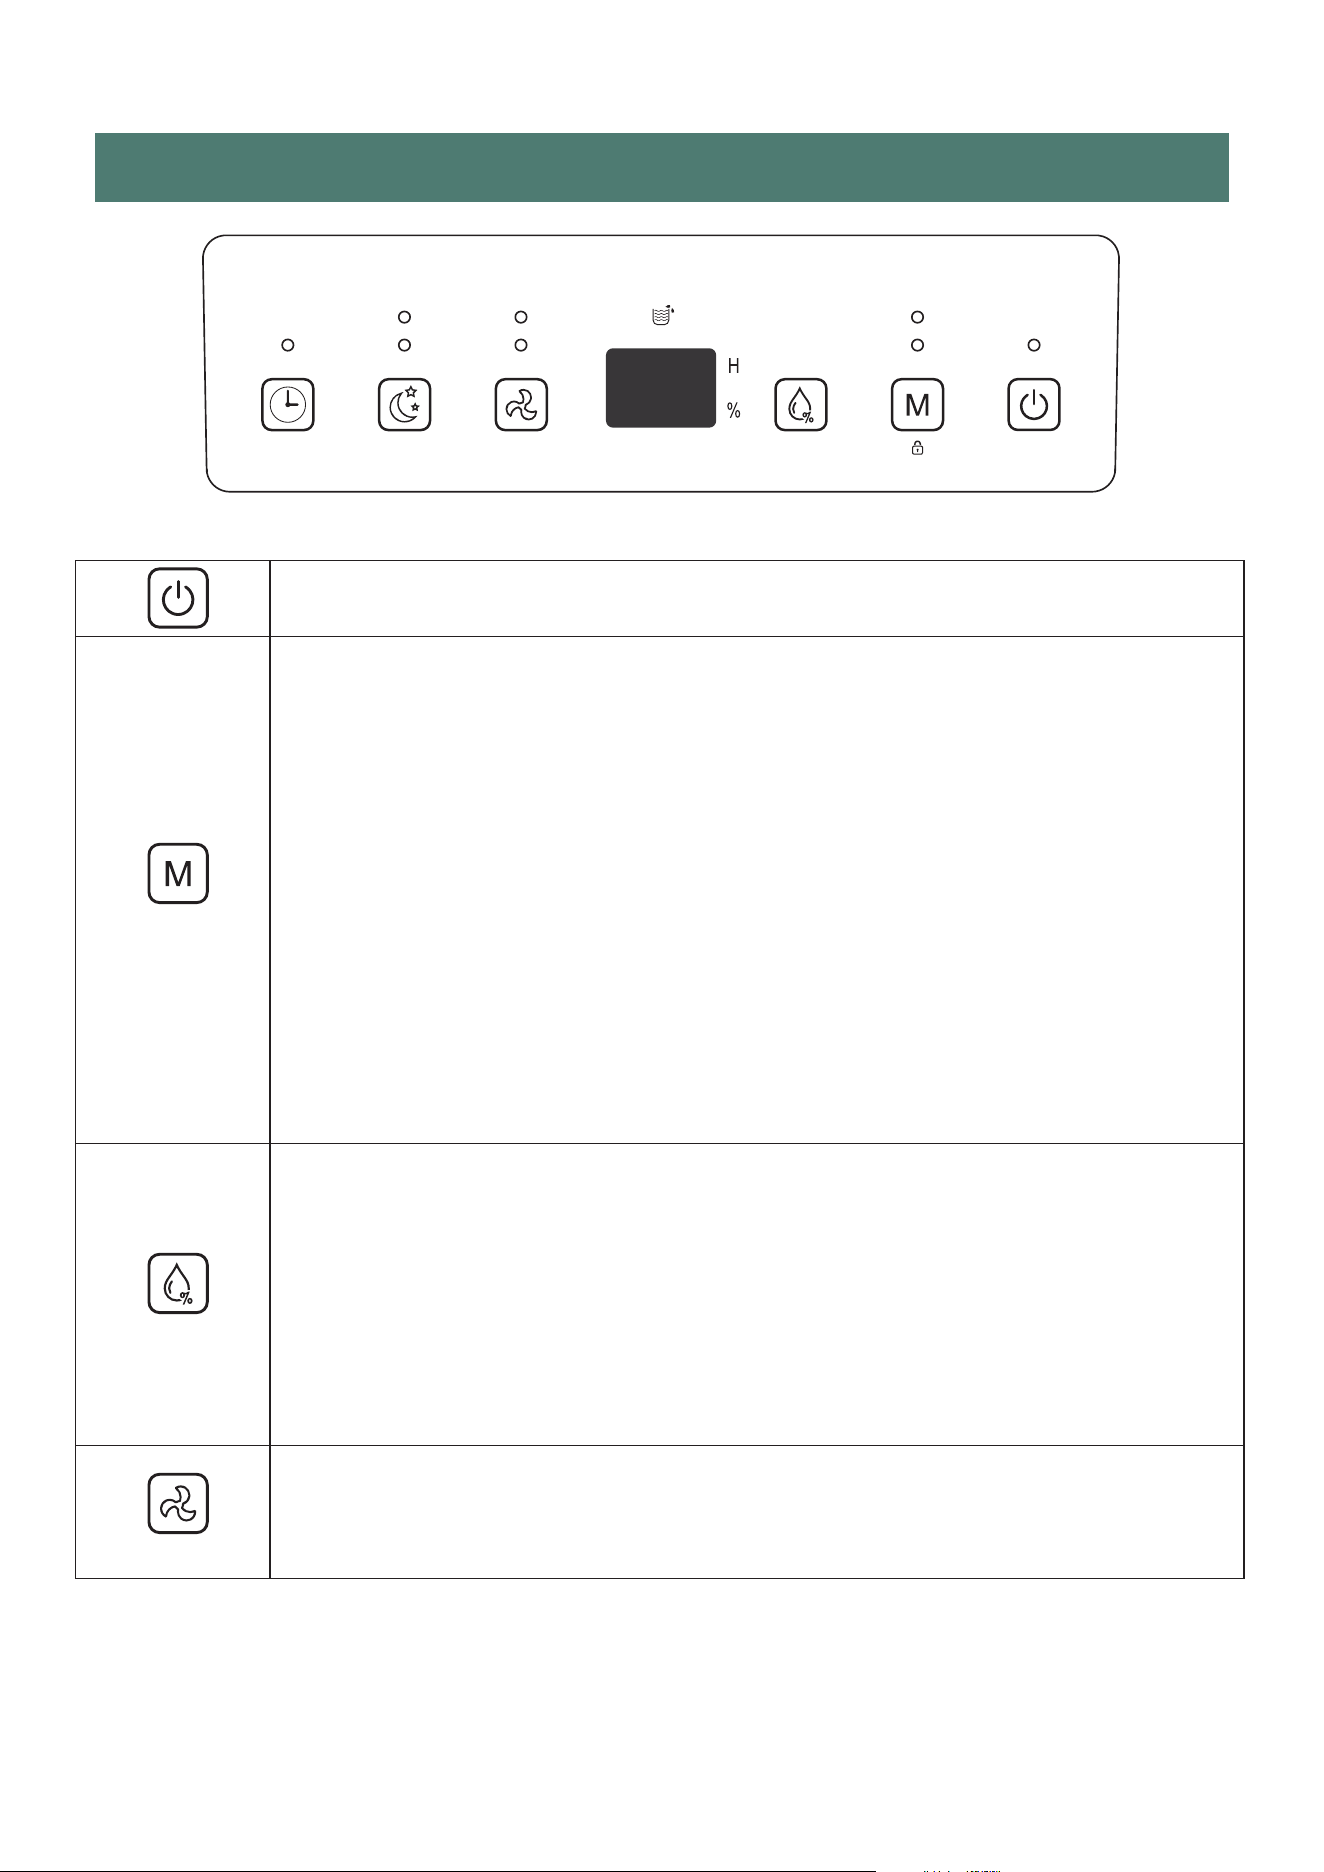
CONTROL PANEL
POWER
Turn the appliance on/off.
MODE
Press the mode button to select auto mode or laundry mode.
In auto mode, the appliance will run until the set humidity % is reached. The default
hu-midity % is 50%. For more details, see the HUMIDITY SETTING section.
The laundry function, allows to reduce the time of drying clothes by reducing the
humidity. To see more details about this mode, see the LAUNDRY FUNCTION section.
The pilot light above indicates which mode is selected.
LAUNDRY FUNCTION
Press the mode button to select this function. The pilot light above indicates the mode
selected.
This function activates the compressor no matter the humidity in the room. This allows
clothes to dry quicker.
To cancel this function, press the button again to switch to auto mode.
CHILD LOCK:
Locks the controls for child safety. Press and hold the “M” button for three seconds to
lock and unlock. The display panel will show LC for five seconds after Child Lock is
activated prior to returning to the current room humidity.
HUMIDITY SETTING
Note that this function is only available with the “auto mode”.
Press the humidity setting button to initiate this function.
Once you press the button, a humidity percentage will be displayed.
Every time you press the button the humidity % will increase by 5% until reaching the
maximum of 80%, and then it will go back to 30%.
Once you have reached the desired humidity %, stop pressing the button. The appliance
will run until the room’s humidity reaches 5% lower than the one chosen. The compressor
will stop but the fan will keep running at the set speed.
The LED display screen will show the humidity % selected.
FAN SPEED
Select the desired fan speed (high or low) by pressing the fan button.
The pilot light will indicate which speed is selected.
7
Clean
Sleep
High Auto
LaundryLow
8
TIMER
Press the timer button to initiate this function.
The LED display screen will show the time that is selected.
Adjust the desired time by pressing the button as many times as hours desired (1-24h).
Every press adjusts one hour.
Once you reach the desired time, stop pressing the button. After five seconds, the set
time is confirmed.
The pilot light above will turn on.
To cancel the timer setup, press twice continuously after confirming the time.
TANK-FULL
When the water tank is full, the full tank icon will start flashing. The appliance also
emits a buzzing sound to alert the user.
When the water tank is full, the compressor and the fan will stop running.
Proceed to remove the water tank. Place one hand on each side of the depression
areas to gently remove the water tank.
Remove the water tank and pour the water out.
Place the tank back into the appliance to restart the dehumidifier.
DIGITAL DISPLAY
Shows the current humidity while the unit is running.
Shows the desired humidity when the HUMIDITY SETTING button is pressed.
Shows the timer duration when the TIMER button is pressed.
SLEEP MODE
Press the Sleep mode / Clean Button to activate. In SLEEP mode the dehumidifiers
humidity is set to 50% and the fan operates in low speed. If the actual room humidity is 5%
greater than 50% humidity the dehumidifiers compressor will activate, and the fan will
operate at low speed. If the actual room humidity is 5% less than 50% humidity the
dehumidifiers compressor will stop collecting water but the fan will continue to operate at
low speed. In SLEEP mode,the unit will stop dehumidifying but will not bleep when the
water tank is full.
CLEAN MODE
Press the sleep button for three seconds to initiate this function.
The pilot light above will turn on.
This function dries the inside of the appliance to prevent mold in the interior. This
procedure lasts approximately 1 hour.
The dehumidifier starts at high air speed and releases air continuously for 30 minutes.
Then it turns to low speed for approximately 20 more minutes. To cancel this function,
press the button again for three seconds.
Activate this function before storing the dehumidifier to prevent mould inside the
appliance.

NOTES
• If a permanent drainage pipe is fitted, the unit will not stop operating. Setting the
desired humidity to around 35% is good for laundry mode, a quick drying boost,
or in emergencies.It is not recommended for long normal operation in a domestic
or office environment.
To allow more moisture in the air, set a higher desired humidity (e.g. 60%-70%).
We recommend setting the desired humidity to 50-55%. This is great for domestic
operation and dry storage.
Setting the humidity to 60% is great for personal comfort and applications where 50%
RH is considered too dry.
Setting the humidity to 70% is ideal for unoccupied properties or where an economical
run is needed without the need to reduce the humidity further.
•
•
OTHER FEATURES AND INDICATORS
TANK FULL LIGHT
When the water tank is full, the unit will stop dehumidifying, the tank full light will
illuminate and the unit will bleep. Empty the tank and reinsert it correctly to resume
operation.
AUTO DEFROST
When frost builds up on the evaporator coils, the compressor will cycle off and the unit
will go in to defrost mode. Following completion of the defrost mode, the unit will retum
to the previously operating settings.
•
When the unit is running in a room with a temperature between 32°F and 53.6°F(0°C
and 12°C), it will enter defrost mode for 8 minutes roughly every 30minutes.
When the unit is running in a room with a temperature between 53.6°F and 60.8°F
(12°F and 16°F), it will enter defrost mode for 5 minutes roughly every 60minutes.
When the unit is running in a room with a temperature between 60.8°F and 68°F
(16°C and 20°C), it will enter defrost mode for 5 minutes roughly every 90minutes.
•
•
AUTO MODE
•
When the humidity of the room is 5% lower than the desired humidity the
compressor will turn off automatically .
When the humidity of the room is 5% higher than the desired humidity the
compressor will restart after a 3 minutes delay to protect the compressor.
•
POWER
9
•
•
After the unit has stopped, to protect the compressor, it is not recommended to resume
operation for at least 10 minutes. Operation can resume after this period lapses.
When the unit is restarted, there is a 3 minutes delay before compressor starting.
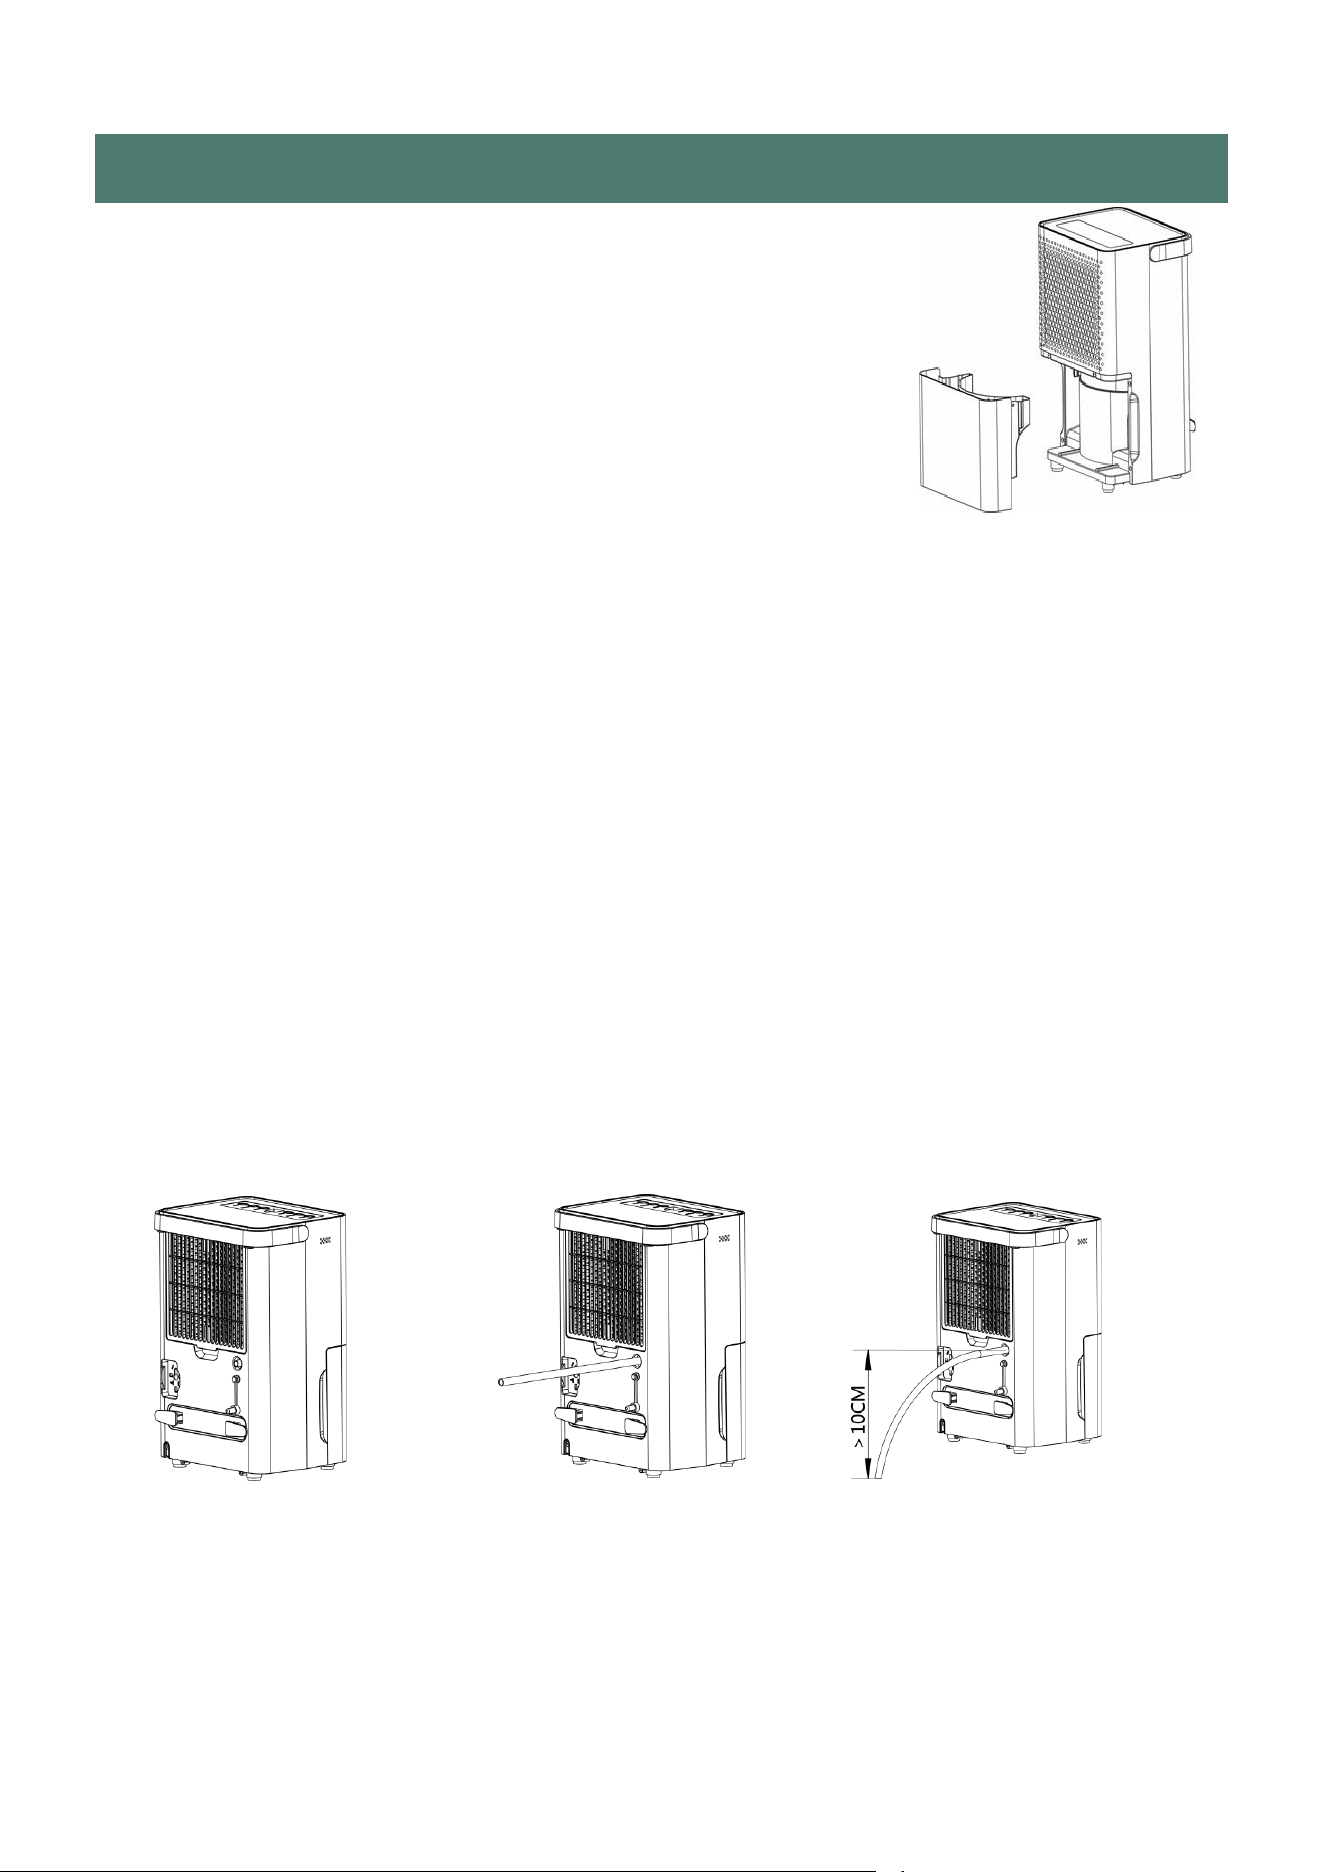
WATER DRAINAGE
When the water tank is full, the unit will stop automatically. When
this happens, the TANK FULL light will show on the control panel.
NOTE: Only empty the water tank when it is full or before moving or
storing the unit.
There are two ways to dispence collected water.
USE THE TANK
When the tank is full, the unit will automatically stop running, and the TANK FULL indicator will
illuminate.
Slowly pull out the tank. Grip the tank by its handle securely, and carefully pull it out. Empty the
water tank and reinsert it into the dehumidifier. The tank munt be in place and securely seated
for the dehumidifier to operate again. The dehumidifier will re-start when the tank is restored in
its correct position.
NOTES
When you remove the water tank, do not touch sensors or any parts which are situated behind
tank. Otherwise it may damage the product. Be sure to push the tank gently all the way into the
unit. Banging the bucket against anything or failing to push it securely into place may cause the
unit not to operate. Do not remove any parts from the water tank or tank enclosure, otherwise the
water full sensor will no longer be able to detect the water level correctly and water may leak from
the water tank.
CONTINUOUS DRAINAGE
Water can be automatically plumbed in or drained into a sink, a larger recipient or through the
wall into an outside drain by attaching a pipe to the unit [0.354 in (9mm) internal diameter].
One 23.62 in (60cm) pipe is supplied. Insert the pipe to unit as shown here.
Make sure the connection between pipe and the drain outlet is tight and does not leak.
Then direct the pipe to a suitable drainage poit. This unit uses gravity to dispose of water, hence
the drain should be lower than the water outlet on the unit. Be sure to run the water, hence the
water pipe downward and let the water to flow out smoothly. Do not kink or bend the pipe.
Notice: Pls make sure that the water tank is properly installed on the machine when you use
continuous drainage.
10
CARE AND MAINTENANCE
Always shut off the unit and unplug from the mains before cleaning or performing any
maintenance. When it is not in use for long periods, it is advisable to remove the plug
from the power socket. Do not use chemical solvents (such as benzene, alcohol or
gasoline) as they may cause irreversible damage to the unit.
1.CLEAN THE GRILLE AND CASE
Use water and a mild detergent to clean the washable filter frame. Do not
use bleach or abrasives. Do not splash water directly onto the main unit,
because it may cause an electric shock and ca
n lead to the insulation to
deteriorate, or cause the unit to rust. The air intake and outlet grilles get
soiled easily, so use a vacuum attachment or soft brush to clean. Wipe
the dehumidifier body with a soft damp cloth or kitchen towel.
Remove the filter frame. If the optional activated carbon filter is fitted, remove them
from the frame and hoover gently approximately every 2-3 weeks.
If the mesh filter is dirty, pls hoover it, If It is heavily soiled, wash it with warm soapy
water and dry thoroughly before reinserting it in the unit.
When filter cleaning is finished and filters are dry, place them back into the unit.
NOTE:While the activated carbon filter is optional, so never run the unit without the
filter frame correctly inserted.
2.CLEAN THE WATER TANK
Every few weeks, clean the tank to prevent growth of mold, mildew and bacteria.
Partially fill the tank with clean water and add a little mild detergent. Swish It around and
then empty the tank and rinse.
NOTE: Do not use a dishwasher to clean the tank. After cleaning and drying, the tank
must be reinserted securely into dehumidifier in order to restart operation.
END OF SEASON MAINTENANCE
11
1.Press the CLEAN BUTTON and leave the unit for at least 30 minutes to internally dry.
2.. Empty and clean the water tank, ensuring it is fully dry before reinserting into the unit.
3.Clean the unit and the filters as per cleaning procedure above.
4.. Coil the power cord on the special cord storage rest at the back of the unit.
5.. Cover the unit and keep it in a dry place.
FREQUENTLY ASKED QUESTIONS
Why doesn't the dehumidifier seem to extract much water if the temperature is low?
This is a compressor dehumidifier which works best in temperatures above 59°F (15°C),
If the temperature is low and the air is dryer than the setting on the humidistat, the unit will
not extract water. If you want to use a dehumidifier for outside buildings, unheated
properties, boats or garages, pls check our desiccant range. Why doesn't the unit work/or
stops suddenly?
The water tank may be full or displaced. To rectify: empty the tank and carefully place
the tank back in the unit. Also the unit may be running in dehumidifying mode with a low
room temperature. Please check if the room temperature is lower than 41°F(5°C). If so,
the unit will stop working while in dehumidifying mode.(unit may be defrosted).
The ambient operating range is between 41°F(5°C) and 95°F(35°C) with a relative
humidity ranging from 30% to 80%. For maximum efficiency use the unit between
59°F(15°C) and 89.6°F(32°C).
TROUBLE SHOOTING
Issue
Cause
When the unit is in dehumidifying mode it absords humid air from
room and freezes it to reduct the humidity.
During the cold cycle there should be cold air coming out of the unit,
During the defrost cycle hot dry air should be coming out of the
outlet grill.
Hot or cold
air being
Normal Operation
produced
Is the plug properly inserted
in the socket?
Insert the plug into the socket and turn the switch on.
Unit does
not operate
Does the tank full indicator is
red?
Tank full, float displaced or tank not properly inserted. Empty tank,
check float and make sure tank is properly inserted in unit.
Is the unit set to a humidity level
lower than the one in the room?
Set the humidity level on the humidistat bellow current humidity
reading.
Dehumidifier
Is the temperature too low for
water extraction to be efficient?
does not
Increase temperature in the room or reposition the unit.
extract
water
Is any intake grill or discharge
blocked? Is the unit too close to
walls.
Remove obstructions and restart the unit.
Ensure a distance of at least 7.9 in(20cm) between the unit & walls.
Airflow
seems
Is filter dirty or clogged?
Please service the filters regularly as per user manual.
weak
Unit is noisy Is the unit on an uneven surface?
Please place on flat horizontal surface.
during
operation
Is filter clogged?
Please service the filters regularly as user manual.
E2 Error
Temperature sensor error
Use the unit within the prescribed temperature range. Unplug the
unit, rest and plug it back in. If error repeats, call for service centre.
Code
P1 Error
Appliance in defrost mode
This is normal operation to prevent a build up of ice on the coils.
Leave the unit, and it will return to normal operation.
Code
FL Error
Water tank full notification
Tank is full or is not in the right position--Empty the tank and
replace in the right position.
Code
Any other malfunctions will need to contact our customer service. ( Email to:[email protected])
12
Solution
13
Model
UDL-30P
Color white
Power supply 110~120V/60Hz
Power input (w) 280
Rated current(A) 3
Specification Moisture Removal (90°F,RH90%) 30
Water tank capacity(Water full)(Liter) 1.7L
Refrigerant R134a
Noise level (dbA) 39
Type Mechanical/Electronic Electronic
Timer 24H
Display LED
water-full alarm YES
Features
cloth-dry function YES
Continuous drianage function YES
Frost prevention YES
Net/Gross Weight (Kg) 9.5/10.5
Specification Body size(IN) 10.08(W)×8(D)x16.34(H)
Package size(IN) 11.77(W)×10.16(D)x18.07(H)
TECHNICAL DATA

IF YOU NEED SERVICE:
Keep your bill of sale, or some other appropriate payment record. The date on
the bill established the warranty period should servicebe required. If service is
performed, it is in your best interest to obtain and keep all receipts. This written
warranty gives you specificlegal rights. You may also have other rights that
vary from state to state.
Service under this warranty must be obtained by following these
steps in order:
1.Please contact us by email. Sales support: [email protected]
2.Provide the order number.
3.Uhome reserves rights to upgrade products without user notice.
Your product is protected by this warranty. Warranty service must be obtained from
Uhome Consumer Services.
Warranty Period:One year warranty (One year from original purchasedate)
NORMAL RESPONSIBILITIES OF THE CONSUMER
This warranty applies only to products in ordinary household use, and the consumer is
responsible for the items listed below:
14
WARRANTY
11.. Proper use of the appliance in accordance with the instructions provided with
product.
22.. Proper installation in accordance with all local plumbing, electrical and/or
codes.
33.. Proper connection to a grounded power supply of sufficient voltage, replacem
of blown fuses, repair of loose connections or defects in housing wiring.
Warranty Exclusions:
The warranty will not apply if the damage is caused by any of the following:
•• Power failure.
•• Damage when moving the appliance.
••
Improper power supply such as low voltage,defective household wiring or
inadequate fuses.
•• Accident, alteration, misuse, or abuse of the appliance such as using
non-approved accessories, inadequate air circulation in the room or
abnormal operating conditions (extreme temperatures).
•• Use in commercial or industrial application.
••
Fire, water damage, theft, war, riot, hostility or acts of God such as
hurricanes, floods, etc.
•• Use of force or damage caused by external influences.
•• Partially or completely dismantled appliances.
•• Excess wear and tear by the user.