Loading ...
Loading ...
Loading ...

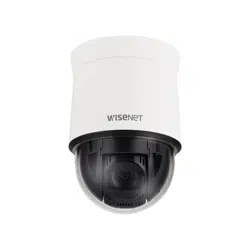
PTZ camera (QNP-6320/QNP-6250)
10_ PTZ camera (QNP-6320/QNP-6250)
INSTALLATION
Precautions before installation
Ensure you read out the following instructions before installing the camera:
~
Select an installation site that can hold at least 5 times the camera’s weight.
~
Stuck-in or peeled-off cables can cause damage to the product or a fire.
~
For safety purposes, keep anyone else away from the installation site.
And put aside personal belongings from the site, just in case.
~
If the product is installed with excessive force, it may cause damage to the camera due to malfunction.
Forcing assembly using non-compliant tools may damage the product.
Installing by surface attachment
`
Attaching Template & Installing installation base
1. Attach the provided template on the ceiling. Based on the template, drill a 86mm hole in the ceiling and
arrange the wires through the hole.
2. Install installation base as shown.
3. Before installing the exposed bracket, open the hinged door at the bottom of the bracket as shown in the
picture. Hold the knob on the hinged door to open it.
Template
J
`
In the case of installing the camera at highly humid place, install it on the ceiling after attaching the enclosed insulation sheet
on the back of install base.
<Attaching insulatioin sheet>
Insulation Sheet
`
Connect Terminal Wires
1. Connect the cables to the terminal block on the hinged door. Refer to “Camera Wiring Interface Board”.
(page 11)
2. Once the wiring is complete, close the hinged door.
J
`
Do not connect the camera to a power outlet until the installation is complete. Supplying power while the installation is in
progress may cause fire or damage the product.
Loading ...
Loading ...
Loading ...
