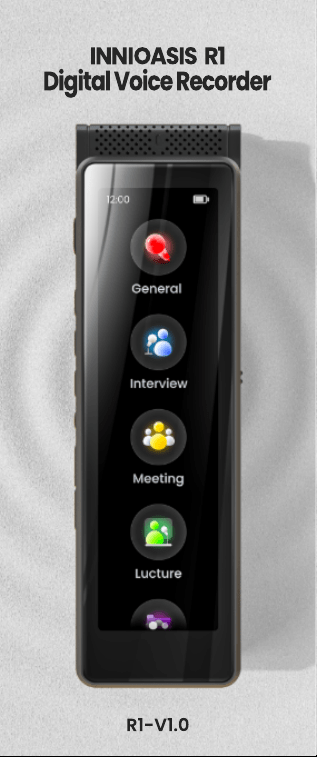
R1- V1.0
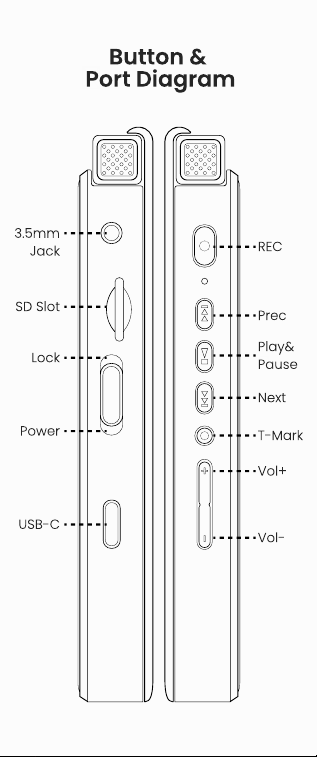
Button &
Port Diagram
REC
Prec
Play&
Pause
Next
Lock
SD Slot
3.5mm
Jack
T- Mark
Power
USB- C
Vol+
Vol-
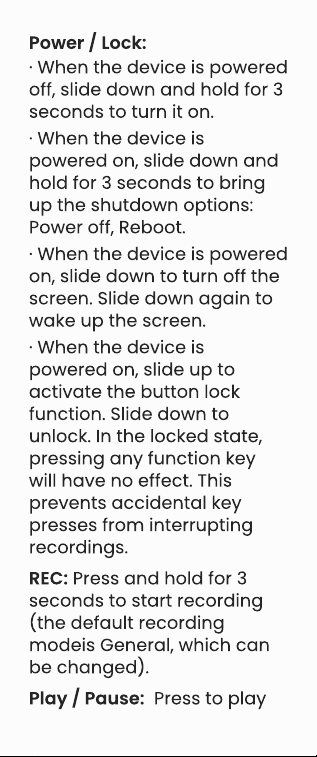
Power / Lock:
·
When the device is powered
off, slide down and hold for 3
seconds to turn it on.
·
When the device is
powered on, slide down and
hold for 3 seconds to bring
up the shutdown options:
Power off, Reboot.
·
When the device is powered
on, slide down to turn off the
screen. Slide down again to
wake up the screen.
·
When the device is
powered on, slide up to
activate the button lock
function. Slide down to
unlock. In the locked state,
pressing any function key
will have no effect. This
prevents accidental key
presses from interrupting
recordings.
REC: Press and hold for 3
seconds to start recording
(the default recording
modeis General, which can
be changed).
Play / Pause: Press to play
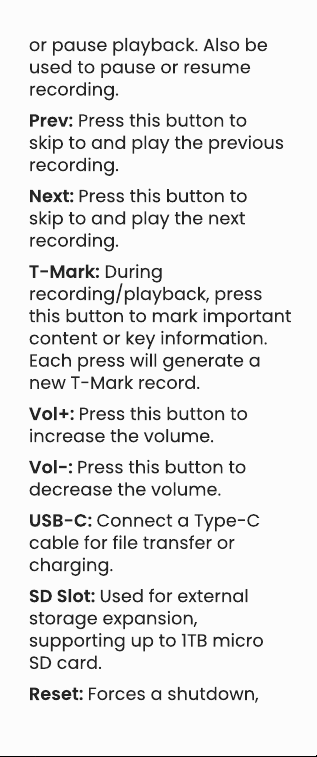
or pause playback. Also be
used to pause or resume
recording.
Prev: Press this button to
skip to and play the previous
recording.
Next: Press this button to
skip to and play the next
recording.
T- Mark: During
recording/playback, press
this button to mark important
content or key information.
Each press will generate a
new T- Mark record.
Vol+: Press this button to
increase the volume.
Vol- : Press this button to
decrease the volume.
USB- C: Connect a Type- C
cable for file transfer or
charging.
SD Slot: Used for external
storage expansion,
supporting up to 1TB micro
SD card.
Reset: Forces a shutdown,

does not restore factory
settings.
3.5mm Jack: Connect to
headphones, speakers, and
microphones.
Rec o r d
ing
Mo des
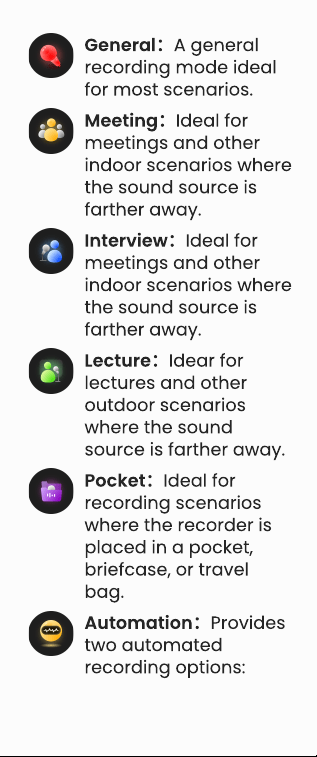
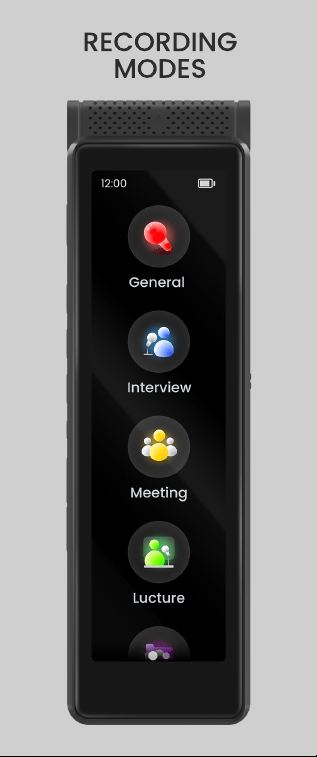
General
:
A general
recording mode ideal
for most scenarios.
Meeting
:
Ideal for
meetings and other
indoor scenarios where
the sound source is
farther away.
Interview
:
Ideal for
meetings and other
indoor scenarios where
the sound source is
farther away.
Lecture
:
Idear for
lectures and other
outdoor scenarios
where the sound
source is farther away.
Pocket
:
Ideal for
recording scenarios
where the recorder is
placed in a pocket,
briefcase, or travel
bag.
Automation
:
Provides
two automated
recording options:
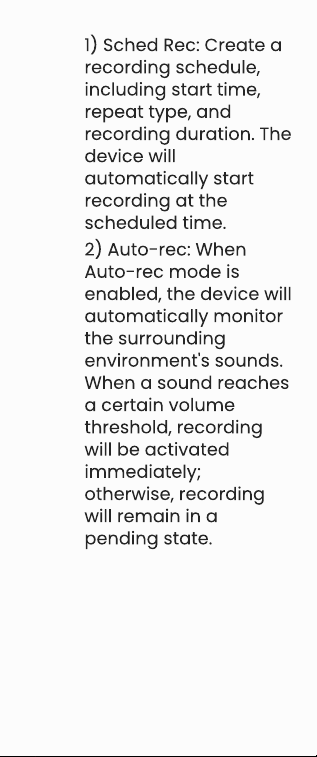
1) Sched Rec: Create a
recording schedule,
including start time,
repeat type, and
recording duration. The
device will
automatically start
recording at the
scheduled time.
2) Auto- rec: When
Auto- rec mode is
enabled, the device will
automatically monitor
the surrounding
environment's sounds.
When a sound reaches
a certain volume
threshold, recording
will be activated
immediately;
otherwise, recording
will remain in a
pending state.
Rec o r ding
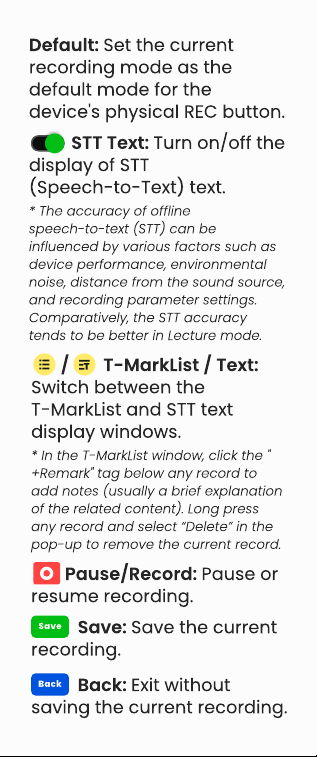
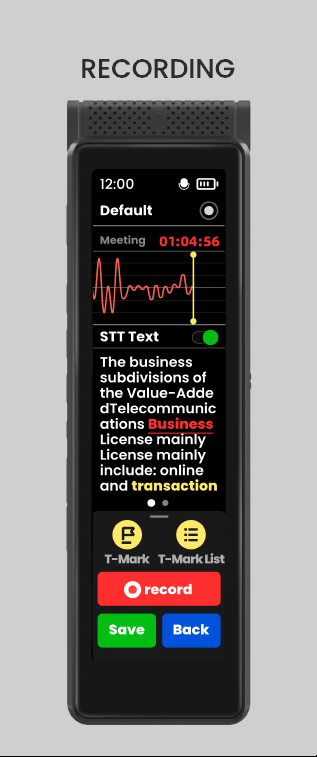
Default: Set the current
recording mode as the
default mode for the
device's physical REC button.
STT Text: Turn on/off the
display of STT
(Speech- to- Text) text.
/ T- MarkList / Text:
Switch between the
T- MarkList and STT text
display windows.
* The accuracy of offline
speech- to- text (STT) can be
influenced by various factors such as
device performance, environmental
noise, distance from the sound source,
and recording parameter settings.
Comparatively, the STT accuracy
tends to be better in Lecture mode.
* In the T- MarkList window, click the "
+Remark" tag below any record to
add notes (usually a brief explanation
of the related content). Long press
any record and select
“
Delete
”
in the
pop- up to remove the current record.
Pause/Record: Pause or
resume recording.
Save: Save the current
recording.
Back: Exit without
saving the current recording.
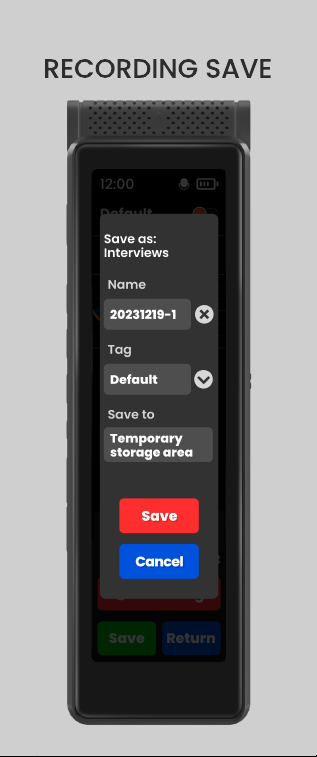
Rec o r ding sa
v e
Save as: Save to the folder
named after the current
recording mode.
Name: Default name is the
recording date & sequence
number. Click it or the button
to edit the recording
name.
Save to: Default is to save to
the external SD card. If the
SD card is missing or has
insufficient space, it will save
to the device's internal
Temporary storage area.
* The Temporary storage area shares
the device's internal storage with the
backup area. Too many temporarily
stored audio files may affect audio
backups. Therefore, it is recommended
to insert an SD card before recording
whenever possible.
Tag: Add a tag to the
recording file and save it to
a folder named after that
tag.
*If the "Backup" tag is selected, a
copy of the audio will also be created
in the backup area when saved, for
future needs. Recommendation: For
important audio files, be sure to
select this tag when saving.
Note: The time required to
save recordings increases
with the duration of the
recording and is influenced
by factors such as the SD
card read/write speed,
device performance,
recording encoding, and
automatic file segmentation.
Please be patient and wait
for the save process to
complete.
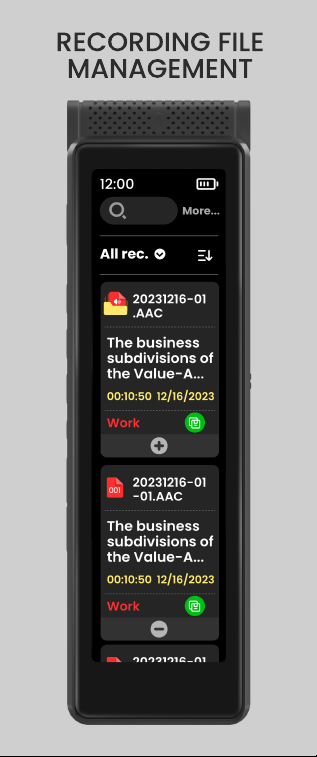
Rec o r d
ing File
Manag ement
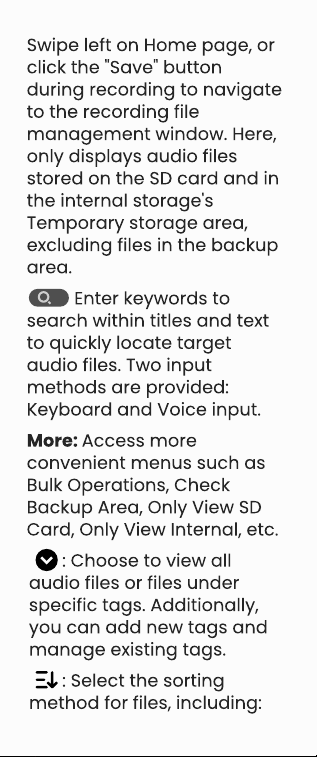
Swipe left on Home page, or
click the "Save" button
during recording to navigate
to the recording file
management window. Here,
only displays audio files
stored on the SD card and in
the internal storage's
Temporary storage area,
excluding files in the backup
area.
Enter keywords to
search within titles and text
to quickly locate target
audio files. Two input
methods are provided:
Keyboard and Voice input.
More: Access more
convenient menus such as
Bulk Operations, Check
Backup Area, Only View SD
Card, Only View Internal, etc.
: Choose to view all
audio files or files under
specific tags. Additionally,
you can add new tags and
manage existing tags.
: Select the sorting
method for files, including:
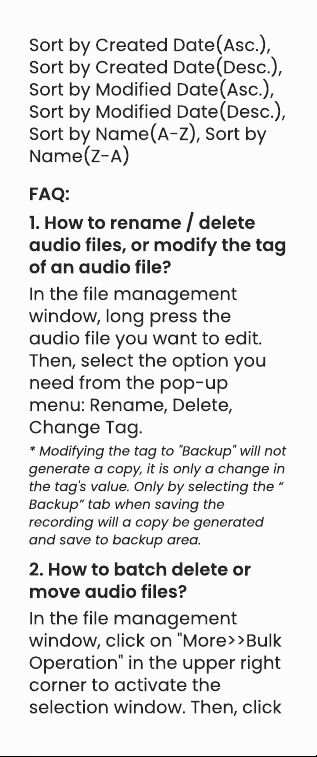
Sort by Created Date(Asc.),
Sort by Created Date(Desc.),
Sort by Modified Date(Asc.),
Sort by Modified Date(Desc.),
Sort by Name(A- Z), Sort by
Name(Z- A)
FAQ:
1. How to rename / delete
audio files, or modify the tag
of an audio file?
2. How to batch delete or
move audio files?
In the file management
window, long press the
audio file you want to edit.
Then, select the option you
need from the pop- up
menu: Rename, Delete,
Change Tag.
* Modifying the tag to "Backup" will not
generate a copy, it is only a change in
the tag's value. Only by selecting the
“
Backup
”
tab when saving the
recording will a copy be generated
and save to backup area.
In the file management
window, click on "More>>Bulk
Operation" in the upper right
corner to activate the
selection window. Then, click
on each audio file you want
to edit in bulk, and select
either
“
Delete
”
or
“
Move to
SD Card
”
.
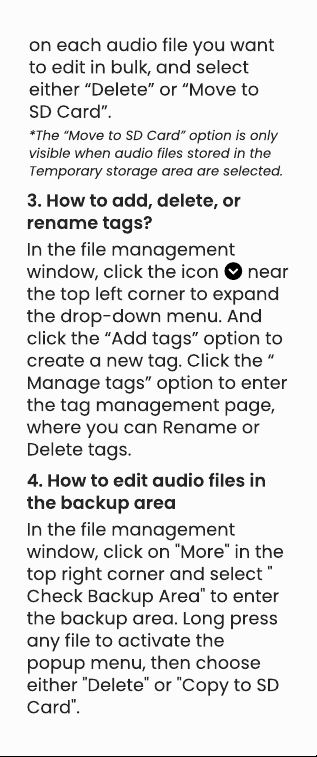
*The
“
Move to SD Card
”
option is only
visible when audio files stored in the
Temporary storage area are selected.
3. How to add, delete, or
rename tags?
In the file management
window, click the icon near
the top left corner to expand
the drop- down menu. And
click the
“
Add tags
”
option to
create a new tag. Click the
“
Manage tags
”
option to enter
the tag management page,
where you can Rename or
Delete tags.
4. How to edit audio files in
the backup area
In the file management
window, click on "More" in the
top right corner and select "
Check Backup Area" to enter
the backup area. Long press
any file to activate the
popup menu, then choose
either "Delete" or "Copy to SD
Card".

STT Text Box
Rec o r d
ing
Playbac k
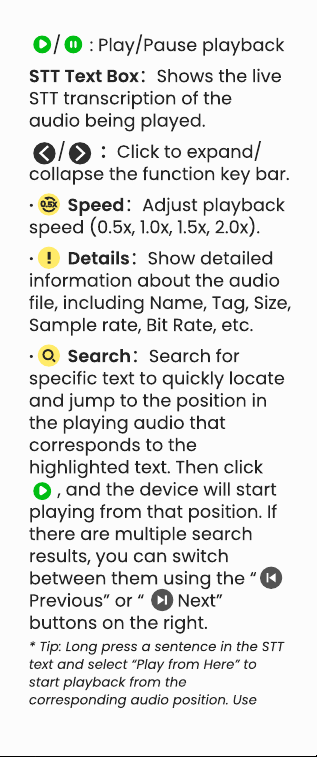
/ : Play/Pause playback
STT Text Box
:
Shows the live
STT transcription of the
audio being played.
·
Speed
:
Adjust playback
speed (0.5x, 1.0x, 1.5x, 2.0x).
·
Details
:
Show detailed
information about the audio
file, including Name, Tag, Size,
Sample rate, Bit Rate, etc.
/
:
Click to expand/
collapse the function key bar.
·
Search
:
Search for
specific text to quickly locate
and jump to the position in
the playing audio that
corresponds to the
highlighted text. Then click
, and the device will start
playing from that position. If
there are multiple search
results, you can switch
between them using the
“
Previous
”
or
“
Next
”
buttons on the right.
* Tip: Long press a sentence in the STT
text and select
“
Play from Here
”
to
start playback from the
corresponding audio position. Use
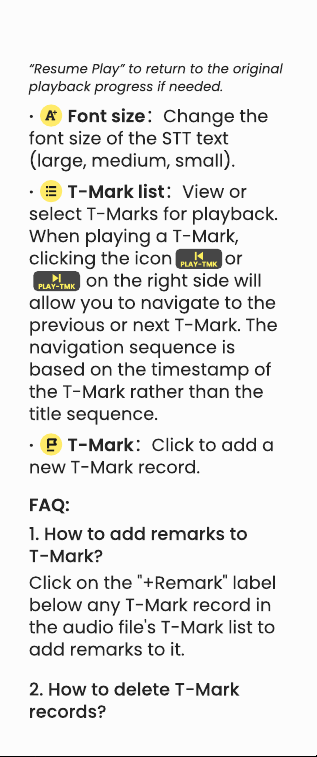
“
Resume Play
”
to return to the original
playback progress if needed.
·
Font size
:
Change the
font size of the STT text
(large, medium, small).
·
T- Mark list
:
View or
select T- Marks for playback.
When playing a T- Mark,
clicking the icon or
on the right side will
allow you to navigate to the
previous or next T- Mark. The
navigation sequence is
based on the timestamp of
the T- Mark rather than the
title sequence.
·
T- Mark
:
Click to add a
new T- Mark record.
FAQ:
1. How to add remarks to
T- Mark?
Click on the "+Remark" label
below any T- Mark record in
the audio file's T- Mark list to
add remarks to it.
2. How to delete T- Mark
records?

3. How to extract segments
from T- Mark and create new
audio files?
Long- press the T- Mark
record you want to delete in
the audio file's T- Mark list,
then click on the icon to
delete it.
Click on the "Extract
Segment" tab at the top
right corner of the audio file's
T- Mark list, then select the
start and end T- Marks, and
save the audio segment.
Tip: There are many factors that affect
the accuracy of STT text, such as
environmental noise, speech rate,
intonation, articulation clarity, etc.
Therefore, the exported STT
documents may require your
correction.
STT documents help you
quickly organize audio
content into text, improving
your work efficiency. Follow
these steps to export:
Connect the recorder to your
computer using a USB- C
cable and select USB
connection as "File transfer".
Then, in the list of devices
and drives on your
computer, locate the disk
where the audio files are
stored (internal storage or
SD card), and navigate to
the target audio file and its
STT document (named the
same as the audio file).
Copy and paste them to
your computer.
EXPORT A
UDIO
AND STT DOC
FAQ:
1. What is the default save
path for recorded audio
files?
·
For audio files saved to the
SD card, the save path is: My
Recording\ <Recording
Mode>\ <Tag>\ <Audio
Name>\ . For example, if an
audio file was recorded in
Lecture mode, saved with the
Personal tag, and named
20240516- 3, you will find it
under My Recording\ Lecture
\ Personal\ 20240516- 3\ .
·
For audio files saved to the
internal storage's temporary
storage area, the save path is:
Temporary Recording\
<Recording Mode>\ <Tag>\
<Audio Name>\ . For example, if
an audio file was recorded in
Lecture mode, saved with the
Personal tag, and named
20240516- 3, you will find it
under Temporary Recording\ L
ecture\ Personal\ 20240516- 3\ .

·
For audio files saved to the
backup area, the save path is:
Backup\ <Recording Mode>\
<Tag>\ <Audio Name>\ . For
example, if an audio file was
recorded in Lecture mode,
saved with the Personal tag,
and named 20240516- 3, you
will find it under Backup\ Lectur
e\ Personal\ 20240516- 3\ .

TIPS
For more detailed operating
instructions, please visit the
“
Tips
”
section on the Home
page.
Set t ing
1. Wireless
2. Recording Settings
Connecting Bluetooth
Headphones and Speakers
·
Recording LED- - Set whether
the LED indicator is allowed
to light up during recording.
·
Auto- Split Recording- When
you need to record for a long
period of time, you can
enable the Auto- split
recording option. The device
will automatically split and
save the recording
according to the set time
intervals. You can set the
split time from 5 minutes to
60 minutes.
·
STT Text Display- - Enable or
disable STT transcription text
display
·
REC key wakes up the
screen- - Allows pressing the
REC button to wake up the
screen, making it easy to
start recording quickly.
·
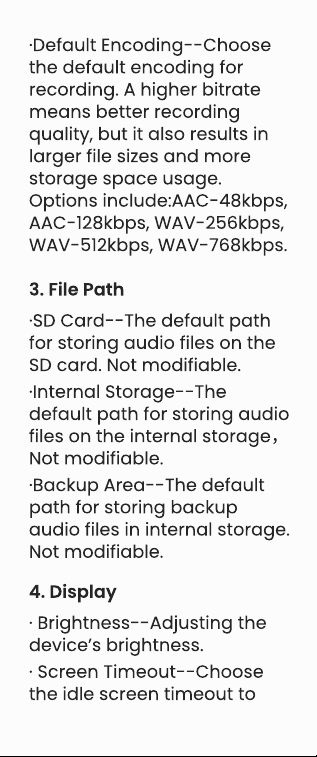
Default Encoding- - Choose
the default encoding for
recording. A higher bitrate
means better recording
quality, but it also results in
larger file sizes and more
storage space usage.
Options include:AAC- 48kbps,
AAC- 128kbps, WAV- 256kbps,
WAV- 512kbps, WAV- 768kbps.
3. File Path
4. Display
·
SD Card- - The default path
for storing audio files on the
SD card. Not modifiable.
·
Brightness- - Adjusting the
device
’
s brightness.
·
Screen Timeout- - Choose
the idle screen timeout to
·
Internal Storage- - The
default path for storing audio
files on the internal storage
,
Not modifiable.
·
Backup Area- - The default
path for storing backup
audio files in internal storage.
Not modifiable.
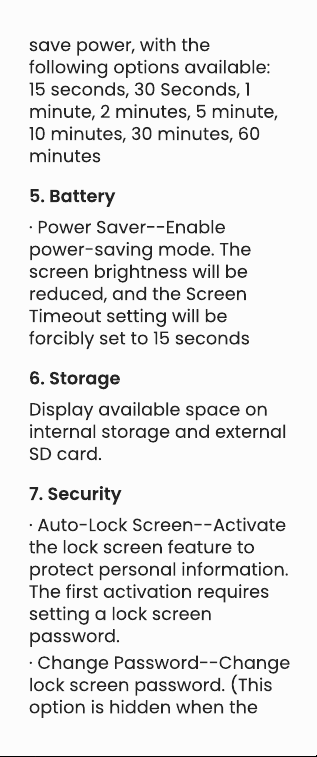
save power, with the
following options available:
15 seconds, 30 Seconds, 1
minute, 2 minutes, 5 minute,
10 minutes, 30 minutes, 60
minutes
5. Battery
6. Storage
7. Security
·
Power Saver- - Enable
power- saving mode. The
screen brightness will be
reduced, and the Screen
Timeout setting will be
forcibly set to 15 seconds
Display available space on
internal storage and external
SD card.
·
Auto- Lock Screen- - Activate
the lock screen feature to
protect personal information.
The first activation requires
setting a lock screen
password.
·
Change Password- - Change
lock screen password. (This
option is hidden when the
lock screen feature is not
activated.)
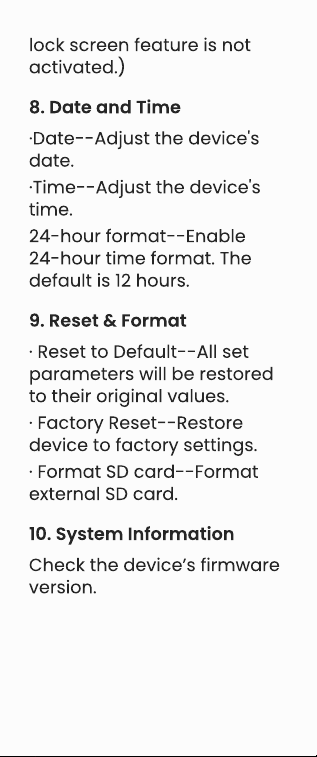
8. Date and Time
9. Reset & Format
10. System Information
·
Date- - Adjust the device's
date.
·
Reset to Default- - All set
parameters will be restored
to their original values.
Check the device
’
s firmware
version.
·
Factory Reset- - Restore
device to factory settings.
·
Format SD card- - Format
external SD card.
·
Time- - Adjust the device's
time.
24- hour format- - Enable
24- hour time format. The
default is 12 hours.
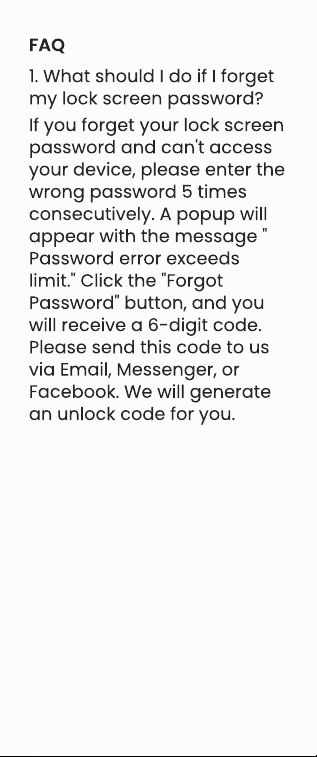
FAQ
1. What should I do if I forget
my lock screen password?
If you forget your lock screen
password and can't access
your device, please enter the
wrong password 5 times
consecutively. A popup will
appear with the message "
Password error exceeds
limit." Click the "Forgot
Password" button, and you
will receive a 6- digit code.
Please send this code to us
via Email, Messenger, or
Facebook. We will generate
an unlock code for you.

FAQ
1.How can I quickly learn to
use the voice recorder?
2.Can I record or play audio
while charging?
3.Can I record without
inserting an SD card?
Please visit the
“
Tips
”
section
under the Home window.
Here you will find more
detailed explanations and
operational instructions to
help you quickly understand
how to use the device.
·
When charging the voice
recorder by connecting the
USB- C cable to a adapter,
you can both record and
play audio.
Yes. If the device doesn't
·
When charging the voice
recorder by connecting the
USB- C cable to a computer,
you ca both record and play
audio if you select "Charging
only" in the "USB connection
for" option.

detect an SD card, it will
automatically save the
recording files to the internal
storage's temporary storage
area. You can then move the
files from this temporary
storage area to an SD card
at any time.
4. I can find my Bluetooth
headphones or speakers in
the device's Bluetooth device
list, but the connection
fails.What should I do?
·
Turn off and then re- enable
Bluetooth, and try pairing
again.
·
Turn off and restart the
voice recorder, and try
pairing again.
·
Restore the voice recorder
to factory settings, and try
pairing again.
If the issue persists, please
First, ensure that your
Bluetooth headphones or
speakers are not connected
to other devices, then follow
these troubleshooting steps:

contact us for further
assistance or for
replacement/refund. If
possible, please provide us
with the brand and model of
the Bluetooth
headphones/speakers to aid
our investigation.

Product Size: 4.3 x 1.3 x 0.6 inch
Weight: 3.0 oz
Bluetooth: 4.2
Screen Size: 3.69 inch
Internal Memory: 1G RAM+8GB
ROM
Battery Capacity: 5V / 1100mAh
Charging Time: 120 minutes
Recording Time: 20 Hours
Expansion Slot: Micro SD/TF Card
(up to 1TB)
Recording Format: WAV / AAC
Compatible Audio Formats:
MP3, WAV, AAC, FLAC, 3GPP,
AMR, M4R, MP2, MKA
Spec if ic
at io n

War ning
:
>>Do not leave the device in
an environment where the
temperature is too low or too
high (below - 10°C or above
50°C) for a long time.
Extreme temperature
environments will cause the
device to deform and
shorten the service life of the
device;
>>Do not use the equipment
under thunderstorm weather;
>>Do not place the device in
the water for a long time;
>> Do not expose the
equipment to the sun for a
long time.
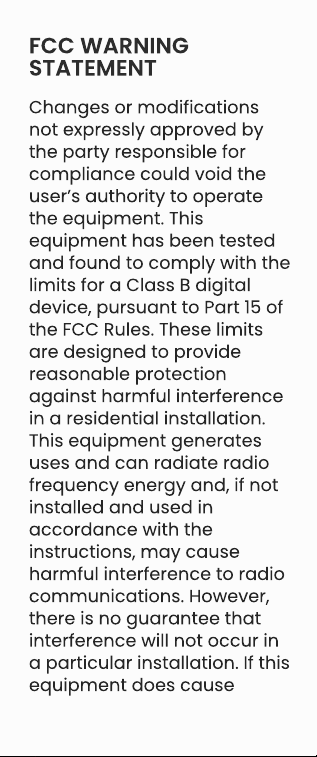
FCC War
ning
St at ement
Changes or modifications
not expressly approved by
the party responsible for
compliance could void the
user
’
s authority to operate
the equipment. This
equipment has been tested
and found to comply with the
limits for a Class B digital
device, pursuant to Part 15 of
the FCC Rules. These limits
are designed to provide
reasonable protection
against harmful interference
in a residential installation.
This equipment generates
uses and can radiate radio
frequency energy and, if not
installed and used in
accordance with the
instructions, may cause
harmful interference to radio
communications. However,
there is no guarantee that
interference will not occur in
a particular installation. If this
equipment does cause

harmful interference to radio
or television reception, which
can be determined by
turning the equipment off
and on, the user is
encouraged to try to correct
the interference by one or
more of the following
measures:
- - Reorient or relocate the
receiving antenna.
- - Increase the separation
between the equipment and
receiver.
- - Connect the equipment
into an outlet on a circuit
different from that to which
the receiver is connected.
- - Consult the dealer or an
experienced radio/TV
technician for help.
(1) This device may not
cause harmful interference,
and
This device complies with
part 15 of the FCC Rules.
Operation is subject to the
following two conditions:
(2) this device must accept
any interference received,
including interference that
may cause undesired
operation.
The device has been evaluat
ed to meet general RF expos
ure requirement.
War r an
t y
Thank you for purchasing our
products. You will enjoy the
following services when
using this product.
Warranty period: Within one
year from the date of sale.
Warranty scope: Limited to
the product host.
Warranty terms:
①
Within 1 year after
purchase, failure or damage
caused by product quality
problems can be replaced
for free or full refund.
②
Accessories are not
included in the warranty,
such as usb cable,
earphones, etc., but if quality
problems occur within 7 days
after purchase, they can be
replaced for free.
③
The following conditions
are not covered by the
warranty
·
Out of the warranty period.
·
It has been disassembled or

repaired privately by the
customer.
·
Man- made damage,
accidental damage or
deformation.
·
Failure caused by installation
and use in abnormal
environments such as high
temperature, high pressure,
and humidity..
·
Damage caused by natural
disasters such as lightning
strikes, floods, and
earthquakes.

Co nt ac
t us:
Email:
Youqi.cn@hotmail.com
Online support:
https://www.facebook.com/i
nnioasis/
We promise to reply you as
soon as possible within 24
hours.