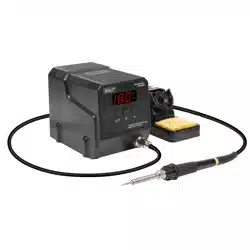
60W SOLDERING STATION
MODEL NO: SD006
Thank you for purchasing a Sealey product. Manufactured to a high standard, this product will, if used according to these
instructions, and properly maintained, give you years of trouble free performance.
IMPORTANT: PLEASE READ THESE INSTRUCTIONS CAREFULLY. NOTE THE SAFE OPERATIONAL REQUIREMENTS, WARNINGS & CAUTIONS. USE
THE PRODUCT CORRECTLY AND WITH CARE FOR THE PURPOSE FOR WHICH IT IS INTENDED. FAILURE TO DO SO MAY CAUSE DAMAGE AND/OR
PERSONAL INJURY AND WILL INVALIDATE THE WARRANTY. KEEP THESE INSTRUCTIONS SAFE FOR FUTURE USE.
1. SAFETY
1.1. ELECTRICAL SAFETY
WARNING! It is the user’s responsibility to check the following:
Check all electrical equipment and appliances to ensure that they are safe before using. Inspect power supply leads, plugs and all
electrical connections for wear and damage. Sealey recommend that an RCD (Residual Current Device) is used with all electrical
products. You may obtain an RCD by contacting your local Sealey stockist.
If the product is used in the course of business duties, it must be maintained in a safe condition and routinely PAT (Portable
Appliance Test) tested.
Electrical safety information: it is important that the following information is read and understood.
1.1.1. Ensure that the insulation on all cables and on the appliance is safe before connecting it to the power supply.
1.1.2. Regularly inspect power supply cables and plugs for wear or damage and check all connections to ensure that they are secure.
1.1.3. Important: Ensure that the voltage rating on the appliance suits the power supply to be used and that the plug is tted with the
correct fuse - see fuse rating in these instructions.
8 DO NOT pull or carry the appliance by the power cable.
8 DO NOT pull the plug from the socket by the cable.
8 DO NOT use worn or damaged cables, plugs or connectors. Ensure that any faulty item is repaired or
replaced immediately by a qualied electrician.
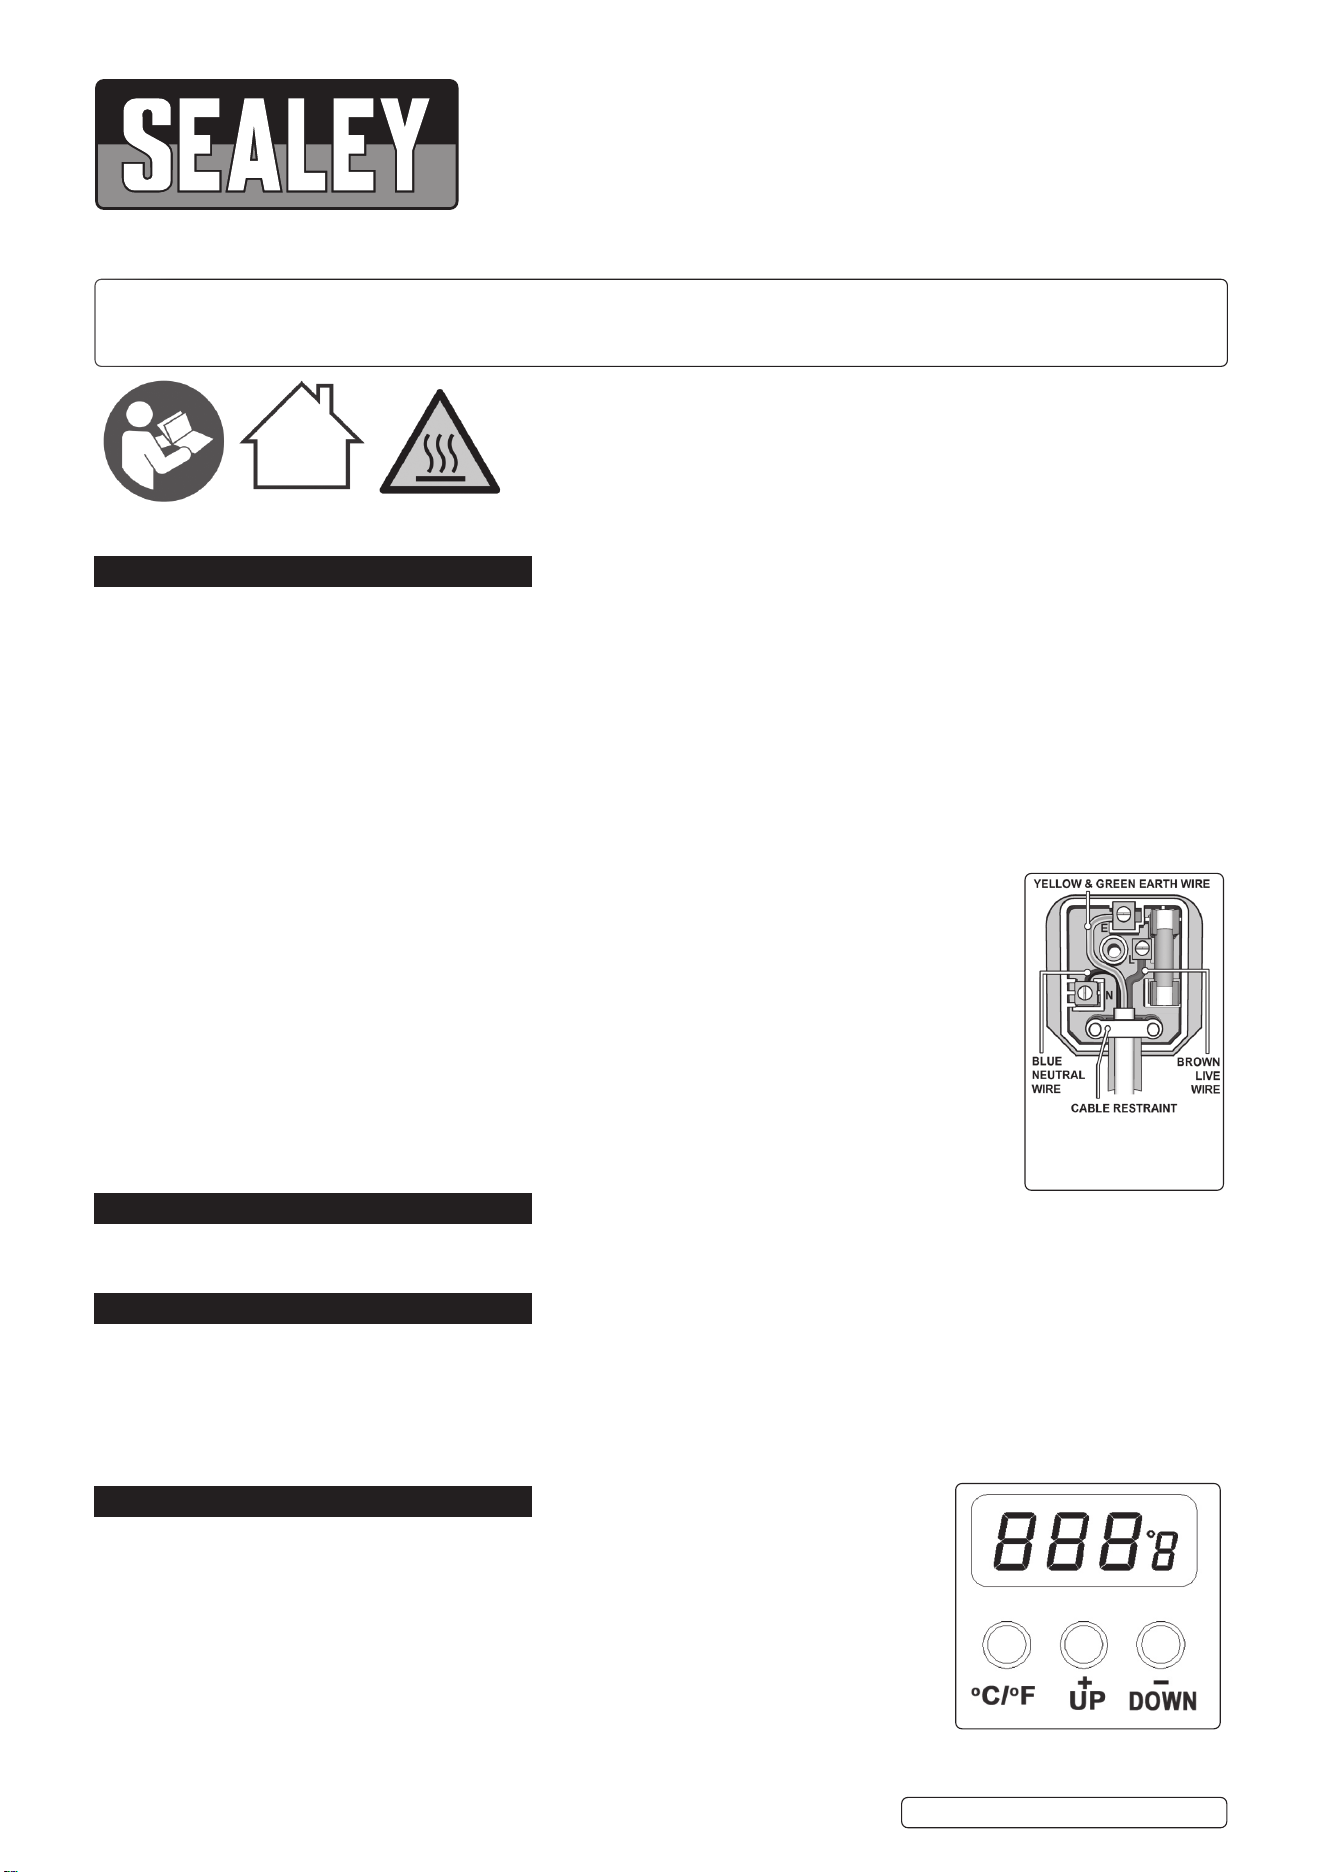
1.1.4. This product is tted with a BS1363/A 3 pin plug.
If the cable or plug is damaged during use, switch the electricity supply and remove from use.
Ensure that repairs are carried out by a qualied electrician.
Replace a damaged plug with a BS1363/A 3 pin plug. If in doubt contact a qualied electrician.
A) Connect the GREEN/YELLOW earth wire to the earth terminal ‘E’.
B) Connect the BROWN live wire to the live terminal ‘L’.
C) Connect the BLUE neutral wire to the neutral terminal ‘N’.
Ensure that the cable outer sheath extends inside the cable restraint and that the restraint is tight.
Sealey recommend that repairs are carried out by a qualied electrician.
2. INTRODUCTION
60W Soldering station with rapid heat up. MCU Controlled temperature calibration. LCD Display screen showing current temperature.
Maintains temperatures between 50-480°C. Supplied with soldering sponge and soldering iron stand.
3. SPECIFICATION
MODEL NO: .......................................................SD006
Electrical Plug Type: .........................................3-Pin BS
Frequency: .............................................................50Hz
Heating Element Voltage: ...................................24V AC
Power: .....................................................................60W
Temperature Range .....................50-480°C(122-896°F)
4. OPERATION
4.1. Place the soldering iron in the holder.
4.2. Then connect the plug to the receptacle on the station and turn clockwise to tighten the plug nut.
4.3. Connect the control unit to the power supply and switch the power on.
4.4. A self-test is carried out in which all the display elements are switched on briey.
4.5. The electronic system then switches on automatically to the set temperature.
4.6. The display and temperature setting
4.6.1. Press the button “+ UP” or “- DOWN” to adjust the temperature.
4.6.2. In short press, the set-point will change ±1°C.
4.6.3. In long press, the set-point will change quickly and reach your target temperature.
Replacement fuse
rating: 3AMP
SD006 Issue 2 (3) 01/09/2022
Original Language Version
© Jack Sealey Limited
Refer to
instructions
Indoor use only Hot surfaces
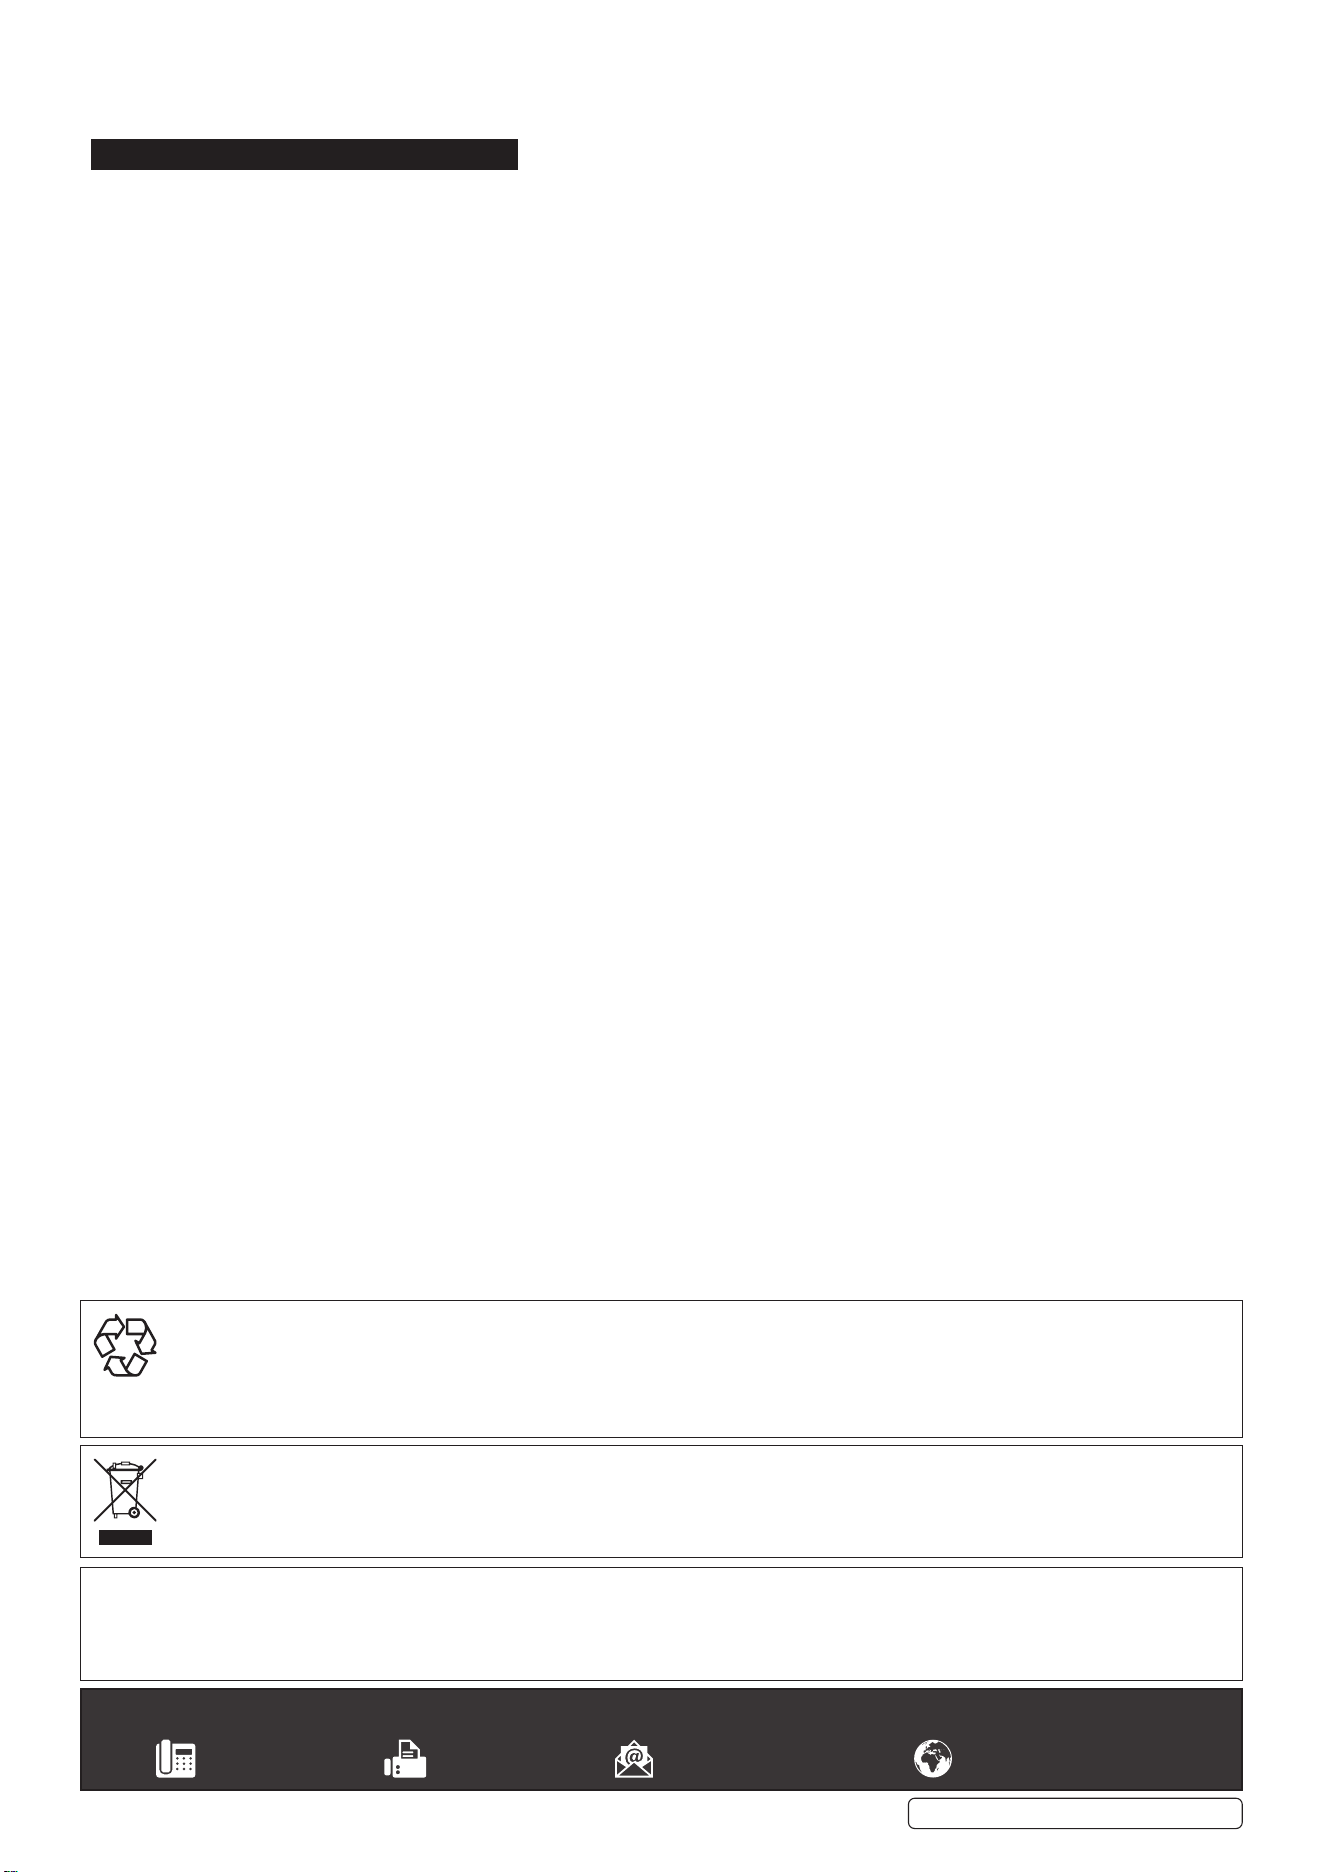
4.6.4. “ ° C/ °F ” is the transfer button between °C/ °F.
4.6.5. The default unit is °C, press the “°C/ °F” button to change between °C and °F.
5. MAINTENANCE
Before operation check all parts are NOT damaged and can give intended operation. Inspection should be carried out by a qualied
technician.
Sealey Group, Kempson Way, Suffolk Business Park, Bury St Edmunds, Suffolk. IP32 7AR
01284 757500 01284 703534 sales@sealey.co.uk www.sealey.co.uk
ENVIRONMENT PROTECTION
Recycle unwanted materials instead of disposing of them as waste. All tools, accessories and packaging should be sorted, taken to
a recycling centre and disposed of in a manner which is compatible with the environment. When the product becomes completely
unserviceable and requires disposal, drain any fluids (if applicable) into approved containers and dispose of the product and fluids
according to local regulations.
WEEE REGULATIONS
Dispose of this product at the end of its working life in compliance with the EU Directive on Waste Electrical and Electronic Equipment
(WEEE). When the product is no longer required, it must be disposed of in an environmentally protective way. Contact your local solid
waste authority for recycling information.
Note: It is our policy to continually improve products and as such we reserve the right to alter data, specifications and component parts without prior
notice.
Important: No Liability is accepted for incorrect use of this product.
Warranty: Guarantee is 12 months from purchase date, proof of which is required for any claim.
SD006 Issue 2 (3) 01/09/2022
Original Language Version
© Jack Sealey Limited
