THIS INSTRUCTION BOOKLET CONTAINS IMPORTANT SAFETY INFORMATION. PLEASE READ AND KEEP FOR FUTURE REFERENCE.
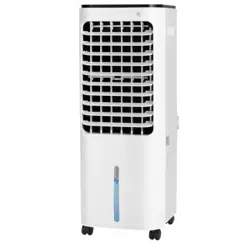
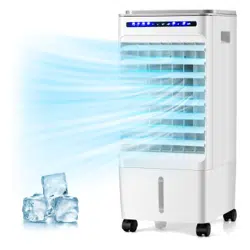
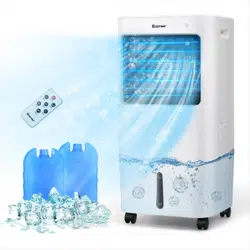
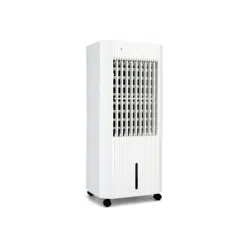
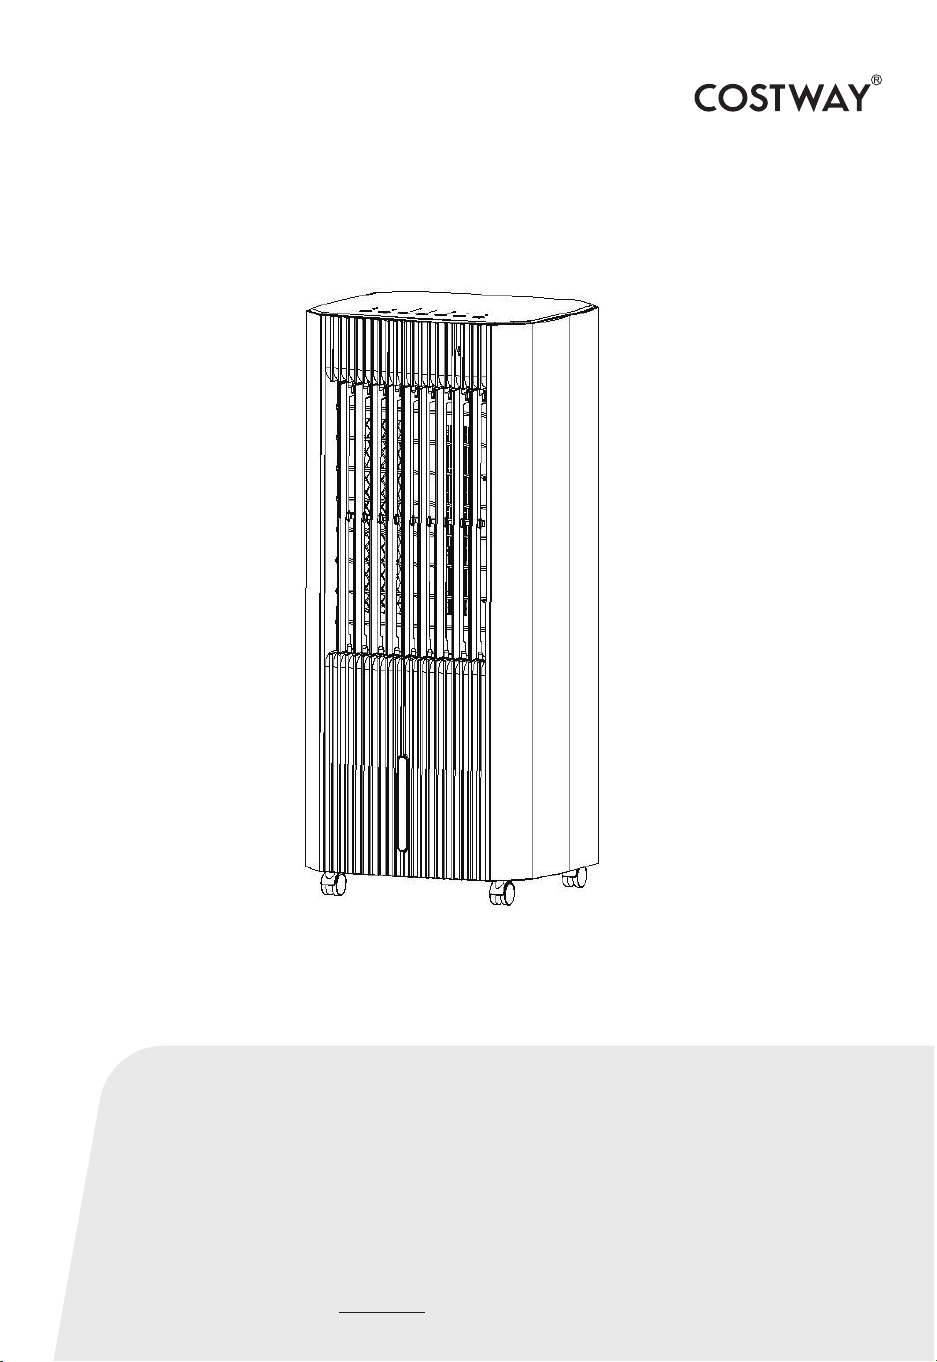
Air Cooler
ES10125US-WH
USER’S MANUAL
Notes regarding the operating manual
Safety
Symbols
Warning of electrical voltage
Warning
Warning
This symbol indicates dangers to the life and health of persons due to
electrical voltage.
This signal word indicates a hazard with an average risk level which,
if not avoided, can result in serious injury or death.
Caution
This signal word indicates a hazard with an average risk level which,
if not avoided, can result in serious injury or death.
Note
This signal word indicates important information (e.g. material
damage),but does not indicate hazards.
Info
Information marked with this symbol helps you to carry out your
tasks quickly and safely.
Follow the manual
Information marked with this symbol indicates that the operating
manual must be observed.
Read this manual carefully before starting or using the device.
Always store the manual in the immediate vicinity of the device or its
site of use!
Read all safety warnings and all instructions.
Failure to follow the warnings and instructions may result in electric
shock, fire and / or serious injury.
02

Save all warnings and instructions for future reference.
This appliance can be used by children aged from 8 years and above
and persons with reduced physical, sensory or mental capabilities or
lack of experience and knowledge if they have been given supervision or
instruction concerning use of the appliance in a safe way and
understand the hazards involved.
Children shall not play with the appliance. Cleaning and user
maintenance shall not be made by children without supervision.
• Do not use the device in potentially explosive rooms.
• Do not use the device in aggressive atmosphere.
• Set the device up in an upright and stable position.
• Let the device dry out after a wet clean. Do not operate it when wet.
• Do not use the device with wet or damp hands.
• Do not expose the device to directly squirting water.
• Never insert any objects or limbs into the device.
• Do not cover or transport the device during operation.
• Do not sit on the device.
• This appliance is not a toy! Keep away from children and animals.
• Do not leave the device unattended during operation.
• Check accessories and connection parts for possible damage prior to
every use of the device. Do not use any defective devices or device
parts.
• Ensure that all electric cables outside of the device are protected from
damage (e.g. caused by animals).
• Never use the device if electric cables or the power connection are
damaged!
• The electrical connection must correspond to the specifications in
chapter Technical data.
• Insert the mains plug into a properly secured mains socket.
03

• Observe the device's power input, cable length and intended use when
selecting extensions to the power cable. Completely unroll extension
cables. Avoid electrical overload.
• Before carrying out maintenance, care or repair work on the device,
remove the mains plug from the mains socket. Hold onto the mains
plug while doing so.
• Switch the device off and disconnect the power cable from the mains
socket when the device is not in use.
• Do not under any circumstances use the device if you detect damages
on the mains plug or power cable. If the supply cord is damaged, it
must be replaced by the manufacturer, its service agent or similarly
qualified persons in order to avoid a hazard.
Defective power cables pose a serious health risk!
• When positioning the device, observe the minimum distances from
walls and other objects as well as the storage and operating conditions
specified in the Technical data chapter.
• Make sure that the air inlet and outlet are not obstructed.
• Make sure that the suction side is kept free of dirt and loose objects.
• Do not remove any safety signs, stickers or labels from the device.
Keep all safety signs, stickers and labels in legible condition.
• Only transport the device in an upright position with an emptied water
tank.
• Empty the water tank before transport and storage. Do not drink the
water. Health hazard!
• Only fill the water tank with fresh drinking water, ice cubes made of
fresh drinking water and / or suitable ice packs.
• Ice packs are not toys. Keep away from children and animals.
• Never open an ice pack. The liquid inside the ice packs can be harmful
to health.
• Do not eat the ice that may form on the ice packs. Health hazard!
04

Only use the device for cooling the air in interior spaces while adhering
to and following the technical data.
Intended use comprises cooling the air in:
• living spaces
• Museums
• warehouses and archives
• libraries
• call centres and computer rooms
Warning of electrical voltage
Work in the electrical components must only be carried out by an
authorised specialist company!
Intended use
Improper use
• Do not place the device on wet or flooded ground.
• Do not place any objects, e.g. clothing, on the device.
• Do not use the device outdoors.
• Any unauthorised modifications, alterations or structural changes to
the device are forbidden.
• Any operation other than as described in this manual is prohibited.
Non-observance renders all claims for liability and guarantee null and
void.
Personnel qualifications
People who use this device must:
• be aware of the dangers that occur when working with electric devices
in damp areas.
Residual risks
05
Warning of electrical voltage
Before any work on the device, remove the mains plug from the
mains socket!
Hold onto the mains plug while pulling the power cable out of the
mains socket.
Warning
The liquid inside the ice packs can be harmful to health!
If the liquid was swallowed, immediately seek medical attention.
If the liquid came into contact with your eyes, rinse with water and
immediately consult an ophthalmologist.
Warning
Dangers can occur at the device when it is used by untrained people
in an unprofessional or improper way!
Observe the personal qualifications!
Warning
The device is not a toy and does not belong in the hands of children.
Warning
Risk of suffocation!
Do not leave the packaging lying around. Children may use it as a
dangerous toy.
Behaviour in the event of an emergency
1. Switch off the device
2. In an emergency, disconnect the device from the mains feed-in:
Hold onto the mains plug while pulling the power cable out of the
mains socket.
3. Do not reconnect a defective device to the mains.
Note
Do not operate the device without an inserted air filter!
Without the air filter, the inside of the device will be heavily
contaminated. This could reduce the performance and result in
damage to the device.
06
The air cooler lowers the room temperature to a comfortable degree
by ventilating cooling.
The device is filled with cold water or optionally with ice cubes and /
or ice packs in order to cool down the incoming warm air at the filter
and to blow out the cold air thus generated via the fan.
Besides its cooling function, the device can also be used for air
freshening: thanks to an integrated air filter and the filter's
honeycomb structure, the sucked-in air is filtered.
The fan speed can be set to three stages.
The discharge direction of the cooled air can be manually adjusted
via the ventilation flaps as well as via the optionally selectable
automatic swing mode.
The device has a night mode enabling ultra-silent operation at
bedtime.
The device can be operated via the control panel at the device or via
the infrared remote control.
Moreover, using the timer function, the device can be switched off
automatically with time delay.
The device is equipped with an overheating protection that switches
off the air cooler in case of overheating.
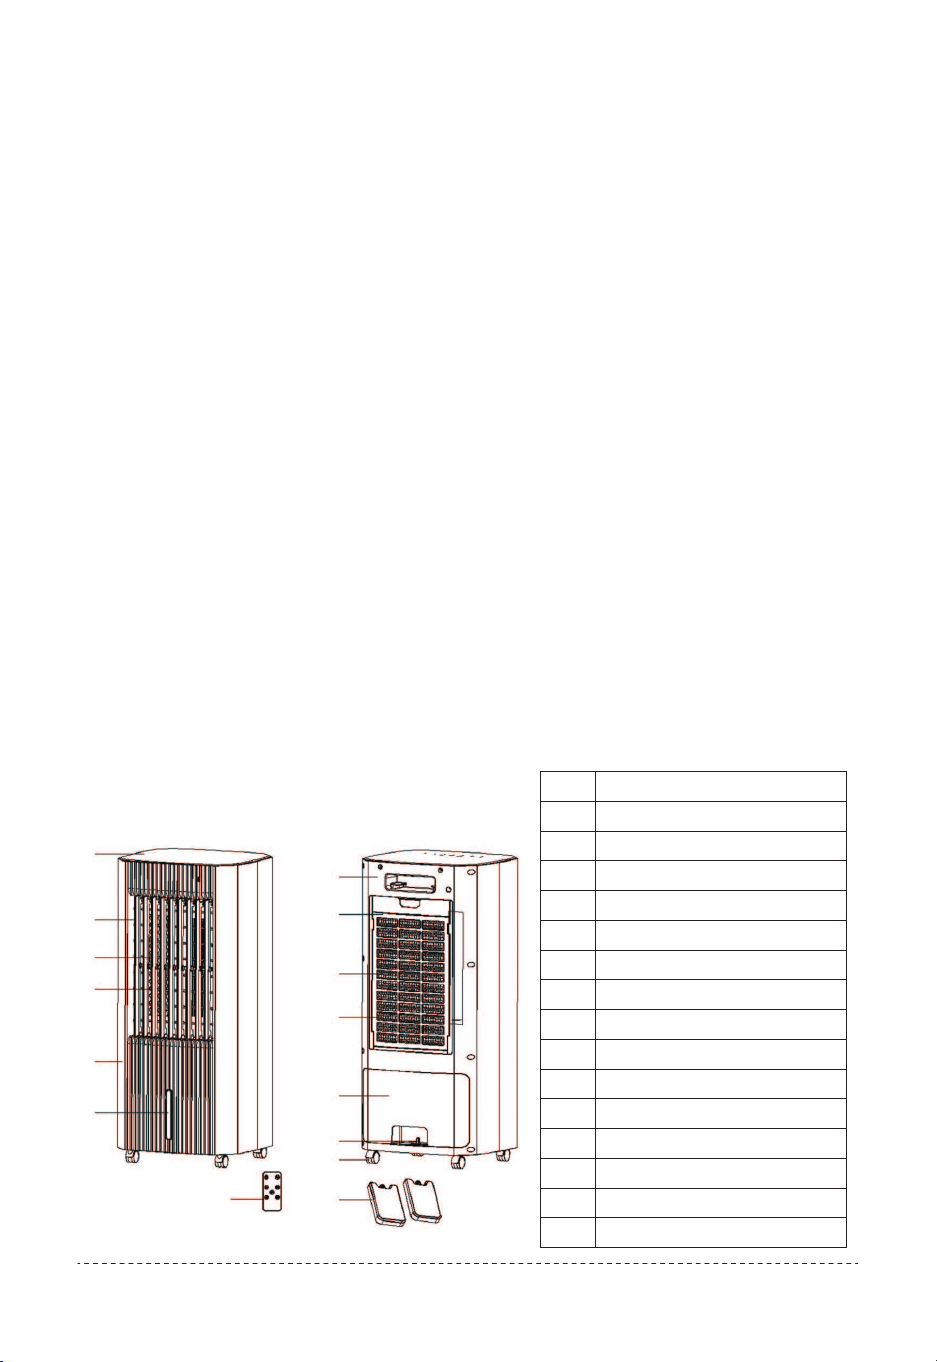
No.
1
2
3
4
5
6
7
8
9
10
11
12
13
14
15
Designation
Top cover
Vertical blade
Protective net
Horizontal wind blade
Front housing
Water level window
Rear housing
Wet curtain frame
Screen cloth
Humidifying curtain
Water tank cover
Water tank switch
All direction wheels
Remote-control
Ice box
Information about the device
Device depiction
Description of the device
1
2
3
4
5
6
7
8
9
10
11
13
14 15
12
07

If you store or transport the device improperly, the device may be
damaged.
Note the information regarding transport and storage of the device.
Transport and storage
Note
Storage
To make the device easier to transport, it is fitted with wheels.
To make the device easier to transport, it is fitted with a carry
handle.
Transport
• Switch the device off.
• Hold onto the mains plug while pulling the power cable out of the
mains socket.
• Do not use the power cable to drag the device.
• Only wheel the device on a level and smooth surface.
Before transporting the device, observe the following:
• Switch the device off.
• Hold onto the mains plug while pulling the power cable out of the
mains socket.
• Do not use the power cable to drag the device.
• Only wheel the device on a level and smooth surface.
Before transporting the device, observe the following:
• Set up the device in an upright position after transport.
After transporting the device, observe the following:
• Empty and clean the water tank prior to storage.
• Allow the honeycomb filter to dry prior to storage. Otherwise the
device may distribute a musty smell after restart.
When the device is not being used, observe the following storage
conditions:
• dry and protected from frost and heat
• in an upright position where it is protected from dust and direct
sunlight
• with a cover to protect it from invasive dust if necessary
• Place no further devices or objects on top of the device to prevent it
from being damaged.
• Remove batteries from the remote control.
Before storing the device, observe the following:
08
22
23
24
25
26
28
29
30
31 34
32
33
27
Do not use the air cooler near curtains or other inflammable places,
the spacing is at least 50cm(20”).
Start-up
• Avoid open doors and windows.
Operation
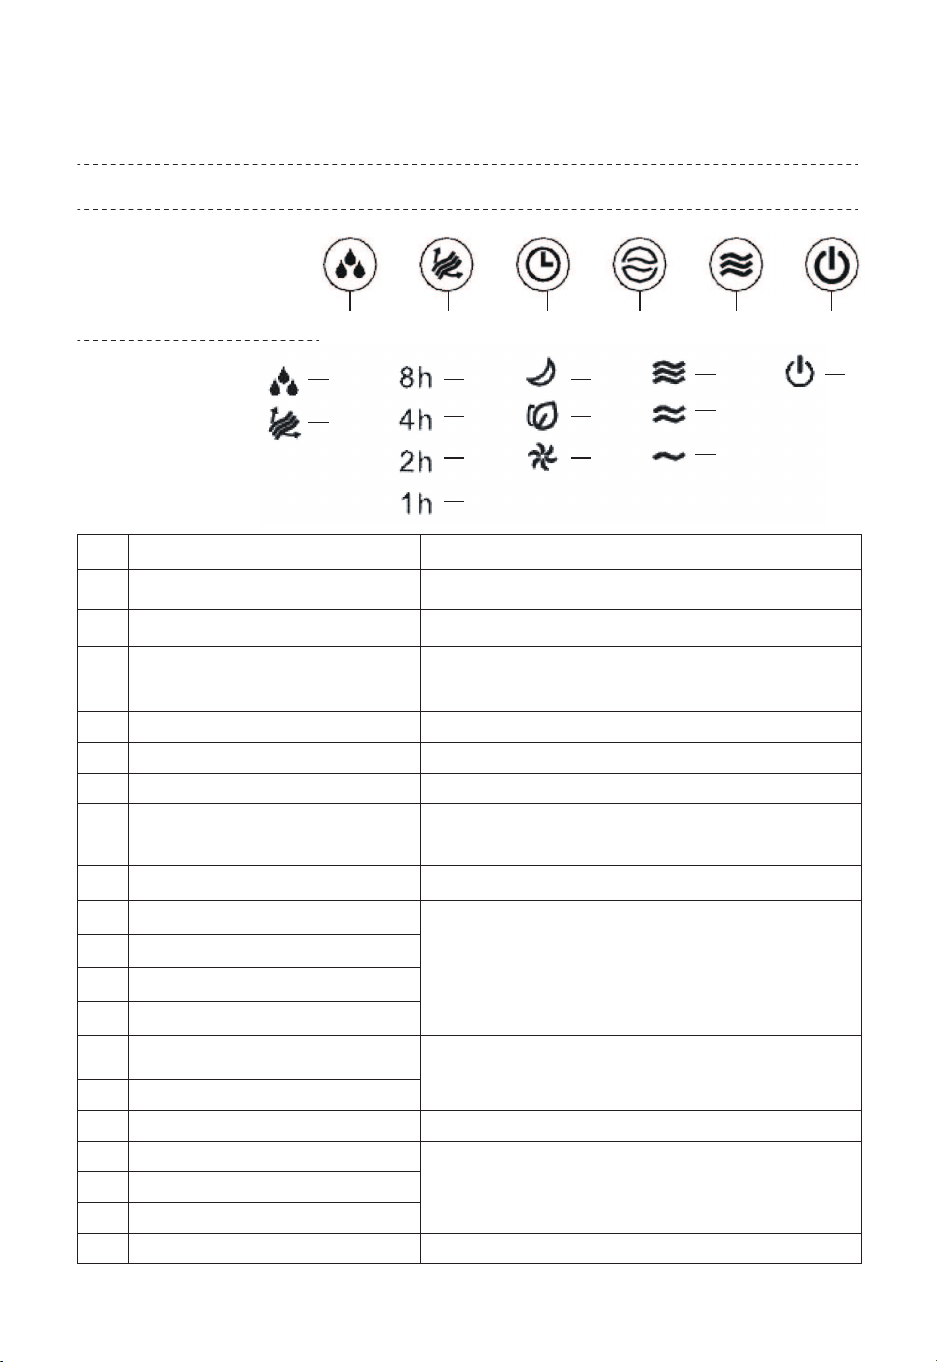
Control panel
Display panel
Operation elements
No.
16
17
18
19
20
21
22
23
24
25
26
27
28
29
30
31
32
33
34
Designation
Cooling button Switching the air cooling mode on or off
Oscillation button Switching the swing function on or off
Timer button
Setting timing/reservation and switching
the timer on or off 1h to 15h
Mode button Selection button for natural and night modes
Speed button Setting the fan speed
On/Off button Switching the device on or off
Fan speed indication
Illuminated during operation
Mode LEDs: Sleep wind mode
Mode LEDs: Natural wind mode
Mode LEDs: Normal wind mode
Fan stage LEDs: High
Fan stage LEDs: Medium
Fan stage LEDs: Low
On/Off LED
Illuminated when swing function is activated
Cooling LED
Oscillation LED
Hours LEDs: 8h
Hours LEDs: 4h
Hours LEDs: 2h
Hours LEDs: 1h
Illuminated when air cooling mode is activated
Flashes when water tank is less than 1 liter.
Indication of the number of hours of the
activated timer.
Detailed information see below timer
setting
Indication of the selected operating
mode: Normal wind mode / Natural wind
mode/ Sleep wind mode
Meaning
16 17 18 19 20 21
09

Once you have completely installed the device, you can switch it on.
When the power is switched on, all LED lights will be on for about 1
second. At the same time, there will be a long buzzer. After that, all LED
lights will be off and go into standby mode.
The device starts in air cooling, enter the natural mode for the first
time. In case of initial start-up the swing function is also activated.
Switching the device on
If you switch the device back on after initial start-up, the settings
selected for the operating mode are saved. Any activated timer will not
be saved in the device.
If the power is cut off, the memory is cleared.
Memory function
The device comes with the following operating modes:
• Normal wind mode
• Natural wind mode
• Sleep wind mode
Setting the operating mode
Press the On/Off button (21)
This button is valid when the machine is on or in the reservation state.
Press this button to turn on the cooling function, and then press the
cooling function to cancel it.
• When the cooling function is on and the water level switch is closed,
the pump works.
• When the cooling function is turned off to start, the pump is started
according to the rule of "work3s→ stop 3s→ work 3s→ stop 3s→
continuous operation".
Cooling function
Press the On/Off button (21)
Start for the first time, the default is low wind speed (indicator 33
flashes), normal wind speed mode.
After the air cooler is used, you can switch it off.
10
• When the water tank is short of water during the cooling operation or
when the cooling function is on, the buzzer will sound 3 times and the
Cooling LED will blink at 1Hz until the cooling function is cancelled or the
power is cut off.
• After the water shortage alarm, if the water is refilled, the alarm will
stop, but the cooling function needs to be manually turned on again.
It imitates the effect of natural wind, which can be divided into 3 fan
stage (High, medium, low) with the setting of speed button.
• Change law of high natural wind:H(50S)-M(50S)-L(50S)-H(
50S)-M(50S)-H(50S)-M(75S)-H(50S)-L(50S)-H(25S)-L(
50S)-H(50S)-M(75S)-H(75S)-L(50S)
• 2.Change law of medium natural wind:M(50S)-L(50S)-H(25S)
-M(75S)-L(50S)-H(50S)-M(75S)-L(50S)-M(75S)-L(25S)
-H(25S)-M(75S)-L(50S)-M(50S)-L(25S)
• Change law of low natural wind:L(50S)-M(50S)-L(50S)-H(
50S)-L(50S)-M(50S)-L(50S)-M(75S)-L(75S)-M(50S)-H(
50S)-L(75S)-M(50S)-L(50S)-M(25S)
With an empty water tank the pump switches off automatically.
The Cooling LED (22) will flash when water tank is less than 1 liter.
Note:
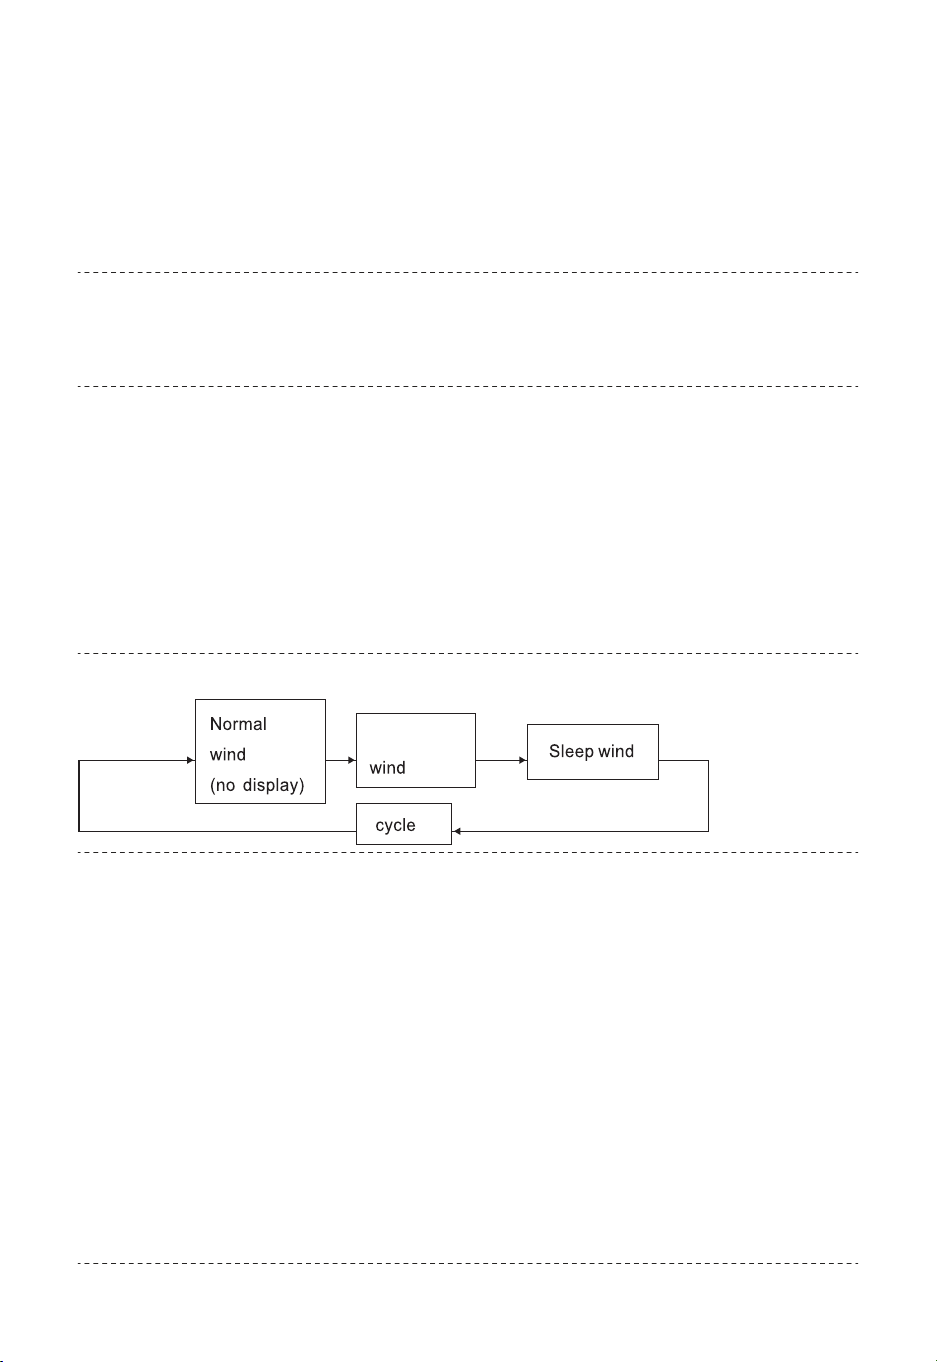
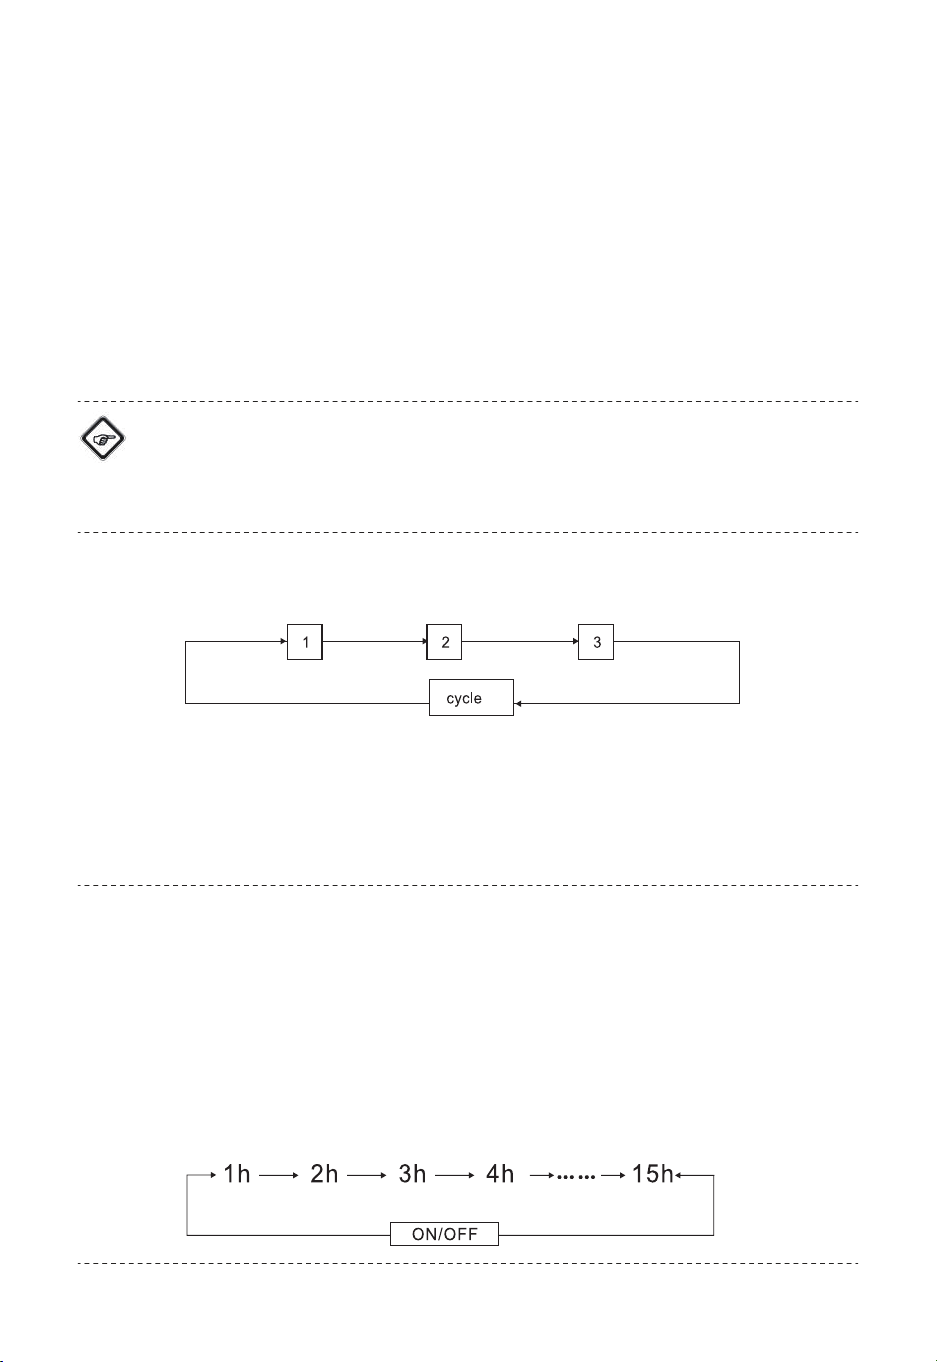
Setting wind mode
The setting sequence is as follows:
Natural wind mode
When press the On button, the default is Normal wind , Mode LEDs:
Normal wind mode (30) will flash.
Press Mode button(19) to set the wind mode
Press once, enter the natural mode, Mode LEDs: Natural wind mode
(29) will flash.
Press twice to enter the sleep mode, Mode LEDs: Sleep wind mode
(28) will flash.
Natural
11
1.When set to high sleep wind, the fan runs for half an hour according
to high natural wind, then turns to medium natural wind, and then turns
to low natural wind after half an hour until the end of the preset time or
until it is turned off.
2. When the fan is set as a medium sleep wind, it runs for half an hour
according to the medium natural wind and turns into a low natural wind
until the end of the preset time or until it is turned off.
3. When set as the low sleep wind, the fan operates according to the
low natural wind until the end of the preset time or until it is turned off.
Sleep wind mode:
Press speed button(20) to set the wind speed. The setting sequence is
as follows:
Setting wind speed
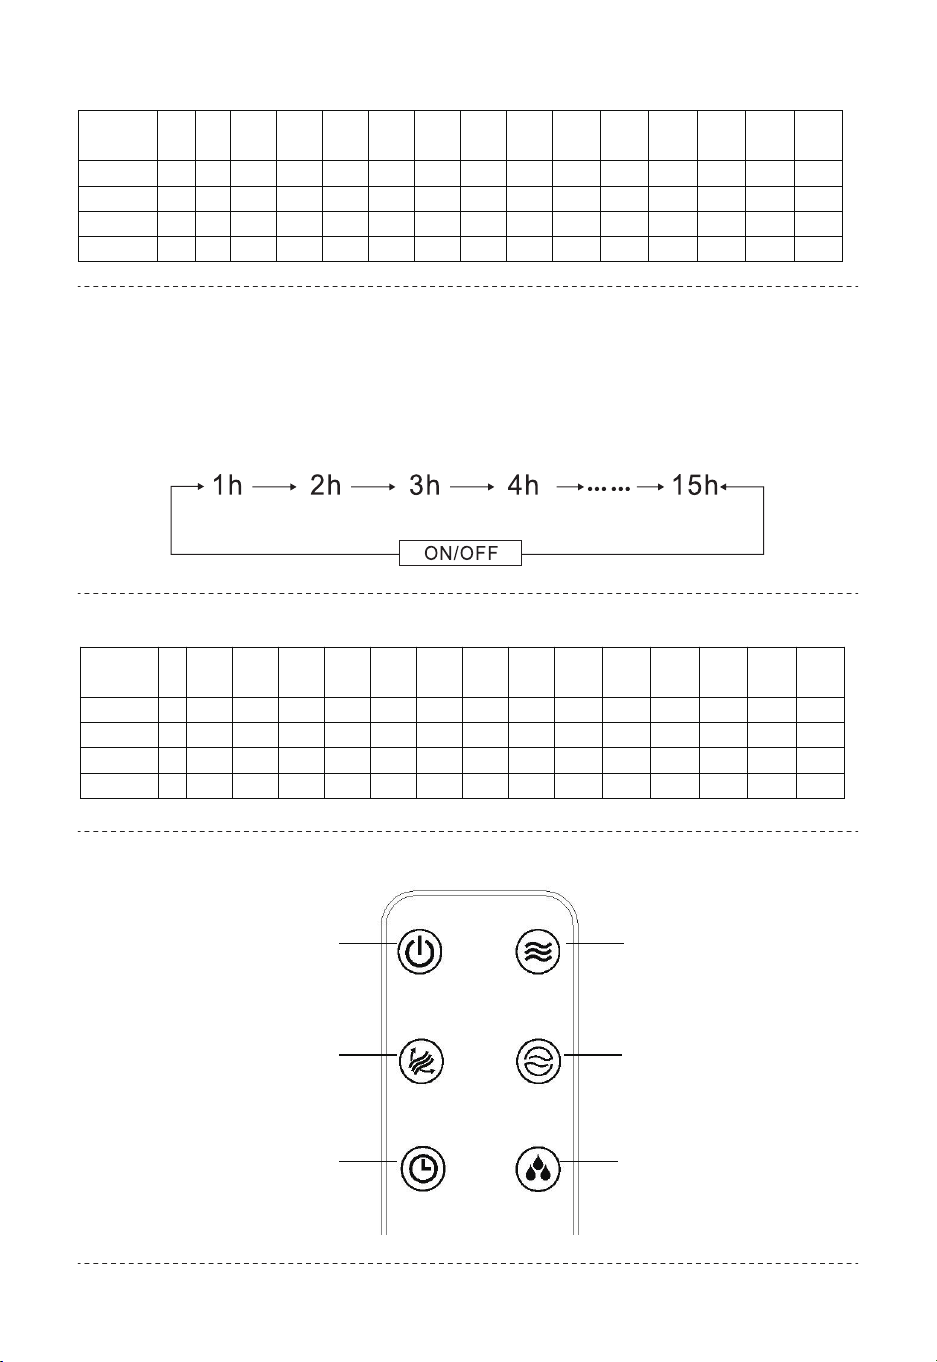
When the air cooler in standby state, timer button(18) is the
reservation key.
The function can be set in all operating modes.
The number of hours can be between 1 and 15 and can be adjusted
in increments of 1 h.
Press this button in standby state to set the boot time. The setting
sequence is as follows:
Setting Reservation:
When press the On button, the default is low wind speed, fan stage
LEDs (33)will flash.
Press once, enter the medium speed, fan stage LEDs (32) will flash.
Press twice to enter the high speed, fan stage LEDs (31) will flash.
Info
If you activate air cooling, an alarm signal will be emitted when the
water is less than 1 litre, even in sleep mode.
12
The hour LEDs flash as follows:
The hour LEDs flash as follows:
Remote control
When the air cooler is on, timer button(18) is the timing key.
The function can be set in all operating modes.
The number of hours can be between 1 and 15 and can be adjusted
in increments of 1 h.
Setting the timer
TIME 1h 2
h
3h 4h 5h 6h 7h 8h 9h 10h 11h 12h 13h 14h 15h
1h LED √ √ √ √ √ √ √ √
2h LED √ √ √ √ √ √ √ √
4h LED √ √ √ √ √ √ √ √
8h LED √ √ √ √ √ √ √ √
TIME 1
h
2h 3h 4h 5h 6h 7h 8h 9h 10h 11h 12h 13h 14h 15h
1h LED √ √ √ √ √ √ √ √
2h LED √ √ √ √ √ √ √ √
4h LED √ √ √ √ √ √ √ √
8h LED √ √ √ √ √ √ √ √
38
35
39
36
40
37
13
1. The remote control must be facing the receiver;
2. The use range of the remote control is within 5 m/ 16.5 ft facing the
receiver. If the remote control does not face the receiver, the use range
of the remote control will be reduced;
3. Do not put anything between the receiver and the remote control;
4. Please keep the remote control properly to avoid collision and fall.
5. When you don't use the remote control, please take out the battery
and keep it properly.
Notes
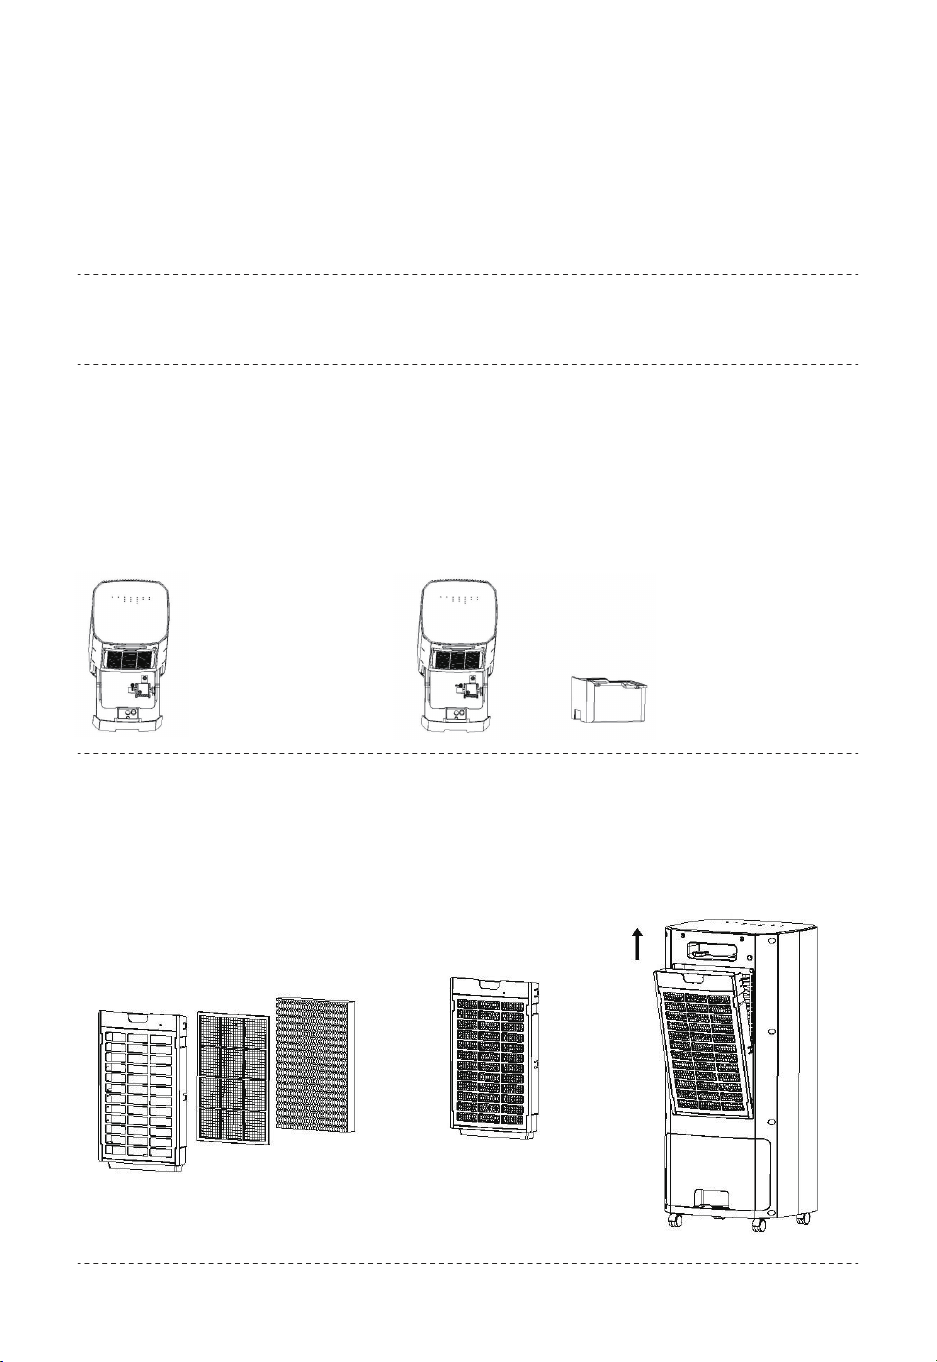
Turn the water tank switch to the horizontal position to draw out the
water tank. After drawing out the water tank, add water, ice crystals or
ice cubes to the water tank. Do not exceed the maximum water level
after adding water or ice.
After completion, push the water tank back to its original position and
turn the water tank switch to the up position to lock the water tank.
When using the ice crystal box, please put the ice crystal box in the
refrigerator until it freezes, which can have a certain cooling effect and
make the blowing wind cooler.
Refilling water :
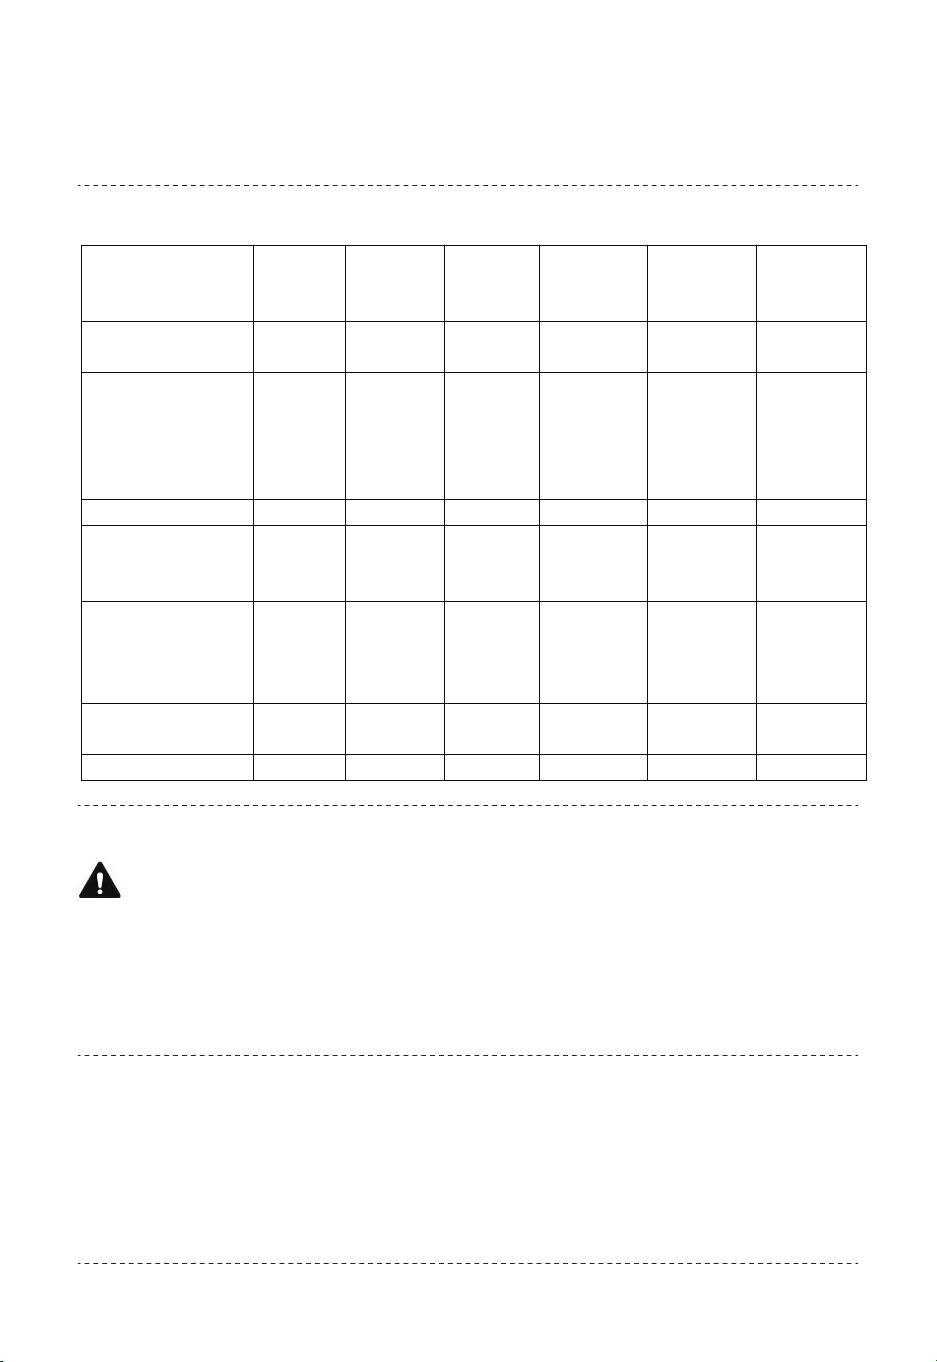
Take out the four casters from the box,
carefully put the whole machine down
without putting water and ice, insert the
four casters into the corresponding holes,
and press them firmly, then return the
product stably.
Caster installation method:
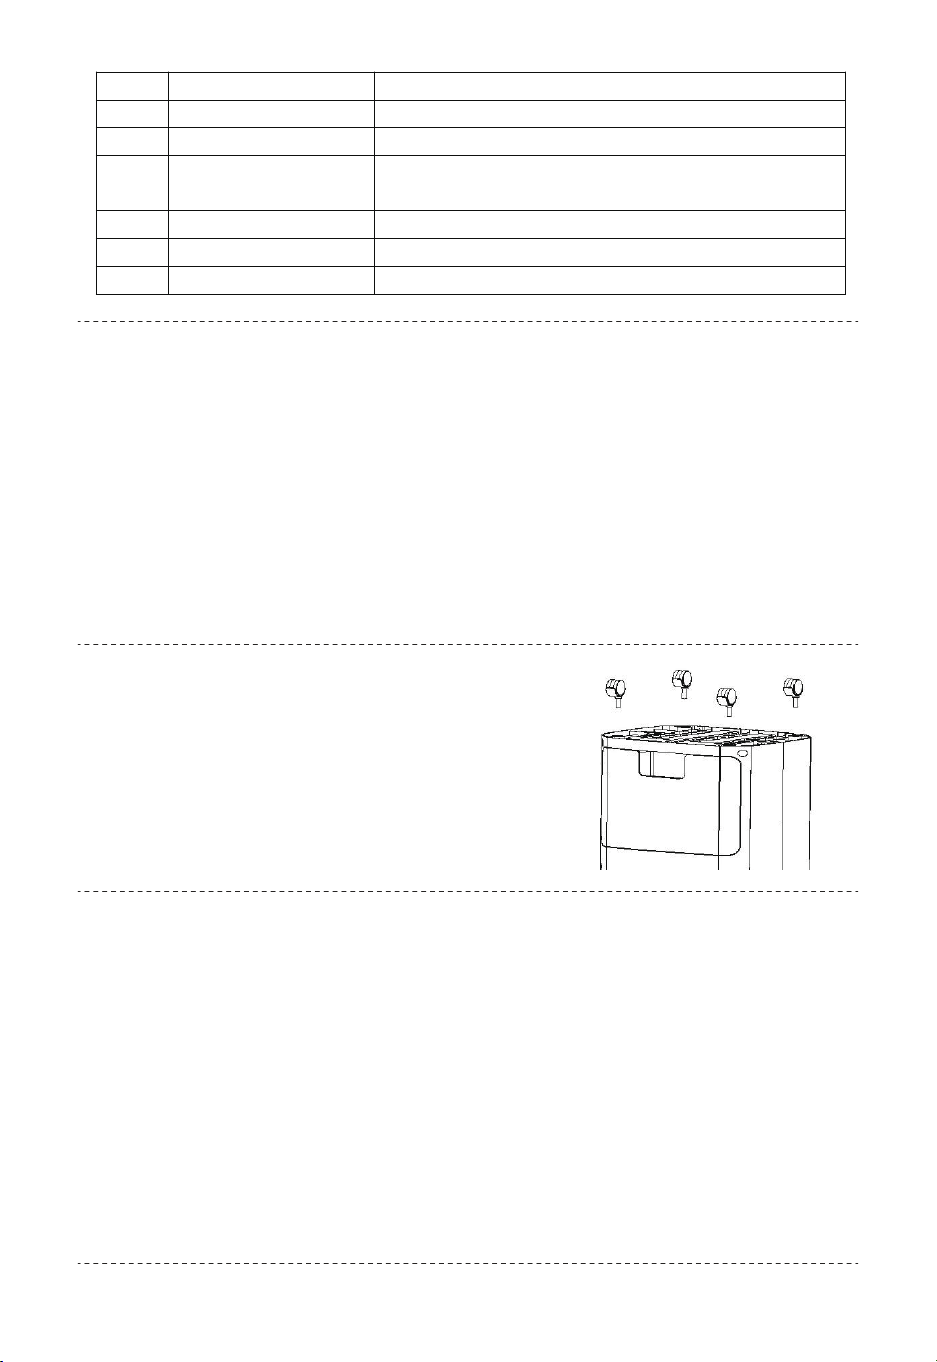
No. Designation Meaning
35 On/Off button Switching the device on or off
36 Oscillation button Switching the swing function on or off
37 Timer button Setting timing/reservation and switching the
timer on or off
38 Speed button Setting the fan speed
39 Mode button Selection button for ventilation
40 Cooling button Switching the air cooling mode on or off
14

With activated swing function the Oscillation LED(23) is illuminated.
Installation Method of Remote Controller Battery
The swing function can be switched on in any operating mode if required.
Behind the horizontal ventilation flaps, there are vertical air flaps
integrated in the device. By means of the swing function, these air flaps
are moved automatically and thus ensure continuous air circulation.
1. Press the Oscillation button (17) to switch the swing function on or off.
After 24 hours of continuous operation the device switches off
automatically.
Swing function
Auto stop function
Shutdown
1. The battery cover can be removed by gently pulling it down.
2. Put the battery into the battery box. (Note the positive and negative
direction of the battery)
3. Put the battery cover into the original outlet and fasten it completely.
Warning of electrical voltage
Water level indicator
negative
positive
15

Warning
Do not touch the mains plug with wet or damp hands.
Switch off the device.
• Hold onto the mains plug while pulling the power cable out of the
mains socket.
• Empty and clean the water tank (see chapter Maintenance).
• Clean the device according to the Maintenance chapter.
• Store the device according to the Storage chapter.
The device has been checked for proper functioning several times
during production. If malfunctions occur nonetheless check the device
according to the following list.
Errors and faults
• Check the power connection.
• Check the power cable and mains plug for damages.
• Check the on-site fusing.
The device does not start:
• Keep the air inlet clear to prevent the motor from overheating.
• Check whether the overheating protection has tripped(see chapter
Operation)
The device has automatically switched itself off:
• Check the position of the horizontal ventilation flaps. They should be
opened to the maximum.
• Check the air filter for dirt. If necessary, clean or replace the air filter.
• Check the minimum distance to walls or other objects. If necessary,
place the device a little more in the center of the room.
The device works with reduced or no capacity:
Only use accessories and additional equipment specified in the
operating manual.
Using insertion tools or accessories other than those specified in the
operating manual may cause a risk of injury.
Available accessories
16

• Check whether air cooling mode is activated. The Cooling LED(22)
should be illuminated.
• Check the filling level of the water tank(see chapter Filling the water
tank). The Cooling LED (22) should not flash.
• Check whether there are any objects blocking the pump inlet. Make
sure that the pump inlet is not blocked.
• In case the pump does not operate despite a correctly filled water
tank and activated air cooling mode, the pump might be defective.
Please contact the customer service.
• Check the device for leaks.
• Check the water tank for tight fit.
Water is leaking:
• Check whether the mechanism for lowering the pump was released. If
the pump can be seen in the lower area, the water tank is being
blocked.
—Push the pump up until the switch for lowering the pump can be seen.
The water tank cannot be inserted
• The swing function motor might be defective. Please contact the
customer service.
The swing function is not working:
• Check whether the device is set up in a stable and upright position.
The device is loud or vibrates:
• Check whether the distance between remote control and device is too
large and reduce it if necessary.
• Make sure there are no obstacles, such as furniture or walls between
the device and the remote control. Ensure visual contact between device
and remote control.
• Check the charging status of the batteries and change them if required.
• If the batteries have only just been changed, check them for correct
polarity and change them if required.
The device does not respond to the infrared remote control:
The device is running, but there is no air cooling or pump
operation:
17
Wait for at least 3 minutes after maintenance and repair work. Only
then switch the device back on.
Maintenance intervals
Note
Warning of electrical voltage
Do not touch the mains plug with wet or damp hands.
• Switch the device off.
• Hold onto the mains plug while pulling the power cable out of the mains
socket.
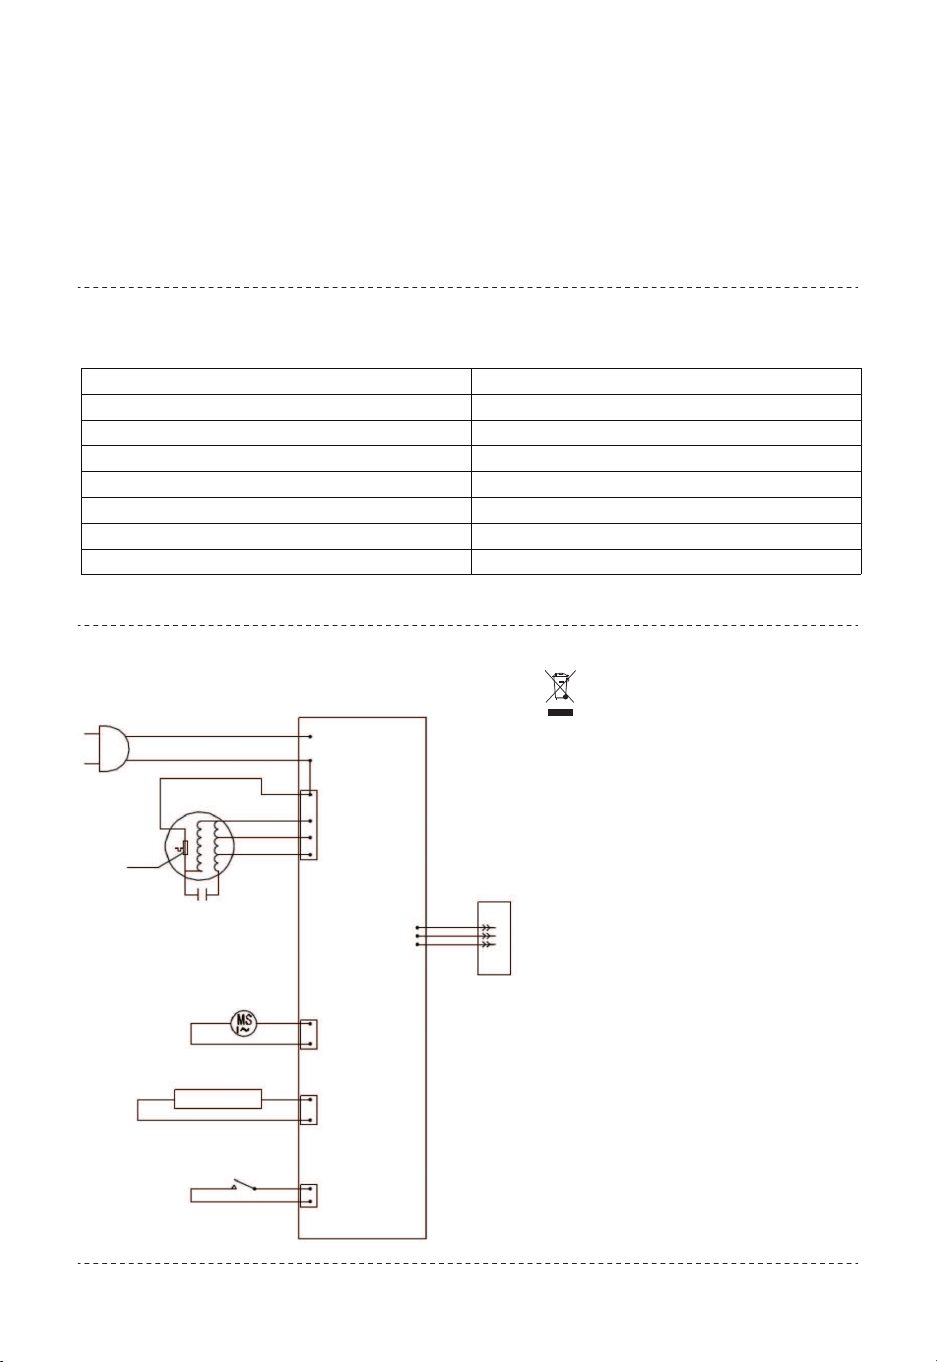
1. Remove the air filter.
2. Use a torch to illuminate the openings of the device.
3. Check the inside of the device for dirt.
4. Put the air filter back in.
Activities required before starting maintenance
Visual inspection of the inside of the device for dirt
Maintenance
and care
internal
Before
every
start-up
As
needed
At least
every 2
weeks
At least
every 4
weeks
At least
every 6
months
At least
annually
Clean the water
tank
√ √
Check the air
inlets and outlets
for dirt and foreign
objects and clean
if necessary
√ √
Clean the exterior √ √
Visually check the
inside of the
device for dirt
√ √
Check the air filter
for dirt and foreign
objects and clean
if necessary
√ √
Replace the
honeycomb filter
√ √
Test run √ √
18
Clean the device with a soft, damp and lint-free cloth. Ensure that no
moisture enters the housing. Protect electrical components from
moisture. Do not use any aggressive cleaning agents such as cleaning
sprays, solvents, alcohol-based or abrasive cleaners to dampen the
cloth.
You can use vacuum cleaner to clean the dust.
1. The state of the
small knob pressing
the water pump
assembly
Cleaning the air outlet
Draw out the water tank first, and turn the small knob holding down the
water pump assembly to open. You can remove the water pump
components, then pull out the water tank completely, wipe the water
tank with a damp cloth, if it is not clean, use a soft brush to brush it a
few times. After cleaning the water tank, install it in the reverse order.
Cleaning the water tank
Draw out the air filter from the rear housing, then put them together
(honeycomb + filter frame) into the water for a few times, finally let it
dry in the air.
Cleaning the air filter
Cleaning the housing
2. The state of the small
knob loosened the water
pump assembly
3. The water tank
can be taken out
separately
19
Plug
Motor
Capac i tance
Synchronus Motor
Water Lovel
Switch
Synchronus
Motor
Water
Pump
Water Level
Switch
Water Pump
ACL
ACN
H(3)
M(2)
L(1)
PCB
Receiving
head
1. Please turn off the power and unplug the power plug before filling
and cleaning the water tank.
2. If the screen cloth is not washed for a long time, it may cause bad
conditions such as lower air flow and increased noise.
3. Reminder: Clean the air filter after one month of use.
The icon with the
crossed-out waste bin on waste
electrical or electronic
equipment stipulates that this
equipment must not be
disposed of with the household
waste at the end of its life. You
will find collection points for
free return of waste electrical
and electronic equipment in
your vicinity.
The separate collection of
waste electrical and electronic
equipment aims to enable the
re-use, recycling and other
forms of recovery of waste
equipment as well as to
prevent negative effects for the
environment and human health
caused by the disposal of
hazardous substances
potentially contained in the
equipment.
Noted
Technical data
Electrical schematic diagram Disposal
Parameter Value
Model ES10125US-WH
Rated voltage 120V
Frequency 60Hz
Rated power input 65W
Air speeds 1.8m/s - 4.9m/s
Protection against electric shock level II
Noise 58dB(A)
20
EN
DE
FR
ES
IT
PL
With your inspiring rating, COSTWAY will be more consistent to offer you EASY
SHOPPING EXPERIENCE, GOOD PRODUCTS and EFFICIENT SERVICE!
Mit Ihrer inspirierenden Bewertung wird COSTWAY konsistenter sein, um Ihnen EIN
SCHÖNES EINKAUFSERLEBNIS, GUTE PRODUKTE und EFFIZIENTEN SERVICE zu
bieten!
Avec votre évaluation inspirante, COSTWAY continuera à fournir une EXPÉRIENCE
D’ACHAT PRATIQUE, des PRODUITS DE QUALITÉ et un SERVICE EFFICACE !
Con su calificación inspiradora, COSTWAY será más consistente para ofrecerle
EXPERIENCIA DE COMPRA FÁCIL, BUENOS PRODUCTOS y SERVICIO EFICIENTE.
Con la tua valutazione incoraggiante, COSTWAY sarà più coerente per offrirti
ESPERIENZA DI ACQUISTO FACILE, BUONI PRODOTTI e SERVIZIO EFFICIENTE!
Dzięki twojej opinii COSTWAY będzie mógł oferować jeszcze WYGODNIEJSZE
ZAKUPY, LEPSZE PRODUKTY i SPRAWNIEJSZĄ OBSŁUGĘ KLIENTA.
US office: Fontana UK office: Ipswich AU office: Truganina
DE office: Hamburg
FR office: Saint Vigor d'Ymonville
PL office: Gdańsk