
Please give us a chance to make it right and do better !
Contact our friendly customer service department for help first.
Replacements for missing or damaged parts will be shipped ASAP !
Contact Us !
Do NOT return this item.
US:cs.us@costway.com
UK:cs.uk@costway.com
US office: Fontana UK office: Ipswich AU office: Truganina
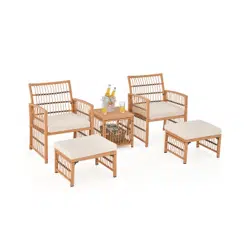
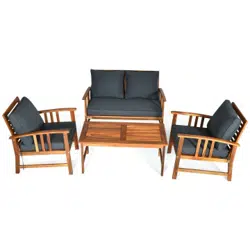
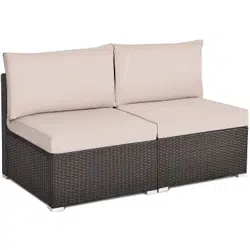
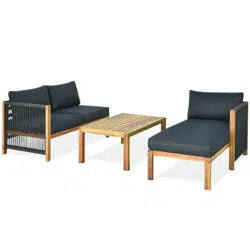
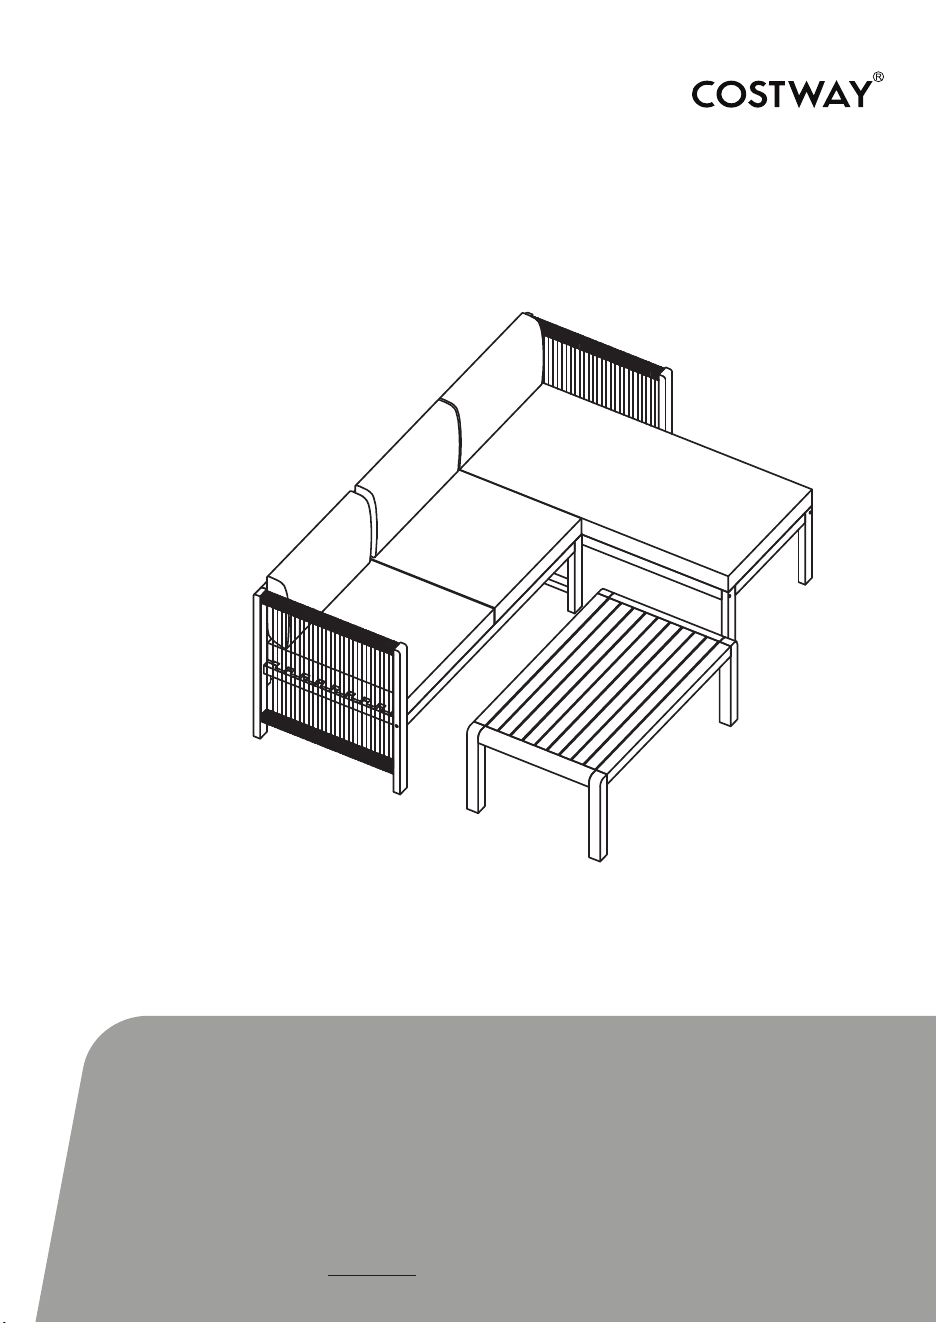
3-Piece Sectional Sofa Set
HW63869-13-23-33
USER’S MANUAL
THIS INSTRUCTION BOOKLET CONTAINS IMPORTANT SAFETY INFORMATION. PLEASE READ AND KEEP FOR FUTURE REFERENCE.
Please give us a chance to make it right and do better !
Contact our friendly customer service department for help first.
Replacements for missing or damaged parts will be shipped ASAP !
Contact Us !
Do NOT return this item.
US:cs.us@costway.com
UK:cs.uk@costway.com
US office: Fontana UK office: Ipswich AU office: Truganina
3-Piece Sectional Sofa Set
HW63869-13-23-33
USER’S MANUAL
THIS INSTRUCTION BOOKLET CONTAINS IMPORTANT SAFETY INFORMATION. PLEASE READ AND KEEP FOR FUTURE REFERENCE.
Before You Start
02
Read each step carefully before starting. It is very important
to ensure each step followed in correct order, otherwise
assembly difficulties may occur.
Most of board parts are labeled or stamped on the raw
edges. Have a check to make sure all parts are included.
Work in a spacious area, preferably on a carpet close to
where the unit will be used.
Keep the handtools close at hand. Do not use power tools to
assemble your furniture. They may scratch or damage the
parts.
03
Notice
50% tighten before fixing all screws, Allen wrench is recommended
instead of an electric drill.
Place the item on a flat ground to adjust and make sure it remains
stable.
Tighten up all screws with tools gradually.
If the screws are not aligned with holes during assembly, please
loosen all the other screws to 50% and continue the assembly
process.
If the item is not stable, please loosen all the screws, adjust it on a
flat ground and tighten up all screws again.
Note: If one or some screws are fully tightened during assembly,
the others may not be aligned with the holes. In addition, all the
holes are designed to be relatively larger to provide more space
for the adjustment of the screws.
B
L
M
M
L
N
L
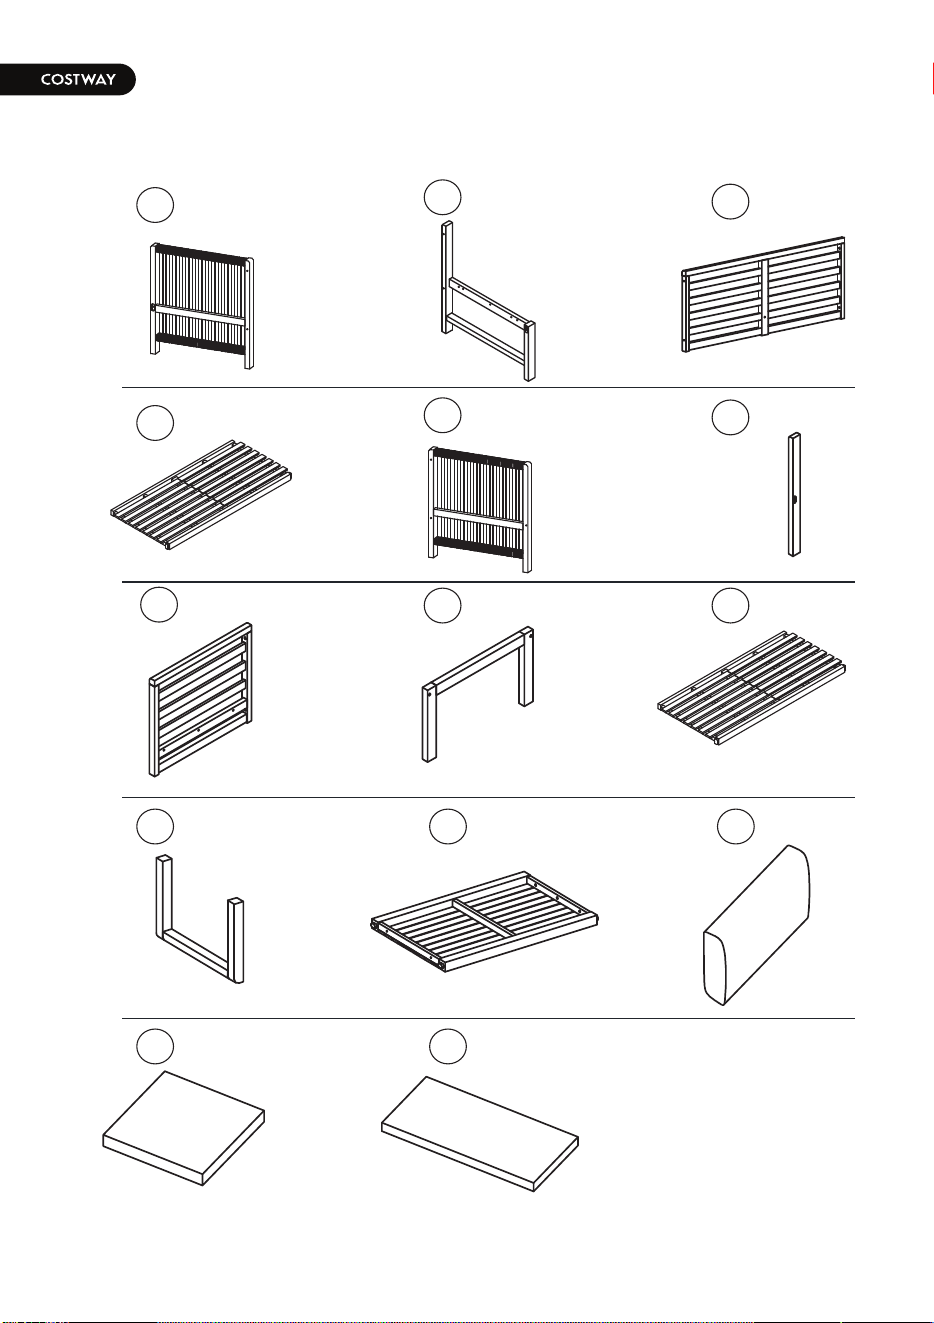
Parts List
1 pc
1 pc
1 pc
1 pc
1 pc
1 pc
1 pc
J
2 pcs
G
L
3 pcs
1 pc
I
K
1 pc
M
2 pcs
N
1 pc
1 pc
H
D
F
E
A
C
B
04
Hardware List
ALLEN KEY
x 26
M4
x 2
1
4
BOLT
05
SCREW
x 5
2
M7 x 90mm
x 2
3
M7 x 70mm
M6 x 40mm
Parts List
1 pc
1 pc
1 pc
1 pc
1 pc
1 pc
1 pc
J
2 pcs
G
L
3 pcs
1 pc
I
K
1 pc
M
2 pcs
N
1 pc
1 pc
H
D
F
E
A
C
B
04
Hardware List
ALLEN KEY
x 26
M4
x 2
1
4
BOLT
05
SCREW
x 5
2
M7 x 90mm
x 2
3
M7 x 70mm
M6 x 40mm
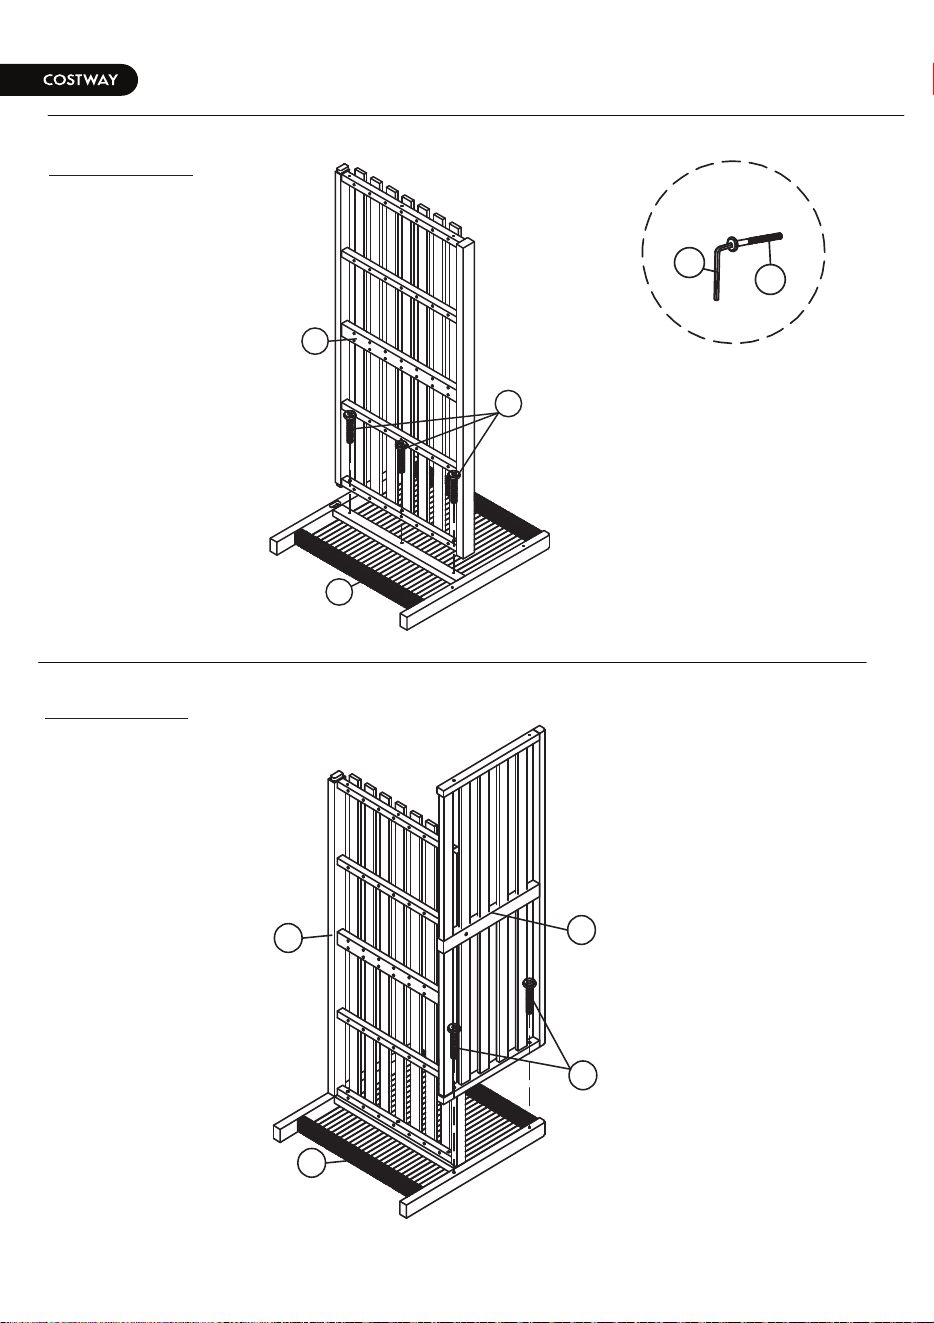
06
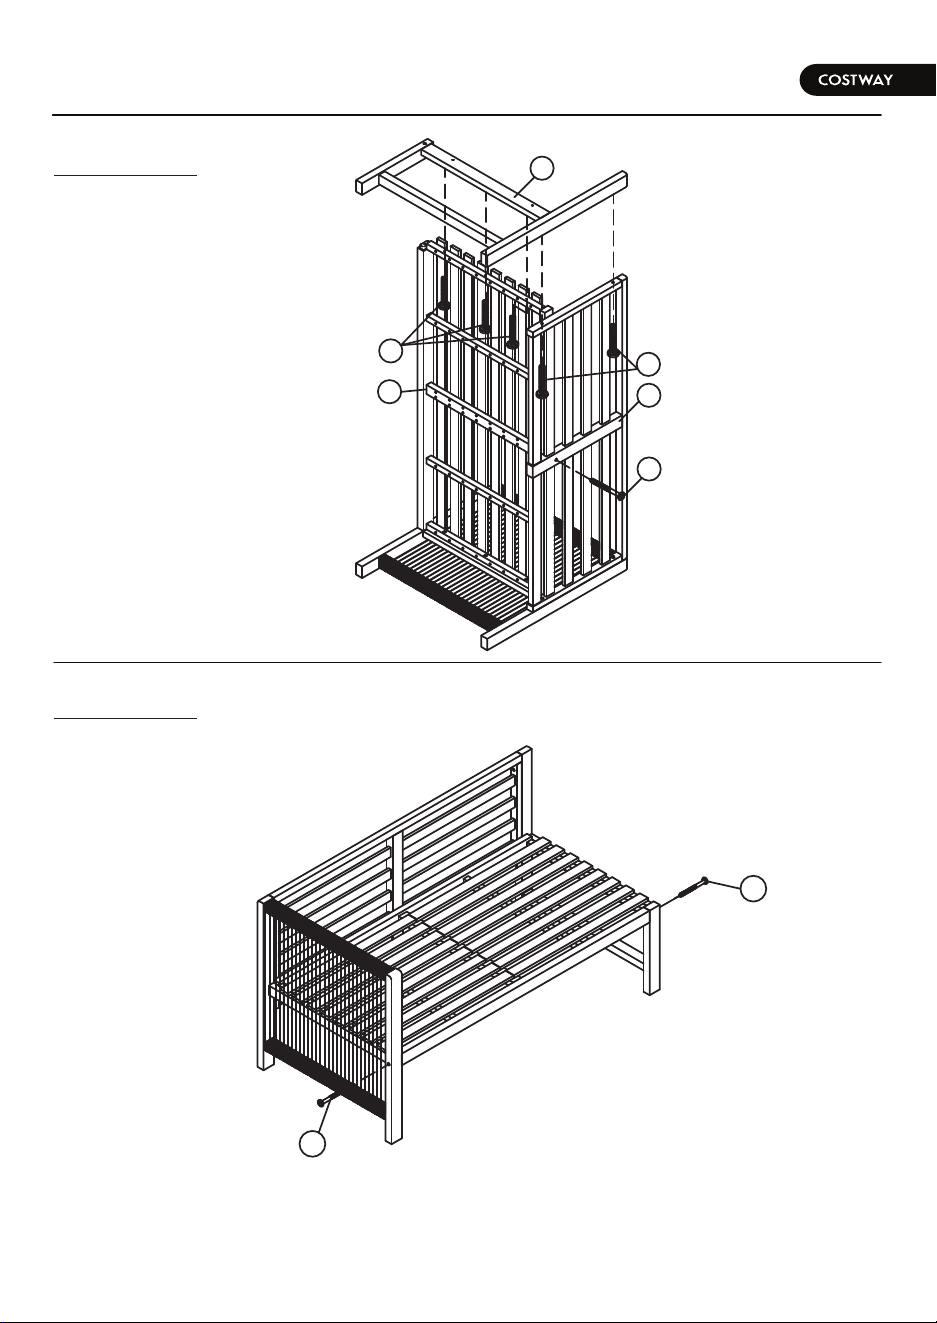
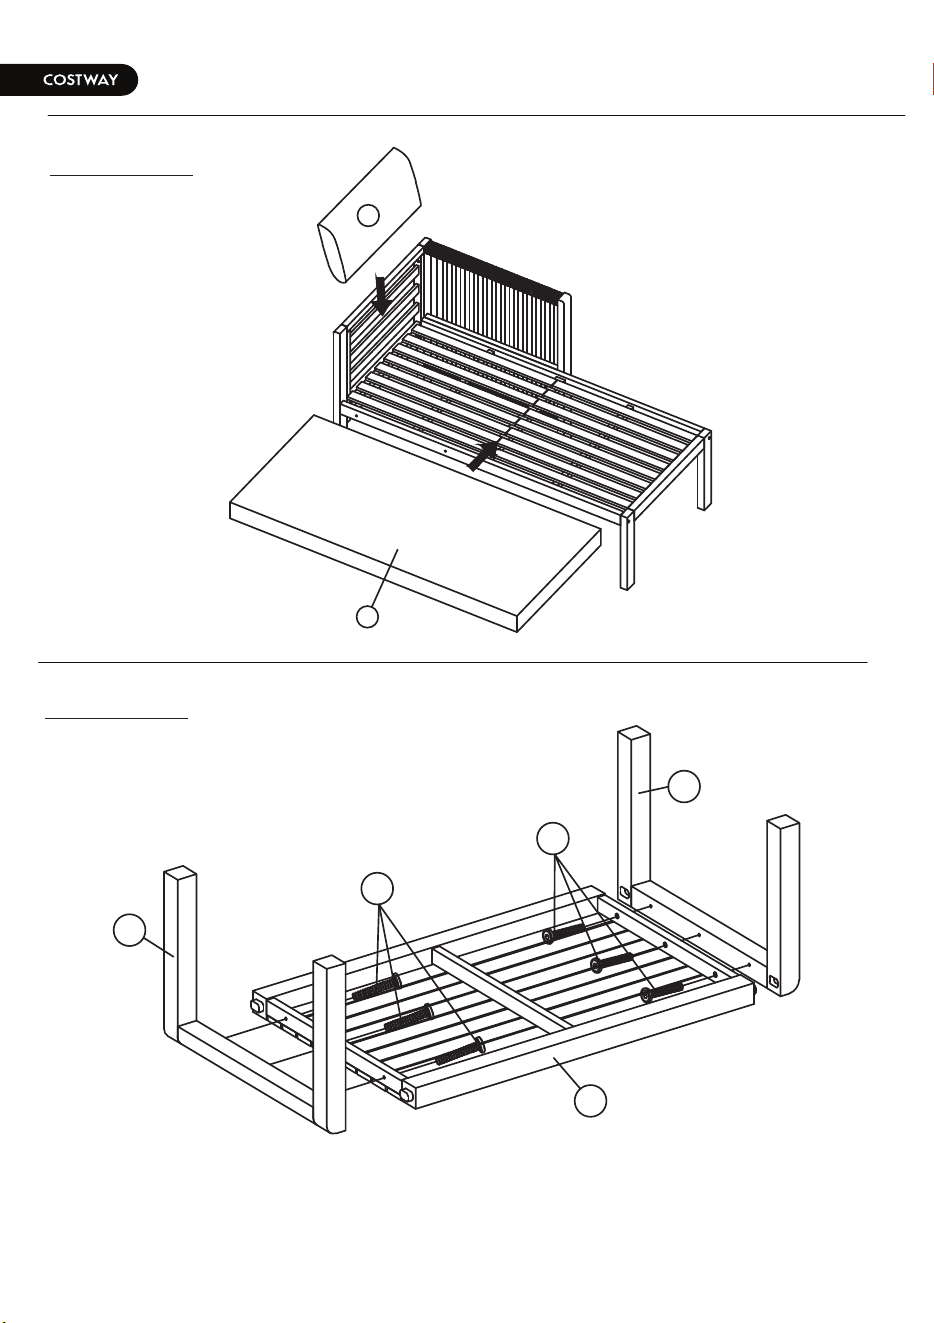
STEP 01
STEP 02
07
STEP 03
STEP 04
B
3
D
C
1
1
1
A
D
4
1
1
C
A
D
2
2
06
STEP 01
STEP 02
07
STEP 03
STEP 04
B
3
D
C
1
1
1
A
D
4
1
1
C
A
D
2
2
06
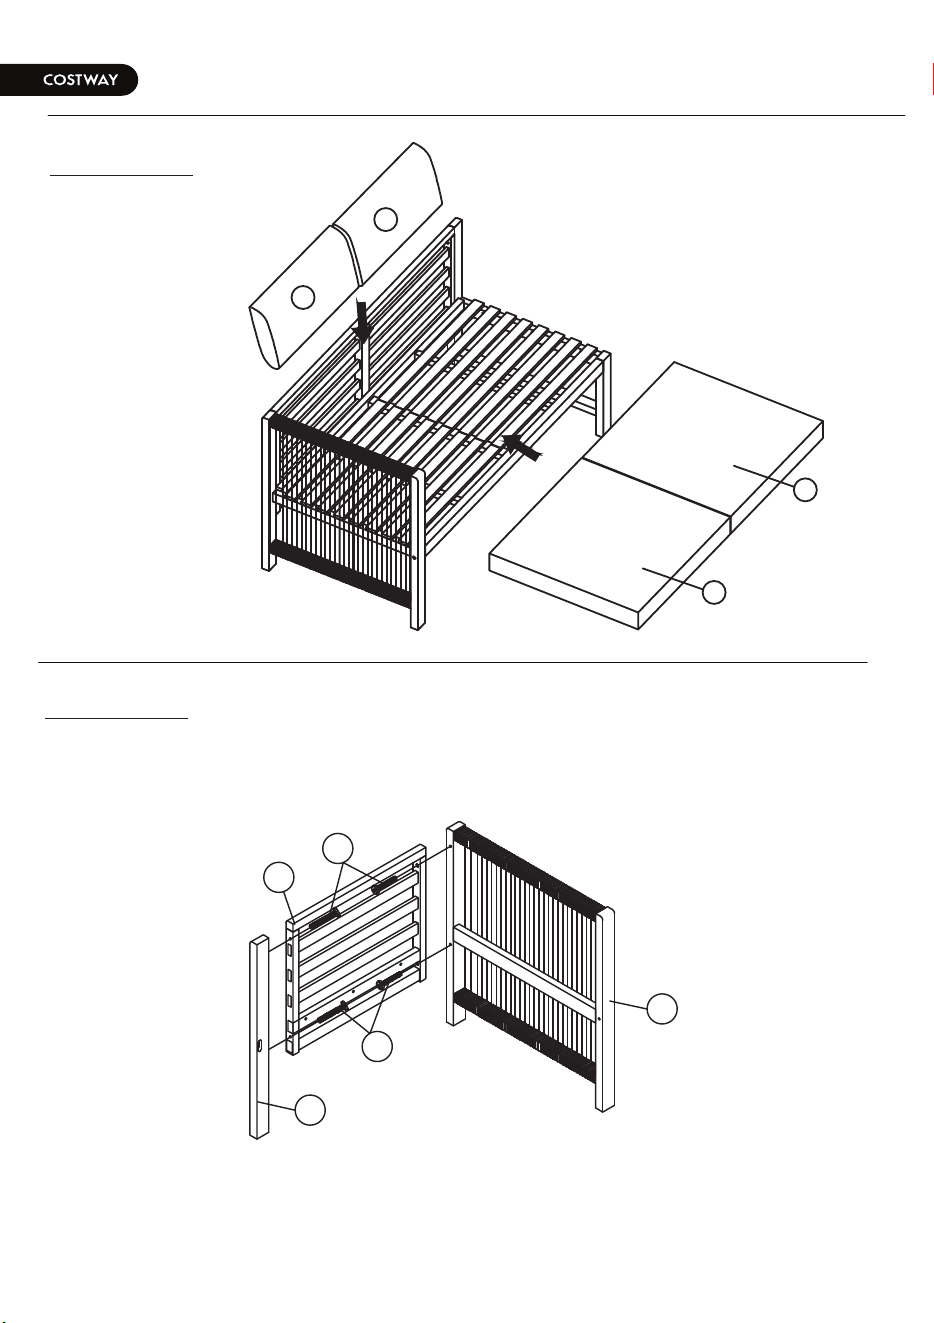
STEP 05
STEP 06
07
STEP 07
STEP 08
M
M
L
L
E
F
G
1
1
H
2
2
I
F
1
1
I
3
E
06
STEP 05
STEP 06
07
STEP 07
STEP 08
M
M
L
L
E
F
G
1
1
H
2
2
I
F
1
1
I
3
E
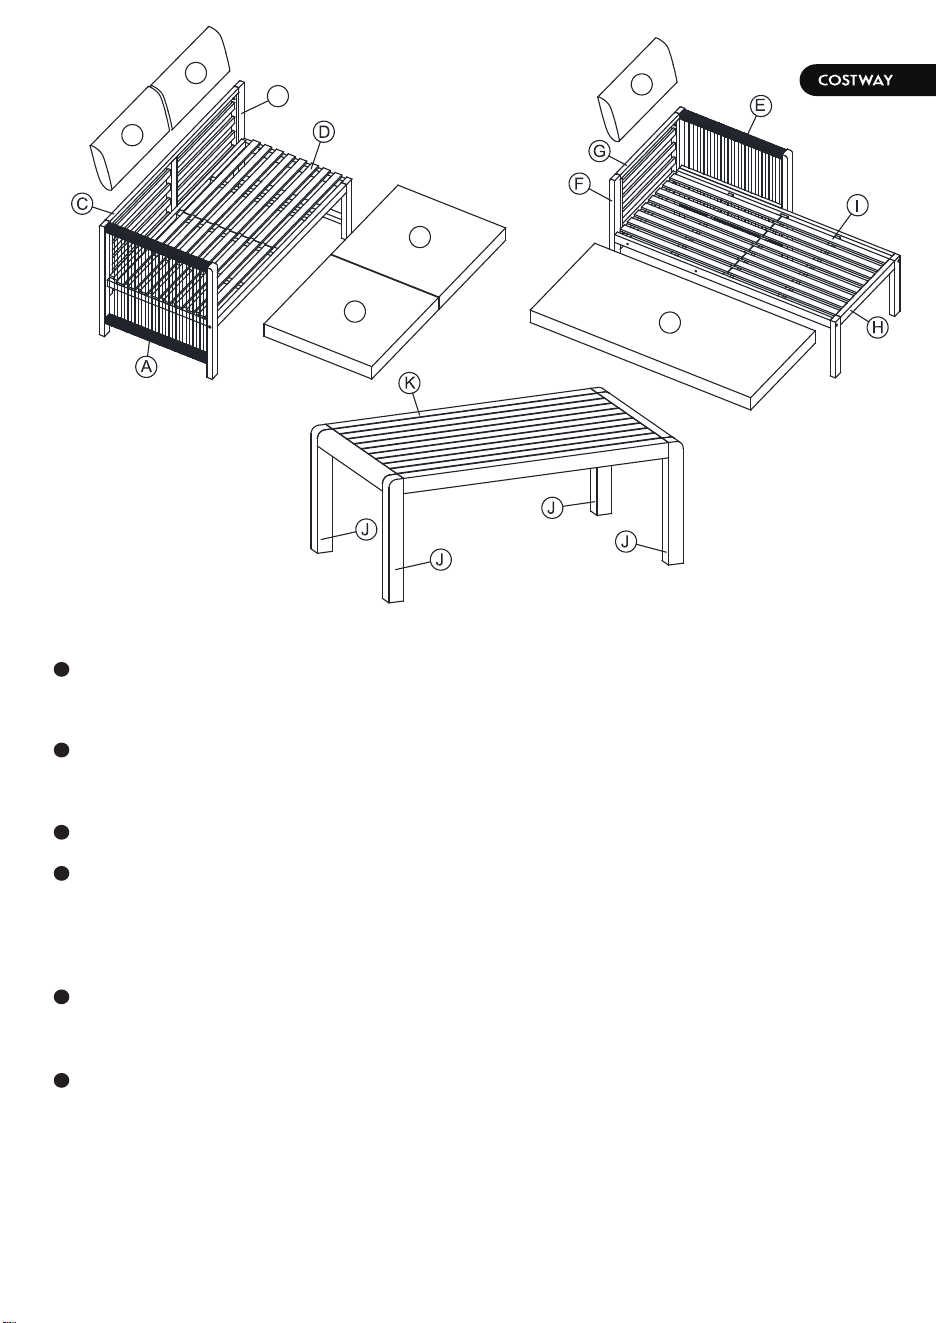
Care and Maintenance
Use a soft, clean cloth that will not scratch the surface when dusting.
Use of furniture polish is not necessary.
Should you choose to use polish, test first in an inconspicuous area.
Using solvents of any kind on your furniture may damage the finish.
Never use water to clean your furniture as it may cause damage to the
finish.
Liquid spills should be removed immediately. Using a soft clean cloth, blot
the spill gently. Avoid rubbing.
Check bolts/screws periodically and tighten them if necessary.
Please protect your outdoor furniture with a cover when not in use since
long-term sunlight exposure will result in the damage on the surface.
In addition to sunlight damage, wood and metal frame suffers when
exposed to extremes in temperature and humidity.
Proper care and cleaning at home will extend the life of your purchase.
Following these important and helpful tips will enhance your furniture
as it ages.
Further advice about wood
furniture care
08
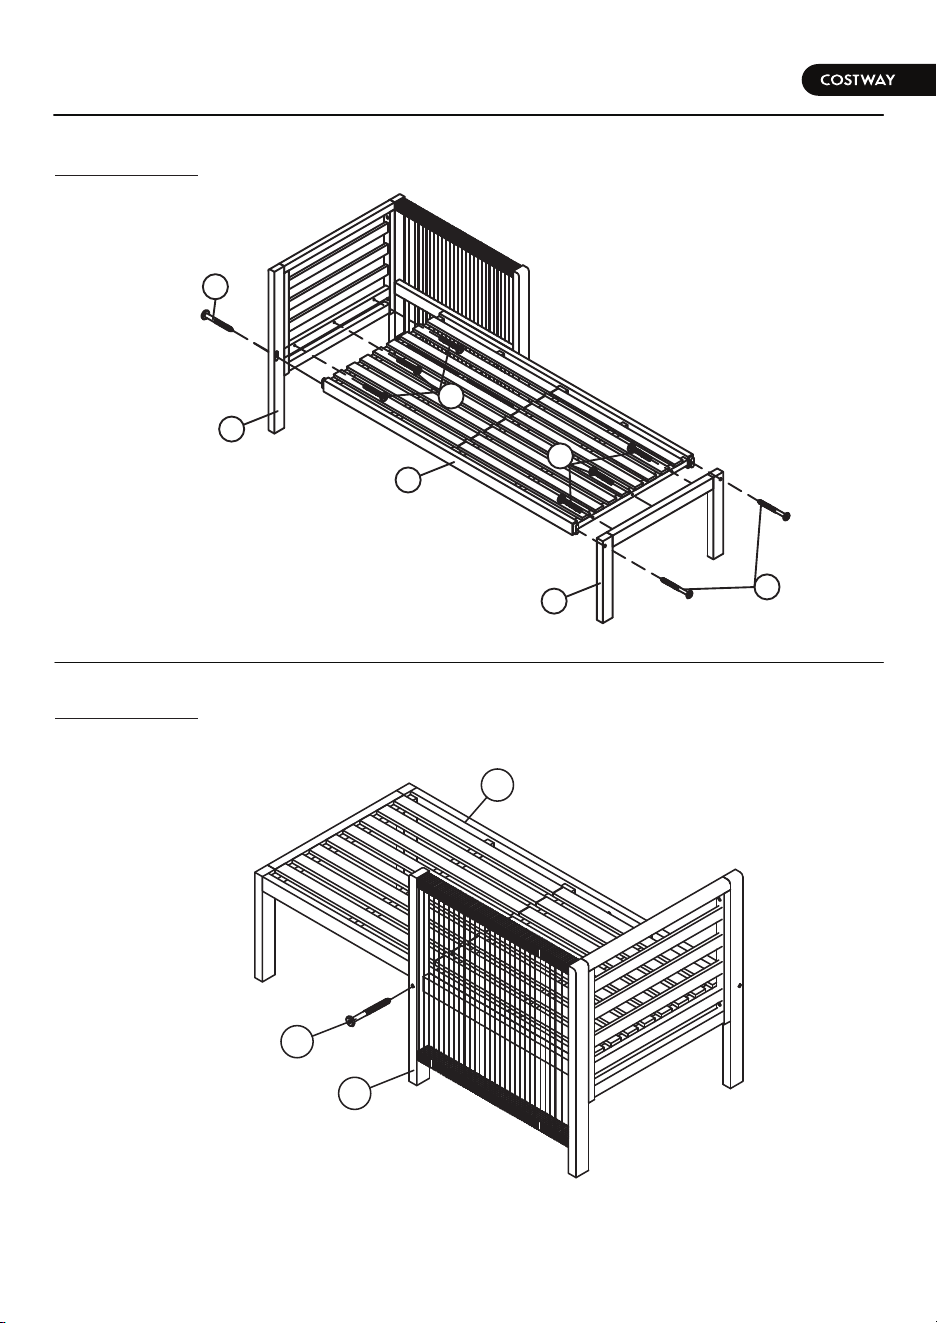
STEP 09
STEP 10
09
N
L
1
1
J
J
K

Care and Maintenance
Use a soft, clean cloth that will not scratch the surface when dusting.
Use of furniture polish is not necessary.
Should you choose to use polish, test first in an inconspicuous area.
Using solvents of any kind on your furniture may damage the finish.
Never use water to clean your furniture as it may cause damage to the
finish.
Liquid spills should be removed immediately. Using a soft clean cloth, blot
the spill gently. Avoid rubbing.
Check bolts/screws periodically and tighten them if necessary.
Please protect your outdoor furniture with a cover when not in use since
long-term sunlight exposure will result in the damage on the surface.
In addition to sunlight damage, wood and metal frame suffers when
exposed to extremes in temperature and humidity.
Proper care and cleaning at home will extend the life of your purchase.
Following these important and helpful tips will enhance your furniture
as it ages.
Further advice about wood
furniture care
08
STEP 09
STEP 10
09
N
L
1
1
J
J
K