Loading ...
Loading ...
Loading ...
INSTALLATION
Check the appliance is electrically safe and gas sound when you have nished.
23
You will also need the following tools and equipment to
complete the range installation satisfactorily.
1. Multimeter
2. Electric drill
3. Masonry drill bit & anchors (only required if installing
the range on a stone or concrete oor)
4. Steel tape measure
5. Phillips head screwdriver
6. Flat head screwdriver
7. Allen keys (provided in pack)
8. Level
9. Open-end or adjustable wrench
10. Pencil and ruler
11. Pipe wrenches
12. 9/16 “ (13 mm) socket wrench
Additional materials you may need:
• Gas line shut-off valve.
• Pipe joint sealant or UL-approved pipe thread tape with Teflon*
that resists action of natural and LP gases. *Teflon: Registered
trademark of DuPont
• Flexible metal appliance connector (½’’ I.D.). A 5foot length is
recommended for ease of installation but other lengths are
acceptable.
NEVER use an old connector when installing a new
range.
• Flare union adapter for connection to gas supply line (¾’’ or ½’’
NPT x ½’’ I.D.).
• Flare union adapter for connection to pressure regulator on
range (½’’ NPT x ½’’ I.D.).
9. Installation
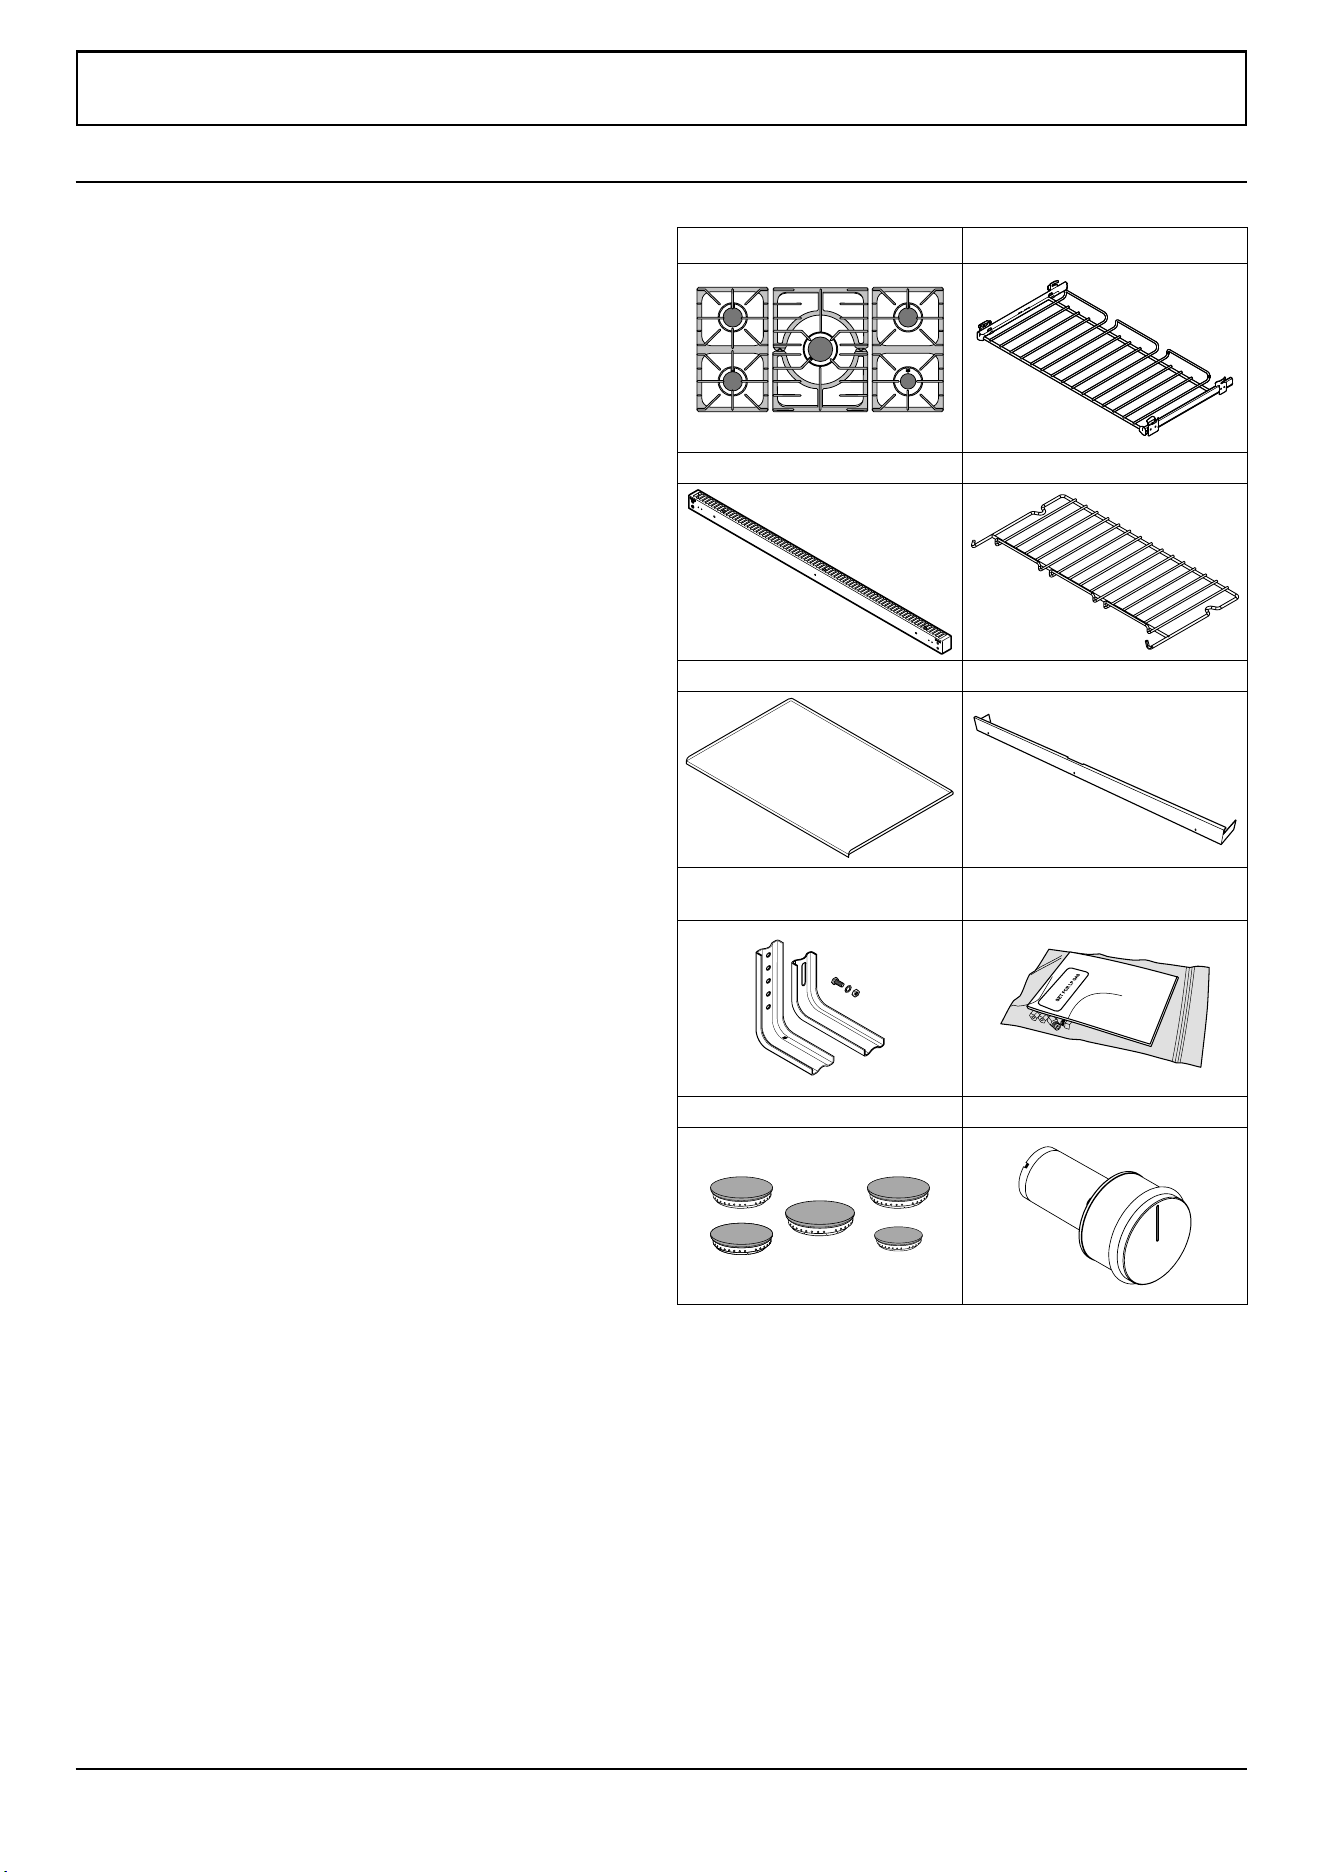
Checking the parts:
4 grates 2 x Telescopic rack with runners
Rear Flue Grille 1 at rack
1 pastry tray Toe kick
ArtNo.350-0007 - Plinth USA
Anti-tip device Conversion kit from natural gas to
propane gas (kit number A060048)
ArtNo.020-0019
Conversion Kit USA
Cooktop burner heads 7 Mercury control kobs
Loading ...
Loading ...
Loading ...