Loading ...
Loading ...
Loading ...

10
Step 2
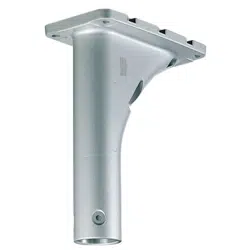
Mount the cable cap (accessory) on the cable access hole
(front).
Step 3
Make a slit in the center of another cable cap (accessory)
with a cutter.
Cable cap
(accessory)
Step 4
Remove the 4 screws from the rear side of the bracket,
remove the plate, and mount the cable cap that was slit in
Step 3.
Step 1
Decide the mounting position, and drill holes for screws or
anchors and a hole for cable installation in the ceiling.
Procure 4 pieces of M10 screws and anchors to secure the
this bracket on the ceiling.
For screws and anchors to be used, make sure that enough
salt damage prevention is applied.
The hole diameter shall
be decided in accordance with the screws and anchors to
be used.
A hole on the ceiling with a diameter of 30 mm {ø 1-3/16
inches} or less for a screw or an anchor can be hidden with
this bracket.
* The above measurement diagram shows the view when
standing on the floor and looking up at the ceiling.
■ When laying cables after drilling a hole through the ceiling
80 mm
{3-5/32 inches}
120 mm
{4-3/4 inches}
180 mm
{7-3/32 inches}
Hole for cable
installation: ø38 mm
{ø1-1/2 inches}
Loading ...
Loading ...
Loading ...