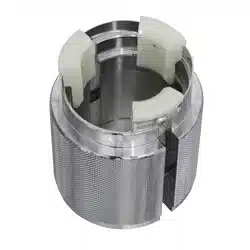
fork seal driver
mODEL NO: Ms016.v2
Thank you for purchasing a sealey product. Manufactured to a high standard, this product will, if used according to these instructions,
and properly maintained, give you years of trouble free performance.
IMPORTANT: PLEASE READ THESE INSTRUCTIONS CAREFULLY. NOTE THE SAFE OPERATIONAL REQUIREMENTS, WARNINGS & CAUTIONS. USE
THE PRODUCT CORRECTLY AND WITH CARE FOR THE PURPOSE FOR WHICH IT IS INTENDED. FAILURE TO DO SO MAY CAUSE DAMAGE AND/OR
PERSONAL INJURY AND WILL INVALIDATE THE WARRANTY. KEEP THESE INSTRUCTIONS SAFE FOR FUTURE USE.
1. safeTY
8 do NoT use the driver for a purpose it is not designed to perform.
8 do NoT use the driver if it is damaged, it could scratch the stanchion.
8 do NoT make any modifications to the driver.
9 maintain the driver in a good clean condition for the best and safest performance.
9 When not in use, store in a dry location.
2. iNTroducTioN
Designed for easy installation of fork seals. Limits potential damage
caused by other installation methods to the forks.
3. specificaTioN
Model No.: ........................................................... Ms016.v2
max. / min. Fork diameter ...............................Ø35 - Ø47 mm
4. operaTioN
always refer to the original manufacturer’s manual for
assembly/disassembly of the motorcycle fork seals.
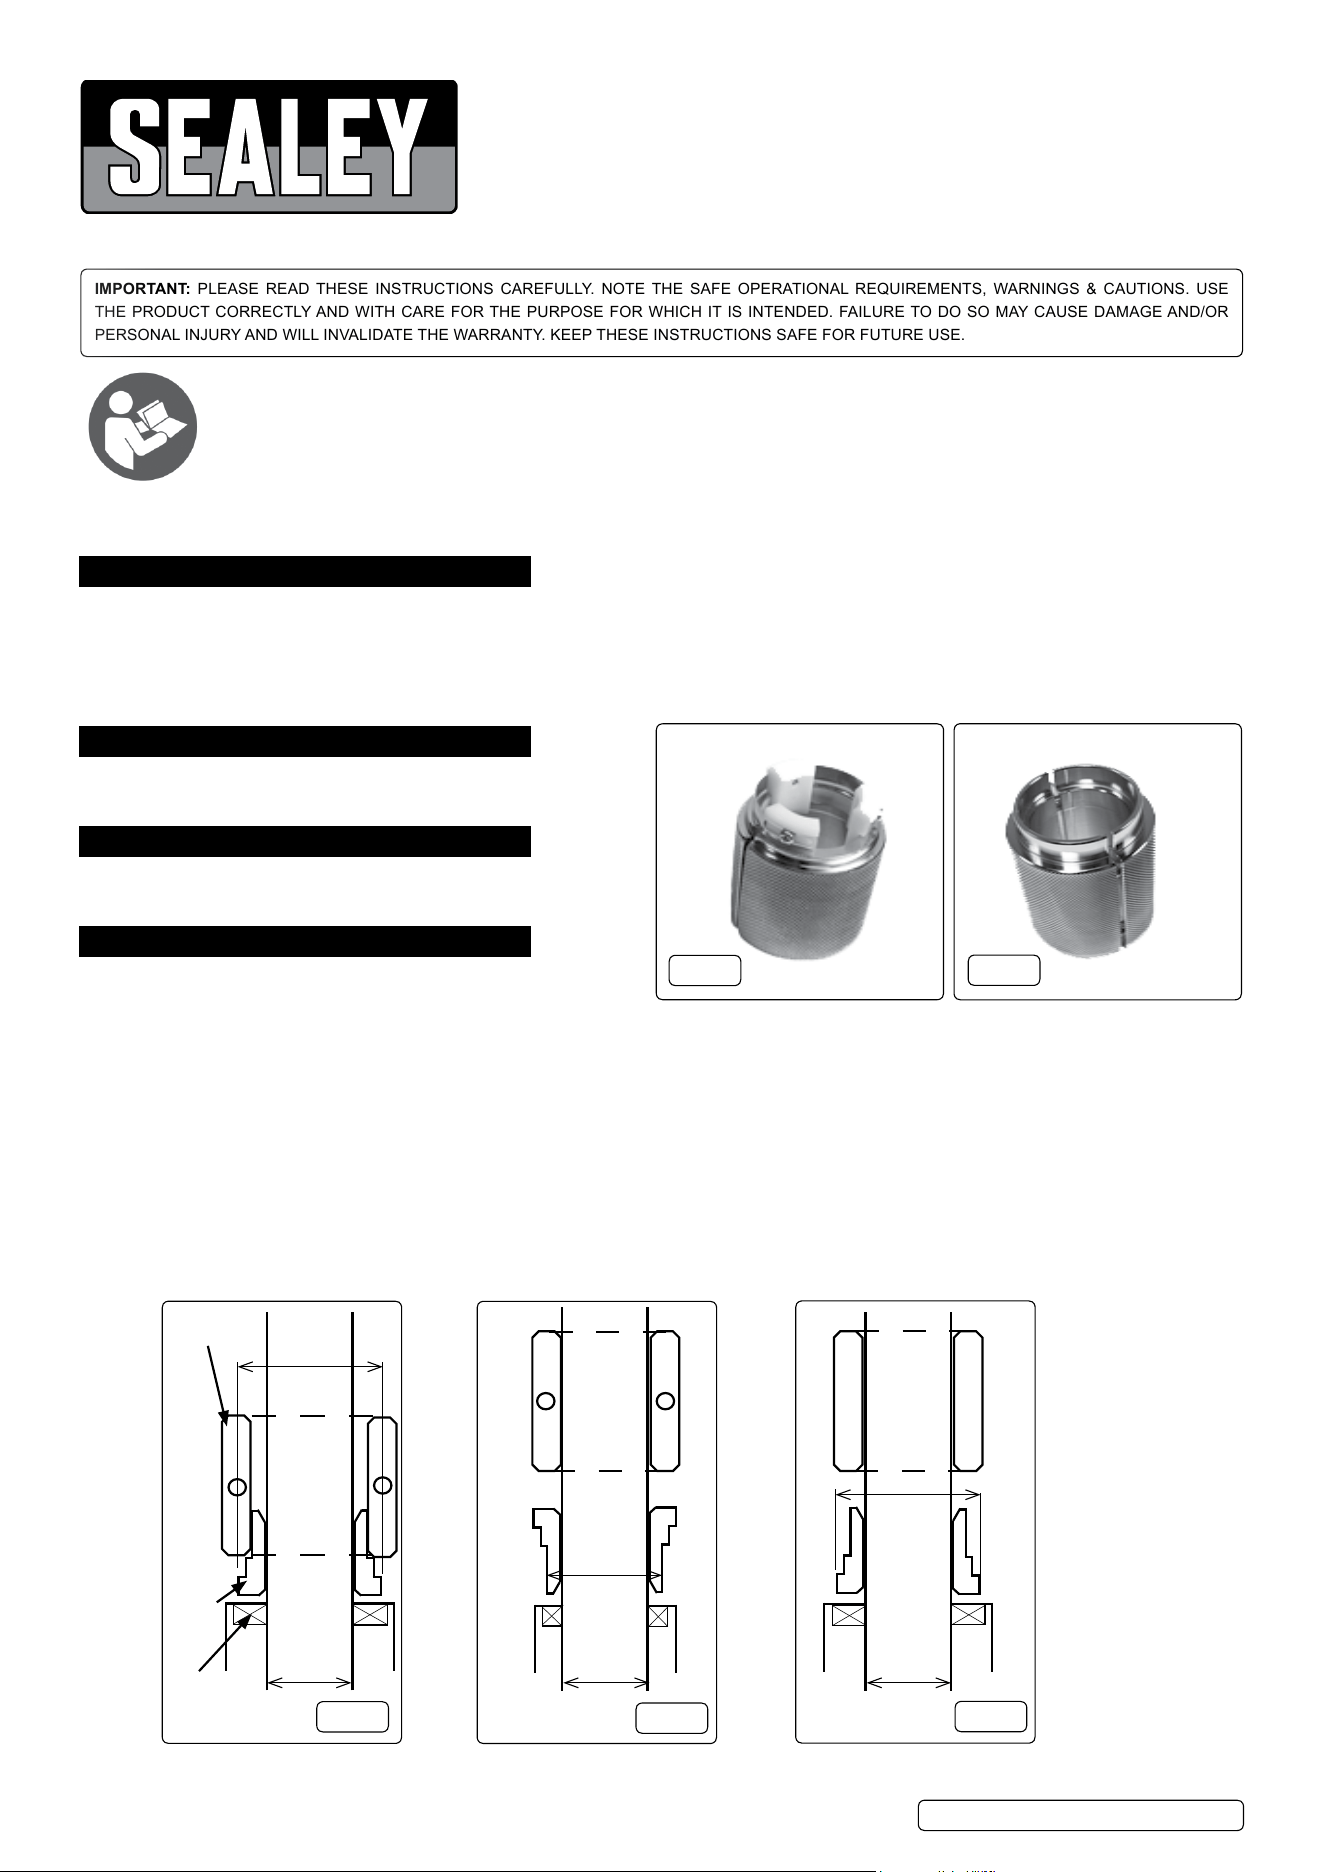
4.1. colleT orieNTaTioN (Refer to g.3, g.4).
4.1.1. measure the stanchion diameter (Ø”A”) and the seal ring outer diameter. Determine the required engagement diameter of the collet
(Ø”B”)tothesealringandhenceitsorientationinordertoobtainfullsealringinsertion(g.3andg.4).Itisrecommendedthatthe
collet diameter (Ø”B”) is slightly less than the maximum seal ring diameter in order to allow for full seal ring insertion.
4.1.2. Lightly lubricate the stanchion, slip on the new seal ring and slide it down to the slider housing.
4.1.3. Fromsection4.1.1andgs.3and4,decideonthecorrectcolletsetup(e.g.colletorientation)andslideitontothestanchion.
4.2. slide HaMMer
4.2.1. Ing.3andg.4thepinsintheslidehammerwillbeengagedwithopposingholesoftheotherhalfofthehammerhoweveritmaybe
suchthattheengagementbetweenthepinsandholeswillbelost(g.5).Inthesecircumstancesitwillbenecessarytoalignthetwo
halves of the slide hammer by eye in order to obtain even pressure and thus correctly aligned seal ring insertion.
4.2.2. Holding the slide hammer halves together press the seal into the slider housing. Replace seal retaining ring if required and repeat all
tasks with the other fork.
4.3.
4.4.
.
Refer to
instruction
manual
fig.
1
fig.
2
Ø"A"
Ø"B"
Ø"B"
Ø"A"
Ø"A"
Ø"B"
Slide
Hammer
Collet
Seal
Ring
fig.
3
fig.
4
fig.
5
Original Language Version
© Jack Sealey Limited
mS016.V2Issue129/10/19

Original Language Version
© Jack Sealey Limited
sealey Group, kempson Way, suffolk Business park, Bury st edmunds, suffolk. ip32 7ar
01284 757500 01284 703534 sales@sealey.co.uk www.sealey.co.uk
eNviroNMeNT proTecTioN
Recycle unwanted materials instead of disposing of them as waste. All tools, accessories and packaging should be sorted, taken to
a recycling centre and disposed of in a manner which is compatible with the environment. When the product becomes completely
unserviceable and requires disposal, drain any fluids (if applicable) into approved containers and dispose of the product and fluids
according to local regulations.
Note:Itisourpolicytocontinuallyimproveproductsandassuchwereservetherighttoalterdata,specificationsandcomponentpartswithoutprior
notice.Ifyourequiredocumentationforalternativeversions,pleaseemailorcallourtechnicalteamontechnical@sealey.co.ukor01284757505.
important: No Liability is accepted for incorrect use of this product.
Warranty: Guarantee is 12 months from purchase date, proof of which is required for any claim.
mS016.V2Issue129/10/19