
1
LARK M2
User Manual
V1.0

2
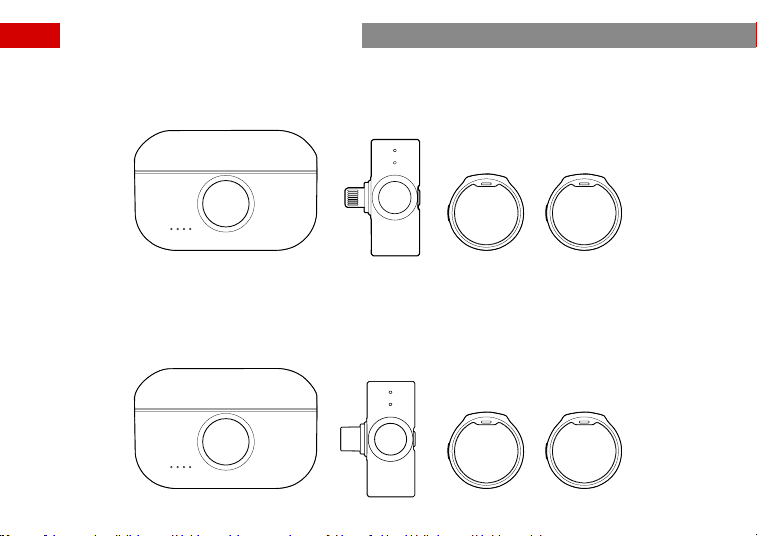
1
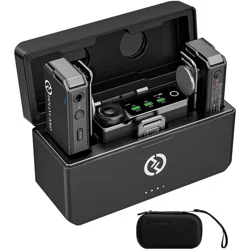
LARK M2 Duo (Lightning)
Version Oveiew
LARK M2 Duo (USB-C)
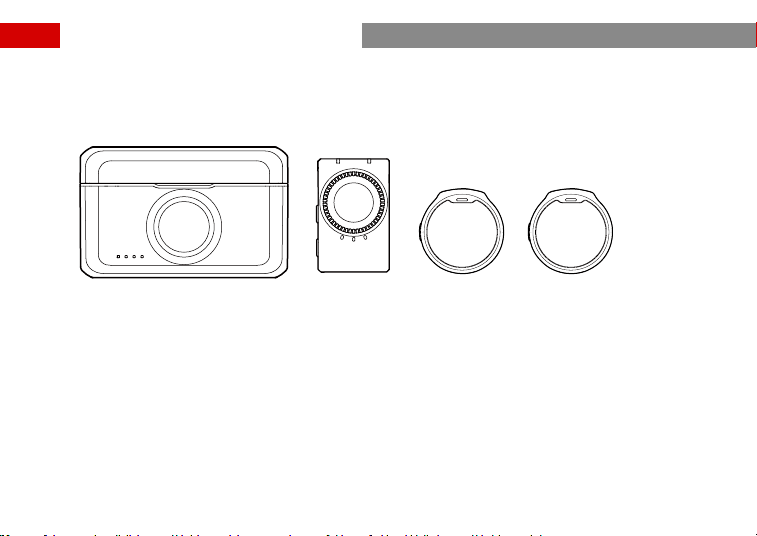
2
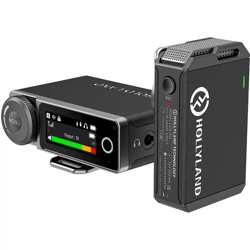
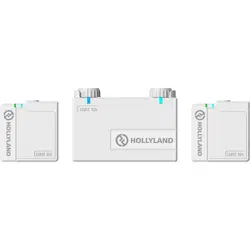
LARK M2 Duo (Camera)
Version Oveiew
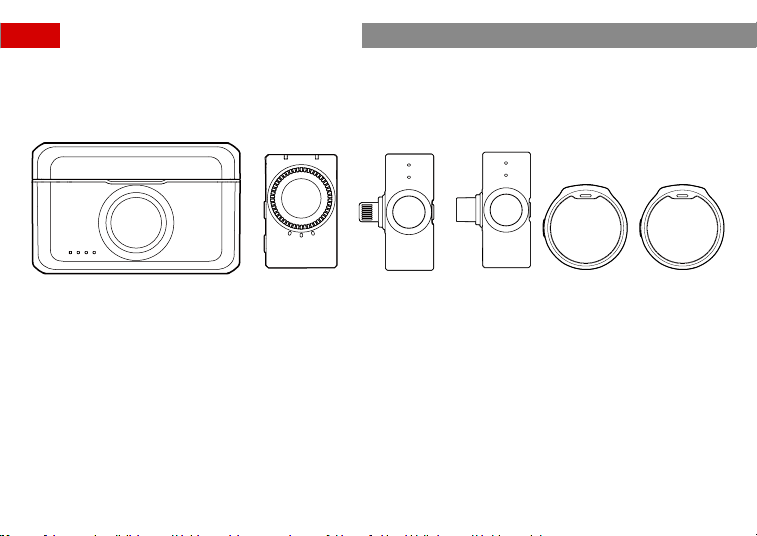
3
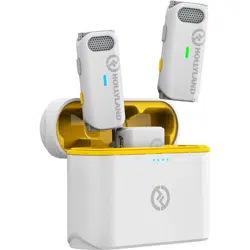
LARK M2 Combo
Version Oveiew
* The quantity of the items depends on the product conguration.
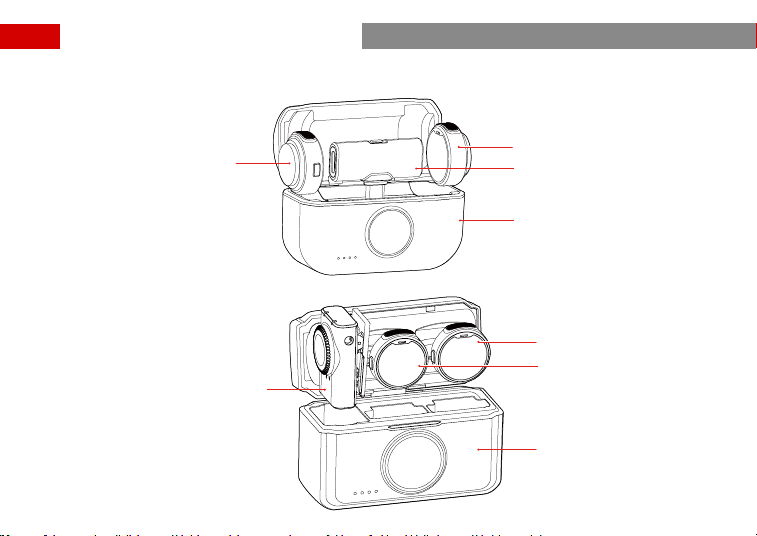
4
Mobile Version
Camera Version
TX1
TX2
RX (USB-C/Lightning)
Charging Case
TX1
TX2
RX
Charging Case
Product Oveiew
5
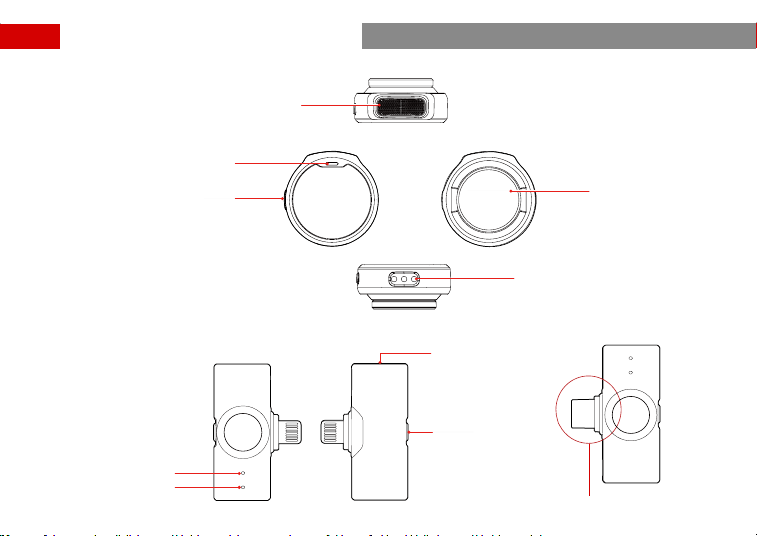
TX:Transmitter
Mobile Version RX: Receiver (Lightning/USB-C)
Built-in Microphone
Clip Magnet
Charging Contacts
Power/Noise Cancellation
/Pairing Button
TX1 Status Indicator
TX2 Status Indicator
USB-C Po
Noise
Cancellation/
Pairing Button
*The plug has Lightning and
USB-C versions
Status Indicator
Product Oveiew
6
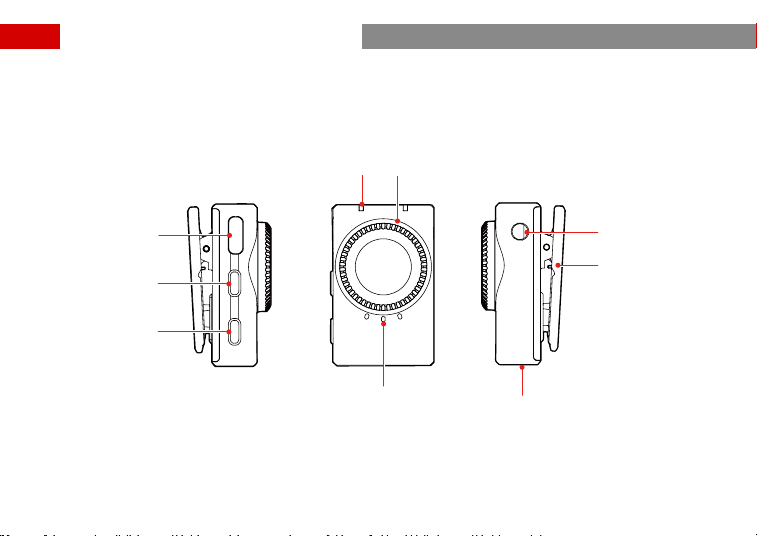
Camera Version RX: Receiver
USB-C Po
Power Button
Status Indicator
Mode Switching/
Pairing Button
3.5mm Audio Output
Jack
Volume Knob
Volume/Mode Indicator
Back Clip
Charging Contacts
Product Oveiew
7
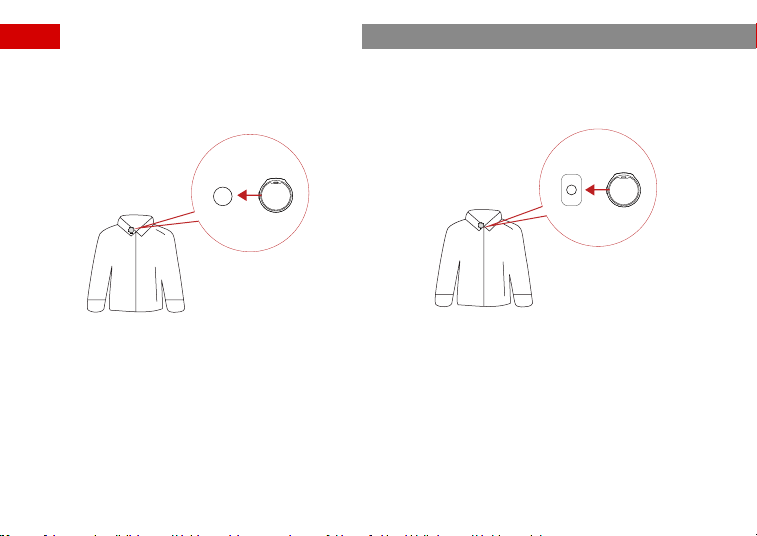
① The preferred placement for TX is at the collar. If speaking with a loud volume, you can choose an upper chest
position. You can wear it using either the back clip or clip magnet.
Product Usage (
Mobile Version
)
a. Place the clip magnet on the back of the collar,
and secure TX on the front of the collar with the
magnet.
b. Clip the back clip onto the collar, and secure TX
with the clip.
8
Product Usage (
Mobile Version
)
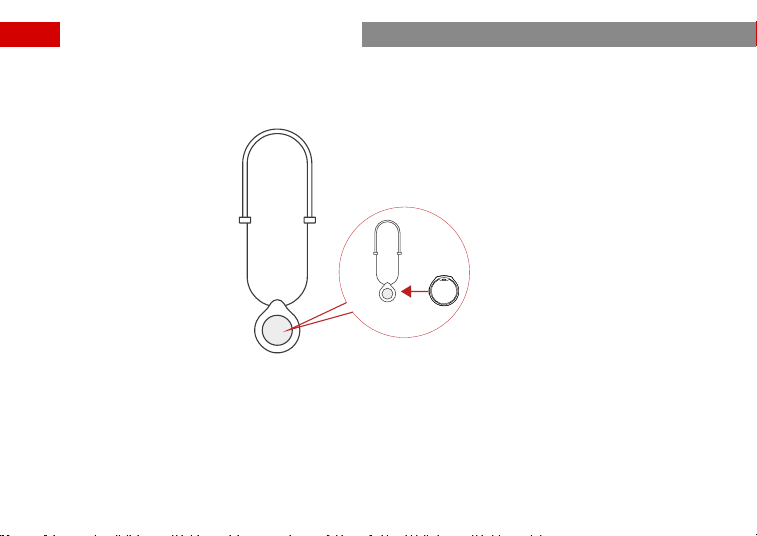
* In order to achieve the best possible sound quality during recording, it’s impoant to place the TX correctly.
Make sure that the microphone is not covered by any cloth. If you are recording outdoors, it’s recommended to
use a windscreen to minimize unwanted noise caused by the wind and breathing sounds.
② A magnet necklace for the clip magnet is included, allowing you to secure TX around your neck.
9
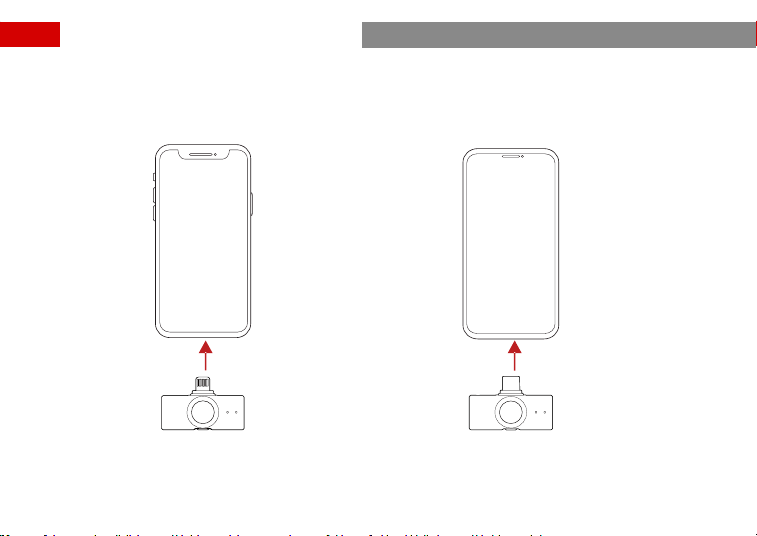
① Plug RX (Lightning) into phone ② Plug RX (USB-C) into phone
Product Usage (
Mobile Version
)
10
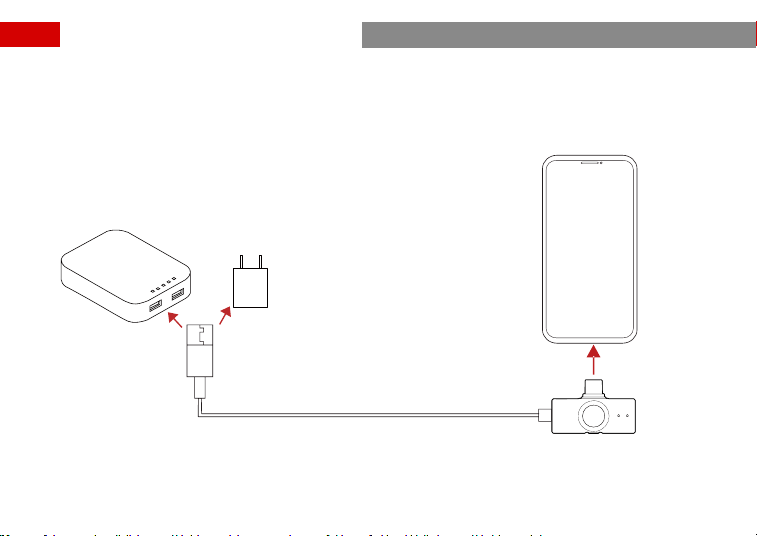
③ Charge your phone through the RX for simultaneous charging and usage
Product Usage (
Mobile Version
)
11
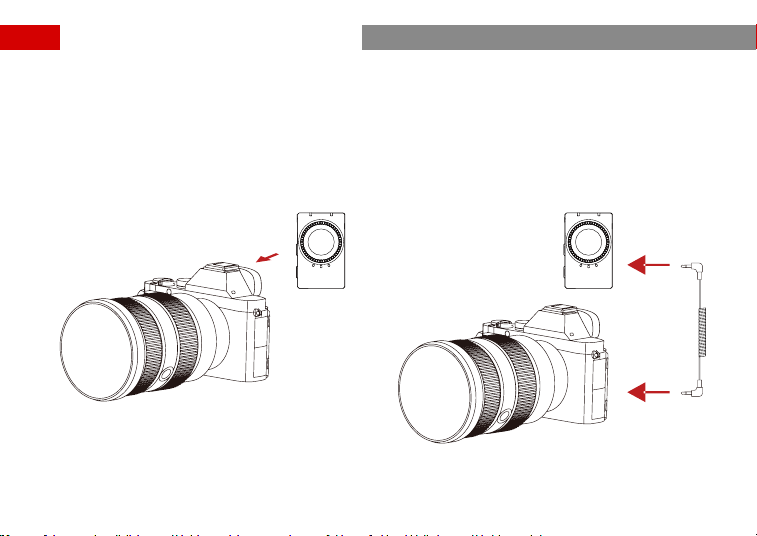
Connect RX to camera
1. Attach the RX to the camera’s hot shoe/cold shoe using the back clip;
2. Connect the RX’s 3.5mm audio output po to the camera’s 3.5mm audio input po using a 3.5mm TRS to TRS
cable;
3. Set the camera’s recording volume to the minimum level and the receiver’s output volume to the medium level
to ensure best recording quality.
Product Usage (
Camera Version
)

12
TX Indicator Lights
Description Status
Blue light ashing TX and RX not connected
Blue light steady TX and RX connected
Green light steady (in use) Noise Cancellation ON
Pink light steady TX updating
Orange light steady TX charging
Green light steady (while charging) TX fully charged
Red light ashing slowly TX low batte
Mobile Version RX Indicator Lights
Description Status
Blue light ashing TX and RX not connected
Blue light steady TX and RX connected
Green light steady (in use) Noise Cancellation ON
Pink light steady RX updating
Red light ashing slowly TX low batte
Camera Version RX Indicator Lights
Description Status
Blue status indicator light ashing TX and RX not connected
Indicator Description

13
Blue status indicator light steady TX and RX connected
Green status indicator light steady (in use) Noise Cancellation ON
Pink status indicator light steady RX updating
Orange status indicator light steady RX charging
Green status indicator light steady
(while charging)
RX fully charged
Red status indicator light ashing slowly TX low batte
Two red status indicator lights ashing quickly RX low batte
Blue volume/mode indicator light steady Stereo
Green volume/mode indicator light steady Mono
One volume/mode indicator light steady Low volume
Two volume/mode indicator lights steady Medium volume
Three volume/mode indicator lights steady High volume
Charging Case Indicator Lights
One LED ON 25% batte
Two LEDs ON 50% batte
Three LEDs ON 75% batte
Four LEDs ON 100% batte
One LED ON, steady red Low batte level and cannot charge the RX and TX
One ashing LED when connected via USB Charging
Four LEDs sequence on Charging case updated
Indicator Description
14
Automatic On/O
Take the TX and RX out from the charging case to turn on automatically.
Place the TX and RX back in the charging case to turn o automatically.
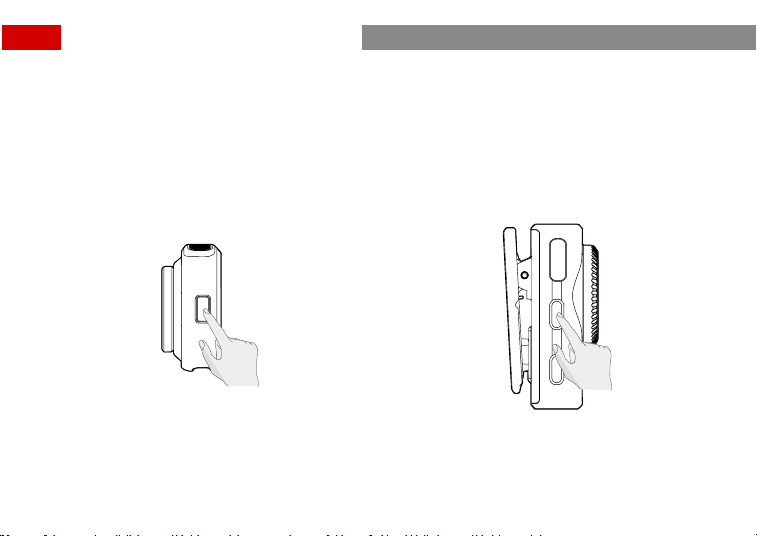
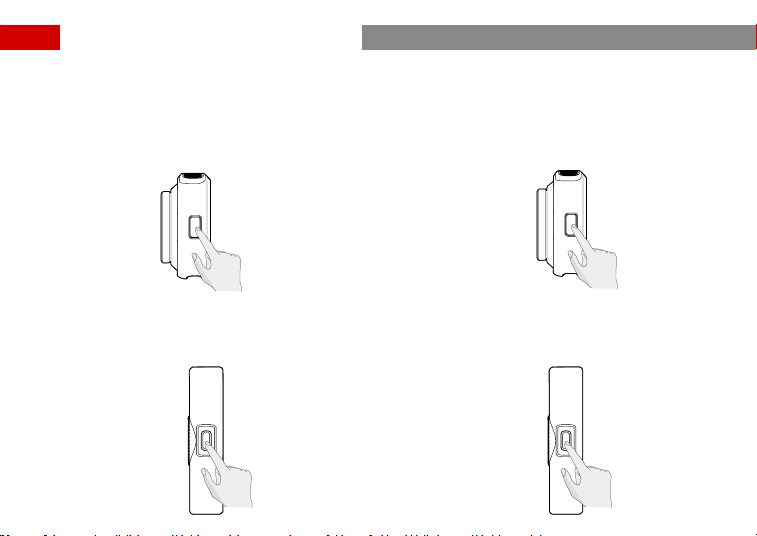
Manual On/O
Press and hold the TX power button, or the Camera Version RX power button for 3 seconds to turn on/o.
Product Usage
Press and hold the TX power button for 3 seconds Press and hold the RX power button for 3 seconds
15
Noise Cancellation
1. Press the noise-cancellation button on TX to turn
the function on or o. When noise cancellation is
on, the status indicator on TX turns green.
Manual Pairing
1. With the TX off, press and hold the TX pairing
button for 6 seconds to sta pairing. The TX status
light will quickly ash blue when in pairing.
2. For mobile version RX, connect it to a phone and
hold the pairing button for 3 seconds to start
pairing. The RX status light will quickly ash blue
when in pairing.
2. Press the noise-cancellation button on the mobile
version RX to turn the function on or off. When
noise cancellation is on, the status indicator on the
RX turns green.
Product Usage
16
Manual Charging
When the status indicator on TX turns into slow
ashing red, you can charge the TX using the magnetic
charger. Solid orange indicates charging in progress.
Solid Green indicates charging completed and the light
will go o 30 minutes later.
* The TX and the RX are pre-paired at the facto.
Automatic Charging
When the status indicator on TX turns into slow ashing
red, or when both status indicators on RX turn into fast
ashing red, place them in the charging case and they
will sta charging automatically. Solid orange indicates
charging in progress. Solid Green indicates charging
completed.
3. With the camera version RX on, hold the pairing
button for 3 seconds to sta pairing.
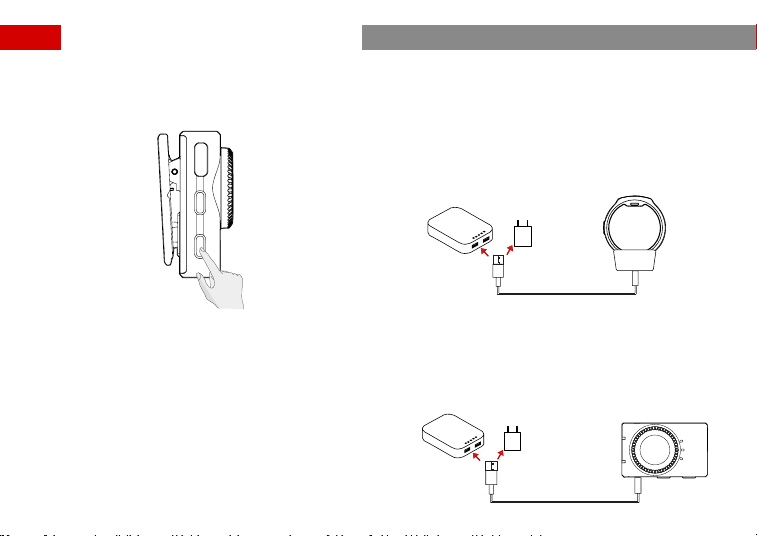
When both status indicators on the camera version RX
turn into fast ashing red, you can charge the RX using
the charging cable. Solid orange indicates charging in
progress. Solid Green indicates charging completed
and the light will go o 30 minutes later.
Product Usage
17
Product Usage
Video Recording Control
While shooting with your phone, double-press the
button on TX to sta or stop video recording.
*This function only works when the camera app of
your phone suppos the function of controlling video
recording by pressing the volume key.
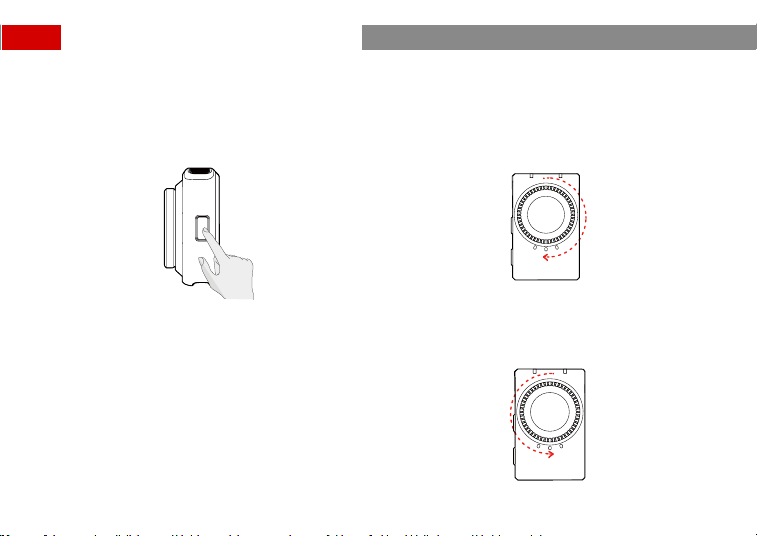
Volume Adjustment (Camera Version RX Only)
The facto default volume is set at medium level, with
three levels available: high, medium, and low.
Turn the volume knob clockwise to turn the volume up.
Turn the volume knob counterclockwise to turn the
volume down.

18
Mode Switching (Camera Version RX Only)
Connected to a phone: The green light stays on. Only
suppo mono mode.
Connected to a camera: The blue light stays on,
indicating stereo mode; the green light stays on,
indicating mono mode.
To switch mode, simply press the mode switching
button on the RX.
Product Usage
Note:
1. The mobile version only suppos mono mode.
2. Only pair one RX to the TX during recording to
ensure proper operation of the LARK M2 combo
version.
Firmware Update
Mobile Version: Update via the Lark Sound app.
Camera Version: Update via the Lark Sound app or
from Hollyland ocial website.

19
Lark Sound
The Lark Sound app is available for download on
Xiaomi, Huawei, and Apple App Stores. You can also
scan the QR code below to download the app.
App Information
Lark Sound
The Lark Sound app is a perfect match for Hollyland
wireless microphones. With the app, you'll have access
to a range of sma features, such as parameter con-
gurations and rmware updates, that work together
seamlessly to enhance your microphone peormance.
Requires Android 8.0 or higher
Requires iOS 12.0 or higher

20
Mic Sensitivity -37 dBV ± 2dB @ 1 KHz, 94dB SPL
Wireless Modulation Mode GFSK 2 Mbps
Wireless Transmission 2.4 GHz Adaptive Frequency Hopping (AFH)
Transmission Range
Mobile Version: Up to 1000ft (300m) for LOS/200ft (60m) for NLOS
Camera Version: Up to 1000ft (300m) for LOS/130ft (40m) for NLOS
Mic Polar Pattern Omnidirectional
Frequency Response 20 Hz–20 kHz
Signal-to-Noise Ratio > 70dB
Sound Pressure Level 115dB SPL
Recorded Audio Format
Bit Depth: 24-bit
Sample Rate: 48 kHz
Batte Voltage
TX: 3.87V
Camera Version RX: 3.87V
Mobile Version Charging Case: 3.8V
Camera Version Charging Case: 3.8V
Batte Capacity
TX: 97 mAh
Camera Version RX: 145 mAh
Mobile Version Charging Case: 750 mAh
Camera Version Charging Case: 1950 mAh
Specications

21
Operating Time
TX: About 10 hours
Camera Version RX: About 9 hours
Mobile Version Charging Case: > 2 times charging for 2 TX at the same time
Camera Version Charging Case: > 3 times charging for all TX and RX at the same time
Charging Time
TX: About 1.5 hours
Camera Version RX: About 1.5 hours
Mobile Version Charging Case: < 1.5 hours
Camera Version Charging Case: < 2 hours
Charging Temperature 0° C to 45° C
Operating Temperature –10° C to 45° C
Dimensions
TX: Approx. D26mm x 9.9mm (1.0” x 0.4”)
Mobile Version RX: Approx. 40mm x 16.5mm x 9mm (1.6” x 0.6” x 0.4”)
Camera Version RX: Approx. 40mm x 25.7mm x 20.5mm (1.6” x 1.0” x 0.8”)
Mobile Version Charging Case: Approx. 75.8mm x 49.8mm x 35mm (3.0” x 2.0” x 1.4”)
Camera Version Charging Case: Approx. 86mm x 54mm x 39mm (3.4” x 2.1” x 1.5”)
Weight
TX: Approx. 9g (0.3oz)
Mobile Version RX: Approx. 6g (0.2oz)
Camera Version RX: Approx. 14.8g (0.5oz)
Mobile Version Charging Case: Approx. 65.6g (2.3oz)
Camera Version Charging Case: Approx. 111g (3.9oz)
* The data provided above is based on laborato testing results.
Specications

22
Suppo
If you encounter any problems in using the product or need any help, please contact Hollyland Suppo Team via the
following ways:
Statement:
All copyrights belong to Shenzhen Hollyland Technology Co., Ltd. Without the written approval of Shenzhen Hol-
lyland Technology Co., Ltd., no organization or individual may copy or reproduce pa or all of any written or illustra-
tive content and disseminate it in any form.
Trademark Statement:
All the trademarks are owned by Shenzhen Hollyland Technology Co., Ltd.
Note:
Due to product version upgrades or other reasons, this User Manual will be updated from time to time. Unless oth-
erwise agreed, this document is provided as a guide for use only. All representations, information, and recommenda-
tions in this document do not constitute warranties of any kind, express or implied.
Hollyland User Group
HollylandTech
HollylandTech
HollylandTech
suppo@hollyland.com
www.hollyland.com