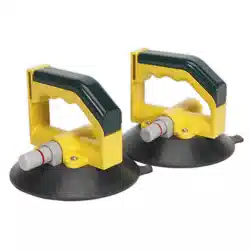
Ø150MM VACUUM SUCTION CUP - PAIR
MODEL NO: AK98943
Thank you for purchasing a Sealey product. Manufactured to a high standard, this product will, if used according to these instructions,
and properly maintained, give you years of trouble free performance.
I
MPORTANT:
PLEASE READ THESE INSTRUCTIONS CAREFULLY. NOTE THE SAFE OPERATIONAL REQUIREMENTS, WARNINGS & CAUTIONS. USE
THE PRODUCT CORRECTLY AND WITH CARE FOR THE PURPOSE FOR WHICH IT IS INTENDED. FAILURE TO DO SO MAY CAUSE DAMAGE AND/OR
PERSONAL INJURY AND WILL INVALIDATE THE WARRANTY. KEEP THESE INSTRUCTIONS SAFE FOR FUTURE USE.
1. SAFETY
WARNING! Ensure Health & Safety, local authority and general workshop practice regulations are adhered to when using this tool.
8 DO NOT use the suction cup if any parts are damaged or missing as this may cause failure and/or personal injury.
Before each use, check condition of suction cup.
Examine rubber pads for excessive glaze, cuts or roughness. If any component is worn or damaged replace immediately.
8 DO NOT clean the suction cup with solvents or other harsh chemicals.
Use genuine parts only. Unauthorised parts may be dangerous and will invalidate the warranty.
Use in a suitable work area. Keep area free from unrelated materials and ensure that there is adequate lighting.
WARNING! Always wear approved eye, face and hand protection when using the suction cup.
Remove ill tting clothing. Remove ties, watches, rings, other loose jewellery and contain and/or tie back long hair.
Maintain correct balance and footing. DO NOT over reach, ensure the oor is not slippery, wear non-slip footwear.
Keep children and unauthorised persons away from the working area.
Ensure workpiece is secure before attaching and using the suction cup.
WARNING! Ensure that the surface to which the suction cup is to be attached is non-pourous, clean, dry and free from oil and grease.
8 DO NOT exceed the maximum pull capacity of the suction cup.
8 DO NOT use the suction cup for any purpose other than that for which it is designed.
8 DO NOT use the suction cup when you are tired or under the in uence of alcohol, drugs or intoxicating medication.
When not in use, store in a safe, dry, childproof location.
8 DO NOT use any sharp object to loosen the suction cup as it may damage the rubber and prevent the tool from creating suction.
8 DO NOT attempt to attach the suction cup to a person as severe bruising and/or damage to internal organs can occur.
8 DO NOT allow anything to interfere with the free movement of the plunger whilst the suction cup is attached to a surface.
Keep ngers clear of suction release tag during use.
8 DO NOT allow anything else to touch the release tab whilst in the process of lifting e.g. other lifting gear or adjacent xtures and
ttings.
2. INTRODUCTION
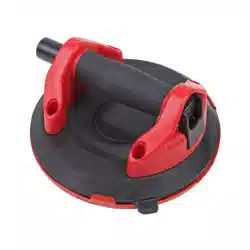
Twin pro led rubber suction cups designed for strength and reliability. Ideal for
windscreen installation and glass transportation. Also suitable for other non-
porous at surfaces such as sheet metal and tiles.
3. SPECIFICATION
Model No: .......................................................... AK98943
Cup Diameter: .....................................................Ø150mm
Maximum Lift Capacity: .......................... 30kg (Horizontal)
4. OPERATION
WARNING! Ensure that you read, understand and apply Section 1
safety instructions.
The suction cup is designed to work best on float glass at a room temperature of 20ºC. Cold temperatures, humidity and other surface
contamination may reduce the holding capacity of the tool. The tool may not be as effective on other sheet materials such as plastic and
metal. Moisture and other contaminants will also reduce the slip resistance of the cup.
WARNING! This is a hand tool and must not be used in conjunction with a crane or any other lifting device.
4.1. Ensure that the workpiece to be moved is clean, dry and free from oil and grease.
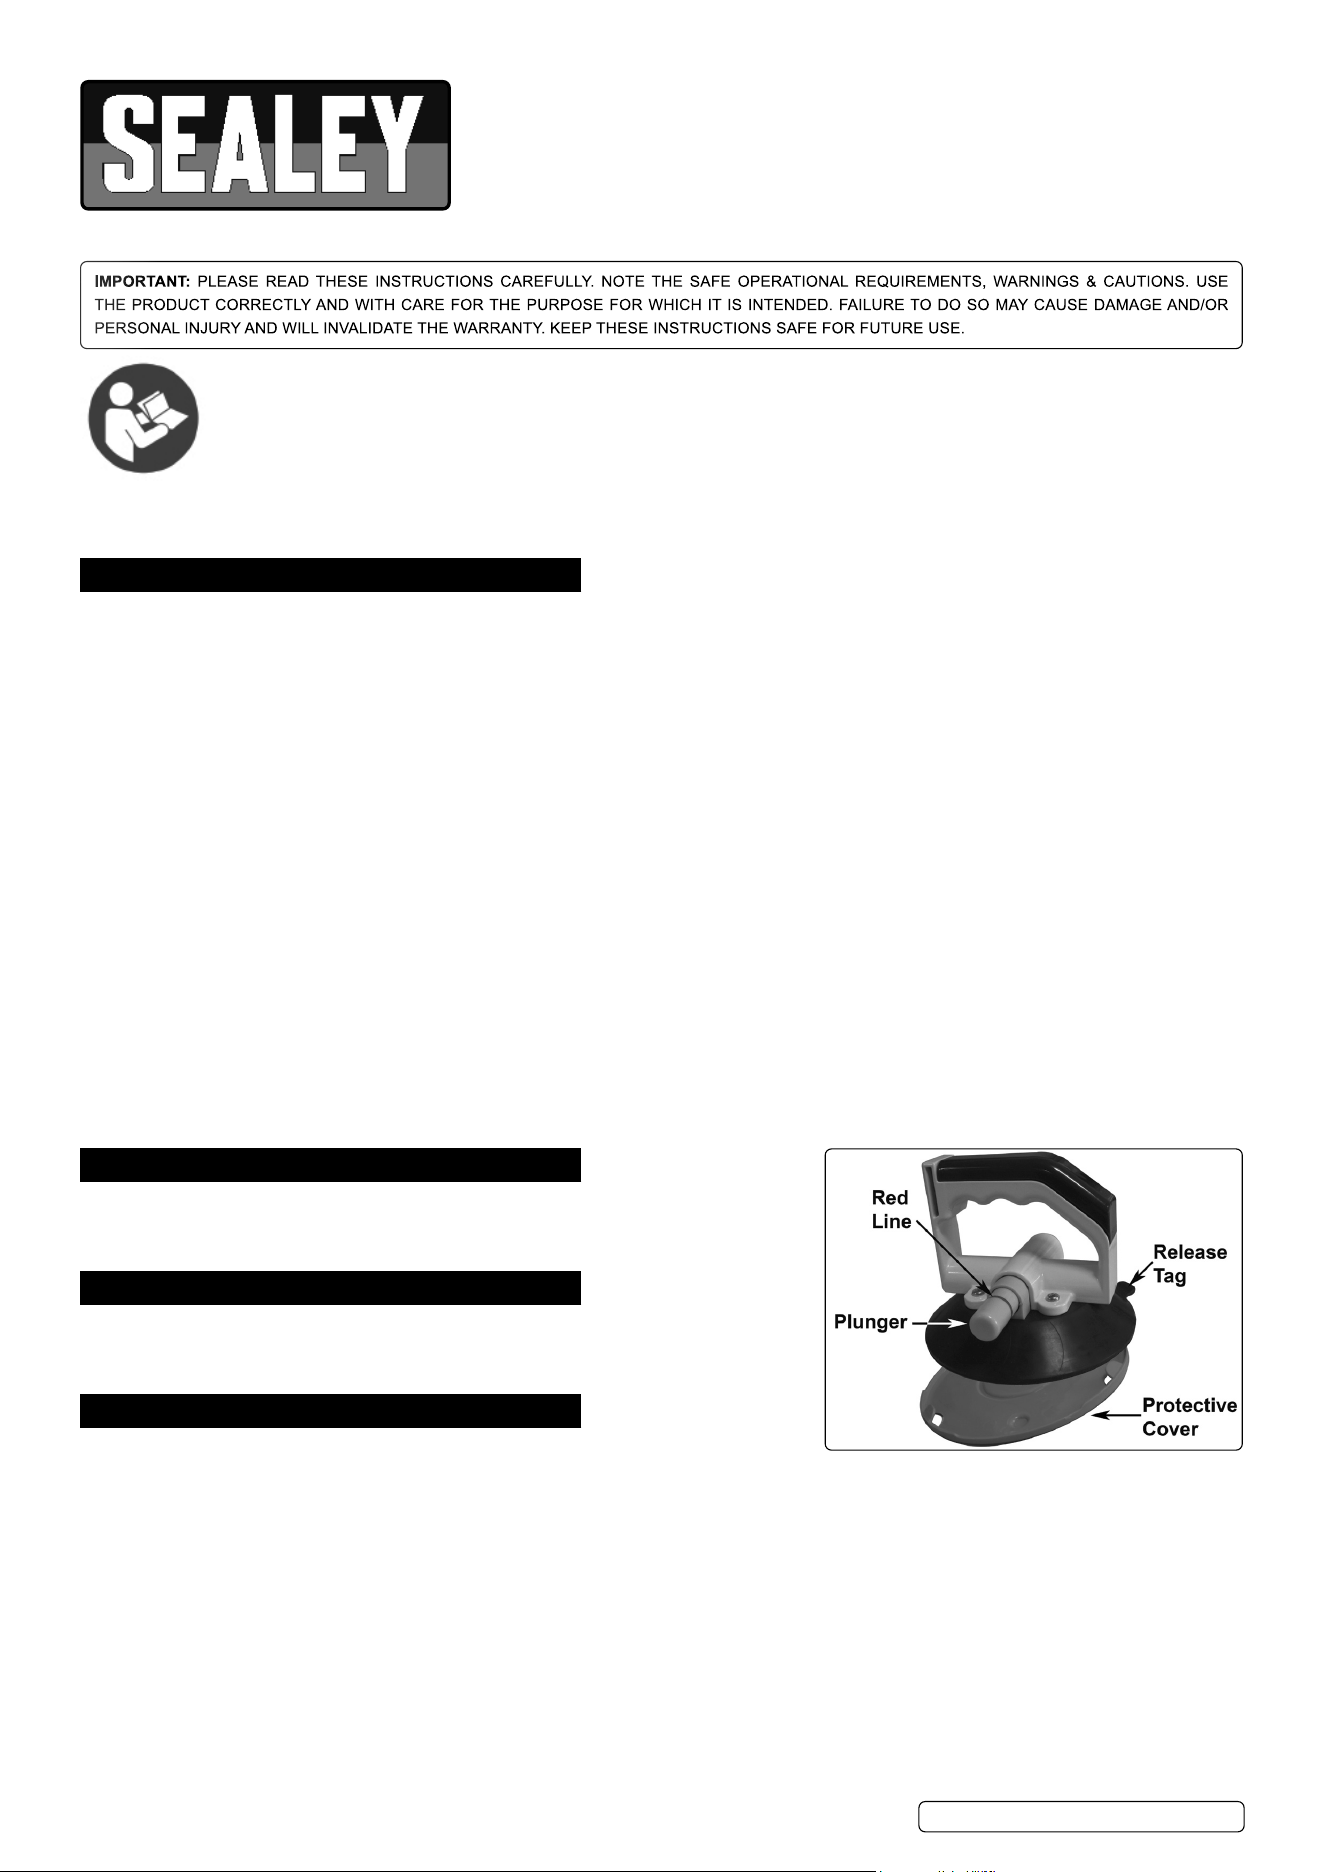
4.2. Remove the protective cover from the suction cup.
4.3. Holding the handle, rmly push the suction cup onto the material and hold it there under pressure.
4.4. With your other hand, pump the plunger until it recedes into the barrel and the red line disappears from view. The suction cup should
now be rmly attached and ready for use.
4.5. Always keep the plunger in view during moving/lifting. Should the plunger begin to rise and the red line reappears, this indicates a loss
of suction and you should immediately put down the load.
4.6. Check that the suction cup and surface of the material are clean and free from any foreign bodies or imperfections. When satis ed,
reattach the suction cup as previously described.
Refer to
instruction
manual
AK98943 Issue 2 (H,F) 20/07/23
Original Language Version
© Jack Sealey Limited

AK98943 Issue 2 (H,F) 20/07/23
Original Language Version
© Jack Sealey Limited
Sealey Group, Kempson Way, Suffolk Business Park, Bury St Edmunds, Suffolk. IP32 7AR
01284 757500 sales@sealey.co.uk www.sealey.co.uk
ENVIRONMENT PROTECTION
Recycle unwanted materials instead of disposing of them as waste. All tools, accessories and packaging should be
sorted, taken to a recycling centre and disposed of in a manner which is compatible with the environment. When
the product becomes completely unserviceable and requires disposal, drain any uids (if applicable) into approved
containers and dispose of the product and uids according to local regulations.
Note: It is our policy to continually improve products and as such we reserve the right to alter data, specications and component parts
without prior notice.
Important: No Liability is accepted for incorrect use of this product.
Warranty: Guarantee is 12 months from purchase date, proof of which is required for any claim.
REGISTER YOUR
PURCHASE HERE
NOTE: The suction cup is designed for lifting, carrying and holding objects for a short period of time only. If circumstances cause an
object to be held for longer than expected, the grip must be checked frequently with reference to the plunger position and the visibility
of the red line.
4.7. Only release the suction cup when the load has been set down. To release the suction cup from the surface to which it is attached, lift
the release tag at the side of the cup.
8 DO NOT use any sharp object to loosen the suction cup as it may damage the rubber and prevent the tool creating suction.
4.8. Ret the protective cover onto the suction cup and store it in a clean, dry, childproof location.
5. MAINTENANCE
5.1. Check condition of suction cup regularly, if damaged replace using genuine parts only.
5.2. Always keep suction cup clean and free of oil and grease. Clean regularly with a non-aggressive cleaner.
5.3. In order to preserve elasticity, do not expose rubber pads to sunlight over an extended period of time.