Loading ...
Loading ...
Loading ...
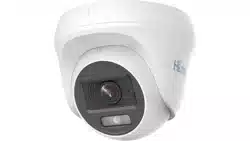
4. Align the screw holes in the bracket to the ceiling,
and secure the camera with three PA4 × 25 screws
(supplied).
Figure 2-49 Secure the Camera to the Ceiling
5. Connect the power cord and video cable.
6. Power on the camera to check whether the image
on the monitor is gotten from the optimum angle. If
not, adjust the camera according to the figure
below.
Trim Ring
Screw A
Screw B
Pan Position [0° to 360°]
Rotation Position
[0° to 360°]
Tilt Position [0° to 180°]
Figure 2-50 3-Axis Adjustment
1). Loosen the trim ring to adjust the pan position
[0° to 360°].
2). Loosen screw A to adjust the tilt position [0° to
180°].
3). Loosen screw B to adjust the rotation position [0°
to 360°].
7. Tighten the trim ring and screws to finish the
installation.
2.5.2 Ceiling/Wall Mounting with Junction Box
Installation of type II camera with junction box is similar
with that of type I camera. Refer to 2.4.2 Ceiling/Wall
Mounting with Junction Box for details.
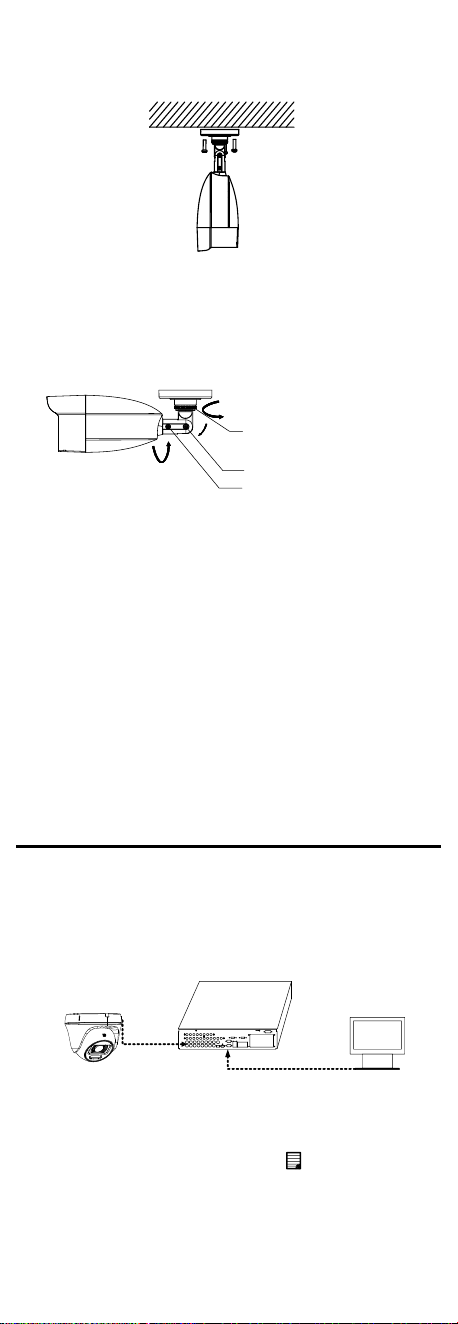
3 Menu Description
Please follow the steps below to call the menu.
Note:
The actual display may vary with your camera model.
Steps:
1. Connect the camera with the TVI DVR and the
monitor, as shown in figure 3-1.
Camera
TVI DVR
Monitor
Figure 3-1 Connection
2. Power on the camera, TVI DVR, and monitor to view
the image on the monitor.
3. Click PTZ Control to enter the PTZ Control interface.
4. Call the camera menu by clicking button or
calling preset No. 95.
Loading ...
Loading ...
Loading ...