Loading ...
Loading ...
Loading ...
11
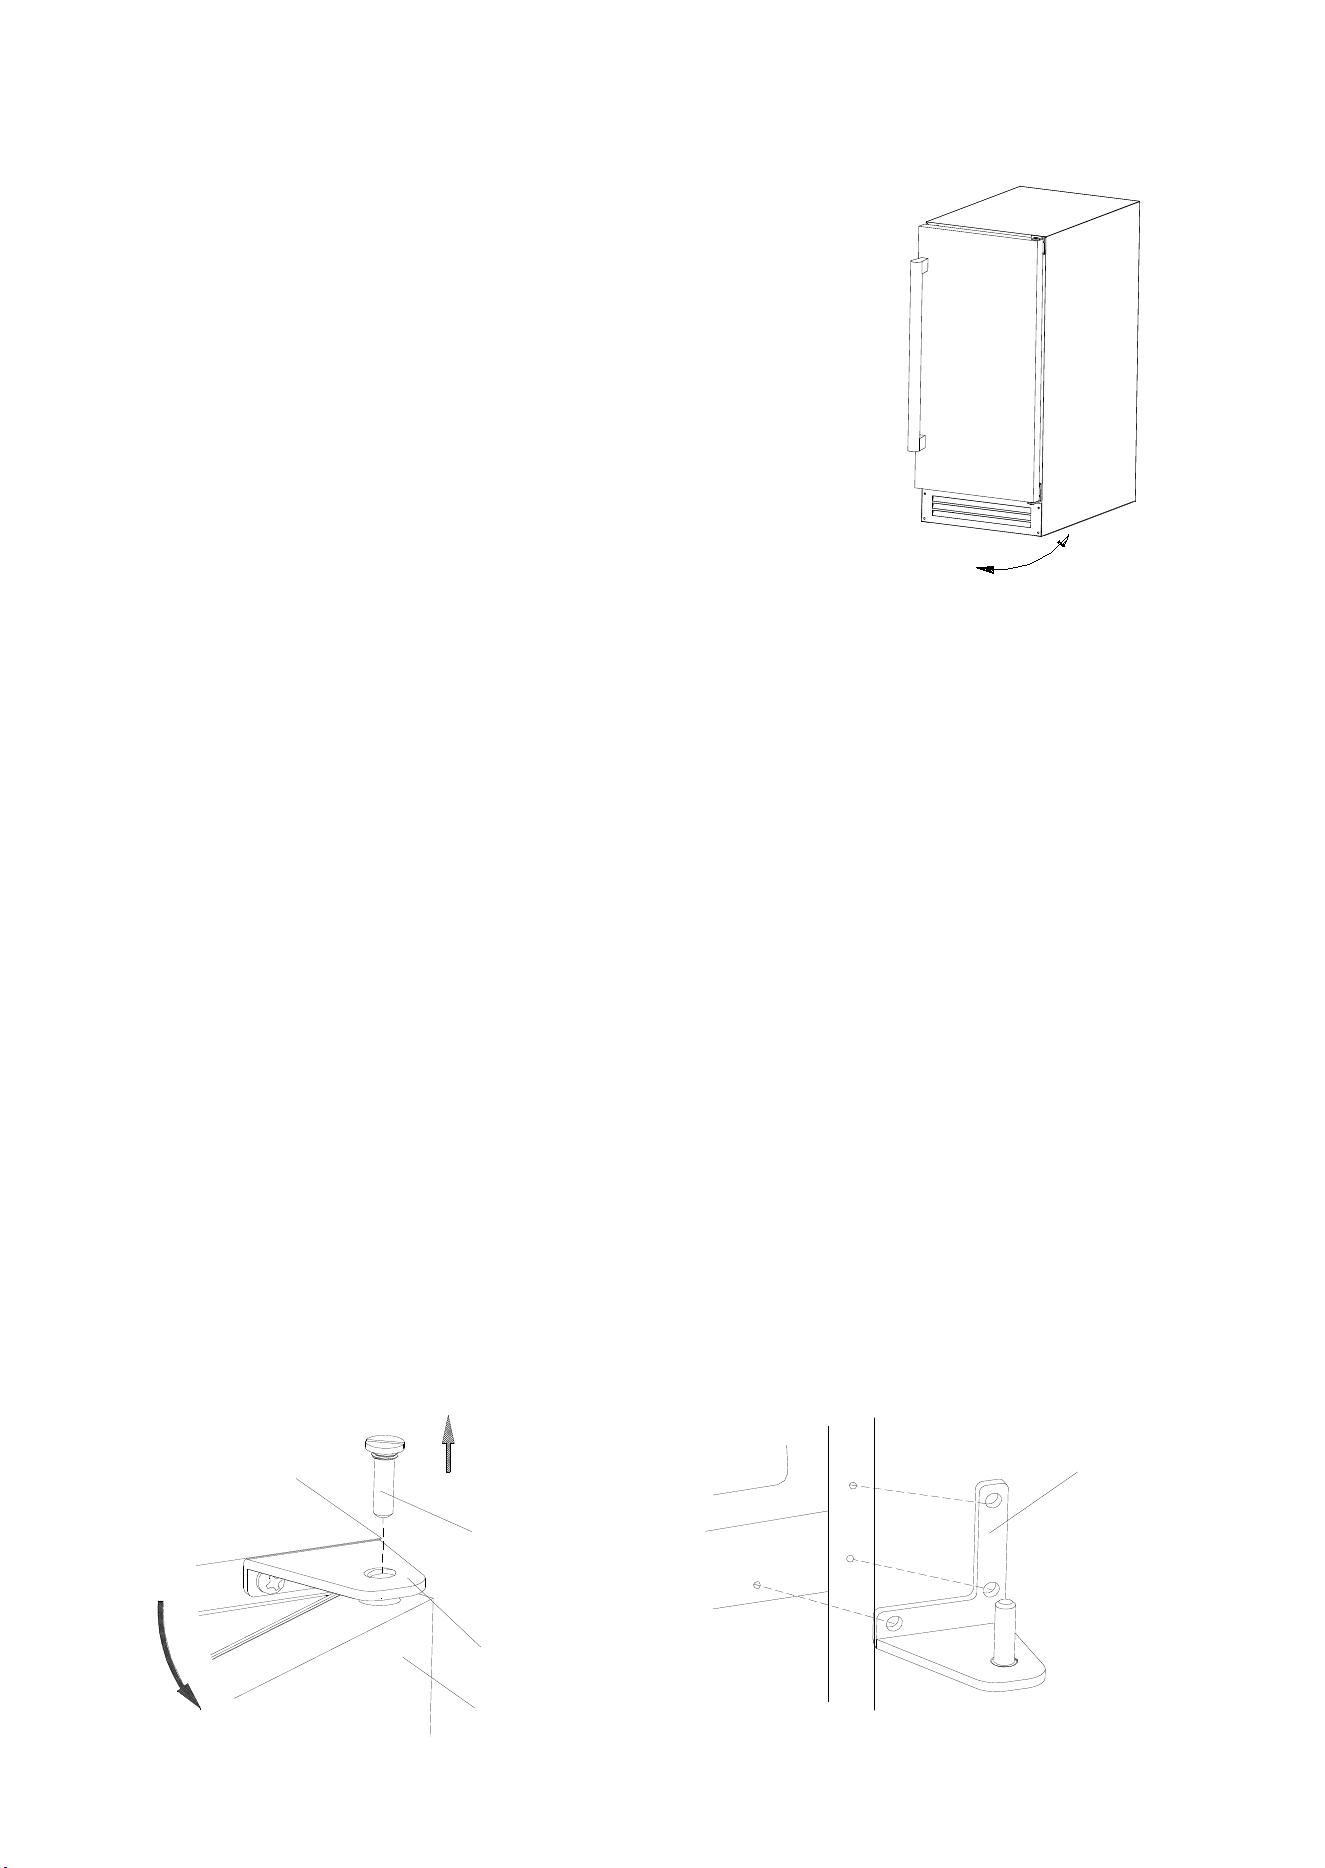
Leveling the ice maker
It is important for the icemaker to be leveled in order to
work properly. It can be raised or lowered by rotating
the plastic sheaths around each of the four feet on the
bottom of the machine .If you find that the surface is
not level, rotate the feet until the ice maker becomes
level .You may need to make several adjustments to
level it. We recommend using a carpenter’s level to
check the machine.
1. Place a carpenter’s level on top of the product to see if
the ice maker is level from front to back and side to side.
2. Adjust the height of the feet as follows:
Turn the leveling feet to the right to lower that side of the ice maker.
Turn the leveling feet to the left to raise that side of the ice maker.
IMPORTANT: Once you are ready to install it in a cabinet or directly on the floor, you must adjust the
feet to level the ice maker. If the floor is level, just revolve the two front feet to touch the floor.
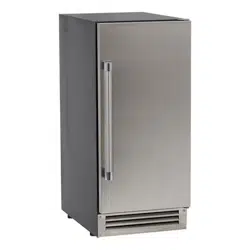
Reversing the door swing
Tools needed: Flat head screwdriver, Phillips screwdriver
IMPORTANT: Before you begin, unplug the ice maker or disconnect power.
To remove door from hinges:
1. Remove top hinge cover by pushing it toward the back of the unit, then lifting it off.
2. Using a Phillips screwdriver, remove the screws, then remove the top hinge mat and top hinge.
Keep the parts together and set them aside.
3. Lift the door off of the bottom hinge and set the door aside.
To replace door on hinges:
down
up
Top Hinge
Door
Hinge Axis
Bottom
Hinge
1. Using a flathead screwdriver, separate the hinge axis from top hinge.
2. Remove the three screws securing the top hinge to the cabinet. Remove the plug buttons opposite the
top hinge. Place hinge, screws, plug buttons and hinge axis safely aside.
3. Open the door about 20 degrees, then lift the door off the bottom hinge 2 and set the door aside.
4. Remove the three screws securing the bottom hinge to the cabinet and the plugs opposite.
5. Rotate the door 180 degrees from its original position. The handle should be opposite the door hinges.
6. Replace the original top hinge on the opposite side at the bottom and the original bottom hinge on the
opposite side at the top.
7. Install the hinge axis back through the bottom hinge. Gently place the door on the bottom hinge and
open it approximately 20 degrees.
8. Install the top hinge axis and tighten firmly. Replace all plug buttons.
Loading ...
Loading ...
Loading ...