Loading ...
Loading ...
Loading ...

LIGHTING
7
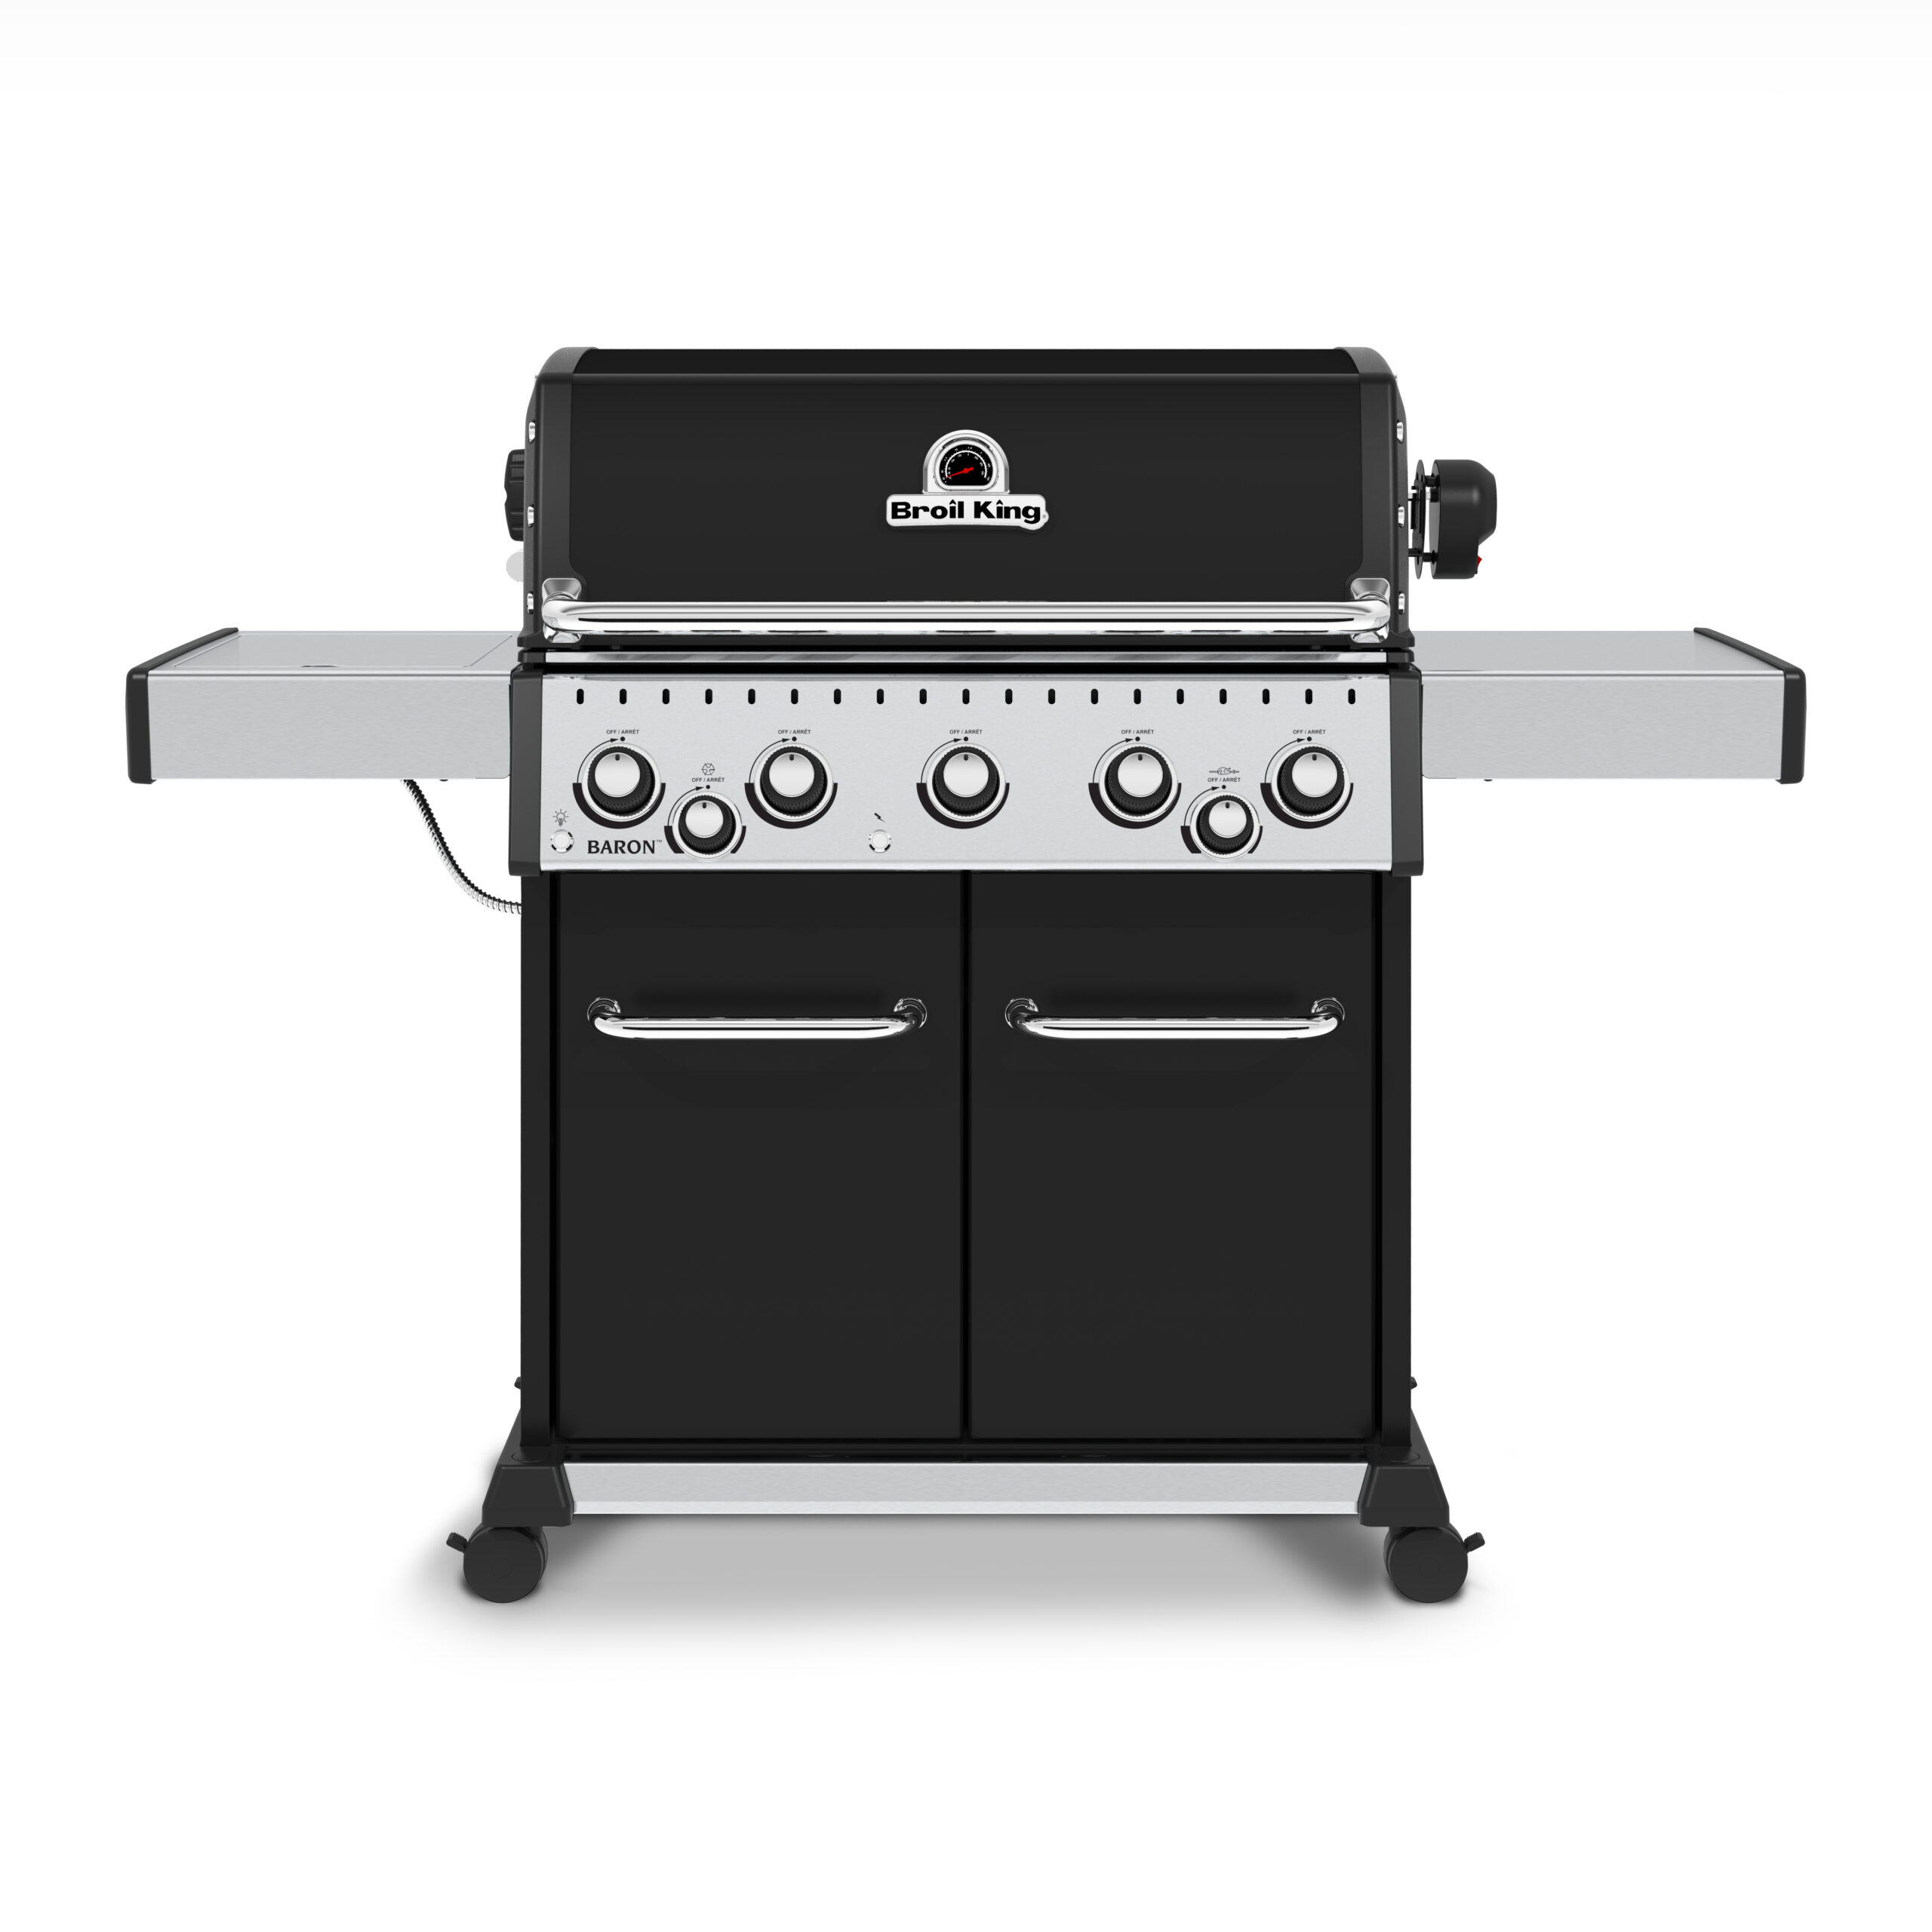
BASIC GAS GRILL COMPONENTS
A. Main burner controls F. Handle
B. Side burner control
G.
Side burner
C. Rear burner control H. Cylinder valve
D. Ignitor
E. Manual lighting hole
LIGHTING INSTRUCTIONS
• The grill must be assembled and installed as per the
assembly and installation instructions.
• Ensure LP cylinder is full and properly connected to the
regulator. See: “Hose and Regulator” (Page 4).
• Ensure there are no gas leaks in the gas supply system.
See: “Leak Testing” (Page 5).
• Ensure that the venturi tubes are properly located over the
gas valve orifices. See Venturi diagram, (Page 6).
• Ensure that Main Burner, Side Burner and Rear Burner
ignition wires are connected.
• Check that the battery has been installed in the electronic
ignition.
• Carefully review all instructions on the information plate
attached to the gas grill.
1. Open lid before lighting.
2. Do not lean over gas grill while lighting.
3. Set control knobs to “OFF” and turn on the gas supply.
LIGHTING THE MAIN BURNER:
To light burner with the ignitor:
4. Push and turn one main burner control knob to “HIGH.”
5. Push and hold down the ignitor.
6. Burner should ignite within 5 seconds; turn off gas source
immediately if ignition does not occur in this timeframe.
T
o light burner with a match:
4. Use the match holder and, apply lit match to burner port.
5. Push and turn right main burner control knob to “HIGH.”
6. Burner should ignite within 5 seconds; turn off gas source
immediately if ignition does not occur in this timeframe.
7. After the first burner is lit, push and turn the adjacent main
burner control knob to “HIGH” then repeat for other burners;
these burners should light automatically without the ignitor.
Note: In windy conditions, ignite each burner individually.
LIGHTING THE SIDE BURNER:
To light burner with the Ignitor:
4. Push and turn side burner control knob to “HIGH.”
5. Push and hold the ignitor button.
6. Burner should ignite within 5 seconds.
To light burner with a match:
4. Apply lit match to burner ports.
5. Push in the side burner control knob and turn to “HIGH.”
6. Burner should ignite within 5 seconds.
Note: Pots on the side burner must not exceed 9” (23 cm) in
diameter or 15 lbs. (7 kg) in weight.
LIGHTING THE REAR ROTISSERIE
BURNER:
Warning: do not operate the main burner simultaneously with
the rear burner.
• REMOVE THE WARMING RACK
To light burner with the Ignitor:
4. Push and turn rear burner control knob to “HIGH.”
5. Push and hold the ignitor button.
6. Burner should ignite within 5 seconds.
To light burner with a match:
4. Apply lit match to burner ports.
5. Push in the rear burner control knob and turn to “HIGH.”
Burner should ignite within 5 seconds.
CAUTION: Check your gas grill after lighting. All burner ports
should show a 2.5cm / 1” flame on “HIGH.”
If any of the following symptoms occur there is probably a
blockage in the venturi tubes. Shut off gas at once and
clean the venturi tubes. See “Venturi Tubes.” (Page 5)
1. You smell gas.
2. A flashback fire occurs.
3. Your gas grill heats unevenly.
4. The burners make popping noises.
IF BURNER DOES NOT IGNITE:
• Push and turn control knob to “OFF.” Wait 5 minutes then try
again with control knob set at “MEDIUM”
• If any burner will not light, see “Troubleshooting” on page 21. If
problem persists, do not attempt to operate the appliance;
contact OMC, your dealer or an approved service center.
SHUTDOWN:
1. Turn LP gas cylinder valve or gas supply valve off.
2. Turn control knobs to “OFF”.
Loading ...
Loading ...
Loading ...
