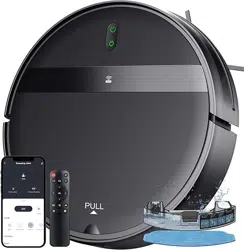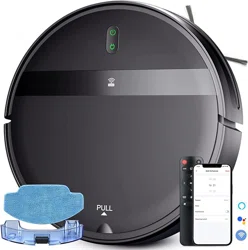
Robot Vacuum Cleaner Instructions Manual

1
Warning:
Note:
Safety Rregulations:
If you encounter any problems during use, please contact our after-sales service center: EMAIL, and there will be professionals to answer your questions.
Due to the need for continuous product improvement, this information product is subject to the actual product, and our company reserves the right to update the product.
1.The problems that may occur during the cleaning of the product should be eliminated in
time. Clean the power cords and small items on the ground to prevent the product from
being blocked during the cleaning process. Fold the fringe of the carpet under the carpet,
and make sure that the hanging curtains, tablecloths, etc. do not touch the ground.
2.If there is a hanging environment such as stairs, please test the product first to see if it can
detect the edge of the hanging area without falling. A protective fence or other protective
measures should be set at the edg
e of the suspended area to prevent the product from
falling. Make sure that the fence or other fire prevention measures will not cause personal
injury such as tripping.
3.Please follow the instructions in the manual to use the product. Only use product
accessories recommended or sold by the manufacturer.
4.Make sure that the power supply voltage matches the voltage marked on the charging
stand.
5.Ensure that the dust box, filter material etc are installed in place before us
ing the product.
6.If the power cord is damaged, in order to avoid danger, it must be replaced by a
professional from the manufacturer or maintenance department.
7.Please turn off the product switch before cleaning and maintaining the product.
8.The socket must be unplugged from the power socket before cleaning and maintaining the
product.
9.Before discarding the product, please remove the product from the charging stand, turn off
the power switch of the product and take
out the battery.
10.If you do not use the product for a long time, please power off the product.
11.The product cannot be used by children under the age of 12 or people with mental
disorders. If you need to use it, please do it under the supervision of a guardian. Please do
not allow children to ride on the product or play with the product as a toy.
12.Use it only in an indoor home environment. Do not use it outdoors, commercial or
industrial product.
13.Please do not use the product in t
he room where the baby sleeps.
14.Please do not use the product with a damaged power cord or power socket. Please do
not use the product when it is dropped, damaged, used outdoors or cannot work normally
due to water ingress. To avoid injury, the product should be repaired by the manufacturer or
after-sales service.
15.Please follow the instructions in the manual to use the product. The company is not
responsible for any loss and damage caused by improper use.
16.Do not place th
e product near cigarette butts, lighters and other smoldering fires.
17.Do not use this product in wet environment(eg:bathroom) .
18.To prevent tripping, please inform others of the house when this product works.
19.The temperature used for this product is 0 to 40 degrees Celsius. Do not use this product
in high temperature environment.
1.Only use the original battery and charging base specially equipped by the manufacturer,
and it is strictly forbidden for users to change the battery and charging base privately. If you
suspect that the battery or charging base is damaged, please contact the manufacturer's
professionals for replacement.
2.It is forbidden to use the product in an environment with open flames or fragile objects.
3.It is forbidden to use in extremely hot (above 40°C) or extremely cold (below 0°C)
environment.
4.It is forbidden for hair, clothes, fingers and other parts of the hum
an body to approach the
openings and operating parts of the product.
5.It is forbidden to use products on wet or stagnant ground.
6.It is strictly forbidden for the product to absorb anything that may block the product, such
as stones, waste paper,etc.
7.It is forbidden for products to absorb any inflammable substances, such as petrol, toner
and toner for printers or photocopies. Prohibit the use of products in clean areas with
flammable items.
8.It is forbidden for the prod
uct to absorb any burning items, such as cigarettes, matches,
ashes and other items that may cause a fire.
9.It is forbidden to place objects in the mouthpiece. Do not use the product when the suction
port is blocked. Clean up dust, lint, hair, etc. at the suction port to ensure smooth air
circulation at the suction port.
10.Handle the power cord carefully to avoid damage. It is forbidden to use the power cord to
drag the product and the product charging base. Do not use the power co
rd as a handle. It is
forbidden to clamp the power cord in the door gap. It is strictly forbidden to pull the power
cord at sharp corners and corners. It is forbidden to operate the product on the power cord,
and the power cord should be kept away from heat sources.
11.Do not use damaged charging bases.
12.Even if the product is severely damaged, it is prohibited to burn the product, otherwise
the battery of the product may explode.

2
Table of Contents
1.Product Composition..............................................................................................................................................................................................................................3
1.1 Package contents............................................................................................................................
...................................................................................................................................... 3
1.2 Partname.........................................................................................................................................................................................................................................4-5
2.Use of the Product.
.....................................................................................................................................................................................................................................................................6
2.1 Precautions for product use...............................................................................................................
..................................................................................................................................6
2.2 First prepare..............................................................................................................................................................................................................................................................
..............7
2.3 Host charging..........................................................................................................................................................................................................................................................................8
2.4 Install the water tank.................................................................................
............................................................................................................................................................................9
2.5 Install the mop board..............................................................................................................................................................................................................
...............................................9
3.Host Operation...........................................................................................................................................................................................................................................................................10
3.1 Power on..........................................................
......................................................................................................................................................................................................................10
3.2 Cleaning mode and usage settings.........................................................................................................................................................
..................................................................11-12
4.Maintenance of Accessories.................................................................................................................................................................................................................................................13
4.1 Dust box and filter.........................................
.................................................................................................................................................................................................................13-14
4.2 Water tank filter cotton..................................................................................................................................................................
......................................................................................15
4.3 Charging pole piece, Anti-drop Sensors, Driving wheel and Universal wheel.......................................................................................................................................................16
5.Light Indication...........................................................................
...............................................................................................................................................................................................17
5.1 Troubleshooting.............................................................................................................................................................................................
...................................................................... 18
5.2 Product specifications.........................................................................................................................................................................................................................................................19
5.3 Security Information...............................
.............................................................................................................................................................................................................................20

3
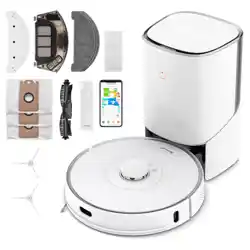
1.Product Composition
1.1 Package contents
Robot Vacuum Charging Base 2 AAA batteries for Remote Control Remote Control
Adapter
Cleaning Brush Instruction Manual 2 Side Brushes 4 Water Tank Filter Cottons
Water tank Dust Box & FifterMop Accessories
4
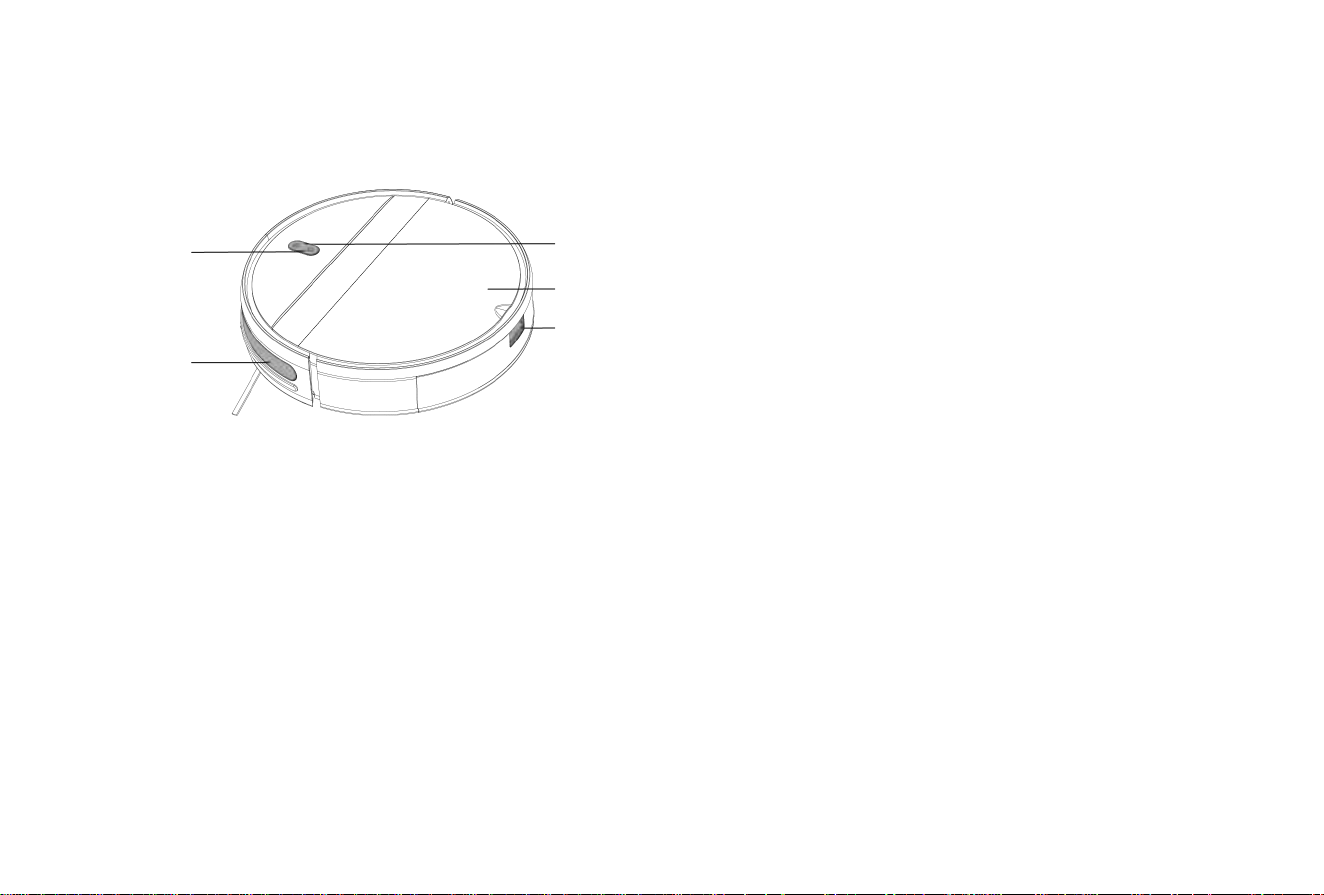
b.The back of the main unit
a.Front of the host
c.Open this panel
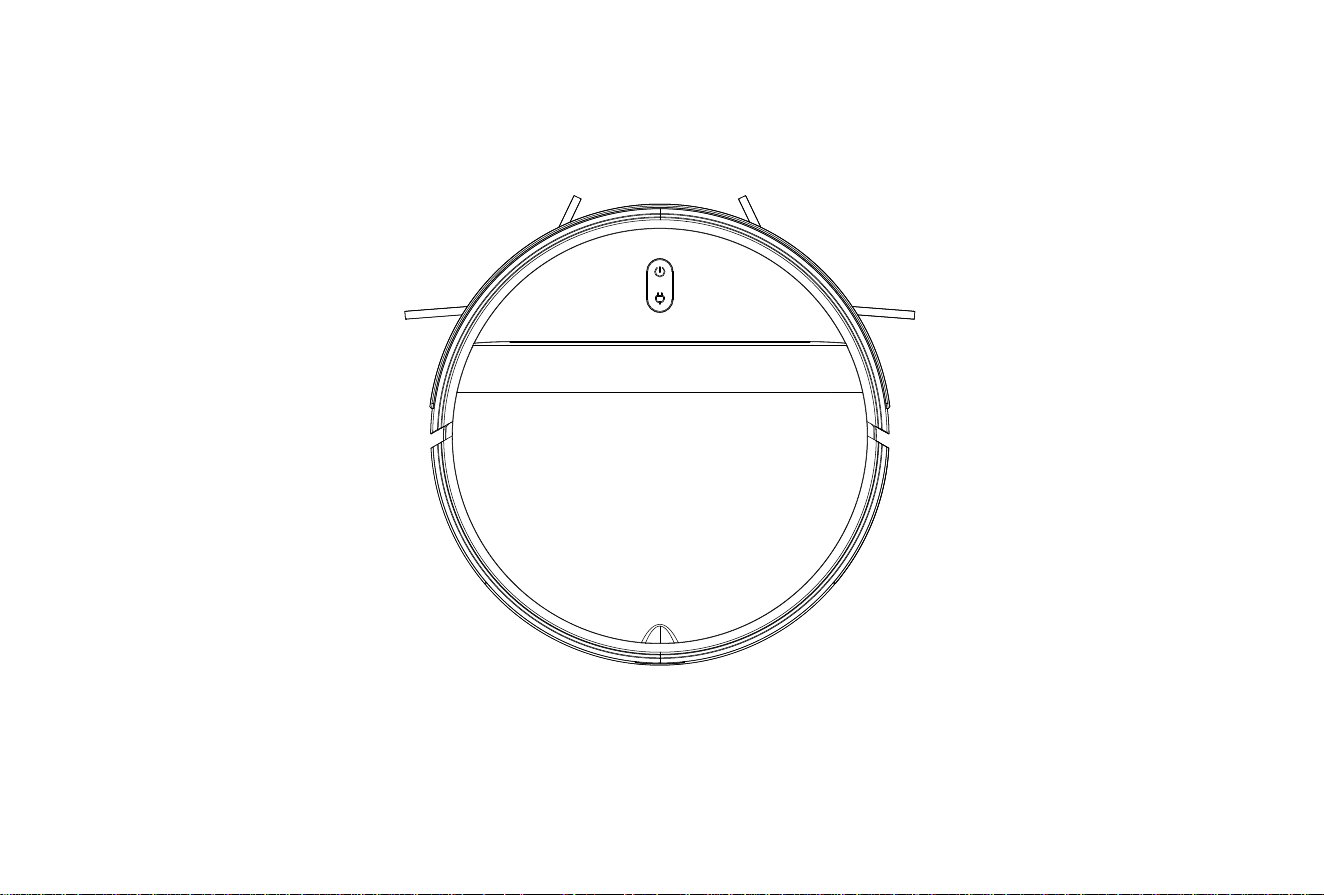
1.2 Part name
(1)About the host
Recharge button
Infrared buffer
anti-collision board
Dust box
Water tank button
Machine panel
Power button
2 Side brushes
A
nti-drop
Sensors
2 Drive wheels
2 charging contacts
Universal wheel
Machine Battery
5
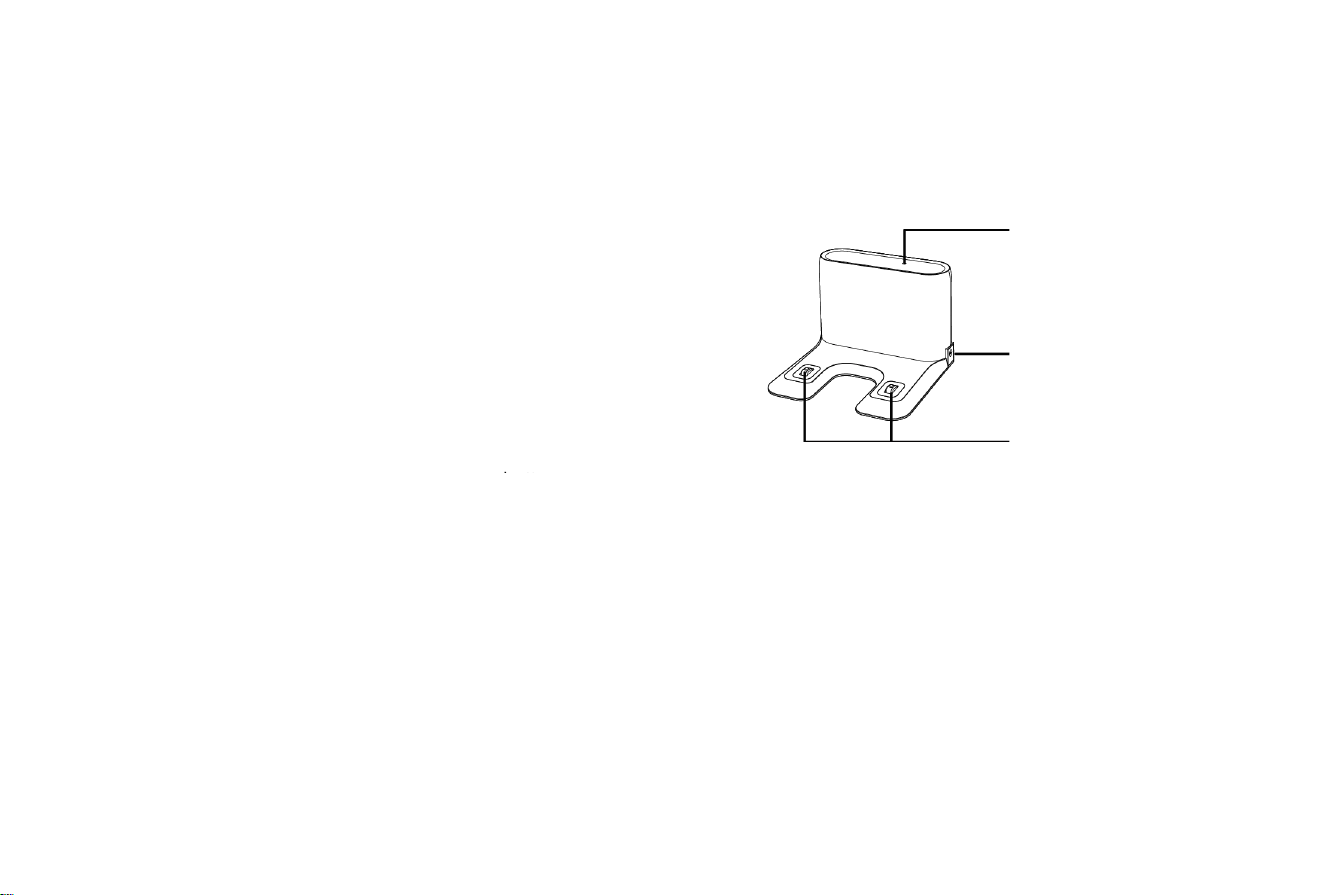
b.Charging base
c.Dust box
(2)About the remote control (3)About the accessories
Dust filter
cotton
Dust box
flip cover
Dust box buckle
a.Remote control
2 charging contacts
Power adapter plug
Signal indicator
Edge cleaning
Recharge button
Spot cleaning button
Pause/Start button
Pause/Sleeping button
Automatic cleaning
Zig-zag cleaning
Suction adjustment button
Direction control button
Water output
a
djustment
button
6
2.Use of the Product
2.1 Precautions for product use
Before using Robot, pick up objects like clothing, loose papers, pull cords for blinds or curtains, power cords, and any fragile objects.
If the Robot passes over a power cord and drags it, there is a chance an object could be pulled off a table or shelf.
If the room to be cleaned contains a balcony, a physical barrier should be used to prevent access to the balcony and ensure safe operation.

7
2.2 First prepare
Remove shield:
Please remove the protective materials on the main unit and charging base before use
Install the side brush correctly
“da”

8
2.3 Host charging
a.Find a suitable location to place the charging base
After connecting the charger, the indicator light on the charging
stand will be always on.
Place the charging base on a flat ground against the wall. Do not
place objects within 20 inches to the left and 60 inches in front.
T IP:
If there is a mirror or other reflective objects near the charging base,
you need t o c over the 3 inches of the bottom part.
c.Connect the power supply
b.First take out the water tank and t
he mop board, then turn
on the main unit to charge.
d.Place the host on the charging stand to charge
(The indicator light flashes during charging Flashing; the indicator light is always on
when fully charged. The charging time is about 5 hours)
When the machine is cleaning, the host can sense that its own power is
insufficient, automatically start to return to the charging mode, and automatically
find the charging dock to charge. You can also use the remote control's return to
c
harge button to instruct the host to start returning to the charging mode.
T IP:
If there is a mirror or other reflective objects
near the charging base, you need to cover
the 3 inches of the bottom part.
3.Turn on the main
unit to charge
1.Take out the
water tank
2.Remove the mop
board

9
2.4 Install the water tank
a.Open the water tank plug and inject clean water. b.Cover the water tank plug and install the
water tank back to the host.
2.5 Install the mop board
a.Please wet the cloth completely and install it on the mop board b.Nest the white edge of the mop on the mop board c.Install the mop board on the host
T IP:
1.Before using the mopping function, be sure to install the mopping board to the designated position.
2.Please do not use the mopping function on the carpe
t, this will cause the mopping to fail.
3.Please be sure to remove the mop accessories when using the vacuum functio n.

10
3.Host Operation
3.1 Power on
Press and hold the host start/pause button
for 2-3 seconds in the off state, and the
power on is successful.
(1)Pause:When the host is working, short press the host start/pause button or the remote control pause button to pause the host.
(2)Wake-up: Within 10 minutes of the main unit being suspended, if short press the main unit start/pause button or remote control
start/pause button again, the main unit can continue cleaning.
(3)Sleep:If the h
ost is suspended for more than 10 minutes, the host will enter the sleep mode (the host indicators are all off). You can short
press the host start/pause button or the remote control start/pause button to wake up the host first.
(4)Shutdown: First, the main unit pauses work, then long press the main unit start/pause button, finally the main unit indicator light will go
out, the machine shuts down successfully.
T IP:
1.When starting the cleaning job for the first time, please ma
ke sure that the product is fully charged.
2.After the robot vacuum cleaner completes operation, you are advised not to shut down the robot vacuum cle aner.
Keep the robot vacuum cleaner in the charging status so that it can work better in the next operation.
11
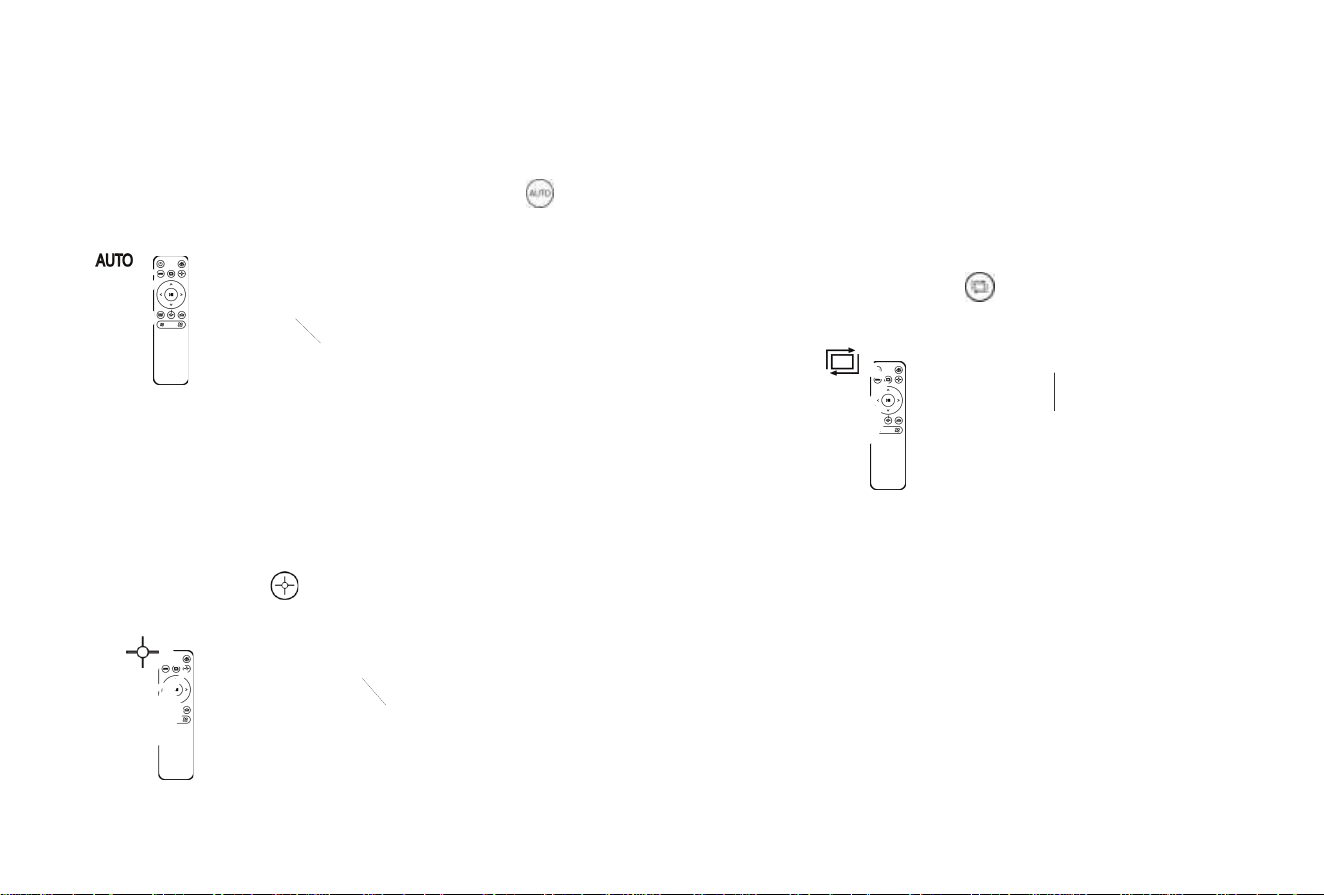
3.2 Cleaning mode and Usage settings
a. Automatic cleaning b. Spot cleaning
c. Edge Cleaning
The Robot Vacuum performs random cleaning for 90 minutes, and
automatically recharges after the cleaning is completed.
Setting method:
In standby mode, short press the start/pause button, or the button
on the remote control, the robot enters the Automatic cleaning mode.
First, clean in a spiral clockwise from the inside to the outside.
After the maximum radius is 24 inches, clean in a spiral from the
outside to the inside, and finally return to the starting position
and finish the cleaning.
Applicable scenarios:
suitable for ground environments where garbage is
concentrated.
Setting method:
In standby mode, press on the remote control, the robot
enters the Spot cleaning mode.
The Robot Vacuum and the wall shall be cleaned along the wall at a distance of
less than 0.8 inch.
Applicable scenario:
The host cleans the periphery of the indoor fixed objects (such as walls, table
corners, etc.), and returns to the charging dock after working along the edges.
Setting method:
In standby mode, press on the remote control, the robot enters the Edge
Cleaning mode.
12
The Robot Vacuum performs bow cleaning mode, and the longest
straight line distance during cleaning is 197 inch.
Setting method:
In standby mode, press on the remote control, the robot enters
the Zi
g
-za
g
Cleanin
g
.
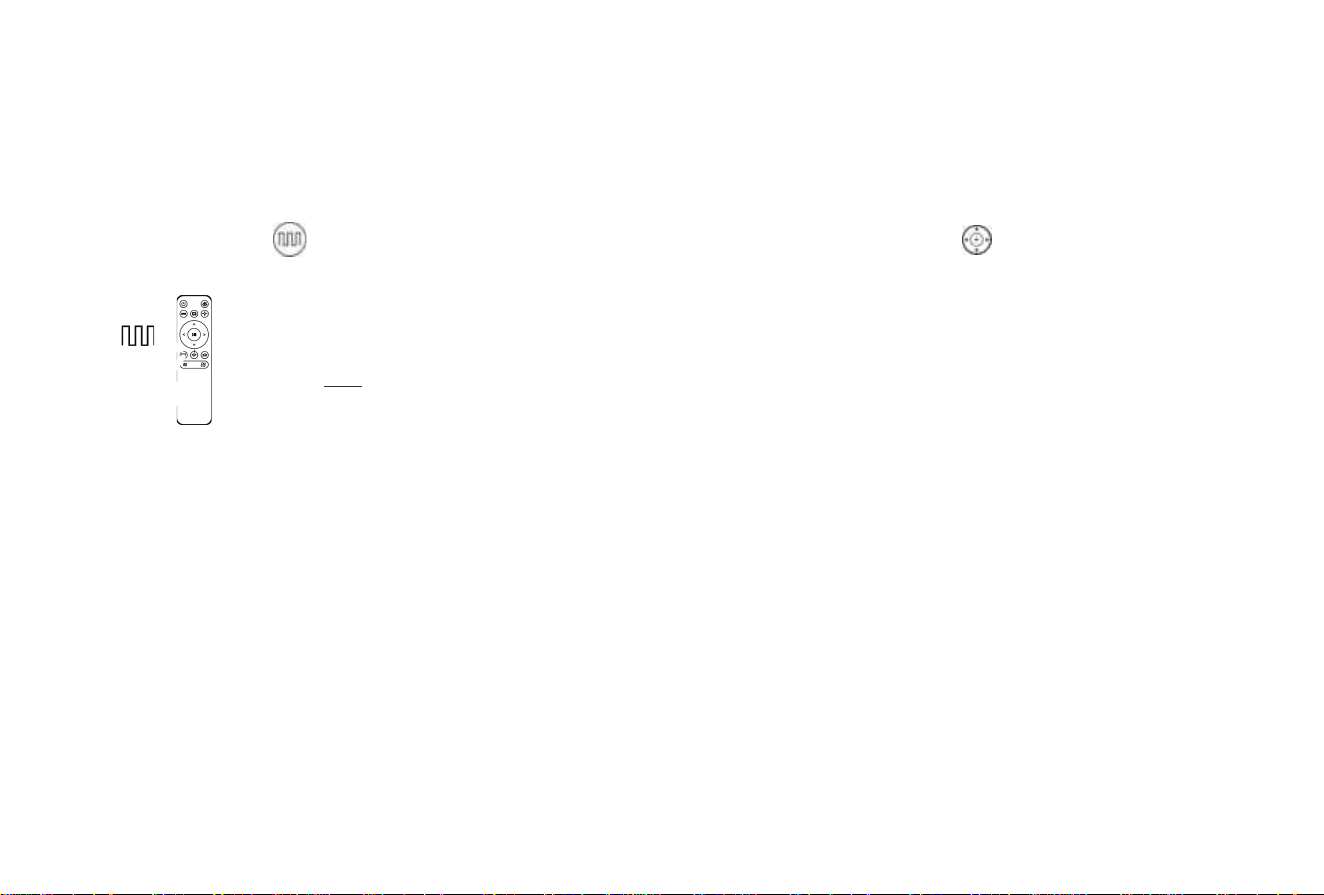
d.Zig-zag Cleaning
Applicable scene:
Uitable for human control cleaning.
Setting method:
In standby mode, press on the remote control, to control
the machine moves forward and turns.
e.Manually control cleaning

13
4.Maintenance of Accessories
4.1 Dust box and filter
a.Press the buckle to remove the dust box
c. Dump out the trash in the dust box
b. O
p
en the dust box lid
d. Remove the filter

14
T IP:
1. After the filter is used for 15-30 days, it is recommended to wash it once; the maximum service life of the high-efficiency filter is 3 months.
2. Do not put the filter cotton of the dust box in the sun or high temperature environment to avoid glue failure.
3. The dust box and filter must be completely dry before use.
e.Wipe the dust box clean f.Rinse the filter with clean water
g.Dry the dust box and filter until completely dry
15
4.2 Water tank filter cotton
a.Pull up to remove the water tank filter cottons by hand
b.Replace with 2 new filter cottons

16
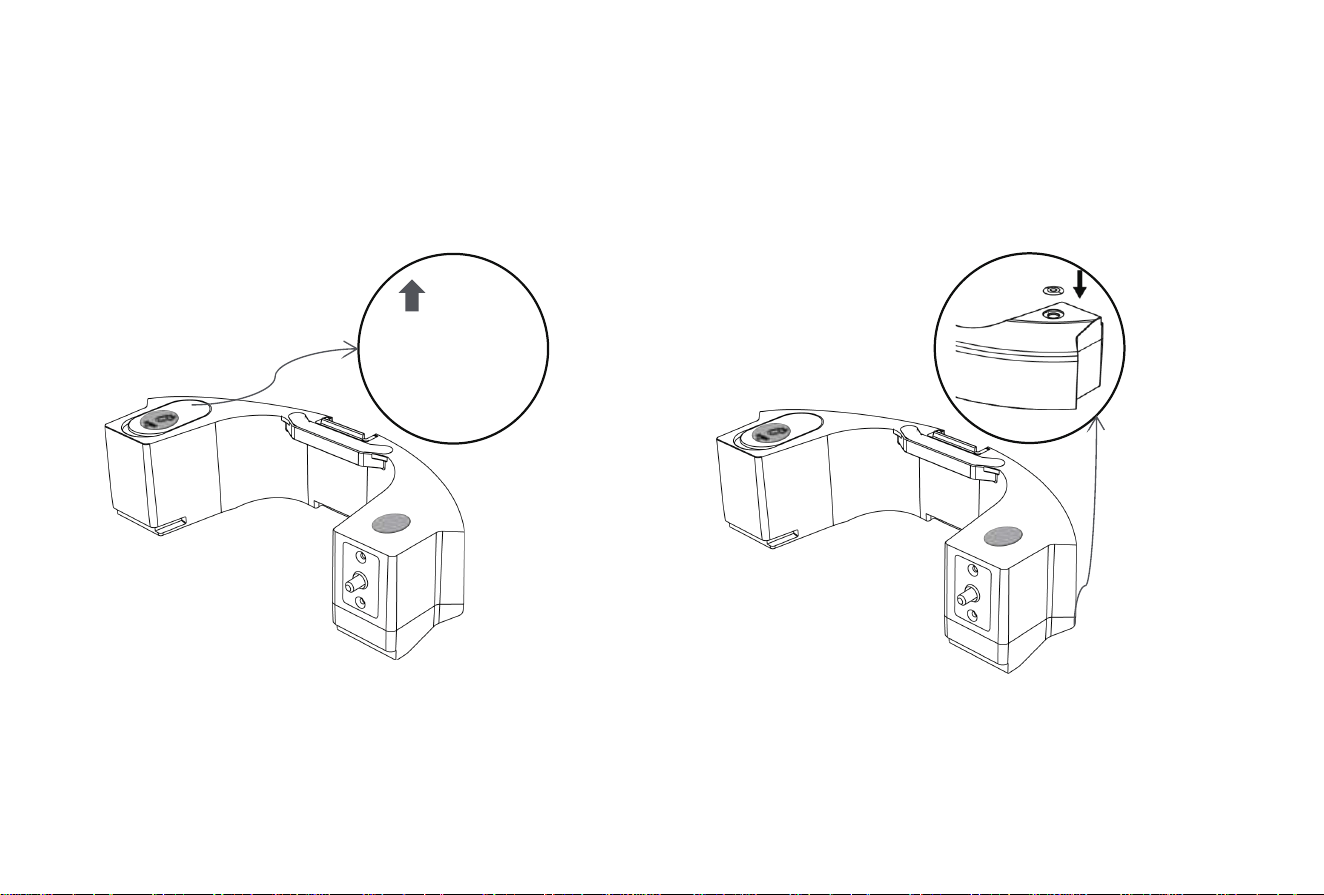
4.3 Charging pole piece, Anti-drop Sensors, Driving wheel and Universal wheel
Note: The charging electrode, Anti-drop Sensors and bumper contain sensitive electronic components. Use a dry cloth to clean the parts.
Do not use a wet cloth in case water enters the parts and causes damage
a.Cleaning the charging electrode
b.Cleaning the driving wheel and universal wheel
T IP:
1.If you do not use the product for a long time, fully charge the product and then power off
the product before you store the product. Charge the product every three months in case of
over-discharge o f the battery.
2.If the battery is over-discharged or is not used for a long time, the product may not be
rechargeable. Contact after-sales service personnel of the company for maintenance. Do not
disassemble the product.
c.Cleanin
g
the lower visual
sensor

17
5.Light Indication
Robot has two light indication, the upper is power and the under is recharging. Light has three color: red, green and yellow. Light status
have lights off, lights always on, quick flash and slow flash.
Item Contents
Definition of light
Power Recharging
Color Status Three color Status
1 Power on Green Lights always on Lights off
2 Power off Lights off Lights off
3 Cleaning Green Lights always on Lights off
4 Recharging Green Lights always on Yellow Lights always on
5 Low battery recharge Green Lights always on Red Lights always on
6 During Charging Green Lights always on Green Slow flash
7 Charging finished Green Lights always on Green Lights always on
8 Abnormal warning Red Quick flash Lights off
9 Standby mode Green Lights always on Lights off
10 Sleeping mode Lights off Lights off
11 Low battery Red Quick flash Lights off
12 Not calibr
ated Red Quick flash Red Quick flash
13 Calibrated Green Lights always on Lights off

18
5.1 Troubleshooting
Serial
number
Fault content
Fault tone
Fault handling method
Bass(beep) Treble(beep)
1 Bumper abnormal 0 1 Please check whether the bumper can rebound normally?
2
Anti-drop Sensors
abnormal
0 2
Please clean the anti-drop sensor or change the location and
start again!
3
Abnormal charging/poor
battery life
0 3
Please make sure to use the original adapter to charge and
try to recharge the machine for 5 hours!(Keep the charging
contact normal)
4 Battery
is low 1 1 Please put the machine back on the charging pile to charge!
5
Robot vacuum was
stucked
1 2 Please use the machine in an open place!
6 Side brush was stucked 2 1
Please check whether there is any foreign matter entangled
in the side brush and clean the foreign matter before starting!
7 The wheels was stucked 2 2
Please check whether there is any foreign matter entangled
in the wheel and clean the foreign matter before starting!
8 Fan abnormal 2 3 Please check if the fan port is bl
ocked or the dust box is full!
9 Encoder abnormal 2 4 Please try to restart the machine!
Our Robot Vacuum have a one-year warranty. If you have any questions, please contact us.

19
5.2 Product specifications
Category
Item Specification
Diameter 300 mm
Structure
Height 74 mm
Net weight 2.5 kg
Battery
Voltage 14.4 V
Battery 2500 mAh rechargeable lithium battery
Cleaning
parameters
Dust box capacity 200 ml
Charging type Auto charging and manual charging
Cleaning mode Auto cleaning; Spot cleaning; Edge cleaning
Charging time About 300 minutes
Cleaning time About 100 minutes
Main unit
Rated power (W) 28 W
Operating voltage (V) 14.4 V
* Due to the continuous improvement of the product, the product specifications are subject to the actual product. Our company reserves the
right to update the product.

20
5.3 Security information
Component
Type
Hazardous Substance
Lead (Pb) and
its compounds
Mercury (Hg)
and its
compounds
Cadmium (Cd)
and its
compounds
Hexavalent
chromium
(Cr(VI)) and its
compounds
Polybrominated
biphenyls
(PBB)
Polybrominateddiphenylether
(PBDE)
Plastic parts 〇 〇 〇 〇 〇 〇
Metal parts X 〇 〇 〇 〇 〇
Circuit module
of the main
unit
X 〇 〇 〇 〇 〇
Electronic
component
〇 〇 X 〇 〇 〇
Battery 〇 〇 〇 〇 〇 〇
Power cord
(Metal part)
X 〇 〇 〇 〇 〇
Standard compliance:
Directive 2011/65/EU and (EU) 2015/863