Loading ...
Loading ...
Loading ...
RP 115 Press Tool
999-995-408.10_REV. A
10
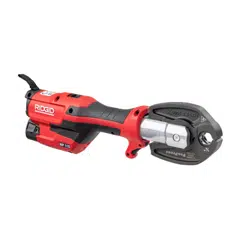
Figure 11 – Pressing the Fitting
4. Release the trigger/run switch.
5.
Squeez
e jaw arms to open jaws.
6. Remove jaw from fitting. Avoid sharp
edges that may have formed on fitting
during pressing operation.
7
.
W
hen operation is complete, remove bat-
tery from tool.
Inspecting The Pressed
Connection
1. Inspect the pressed fitting for:
•
F
ull insertion of tube into fitting.
• Excessive misalignment of the tubes.
A slight amount of misalignment at a
press connection is considered nor-
mal.
• Incorrect attachment alignment with the
fitting contour. Distorted or deformed fit-
ting.
•
An
y other issues per the fitting manu-
facturer. This could include the removal
of a control ring or decal (used to indi-
cate the connection has not yet been
pressed).
If any issues are found, remove fitting
and install a new press connection.
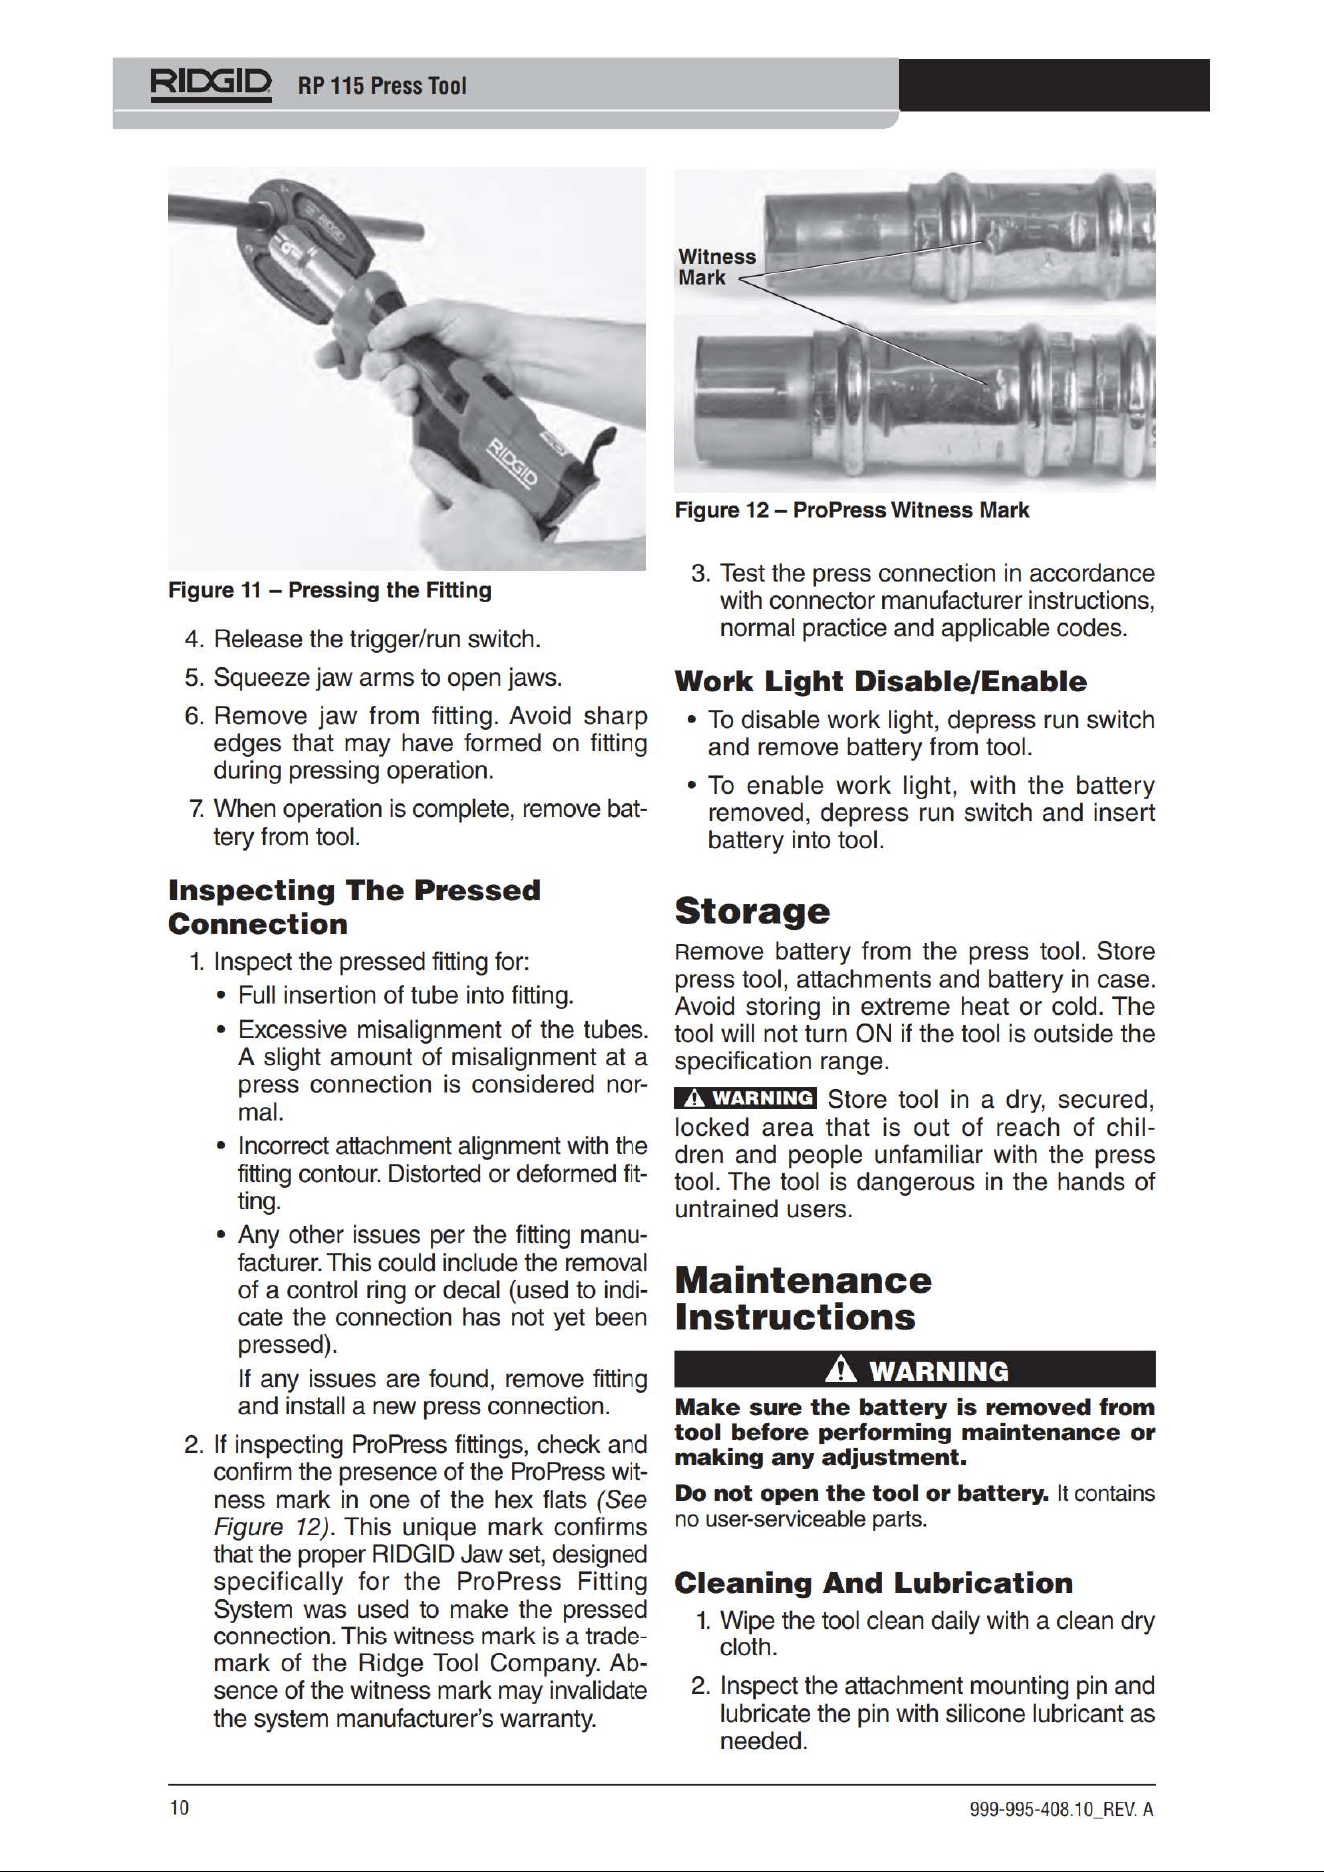
2. If inspecting ProPress fittings, check and
confirm the presence of the ProPress wit-
ness mark in one of the hex flats (See
Figure 12). This unique mark confirms
that the proper RIDGID Jaw set, designed
specifically for the ProPress Fitting
System was used to make the pressed
connection. This witness mark is a trade-
mark of the Ridge Tool Company. Ab-
sence of the witness mark may invalidate
the system manufacturer’s warranty.
Figure 12 – ProPress Witness Mark
3. Test the press connection in accordance
with connector manufacturer instructions,
normal practice and applicable codes.
Work Light Disable/Enable
• To disable work light, depress run switch
and remove battery from tool.
• To enable work light, with the battery
removed, depress run switch and insert
battery into tool.
Storage
Remove battery from the press tool. Store
press tool, attachments and battery in case.
Avoid storing in extreme heat or cold. The
tool will not turn ON if the tool is outside the
specification range.
Store tool in a dry, secured,
locked area that is out of reach of chil-
dren and people unfamiliar with the press
tool. The tool is dangerous in the hands of
untrained users.
Maintenance
Instructions
WARNING
Make sure the battery is removed from
tool before performing maintenance or
making any adjustment.
Do not open the tool or battery. It contains
no user-serviceable parts.
Cleaning And Lubrication
1. Wipe the tool clean daily with a clean dry
cloth.
2. Inspect the attachment mounting pin and
lubricate the pin with silicone lubricant as
needed.
WARNING
Witness
Mark
Loading ...
Loading ...
Loading ...