Loading ...
Loading ...
Loading ...
26
MAINTENANCE AND CLEANING
OREGON® CHAIN SAW
MODEL CS1500-091
F/N 570773 - AC 0614
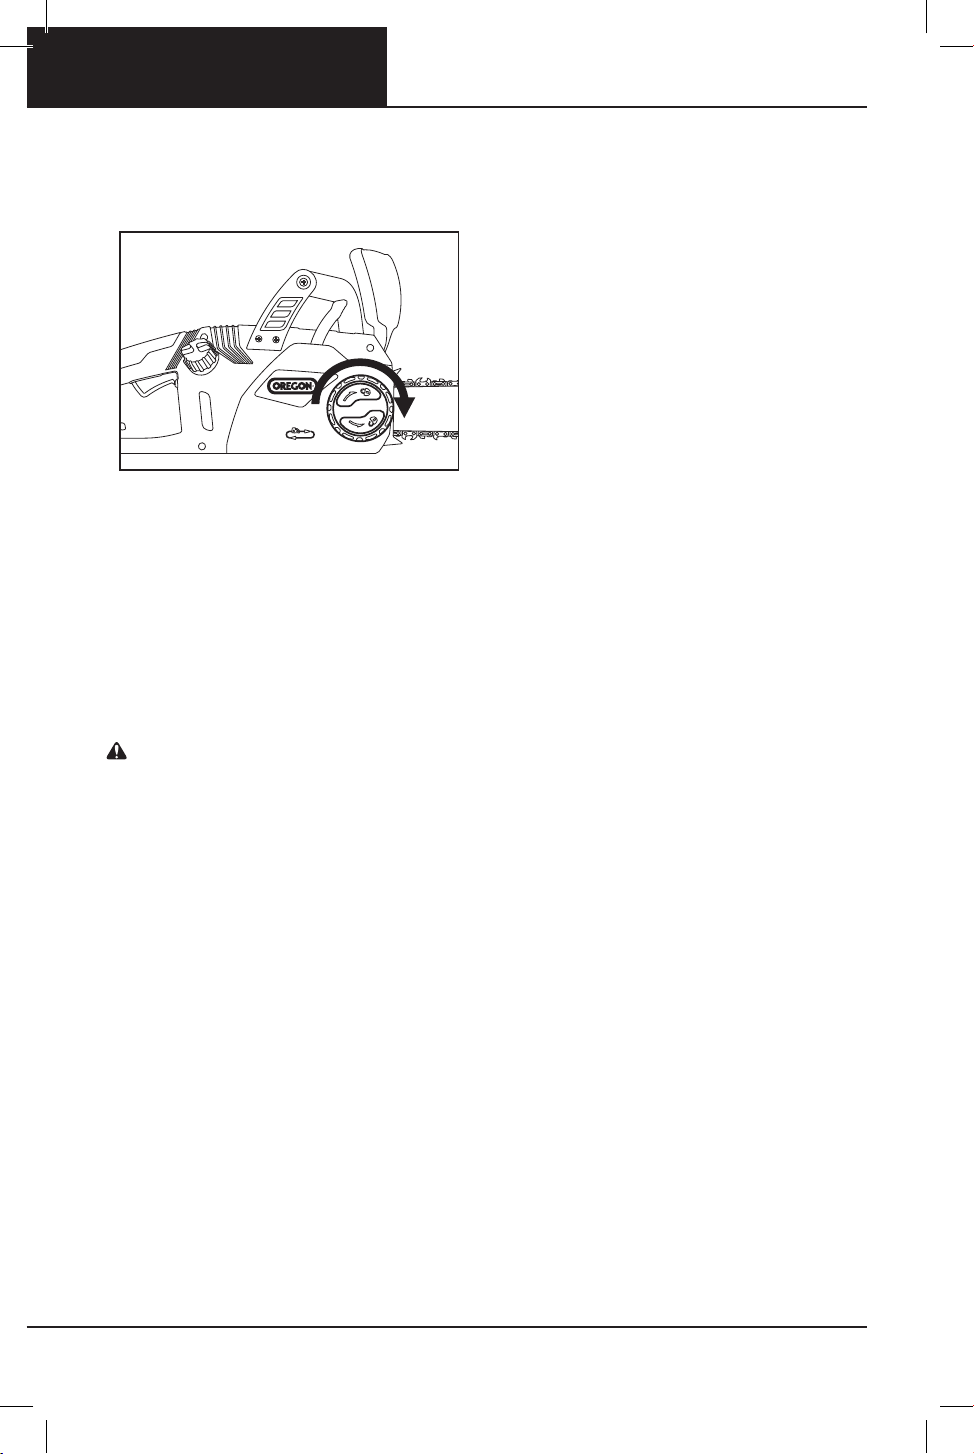
• Install the side cover, making sure the
chain catcher is properly seated in its hole,
then lightly tighten the side cover release
knob (Fig 36)
• Tension the chain as described in
“Tensioning the Saw Chain” in the
“Preparing for Use” section of the manual
IMPORTANT: THE SAW CHAIN MUST BE
PROPERLY TENSIONED BEFORE USING.
SEE “TENSIONING THE SAW CHAIN” IN
THE “PREPARING FOR USE” SECTION OF
THE MANUAL.
REPLACING A WORN GUIDE BAR
WARNING: THE EDGES OF A WORN
GUIDE BAR, PARTICULARLY THE EDGES
OF THE GROOVE WHERE THE CHAIN
TOUCHES THE BAR, CAN BE EXTREMELY
SHARP. USE APPROPRIATE HAND
PROTECTION.
When the guide bar becomes cracked
or has excessive wear around the edges,
particularly in the groove where the saw
chain touches the bar, it must be replaced
Also, if the nose sprocket is worn, has teeth
missing or does not turn smoothly, the bar
must be replaced
Wear gloves
• Unplug the chain saw
• Loosen the side cover release knob
slightly, but do not remove the side cover
• Loosen the chain tensioning ring (turn it
counterclockwise) as far as it will go
• Loosen the side cover release knob and
remove the side cover
• Remove the bar and chain
• Remove and the screw from the back side of
the chain tensioning gear and remove the
chain tensioning gear from the guide bar as
described in “Maintaining the Guide Bar”
• Place the chain tensioning gear on the
new guide bar and replace the screw
• Replace the guide bar as described in
“Maintaining the Guide Bar”
• Replace the chain as described in
“Replacing a Worn Saw Chain and
Sharpening Stone”
• Tension the chain as described in
“Tensioning the Saw Chain”
REPLACING A WORN CHAIN
TENSIONING GEAR
Replace the chain tensioning gear if it
will not hold the bar and chain at proper
tension or if it is otherwise damaged
Wear gloves
• Unplug the chain saw
• Loosen the side cover release knob
slightly, but do not remove the side cover
• Loosen the chain tensioning ring (turn it
counterclockwise) as far as it will go
• Loosen the side cover release knob and
remove the side cover
• Remove the bar and chain
• Remove the screw from the back side of
the chain tensioning gear and remove the
chain tensioning gear from the guide bar as
described in “Maintaining the Guide Bar”
• Place the new chain tensioning gear on
the side of the guide bar facing you, and
replace the screw
• Place the guide bar on the bar pad by
sliding the bar slot over the alignment
flange as described in “Maintaining the
Guide Bar”
• Replace the saw chain as described
in “Replacing a Worn Saw Chain and
Sharpening Stone”
• Tension the chain as described in
“Tensioning the Saw Chain”in the
“Preparing for Use” section of the manual
FIG. 36
Loading ...
Loading ...
Loading ...