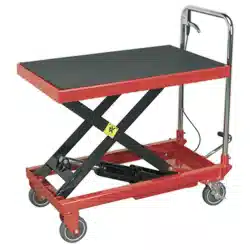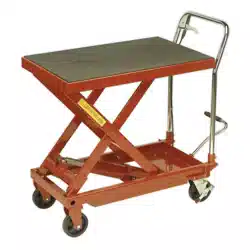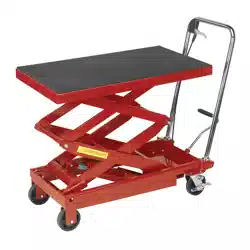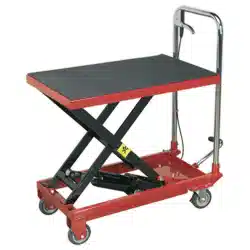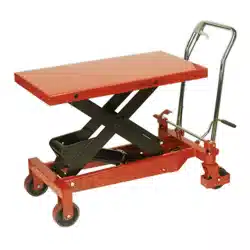

HYDRAULIC SCISSOR LIFT PLATFORM TABLE
1000KG
MODEL NO: HPT1000
Thank you for purchasing a Sealey product. Manufactured to a high standard, this product will, if used according to these instructions,
and properly maintained, give you years of trouble free performance.
IMPORTANT: PLEASE READ THESE INSTRUCTIONS CAREFULLY. NOTE THE SAFE OPERATIONAL REQUIREMENTS, WARNINGS & CAUTIONS. USE
THE PRODUCT CORRECTLY AND WITH CARE FOR THE PURPOSE FOR WHICH IT IS INTENDED. FAILURE TO DO SO MAY CAUSE DAMAGE AND/OR
PERSONAL INJURY AND WILL INVALIDATE THE WARRANTY. KEEP THESE INSTRUCTIONS SAFE FOR FUTURE USE.
Refer to
instruction
manual
Original Language Version
© Jack Sealey Limited
1. SAFETY
WARNING! Ensure all Health and Safety, local authority, and general workshop practice regulations and recommendations are
strictly adhered to when lifting or moving heavy loads. The lifting or movement of heavy loads may be dangerous if not undertaken
correctly.
9 Familiarise yourself with the application and limitations, as well as the specific potential hazards peculiar to the truck.
9 Maintain the truck in good condition (use an authorised service agent).
9 Replace or repair damaged parts. Use genuine parts only. Unauthorised parts may be dangerous and will invalidate the warranty.
9 Use a qualified person to lubricate and maintain the truck.
DO NOT
use brake fluid to top up hydraulic unit. Use Sealey hydraulic oil
only.
9 Keep the truck clean for best and safest performance. DO NOT use on Tarmacadam when fully laden as the wheels may sink in.
9 Locate truck in an adequate working area for its function, keep area clean and tidy and free from unrelated materials.
WARNING! Use truck on flat, level, solid ground, preferably concrete. Ensure the floor over which the truck will be transported is
swept clean and that there are no obstacles in the way.
9 Keep the work area clean, uncluttered and ensure there is adequate lighting.
9 Keep children and non essential persons away from the loading/unloading and transporting area.
9 Keep hands and body clear of the edge and underside of the platform when operating the truck.
9 Maintain correct balance and footing. Ensure the floor is not slippery and wear non-slip shoes.
WARNING! Ensure load is placed level and centrally on truck platform and if necessary strap load in place before attempting to lift,
lower, or transport. When raised, check that the platform/load will not foul on the handle and/or your hand when lowering the load.
WARNING! Use the truck with diligence. DO NOT allow truck to knock into anything. Even when unladen, the truck is heavy and if
misused could cause serious damage and/or personal injury. Continually monitor transportation, lifting and lowering operations.
9 Take care to ensure you can view the way ahead when moving the truck. Take special care when approaching blind corners.
9 Before lifting check that there are no overhead obstructions.
9 Engage the wheel locks before attempting to raise or lower the platform.
▲ DANGER! If a heavy load tips or leans STOP WHAT YOUR ARE DOING. MOVE QUICKLY TO A SAFE DISTANCE. DO NOT
TRY TO HOLD OR STEADY a heavy load. Failure to follow this instruction may cause serious personal injury.
9 Ensure the truck is fully lowered before attempting to transport a load.
9 Before lowering the platform, ensure there are no obstructions underneath the platform and that all persons are standing clear of
the truck.
9 The lowering speed is a fixed rate regardless of the load weight. Stop lowering by releasing the valve control lever on the handle.
WARNING! DO NOT exceed the rated capacity of the truck.
8 DO NOT use the truck if a part is missing or damaged.
8 DO NOT load the truck so that it is top heavy. Ensure loads are evenly placed on the truck platform.
8 DO NOT ride on the truck or allow any person to be transported on the truck.
8 DO NOT use the truck for any purpose other than lifting, lowering and transporting loads.
8 DO NOT allow truck to free wheel in transit. Always propel and control the truck by using the handle.
8 DO NOT use the truck on sloping surfaces.
8 DO NOT operate the truck when you are tired or under the influence of alcohol, drugs or intoxicating medication.
8 DO NOT allow children to operate the truck.
8 DO NOT adjust or tamper with the hydraulic safety valve.
8 DO NOT place any part of your body within or under the truck platform when raised.
9 When not in use, fully lower the platform and store in a safe, dry, childproof area.
2. INTRODUCTION
Heavy-dutyconstruction.Fittedwithfourcompositewheels,twoxedandtwolockingcastor,foreasy-rollingoverroughworkshopand
warehouseoors.One-piecehydraulicunitcontrolledbylargerearmountedfootpedal.Safetyreleasemechanismpositionedon
handlebar for smooth controlled descent and safety bars to prevent inadvertent lowering. Suitable for numerous garage, industrial and
warehouse applications. May also be used as a mobile service bench.
Wear safety
footwear
HPT1000 Issue: 5 (3) 31/08/23
No reaching in
3. SPECIFICATION
Model No: ....................................................... HPT1000
Capacity: ...............................................................1000kg
Max platform height: ...........................................1020mm
Min platform heigh: ...............................................430mm
Platform length: ...................................................1015mm
Platform Width: ..................................................... 510mm
Wheel diameter: ....................................................150mm
4. ASSEMBLY
4.1. A minimum of two people will be required to lift the truck out of its packaging. Alternatively, cut and fold down flat
one end of the box and wheel the truck out.
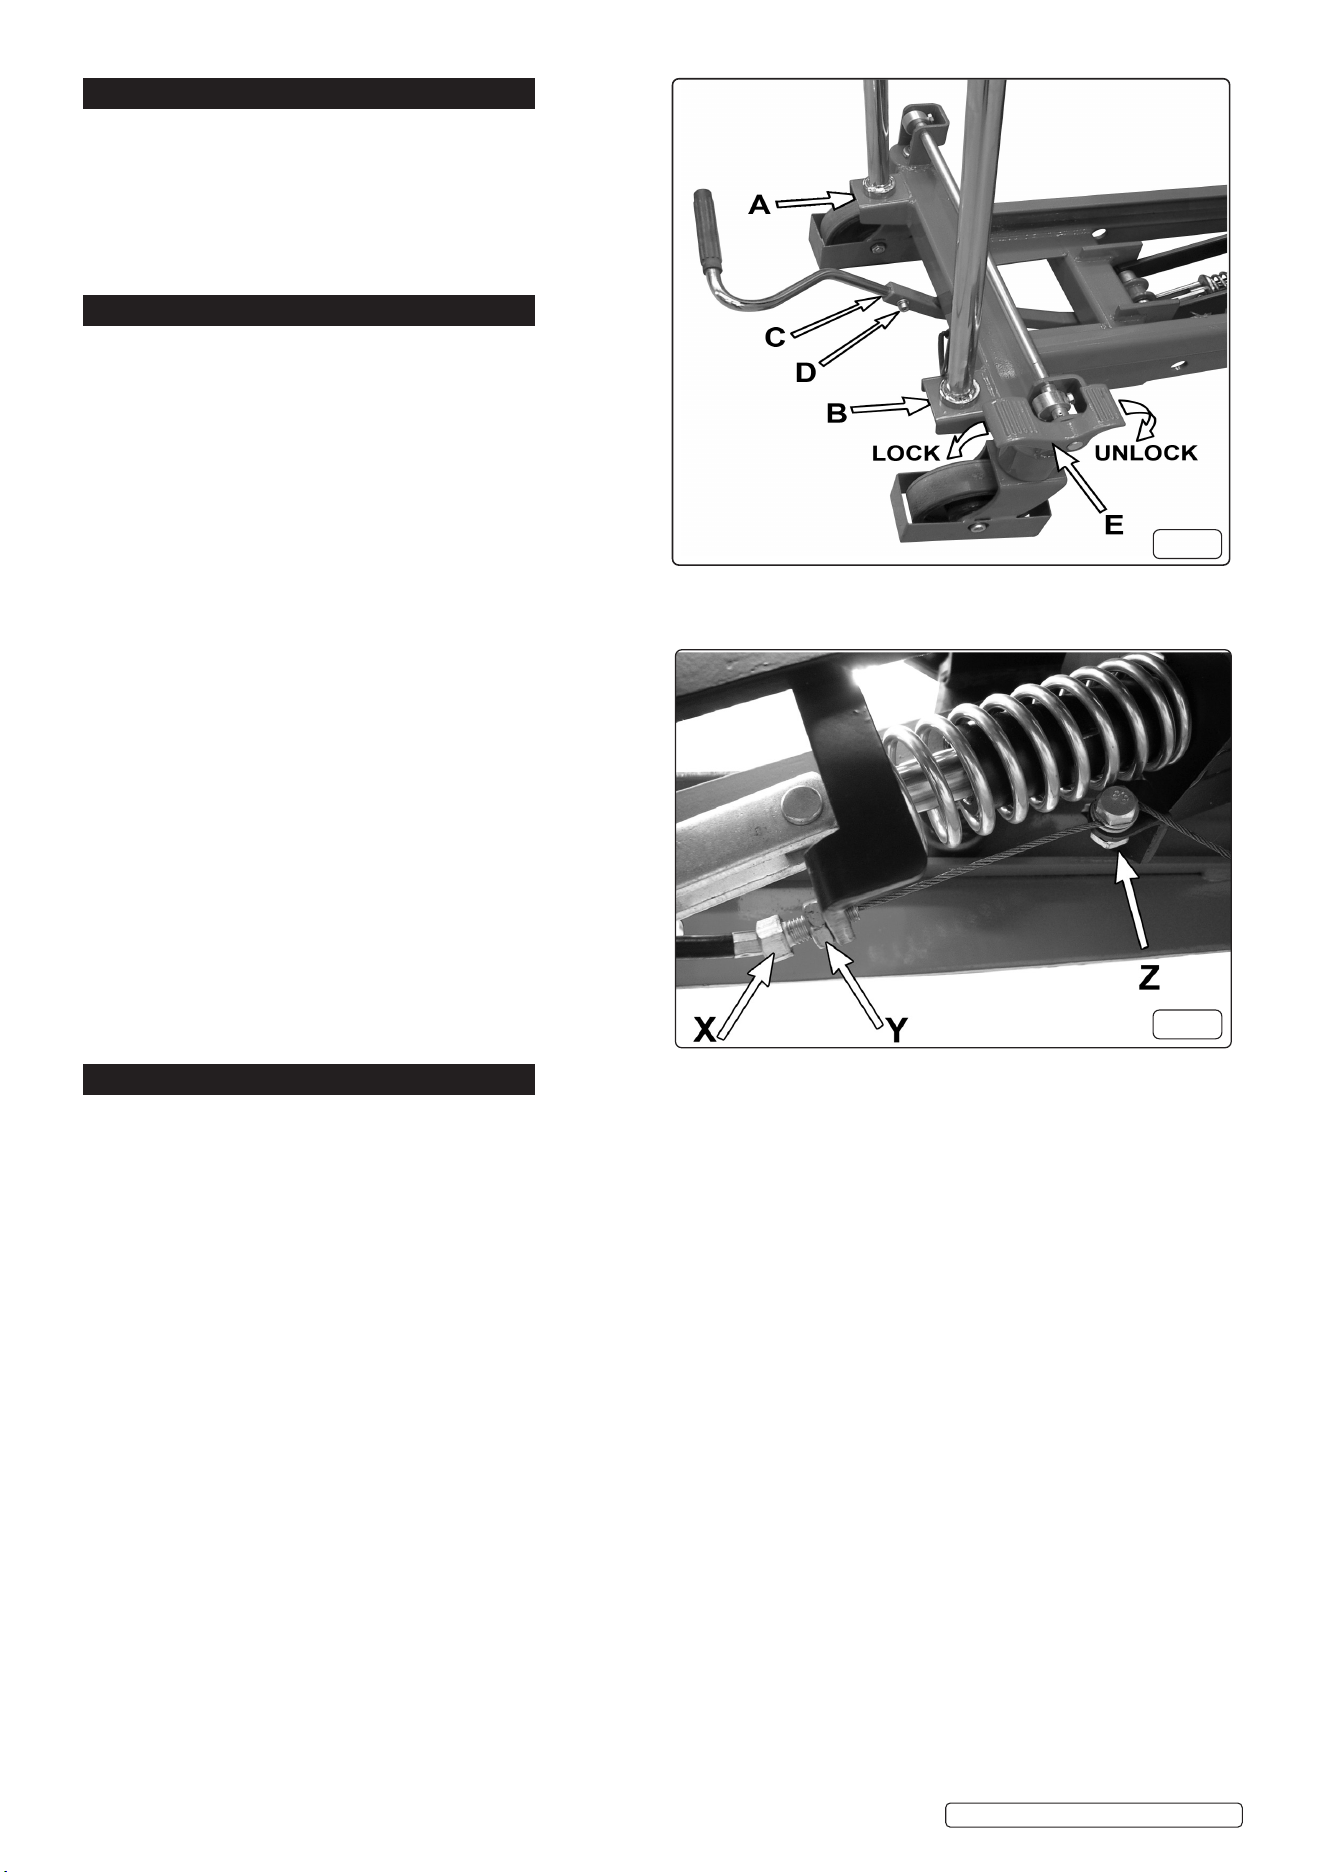
4.2. FITTING THE HANDLE
The ends of the chrome handle have flanges which sit
down onto flat platforms at either side of the truck. The
handle is retained by two large socket cap bolts inserted
from underneath. See fig.1A & B. You will require a 10mm
Hex Key to tighten the bolts. Place a split washer followed
by a plain washer over each bolt before inserting and
tightening.
4.3. FITTING THE FOOT PEDAL
4.3.1. Slide the end of the foot pedal into the socket situated centrally between the two handle uprights. (See fig.1C).The footpedal retaining
bolt (See fig.1D) screws directly into the material of the foot pedal stem. Place a split washer over the pedal retaining bolt followed by a
plain washer, before inserting the bolt.
Ensure the fixing is tight enough to hold the pedal firmly in
place but do not over tighten.
4.4. CONNECTING THE CONTROL CABLE
4.4.1. Remove the cable guide bush (fig.2X) from the free end of the
cable and feed the end of the cable and cable sheath through
the cable guide tubes welded to the handle and the underside
of the frame.Once the cable has been fed through the guides
slide the bush back over the cable and onto the sheath. Feed
the cable through the hole in the bush retaining bracket and
then through the hole in the clamping bolt on the actuating
lever (fig.2Z). Now screw the guide bush into the bracket
with a 12mm spanner (See Fig.2X). Retain the bush by
tightening the locking nut. See fig.2Y. Pull the end of the
cable so that there is no play in the movement of the lever
mounted on the handle. Hold the clamping bolt (fig.2Z)
steady with a ring spanner and tighten the nut on the other
side of the lever with an open spanner.
5. OPERATION
5.1. BEFORE FIRST USE
5.1.1. Before using the truck for the first time purge any air from
hydraulic circuit by pumping the foot pedal 20-30 times the
whilstholdingthereleaselever(g.3A)in.
5.2. TO TEST THE TRUCK
5.2.1. Release the lever which will close the hydraulic valve.
Pump the foot pedal and raise the truck platform to its
highestpositionandthenpullthevalvelever(g.3A)tolower
the platform, (the platform may be slow to descend
immediately from its highest point). If the platform fails to
descend adjust the cable length to remove excess play in
the release lever movement.
5.3. USING THE TRUCK
WARNING! Ensure you read, understand and follow the safety instructions. Ensure all Health and local Safety authority, and general
workshop practice regulations and recommendations are strictly adhered to when lifting or moving heavy loads. The lifting or movement
of heavy loads may be dangerous! If not undertaken correctly.
5.3.1. Move the truck to the required loading area and raise the platform to loading height.
and engage safety bars (fig.5A)
5.3.2. Lock the truck wheels by operating the foot pedal as indicated in fig.1E.
5.3.3. Load the truck ensuring that the load is evenly distributed on the platform.
5.3.4. Remove safety bars (fig.5A) and Lower the truck platform to the lowest position before
unlocking the wheels.
WARNING! Ensure the load will not foul on anything, and is clear of your hands
and the handle when lowering (fig.4).
5.3.5. Unlock the wheels and transport the load to the required destination. To unload, lock the wheels and if required raise platform and engage
the safety bars,then unload the truck.
NOTE: With or without a load, always transport the truck with platform in its lowest position.
When not in use, store the truck with the platform in the lowest position.
g.2
g.1
© Jack Sealey Limited
Original Language Version
HPT1000 Issue: 5 (3) 31/08/23

Sealey Group, Kempson Way, Suffolk Business Park, Bury St Edmunds, Suffolk. IP32 7AR
01284 757500 sales@sealey.co.uk www.sealey.co.uk
ENVIRONMENT PROTECTION
Recycle unwanted materials instead of disposing of them as waste. All tools, accessories and packaging should be sorted,
taken to a recycling centre and disposed of in a manner which is compatible with the environment. When the product
becomes completely unserviceable and requires disposal, drain any fluids (if applicable) into approved containers and
dispose of the product and fluids according to local regulations.
Original Language Version
© Jack Sealey Limited
REGISTER YOUR
PURCHASE HERE
Note: It is our policy to continually improve products and as such we reserve the right to alter data, specifications and component parts without prior
notice. Please note that other versions of this product are available. If you require documentation for alternative versions, please email or call
our technical team on technical@sealey.co.uk or 01284 757505.
Important: No Liability is accepted for incorrect use of this product.
Warranty: Guarantee is 12 months from purchase date, proof of which is required for any claim.
6. MAINTENANCE
6.1. When the truck is not in use, the platform must be in the lowest position to minimise ram and piston corrosion.
6.2. Keep the truck clean and wipe off any oil or grease. Lubricate all moving parts with acid free oil.
DO NOT use truck if believed to have been subjected to abnormal load or shock load. Inspect and if necessary take appropriate action.
Periodically check the pump piston and piston rod for signs of corrosion. Clean exposed areas with a clean oiled cloth.
IMPORTANT:Onlyfullyqualiedpersonnelshouldattemptmaintenanceorrepairofthetruckhydraulicsystem.
The oil cylinder is a sealed unit and must not be accessed. For service contact your authorised dealer.
WARNING! Only a good quality hydraulic oil, such as SEALEY HYDRAULIC JACK OIL must be used, DO NOT use brake fluid.
IMPORTANT: NO RESPONSIBILITY IS ACCEPTED FOR INCORRECT USE OF THE TRUCK.
Owing to their size and weight, hydraulic products should ideally be repaired by local service agents. We have service / repair agents in
most parts of the UK. Before returning your product please call our technical helpline on 01284 757505 for advice and troubleshooting
guidance.
If the jack is under guarantee please contact your stockist.
HPT1000 Issue: 5 (3) 31/08/23
g5