Thank you for purchasing a Sealey product. Manufactured to a high standard, this product will, if used according to these instructions,
and properly maintained, give you years of trouble free performance.
IMPORTANT: PLEASE READ THESE INSTRUCTIONS CAREFULLY. NOTE THE SAFE OPERATIONAL REQUIREMENTS, WARNINGS & CAUTIONS. USE
THE PRODUCT CORRECTLY AND WITH CARE FOR THE PURPOSE FOR WHICH IT IS INTENDED. FAILURE TO DO SO MAY CAUSE DAMAGE AND/OR
PERSONAL INJURY AND WILL INVALIDATE THE WARRANTY. KEEP THESE INSTRUCTIONS SAFE FOR FUTURE USE.
1. SAFETY
1.1. ELECTRICAL SAFETY
WARNING! It is the user’s responsibility to check the following:
Check all electrical equipment and appliances to ensure that they are safe before using.
Inspect power supply leads, plugs and all electrical connections for wear and damage.
Ensure that the insulation on all cables and on the appliance is safe before connecting it to the power supply.
8 DO NOT use worn or damaged cables, plugs or connectors.
9 Ensurethatanyfaultyitemisrepairedorisreplacedimmediatelybyaqualiedelectrician.
9 If the cable or plug is damaged during use, switch off the electricity supply and remove from use.
Ensurethatrepairsarecarriedoutbyaqualiedelectrician.
9 Sealey recommend that an RCD (Residual Current Device) is used with all electrical products.
Important:Ensurethatthevoltageratingontheappliancesuitsthepowersupplytobeusedandthattheplugisttedwiththe
correct fuse.
8 DO NOT pull or carry the appliance by the power cable.
8 DO NOT pull the plug from the socket by the cable.
1.2. GENERAL SAFETY
WARNING!Disconnect the heater from the mains power supply before carrying out any servicing or maintenance.
9 Disconnect the heater from the power supply before handling or cleaning.
9 Maintain the heater in good order and clean condition for best and safest performance.
9 Replace or repair damaged parts. Use genuine parts only. Unauthorised parts may be dangerous and will invalidate the warranty.
9 Ensure there is adequate lighting and keep the immediate area in front of the outlet grille clear.
9 Only use the heater standing on its feet in the upright position.
8 DO NOT allow any untrained persons to use the heater. Ensure they are familiar with the controls and hazards of the heater.
8 DO NOT let power lead hang over an edge (i.e. table), or touch a hot surface, lie in heater hot air flow, or run under a carpet.
8 DO NOT touch the outlet grille (top) of the heater during and immediately after use as it will be hot.
8 DO NOT place the heater near items that may be damaged by heat.
8 DO NOT place heater too close to yourself or any object, allow the air to circulate freely.
8 DO NOT use the heater for any purpose other than for which it is designed.
8 DO NOT use heater on very deep pile carpets.
8 DO NOT use the heater outdoors. These heaters are designed for indoor use only.
8 DO NOT use heater if the power cord, plug or the heater is damaged, or if the heater has become wet.
8 DO NOT use in bathroom, shower room, or in any wet or damp environments or where there is high condensation.
8 DO NOT operate the heater when you are tired or under the influence of alcohol, drugs or intoxicating medication.
8 DO NOT allow the heater to get wet as this may result in an electric shock and personal injury.
8 DO NOT insert or allow objects to enter any openings of heater as this may cause an electric shock,a fire or damage to heater.
8 DO NOT use the heater where there are flammable liquids, solids or gases such as petrol, solvents, aerosols etc, or where heat sensitive
materials may be stored.
8 DO NOT place the heater immediately below any electrical outlet.
8 DO NOT cover heater when in use, and do not obstruct the air inlet and outlet grille (i.e. clothing, curtain, furniture, bedding etc).
9 Allow the unit to cool before storage. When not in use, disconnect from the mains power supply and store in a safe, cool, dry, childproof area.
NOTE: Children of less than 3 years should be kept away unless continuously supervised.
Children aged from 3 years and less than 8 years shall only switch on/off the appliance provided that it has been placed or installed
in its intended normal operating position and they have been given supervision or instruction concerning use of the appliance in a safe
way and understand the hazards involved. Children aged from 3 years and less than 8 years shall not plug in, regulate and clean the
appliance or perform user maintenance.
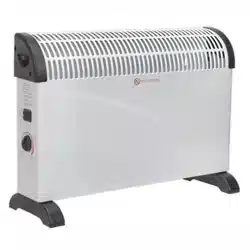
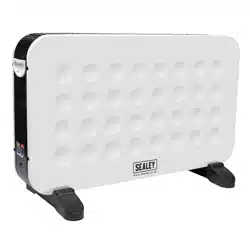
2. INTRODUCTION
Electric convector heater features built-in turbo fan for accelerated heating. Three heat settings of 750/1250/2000W for gradual control of
heating elements. Rotary controlled room thermostat maintains ambient temperature at preset level. Features 24 hour timer allowing the user
toprogrammethetimeanddurationtheheaterisoperated.Slimlinesturdyconstructionandhighqualitynishmakethisunitsuitableforhome,
lightindustrialandofceenvironments.Suppliedwith3-pinplug.
CD2005TT.V2 Issue 5 (1) 24/05/24
Original Language Version
© Jack Sealey Limited
2000W CONVECTOR HEATER WITH TURBO,
TIMER & THERMOSTAT
MODEL NO: CD2005TT.V2
Refer to
instruction
manual
Indoor use onlyDo not cover
3. SPECIFICATION
Model No: ........................................................ CD2005TT.V2
Fuse Rating: .....................................................................10A
Power Supply Cable Length: .......................................... 1.5m
Power Settings: ........................................... 750/1250/2000W
Supply: ...........................................................................230V
Size (WxDxH):..........................................595 x 200x 420mm
Supply: ...........................................................................230V
Timer: ............................................................................... Yes
Turbo Fan:........................................................................ Yes
Weight: .......................................................................... 2.9kg
4. ASSEMBLY
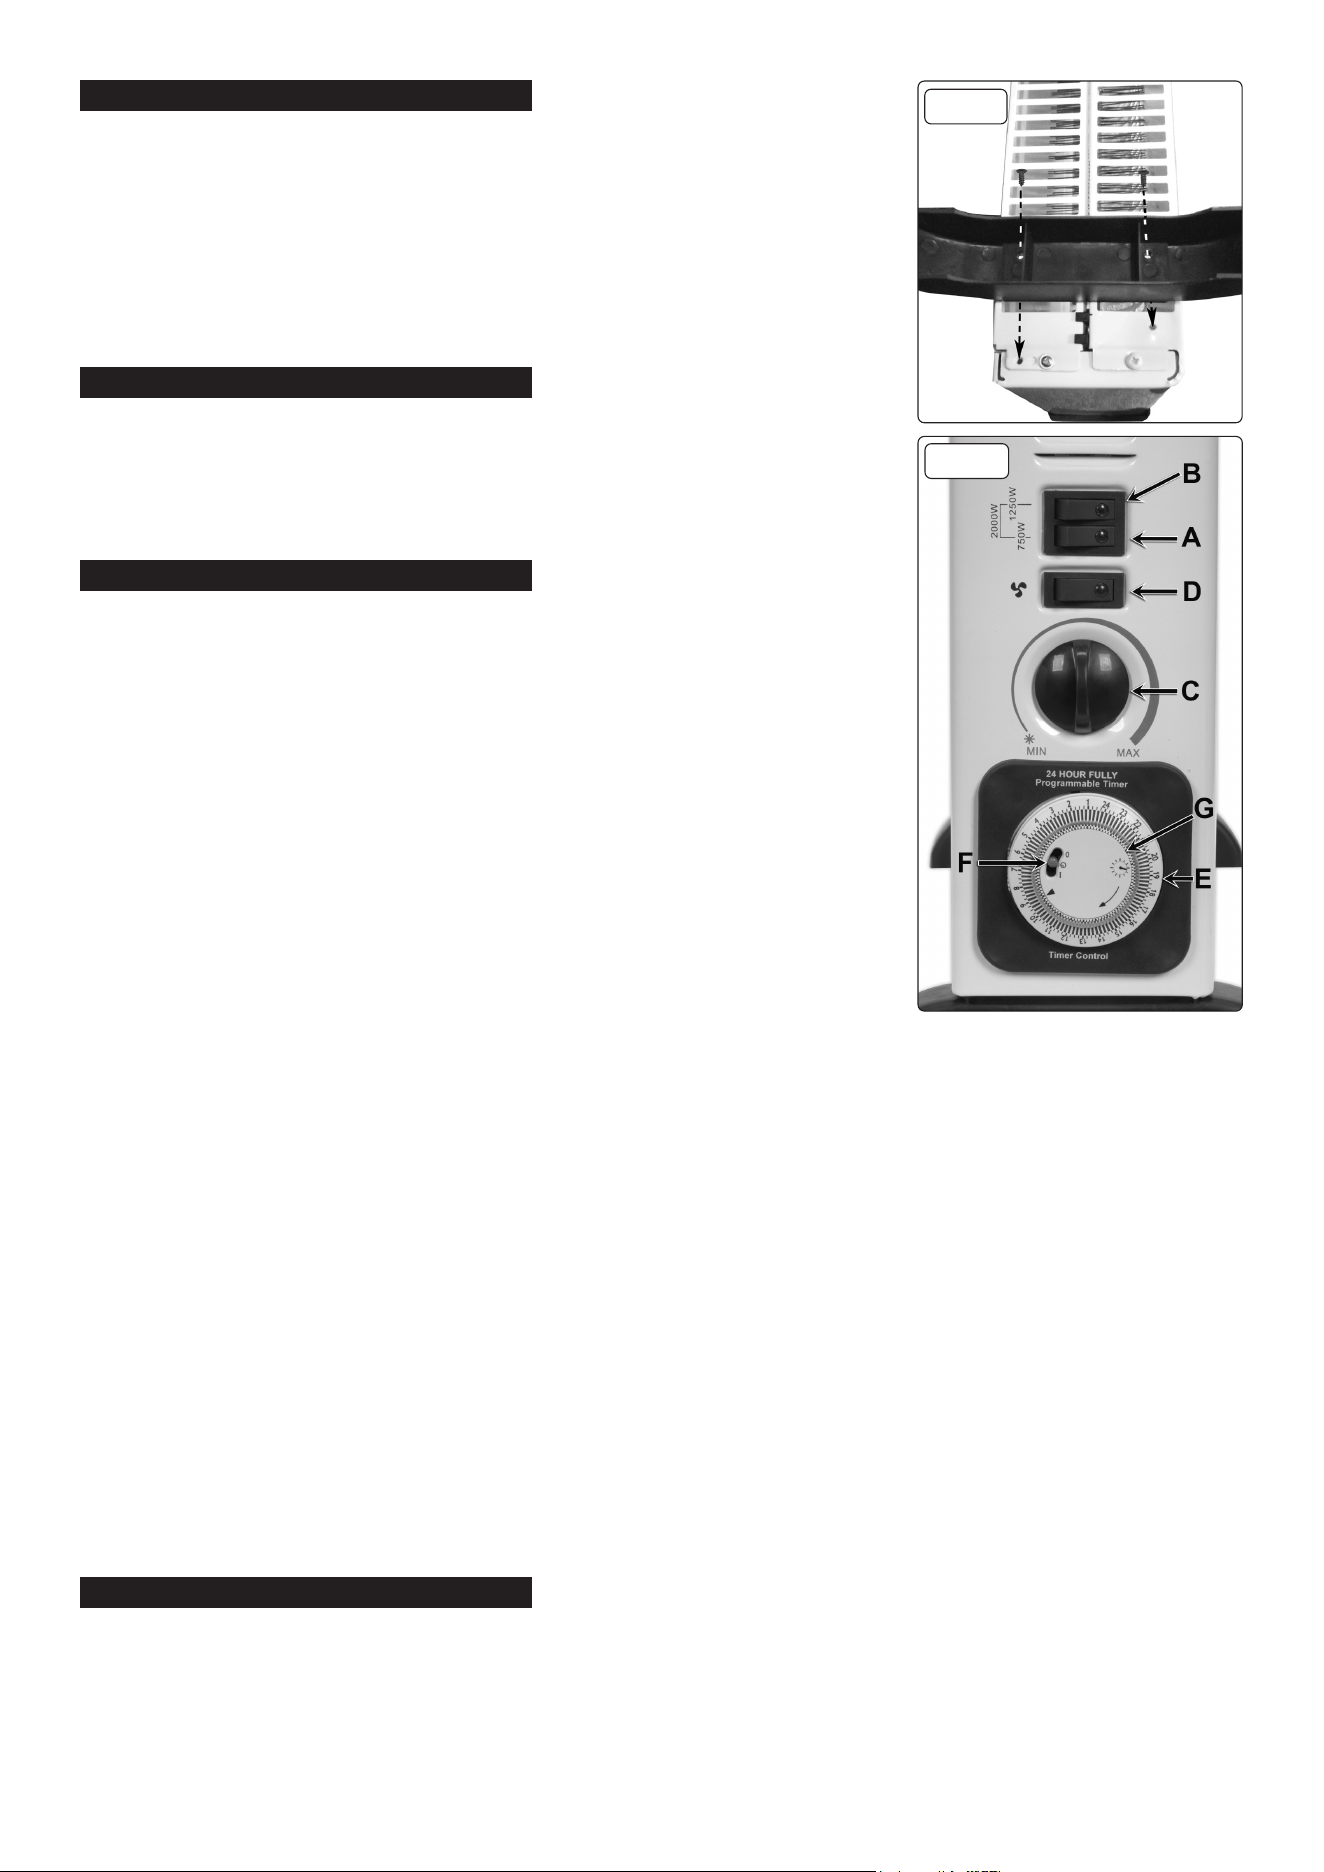
4.1. MOUNTING THE FEET (fig.1.)
4.1.1. Turn the heater upside down and support it securely. Take one of the feet and place it
onto the underside of the heater in the position indicated in (fig.1).
4.1.2. When the foot is positioned correctly 2 holes in the foot will line up with the holes in the
underside of the heater.
4.1.3. Fasten each foot down with the self tapping screws provided.
5. OPERATION
5.1. OPERATING THE HEATER (See fig.2)
5.1.1. Place the heater in a suitable position in the area you require to heat.
5.1.2. Allow a minimum of 500mm between the heater and adjacent objects such as furniture etc.
5.1.3. Plug the heater into the mains supply.
5.1.4. Turn the thermostat knob (fig.2.C) to a high setting.
5.2. SELECTING THE HEAT OUTPUT
5.2.1. Choose the required heat output by selecting the appropriate switch which will light up
when pressed.
Low setting (750W) Select switch ‘A’
Medium setting (1250W) Select switch ‘B’
High setting (2000W) Select both switches.
5.3. USING THE THERMOSTAT (fig.2.C)
5.3.1. Once the required room temperature has been achieved, turn the thermostat down slowly
in the direction of the Min. setting until the heat output switch light (part of each switch)
goes out. The heater will then keep the surrounding air at the set temperature by switching
on and off at intervals. You may reset the thermostat at any time.
5.4. TURBO FAN FEATURE
5.4.1. To boost the output of air at any temperature setting select switch ‘D’ which has a fan
symbol beside it. The fan can also be used to circulate cool air only by switching off the
two heat setting switches.
5.5. TIMER FUNCTION
5.5.1. To activate timer function, turn the outer ring (fig.2.E) to the correct time. This will need to be repeated every time that the heater is
reconnected to the power supply.
5.5.2. The function selector switch (fig.2.F) has three positions:
Left............Heater on permanently
Centre........Heater timed.
Right.........Heater off. - The heater will not operate at all with the switch set in this position.
5.5.3. To select the time during which the heater is active, move the timer pins (fig.2.G.) outwards for the period required. Each pin is equal to
15minutes.
5.5.4. To switch the unit off, turn the heat selecting switches off and unplug from the mains.
5.5.5. Allow the unit to cool before handling or storage.
WARNING! DO NOT touch the top of the heater when in use as it becomes hot.
5.6. SAFETY CUT OUT FEATURE
5.6.1. The heater is fitted with a thermostatic safety cut out which will turn the heater off automatically should the airflow become blocked or if
the heater has a technical malfunction.
5.6.2. Should this happen, switch the heater off and unplug it from the mains power supply.
WARNING! In such a case the heater will be very hot.
8 DO NOT connect the heater to the power supply again until the reason the safety cut out activated has been identified.
5.6.3. Allow the heater to cool completely before handling and then check the air inlet and outlet for obstructions before attempting to switch the
unit back on.
5.6.4. If the cause is not obvious return the heater to your local Sealey stockist for servicing.
6. MAINTENANCE B
6.1. Before attempting any maintenance ensure the unit is unplugged from the mains power supply and that it is cool.
6.2. Clean the unit with a soft dry cloth. DO NOT use abrasives or solvents.
6.3. Periodically check the air inlet and outlet to ensure the air way is clear.
Original Language Version
© Jack Sealey Limited
g.1
g.2
CD2005TT.V2 Issue 5 (1) 24/05/24
Original Language Version
© Jack Sealey Limited
Sealey Group, Kempson Way, Suffolk Business Park, Bury St Edmunds, Suffolk. IP32 7AR
01284 757500 sales@sealey.co.uk www.sealey.co.uk
ENVIRONMENT PROTECTION
Recycle unwanted materials instead of disposing of them as waste. All tools, accessories and packaging should be sorted,
taken to a recycling centre and disposed of in a manner which is compatible with the environment. When the product
becomes completely unserviceable and requires disposal, drain any fluids (if applicable) into approved containers and
dispose of the product and fluids according to local regulations.
WEEE REGULATIONS
Dispose of this product at the end of its working life in compliance with the EU Directive on Waste Electrical and Electronic Equipment
(WEEE). When the product is no longer required, it must be disposed of in an environmentally protective way. Contact your local solid
waste authority for recycling information.
Note: It is our policy to continually improve products and as such we reserve the right to alter data, specifications and component parts without prior notice.
Important: No Liability is accepted for incorrect use of this product. Please note that other versions of this product are available. If you require
documentation for alternative versions, please email or call our technical team on technical@sealey.co.uk or 01284 757505.
Warranty: Guarantee is 12 months from purchase date, proof of which is required for any claim.
REGISTER YOUR
PURCHASE HERE
CD2005TT.V2 Issue 5 (1) 24/05/24
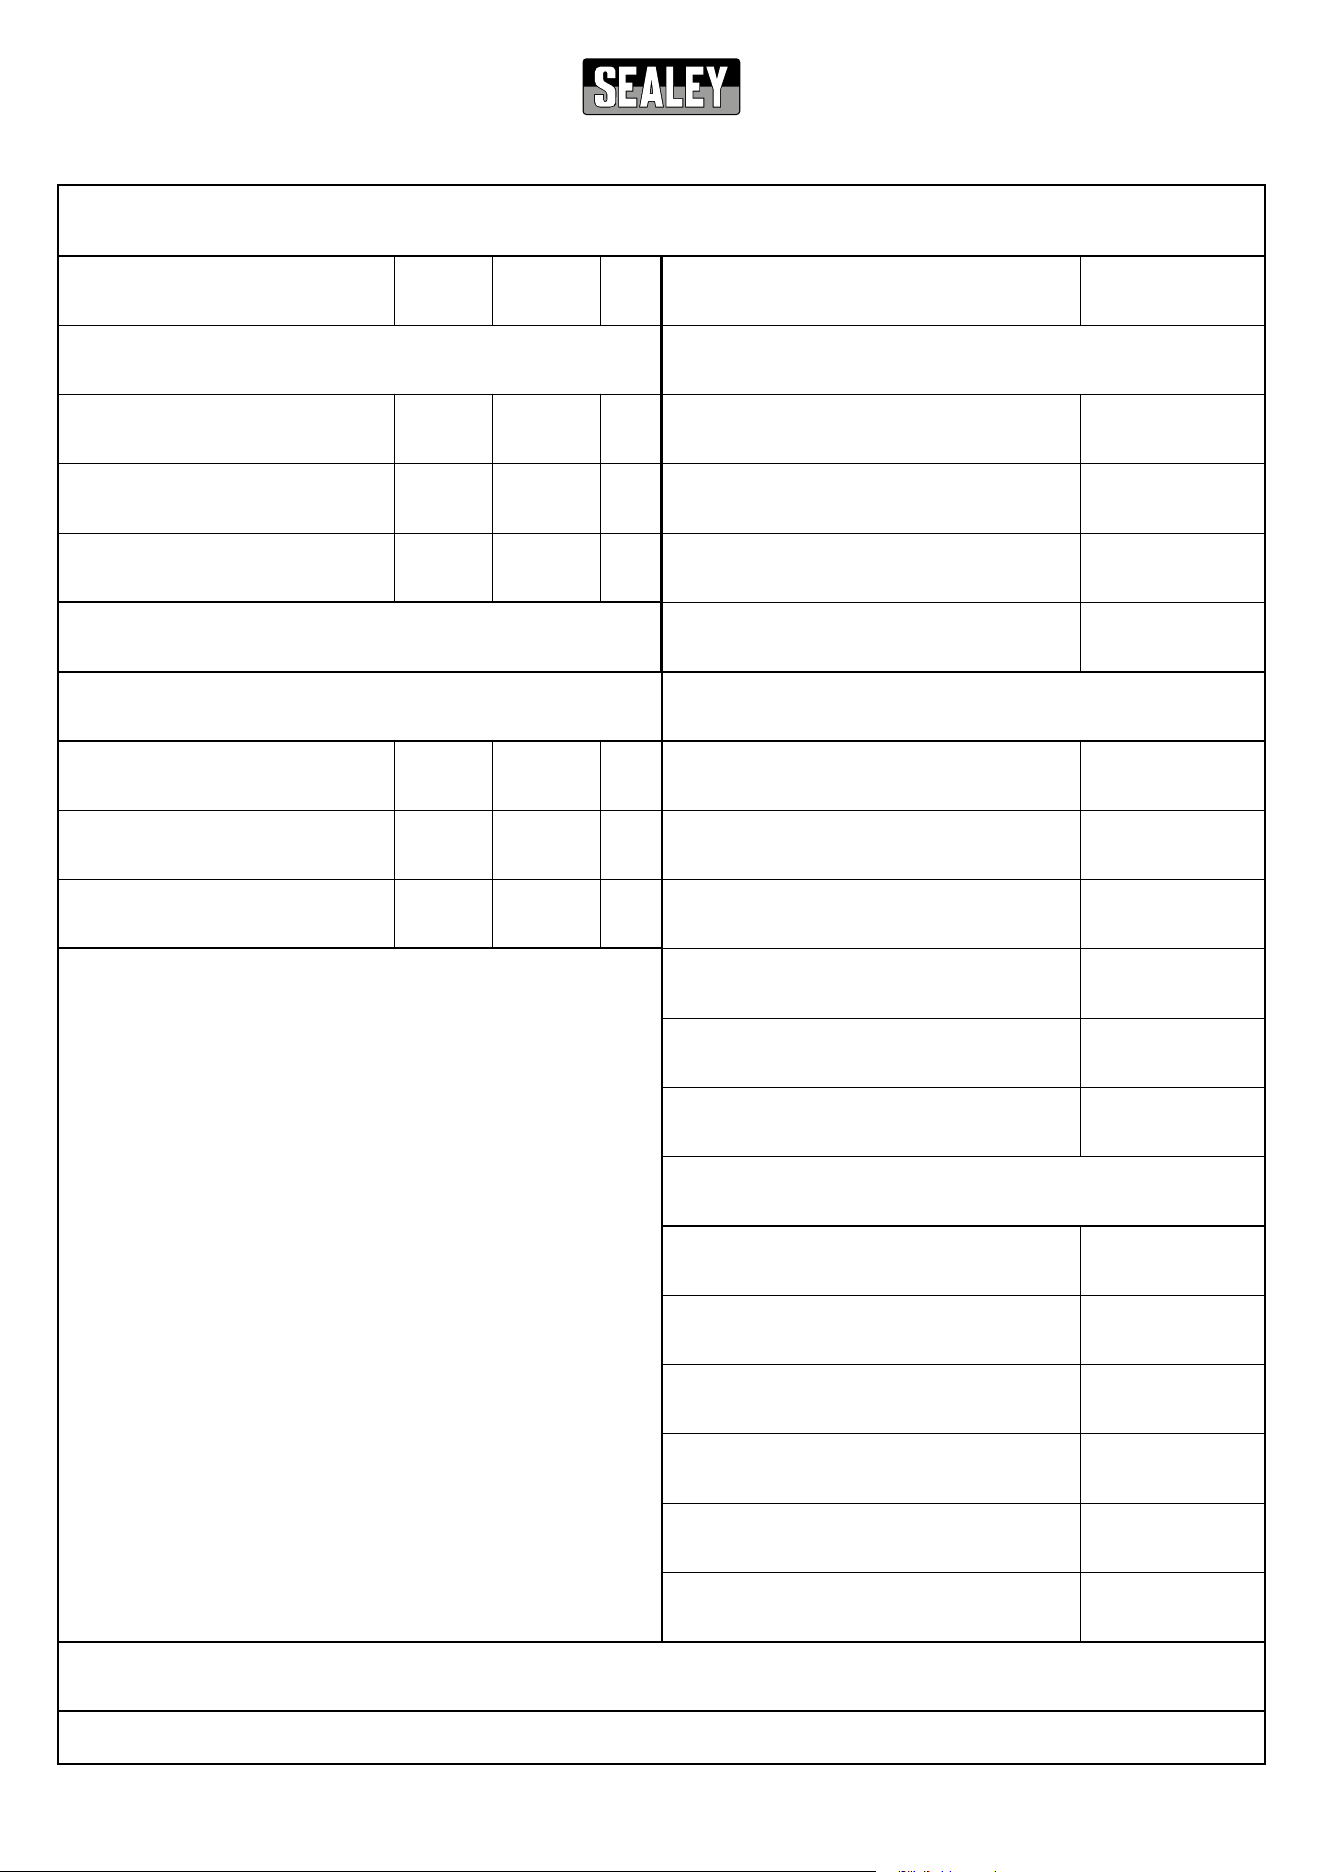
Information requirements for electric local space heaters
* Enter gure or NA
Model identier(s):
Item Symbol Value Unit Item Unit
Heat output
Type of heat input, for electric storage local space heaters
only (select one)
Nominal heat output
P
nom
kW
Manual heat charge control, with
Yes No
integrated thermostat
Minimum heat output (indicative)* P
min
kW
Manual heat charge control with room
Yes No
and/or outdoor temperature feedback
Maximum continuous heat output
P
max,c
kW
Electronic heat charge control with room
Yes No
and/or outdoor temperature feedback
Fan assisted heat output Yes No
Type of heat output/room temperature control (select one)
Single stage heat output and no room
Yes No
temperature control
Two or more manual stages, no room
Yes No
temperature control
With mechanic thermostat room
Yes No
temperature control
With electronic room temperature control Yes No
Electronic room temperature control plus
Yes No
day timer
Electronic room temperature control plus
Yes No
week timer
Other control options (multiple selections possible)
Room temperature control, with presence
Yes No
detection
Room temperature control, with open
Yes No
window detection
With distance control option Yes No
With adaptive start control Yes No
With working time limitation Yes No
With black bulb sensor Yes No
Contact details: Sealey Group, Kempson Way, Suolk Business Park, Bury St Edmunds, Suolk, IP32 7AR. www.sealey.co.uk
ERP Table 2
Auxiliary electricity consumption
At nominal heat output el
max
kW
At minimum heat output el
min
kW
In standby mode el
SB
kW
CD2005TT
NA
NA
NA
1.9
0.7
1.9
v1