Intercom
Call all p.27
Handset list p.27
Handset
Sounds
Ringer type p.18
Ringer volume p.18
Earpiece tone p.18
Key & feedback tones p.18
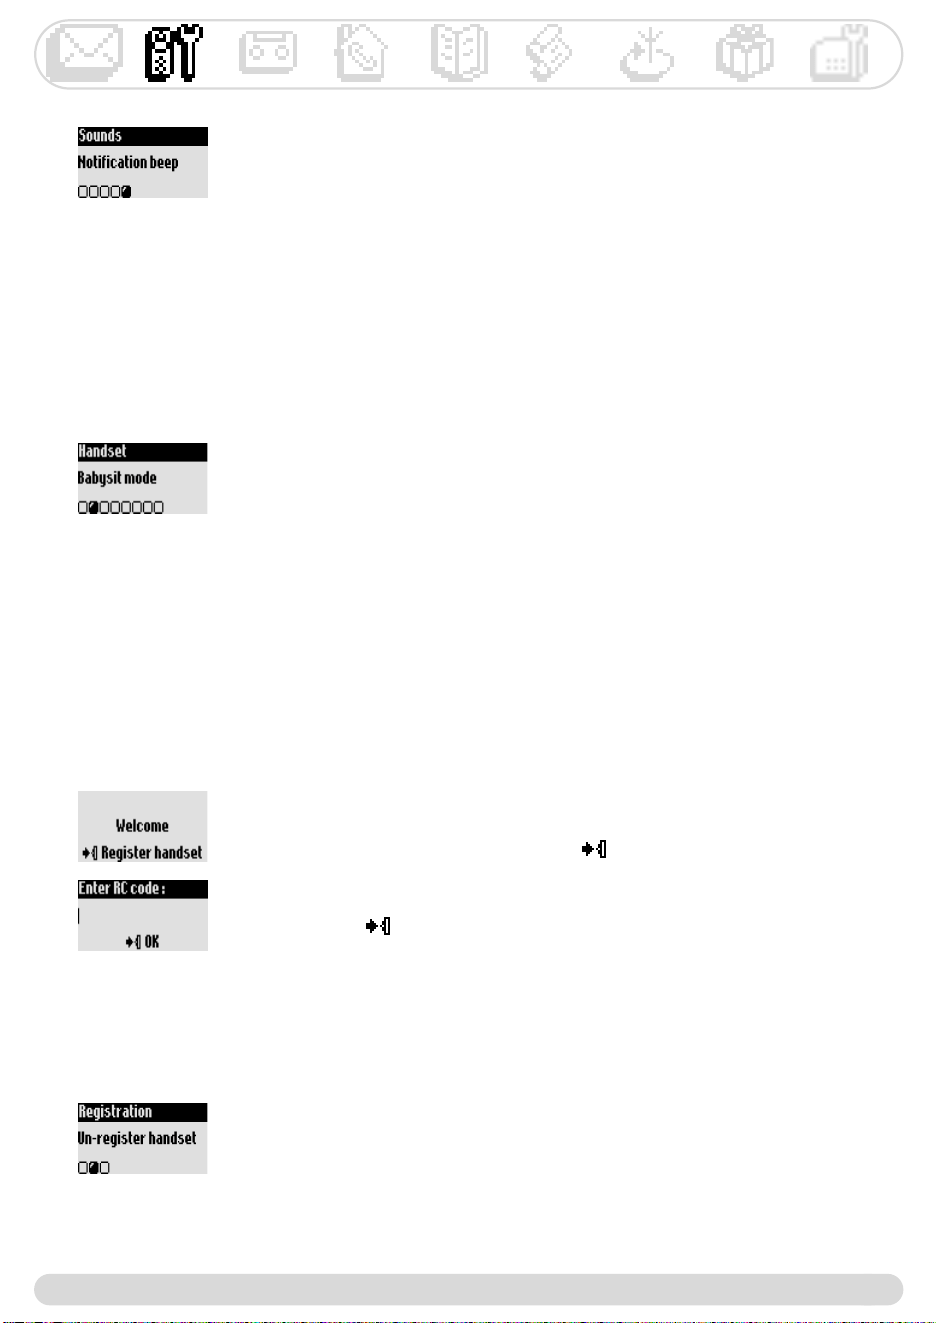
Notification beep p.19
Babysit mode p.19
Registration
Register handset p.19
Un-register handset p.19
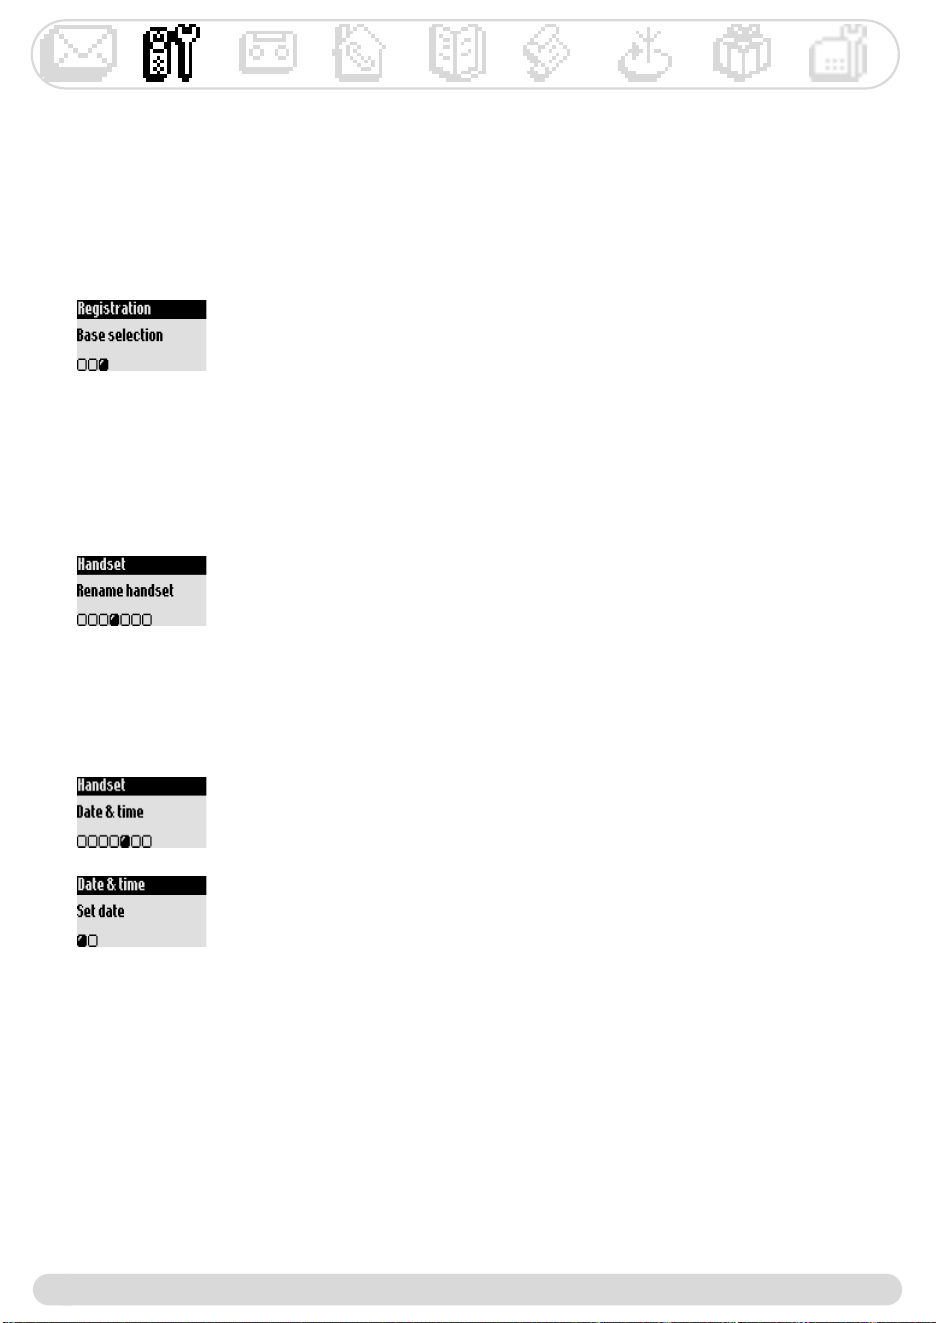
Base selection p.20
Rename handset p.20
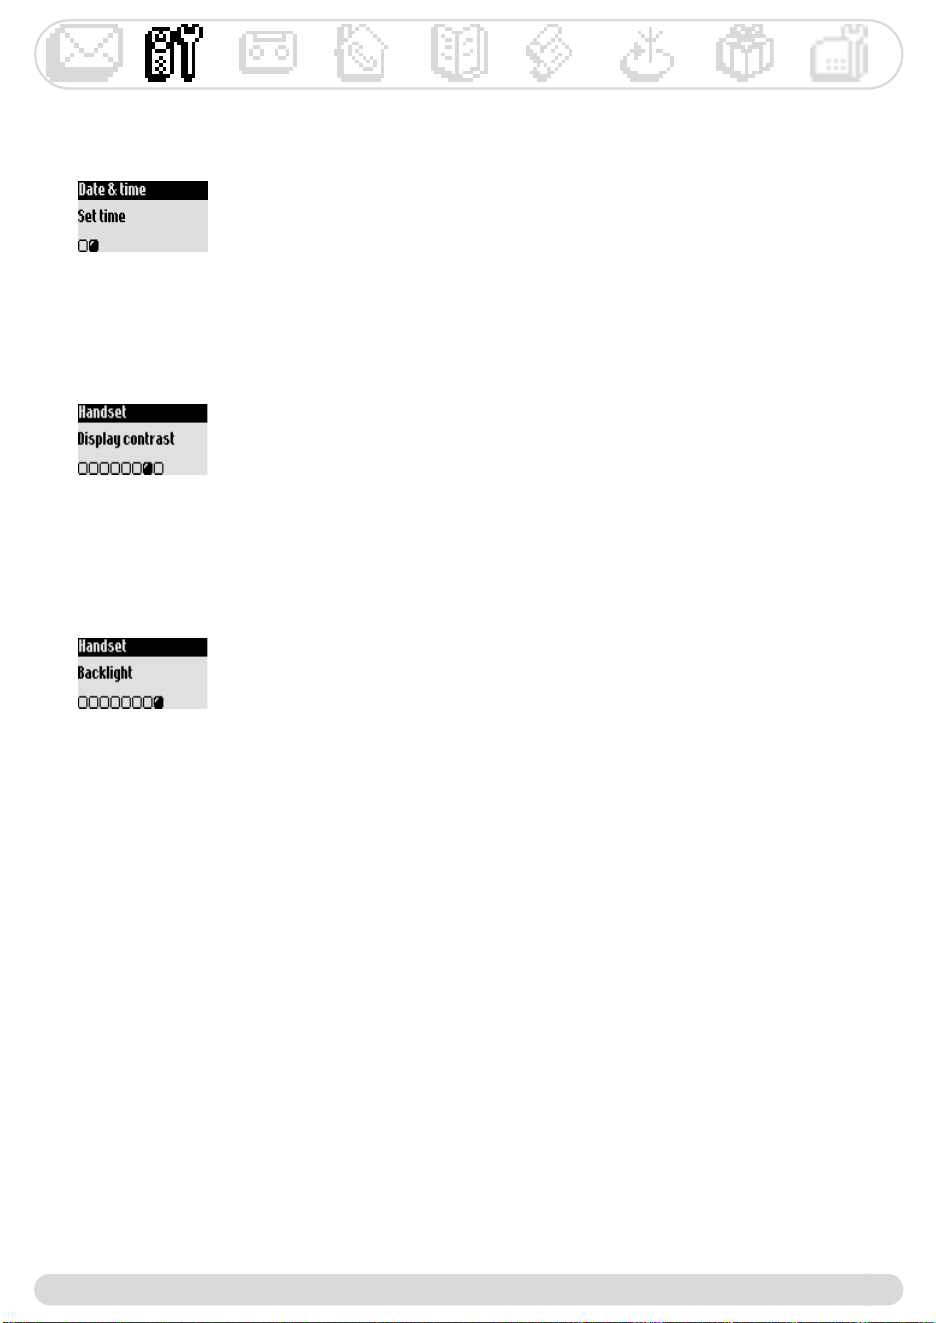
Date & time p.20
Display contrast p.21
Backlight p.21
Answer machine
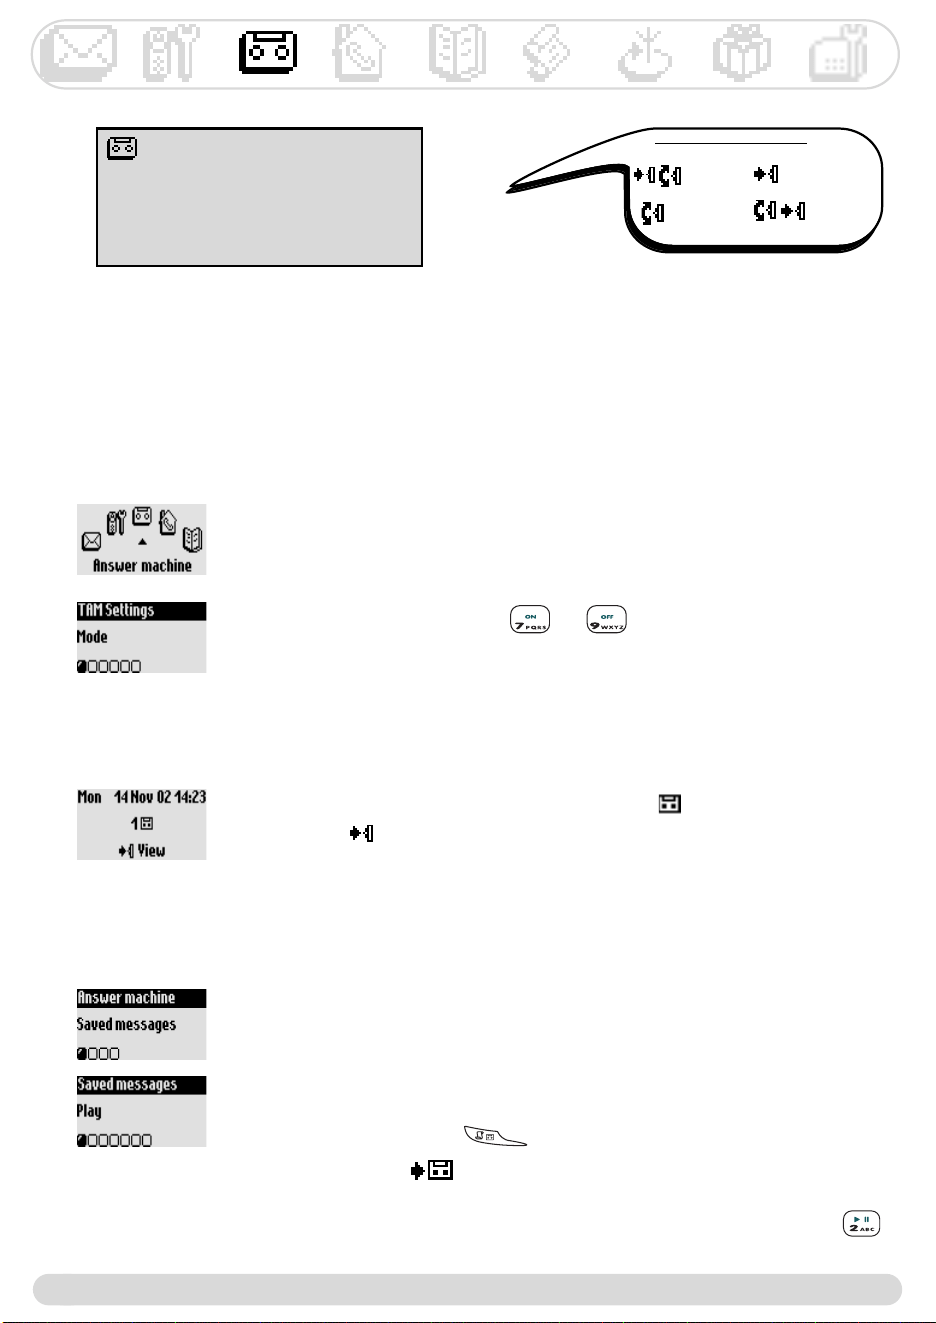
Saved messages
Listening to messages p.22
Deleting messages p.23
Record memo p.26
Outgoing messages
Answer mode p.23
Record messages p.23
TAM settings
Mode ON/OFF p.22
Rings before answer p.24
Voice prompts p.24
Call screening p.24
Recording quality p.25
Remote control p.25
Base station
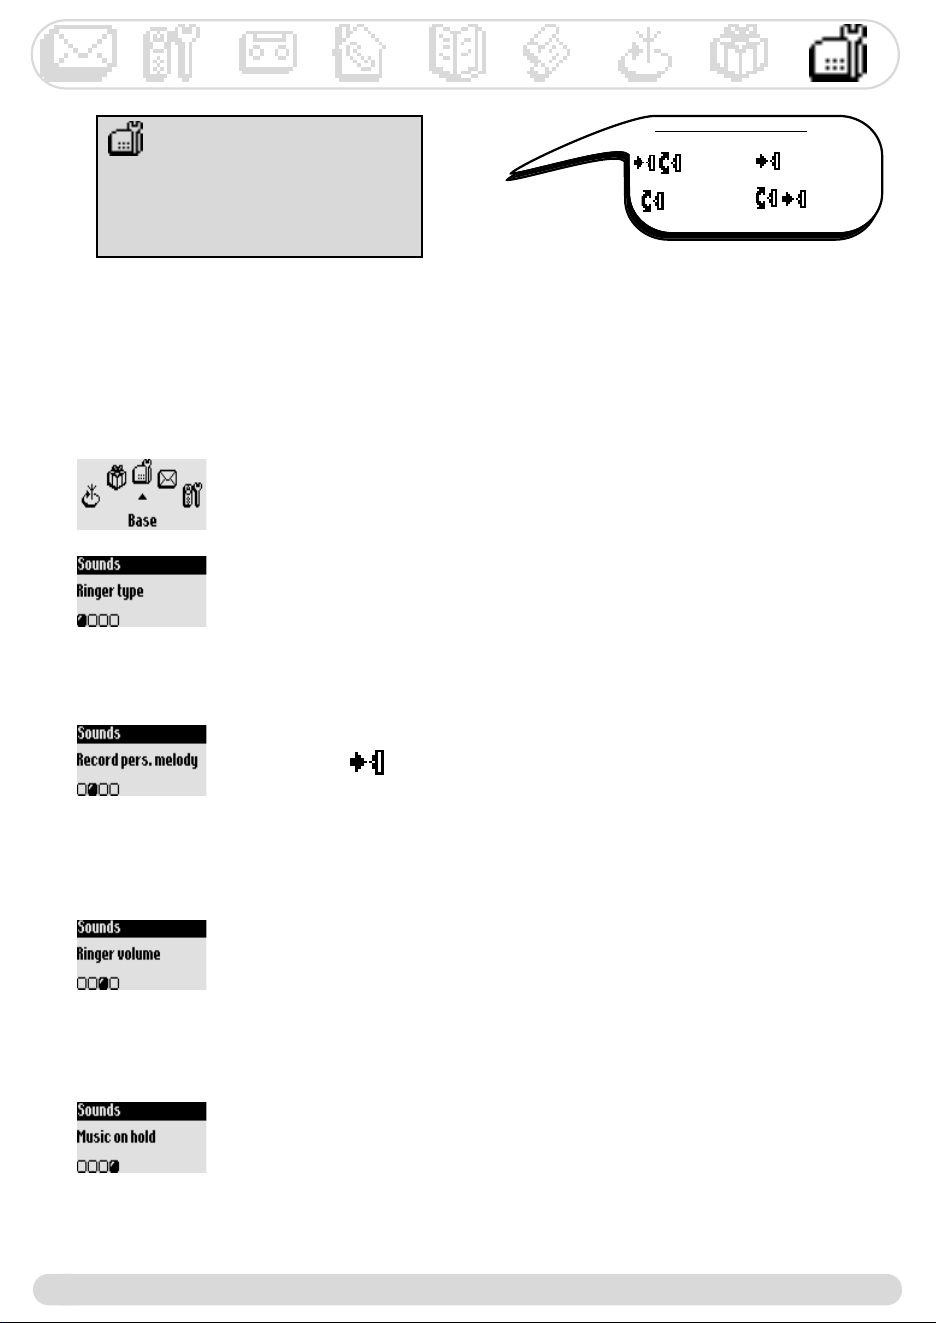
Sounds
Ringer type p.38
Record personal ringer p.38
Ringer volume p.38
Music on hold p.38
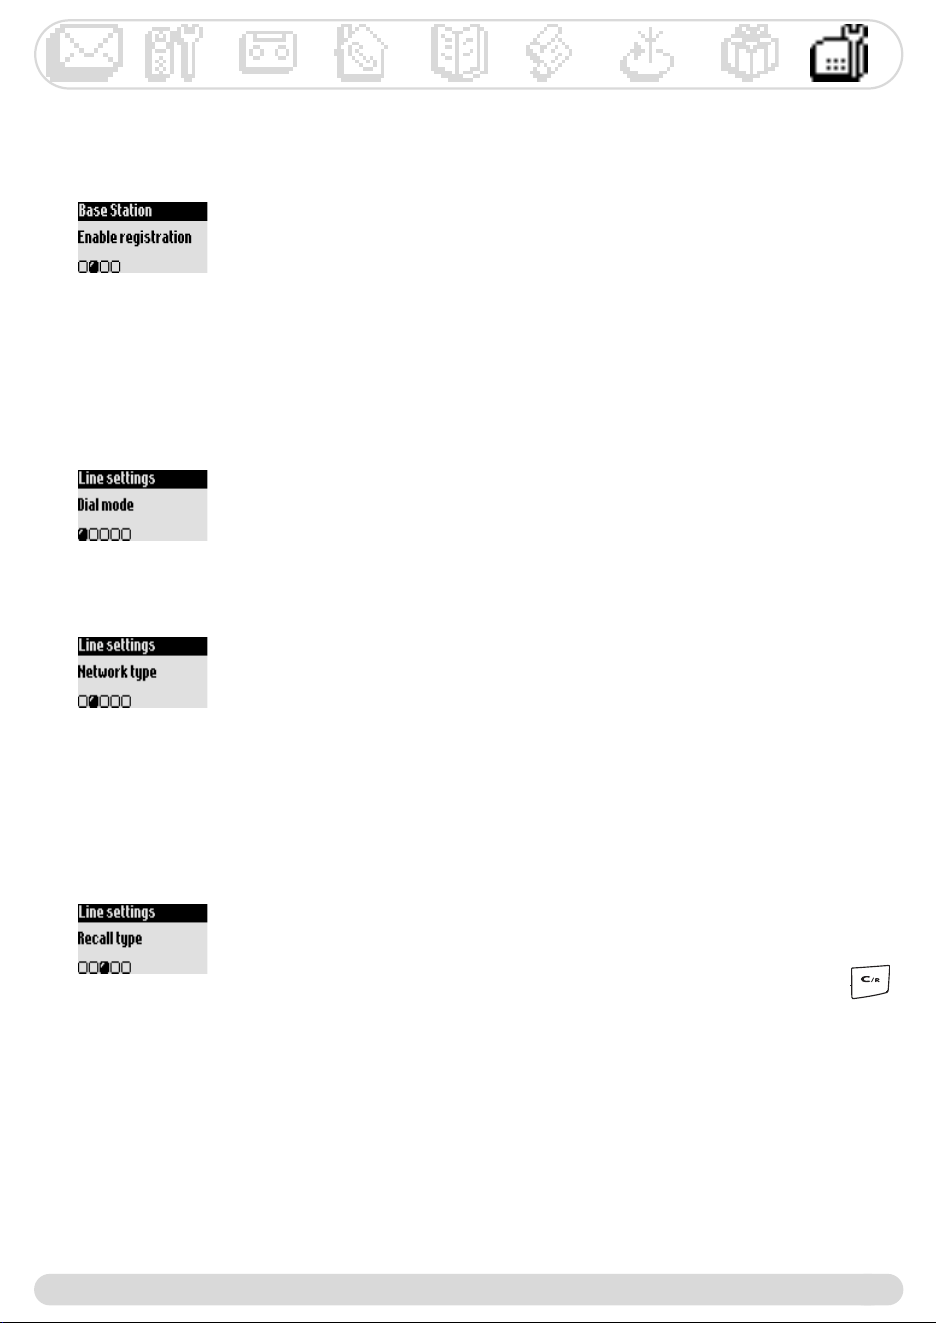
Registration p.39
Line settings
Dial mode* p.39
Network p.39
Recall type* p.39
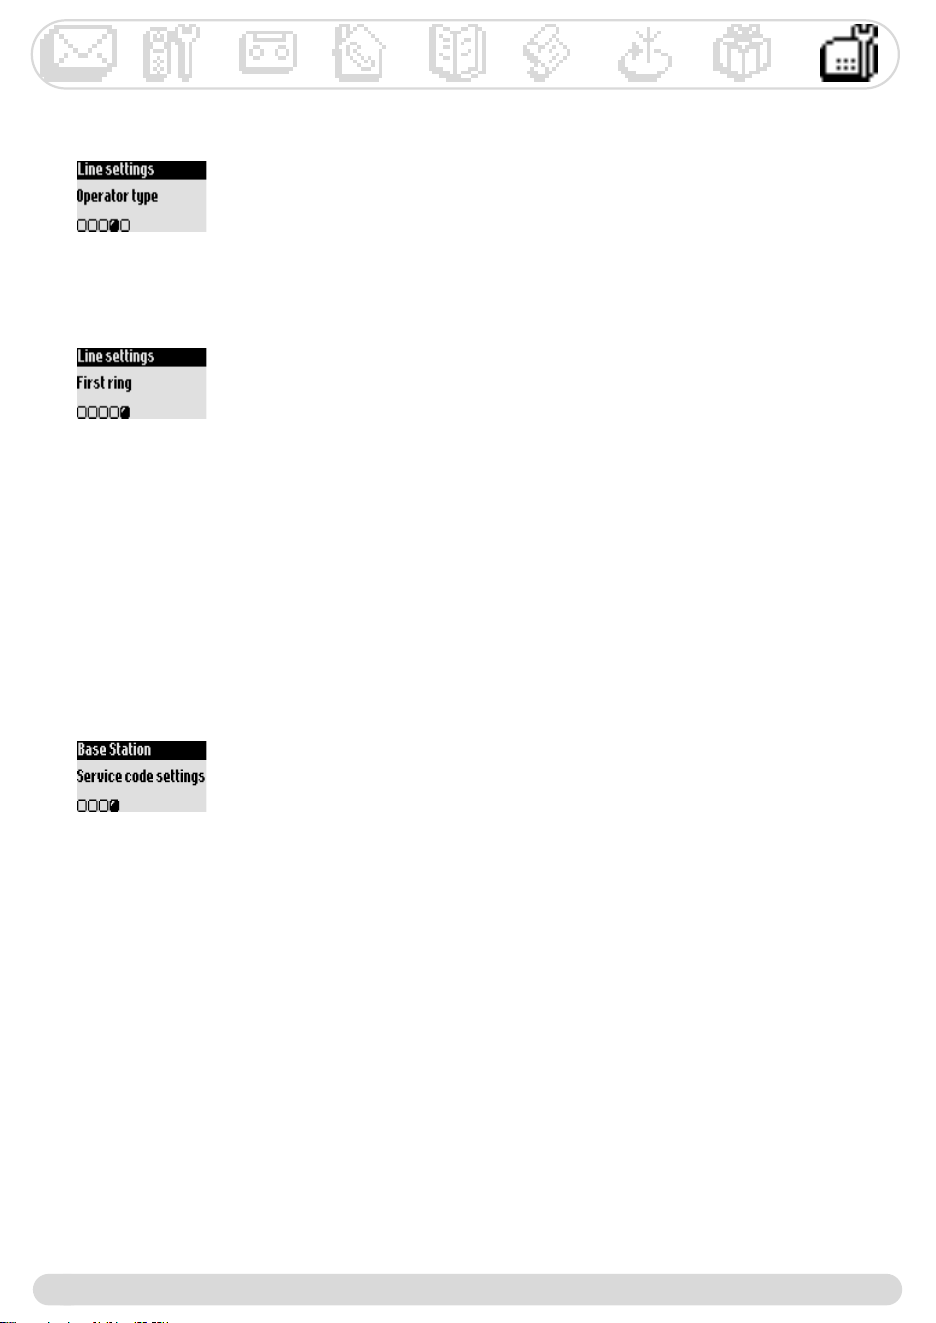
Operator type* p.40
First ring* p.40
Service codes settings p.40
Phonebook
View p.30
Add new p.29
Network
Cheapest rates Fct p.32
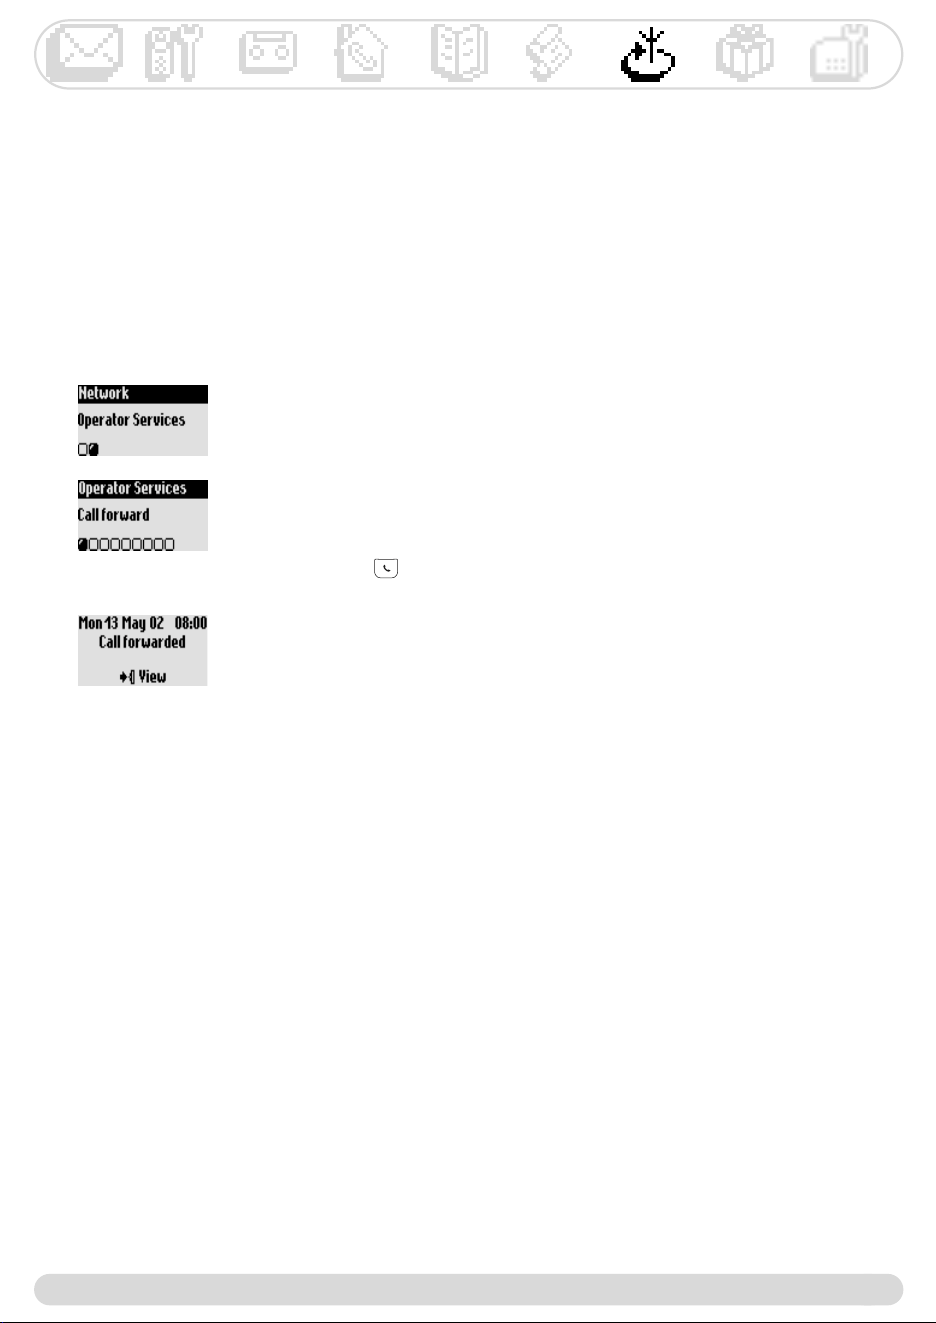
Operator Services p.33
SMS
Send new SMS p.13
Read SMS p.14
SMS settings
SMS mode p.16
SMS boxes p.16
SMS center p.16
Validity period p.17
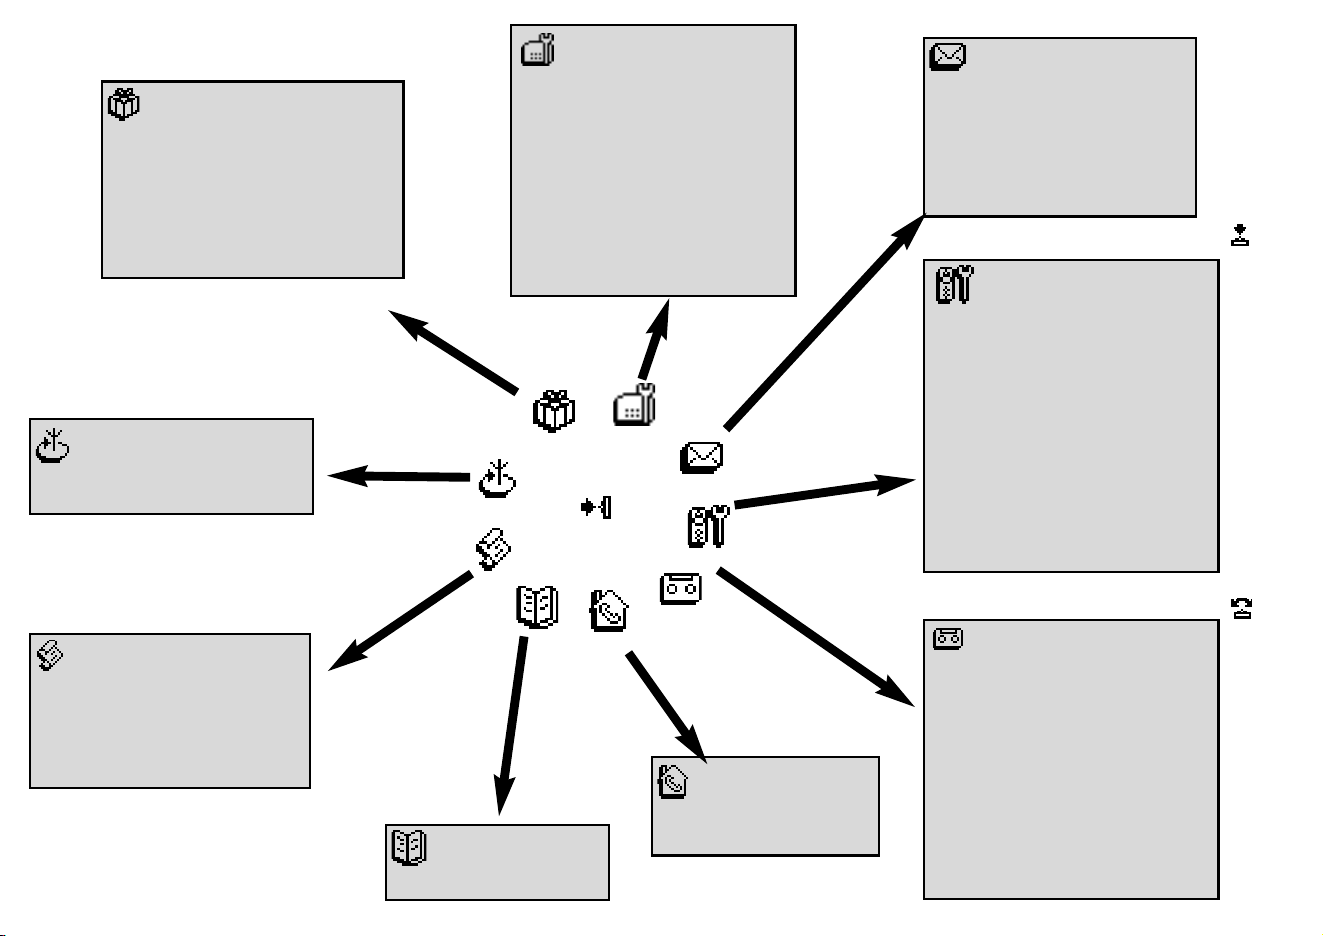
Menu overview
By using the pilot key on the side of the handset you can scroll through the menus
Call log
View p.32
Delete all p.33
Call log settings
Incoming calls p.33
Outgoing calls p.33
Extra
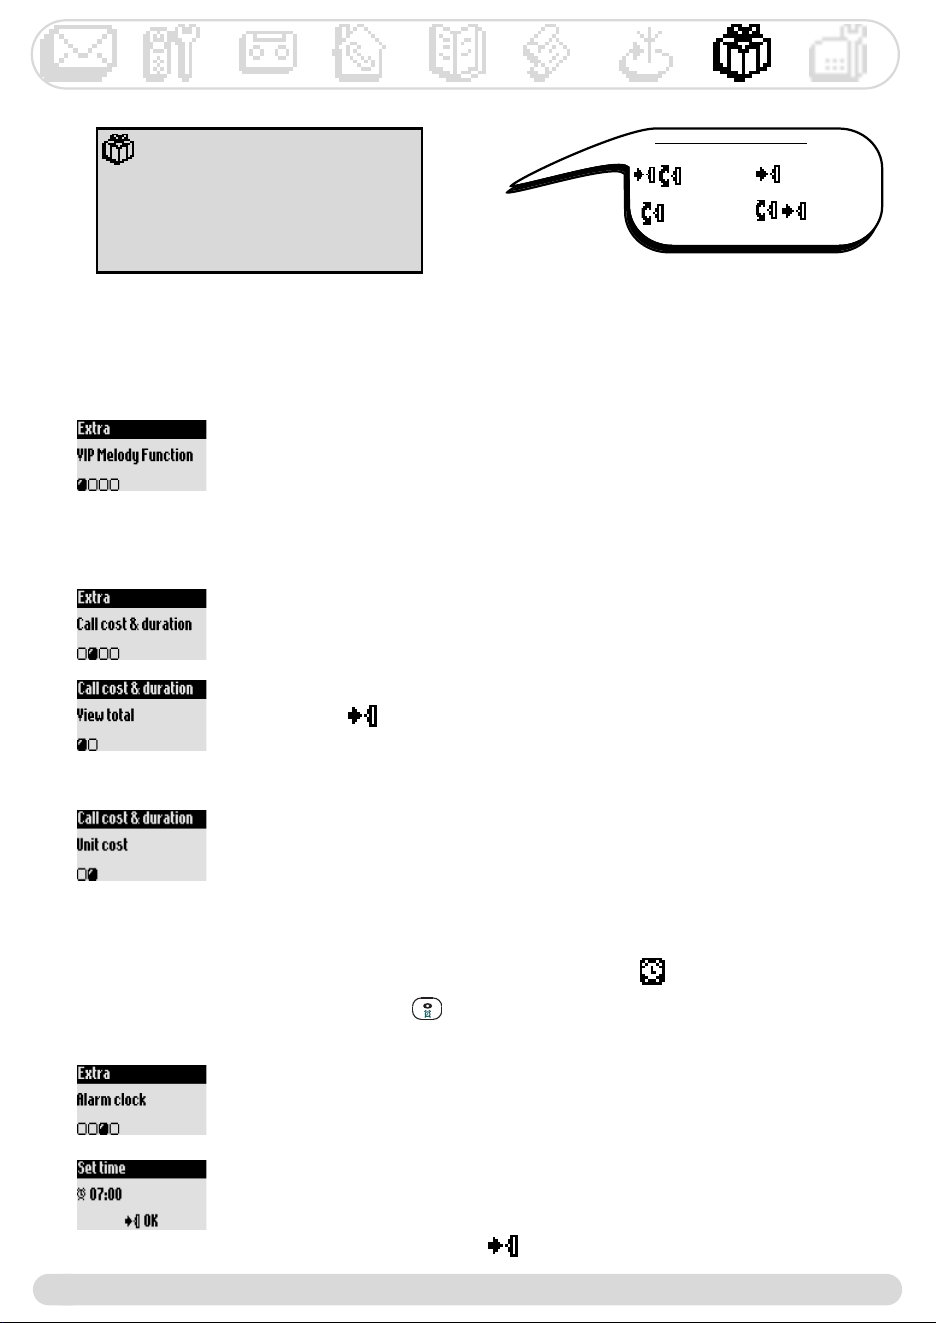
VIP melody function p.36
Call cost & duration*
View total p.36
Unit cost p.36
Alarm clock
Activation p.36
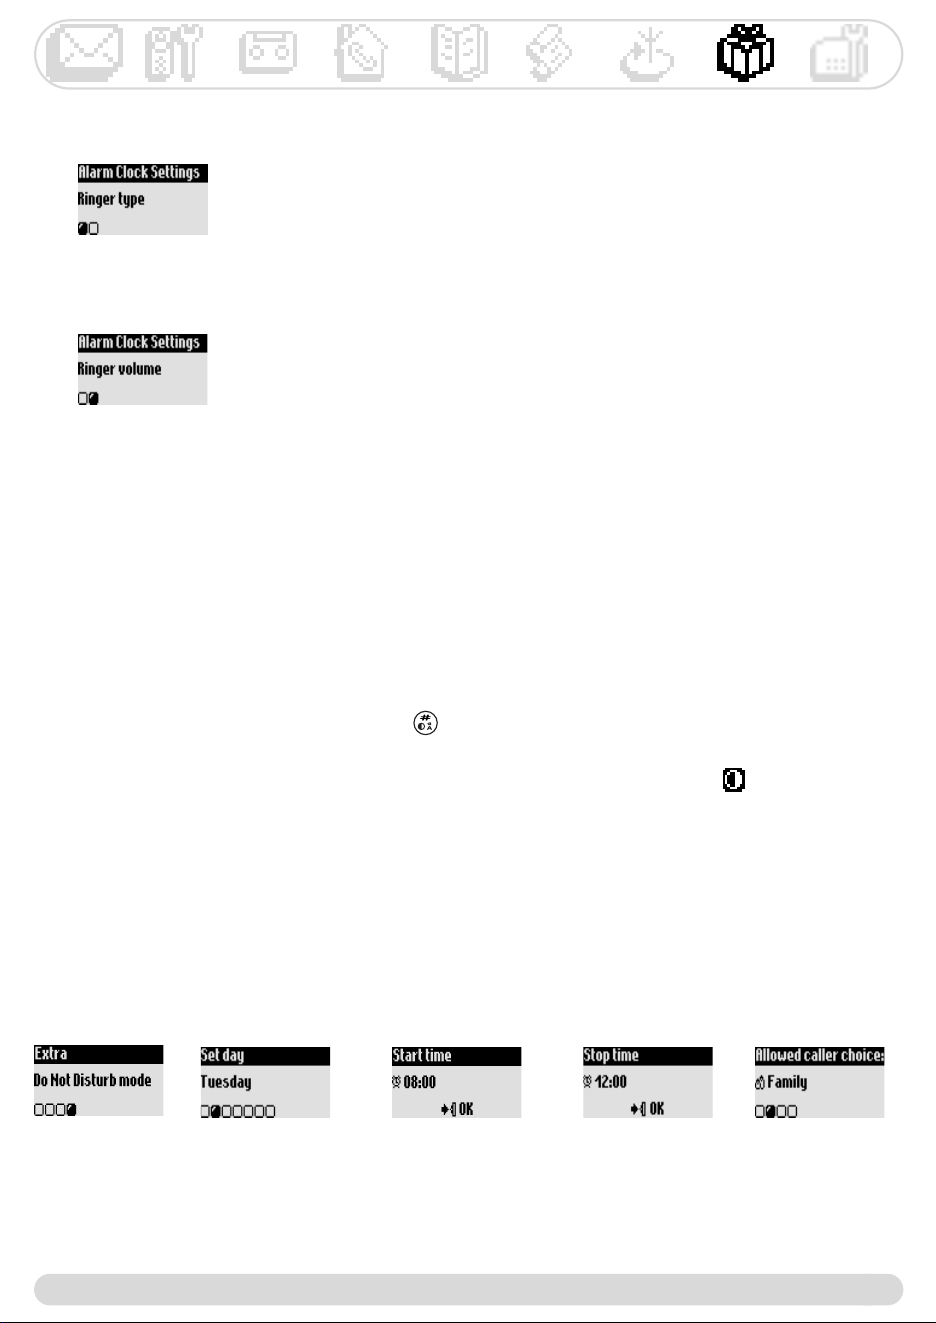
Settings p.37
Do Not Disturb mode p.37
* Country dependent
Menu
.$
;
,
!5
!*,
!5
!5)
(
$
!(
!(
!(
!(
6$#3
!(3
!(,
!()
!()
)
%$
!($
!(,
"#
!(<)
!(,
4&&9
!(=;>)
!;))
.$
!(
!()
$
!?)
)
!(
)
!(
)
!?)
$
7;@ )
3
+
8,/4
8,/4
5
()+
7
:
A
+
5*5 +
()
))
7
!:7
!%
:
"+
)5*5
$
5*5
2$)0
*
B@ C
B@ )C - @ #,' @ ,'
#
,
?))
?=>
?)=>
B@ )
B@ =>@ )
B@
)@ )
B)@
-
8,/4
&&=>
)09 ?
)229 ?
;)=>
)09 5
)229 5)
$9 ?
$59 0
?D
%&$=>
&
:
?)
)
?
?)
;
?)
?)
@
?
=>
+?)1
;)
;4&&9
() ;7
?)B)@
?
?)
;(
?@
)
*

Table of contents
5
Setting the call screening 24
Setting the recording quality 25
Activating the remote control 25
Using the remote control 25
Changing the remote control code 26
Recording a local message (memo) 26
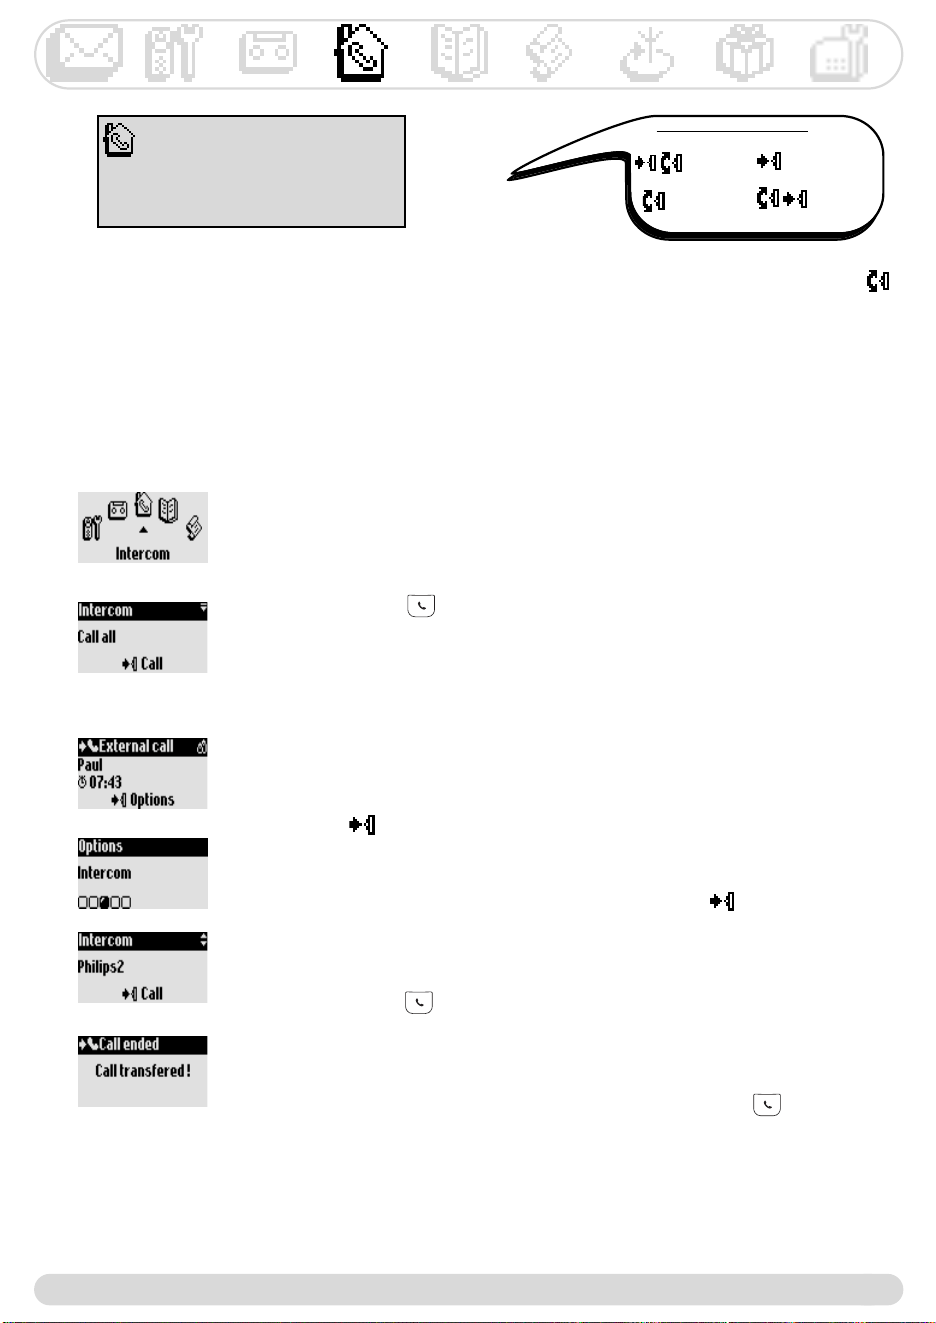
Using the intercom
Making internal calls/ activating babysit mode 27
Transferring a call from the handset 27
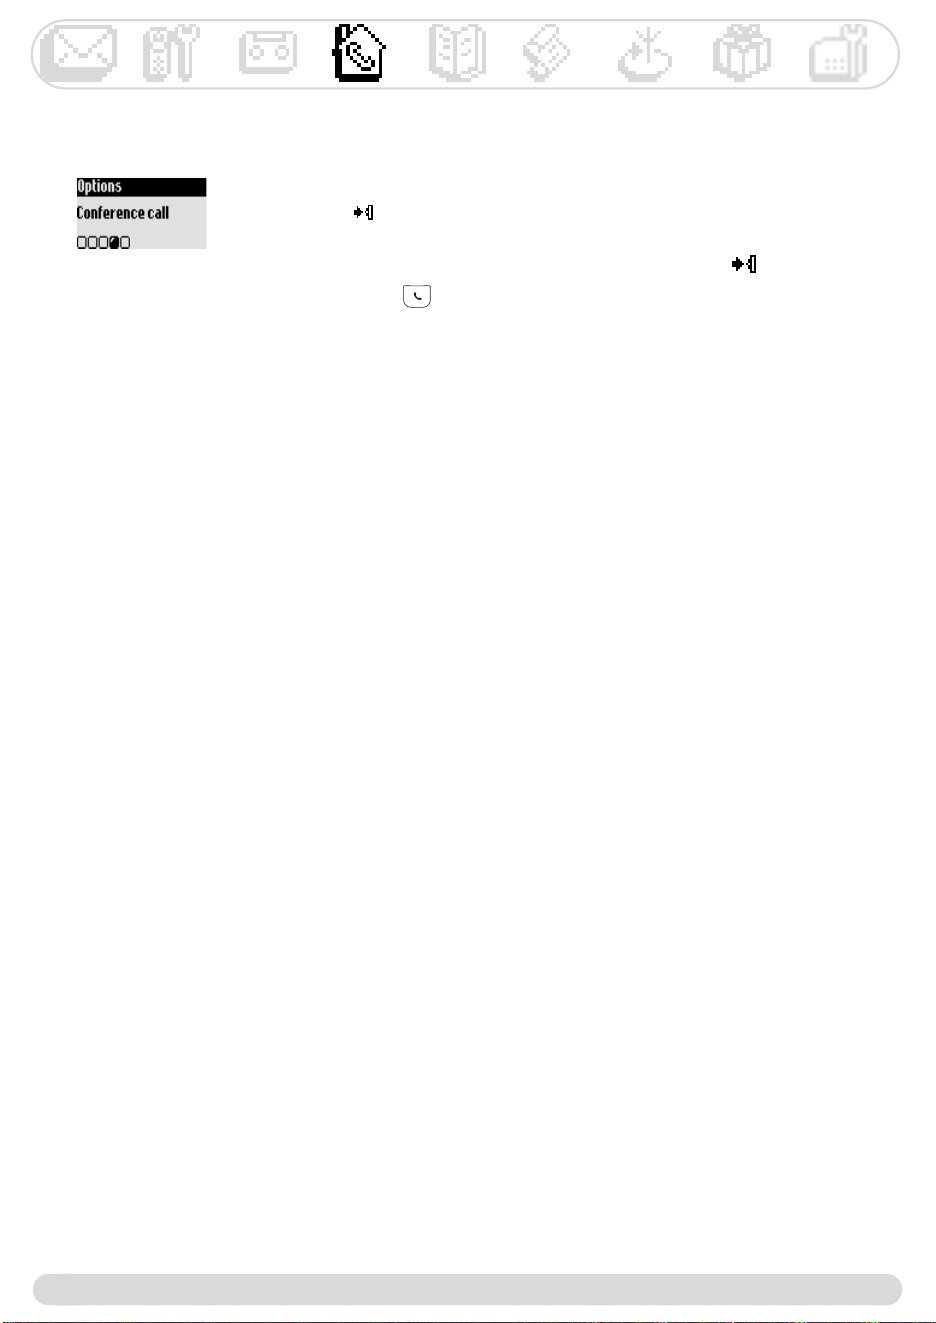
Using conference call 28
Using the phonebook
VIP settings 29
Adding a name 29
Calling from phonebook 29
Viewing the phonebook 30
Using the call log
Viewing the call log 32
Deleting the call log 33
Setting the call log 33
Network
Using the Cheapest Rates function 34
Using the operator services 35
Using the extra features
Setting the VIP melody 36
Setting the Call cost and duration 36
Setting the alarm clock 36
Setting the Do Not Disturb mode 37
Base station
Setting the ringer type 38
Recording the personal ringer 38
Setting the ringer volume 38
Setting music on hold 38
Registration mode 39
Line settings 39
Setting the service codes 40
GAP standard 41
Conformity, environment & safety 42
Declaration of conformity 42
Troubleshooting
Index
Table of contents
Philips has marked the battery and packaging with standard symbols designed to promote the recycling and appropriate
disposal of your eventual waste.
A financial contribution has been paid to the associated national recovery & recycling system.
The labelled packaging material is recyclable.
DECT
TM
is a trade mark of ETSI registered to the benefit of the implementers of the DECT technology.
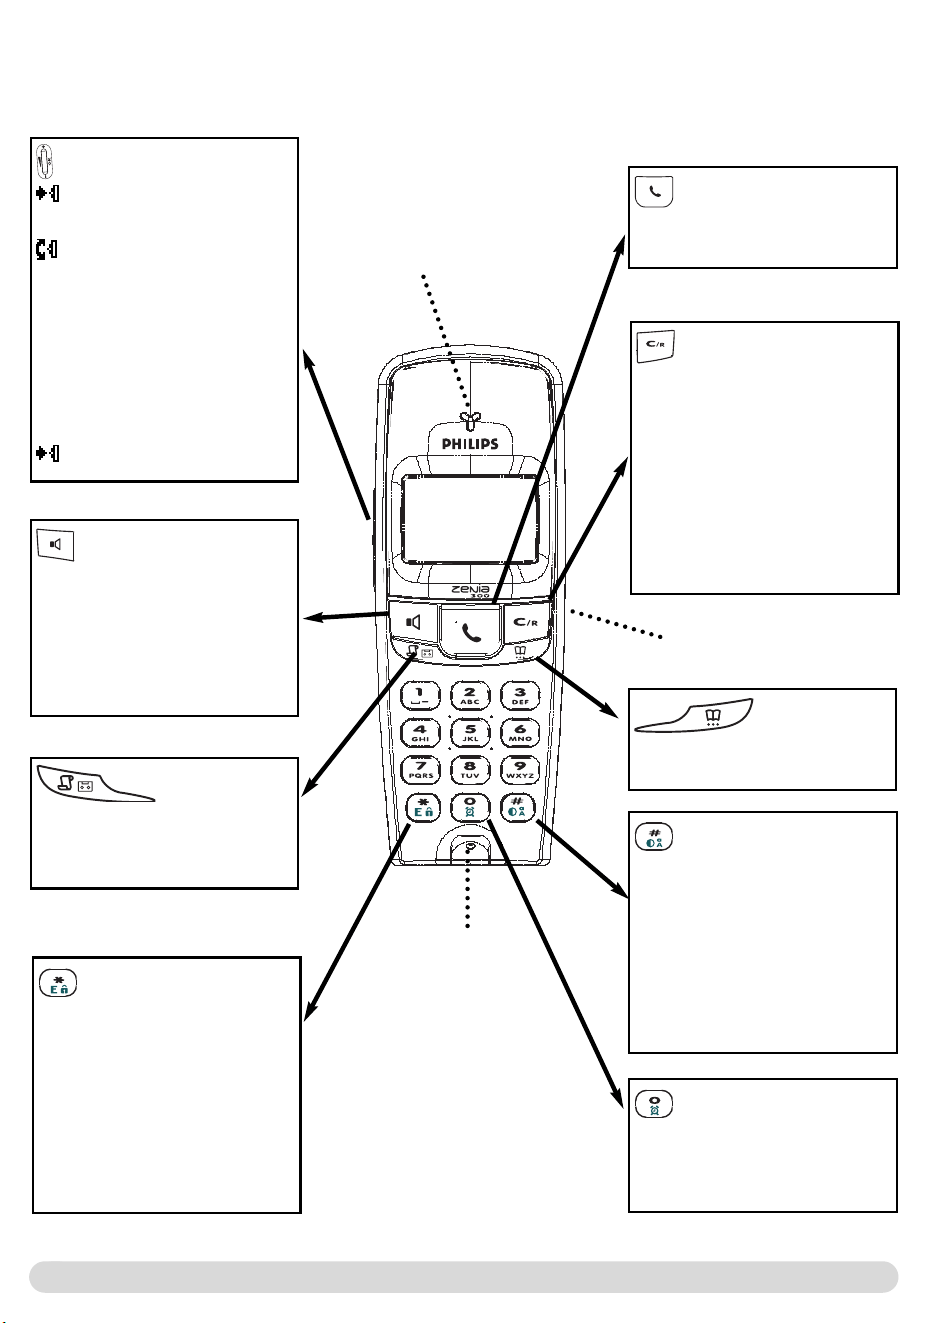
Handset Zenia 300 Vox 2
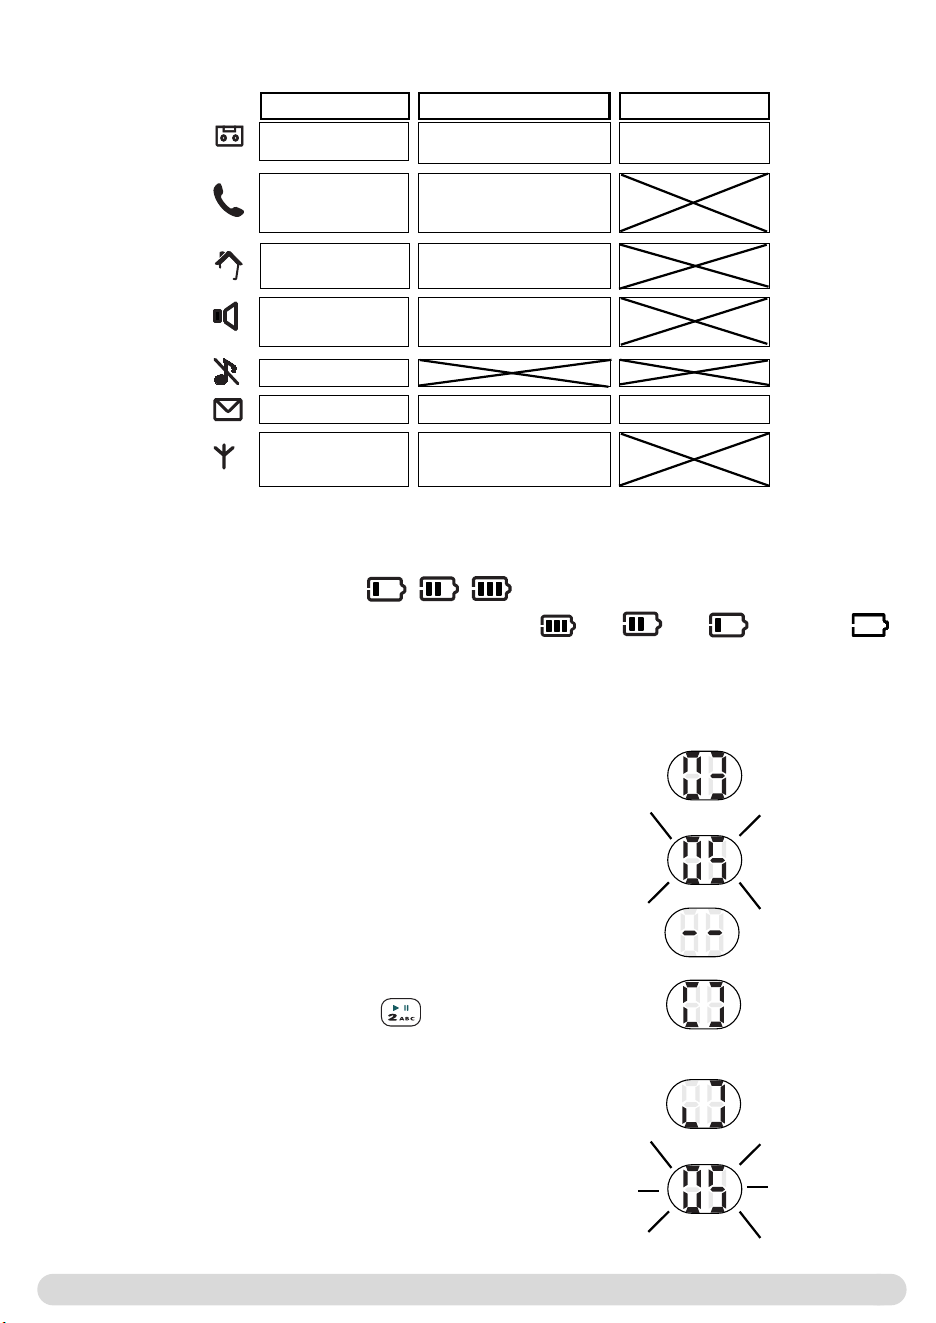
Icons on the displays 3
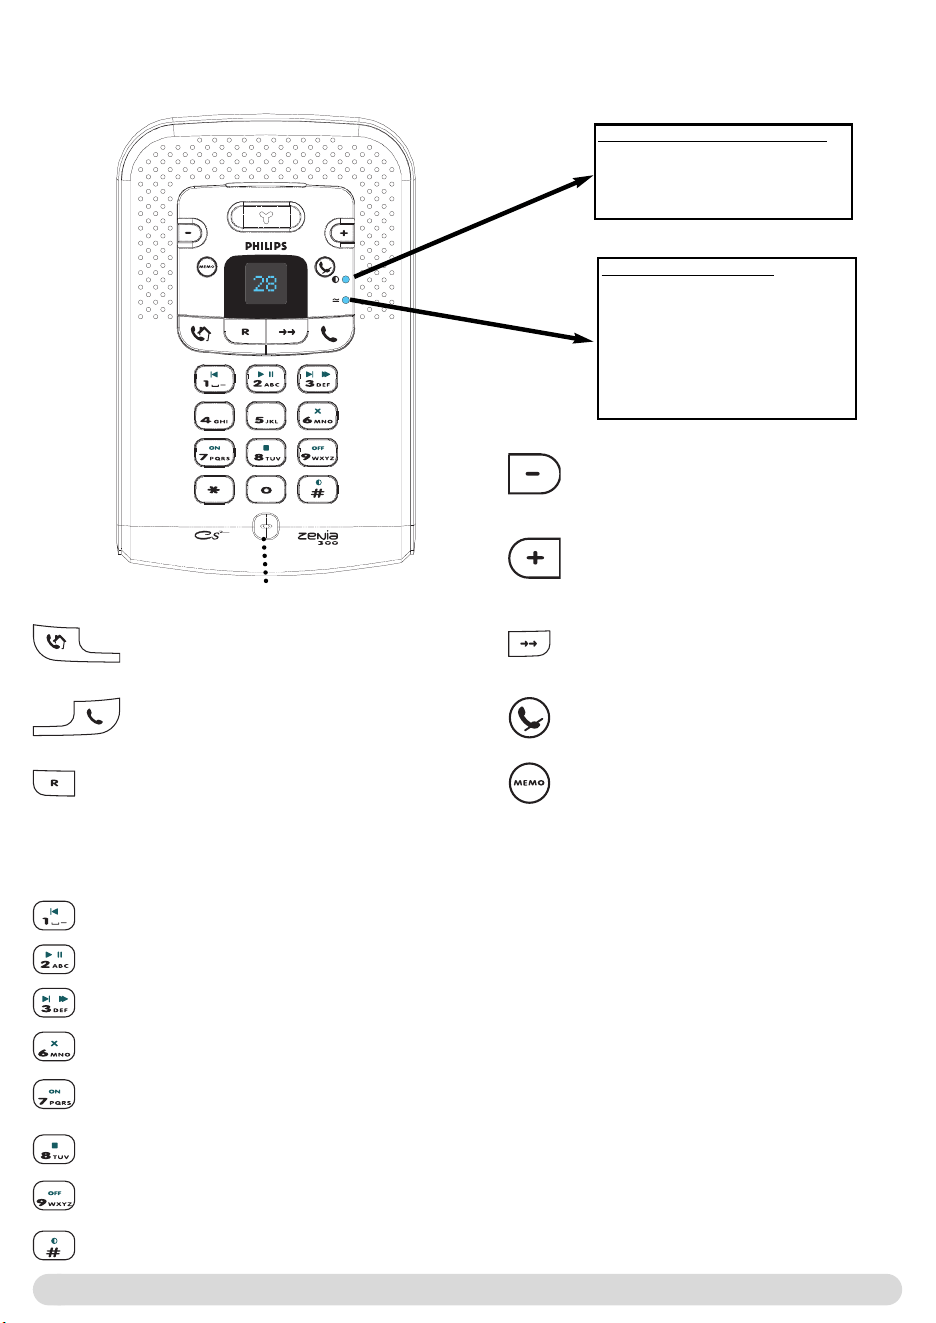
Base station Zenia 300 Vox 4
Table of contents 5
Installing the base station 6
Installing and replacing the battery pack 6
Battery life and range 6
Connecting the base and the charger 6
Basic use of the base station 7
In-call features on the base station 7
Advanced features of answer machine 8
Introduction
Screen in idle mode 9
Understanding the menu system 9
How to navigate in the menus 9
Calling/answering calls/other principles 10
In-call features 11
Editing systems 12
SMS
Sending new SMS 13
Reading the SMS list 14
SMS settings 16
Handset
Setting the ringer type 18
Setting the ringer volume 18
Setting the earpiece tone 18
Setting the key & feedback tones 18
Setting the notification beep 19
The babysit mode 19
Registering an additional handset 19
Unregistering a handset 19
Using the Zenia 300 Vox handset with several base stations 20
Renaming the handset 20
Setting the date and time 20
Setting the display contrast 21
Setting the backlight 21
Using the answer machine
Setting the answer machine ON/OFF 22
Listening to your messages 22
Deleting messages 23
Selecting the answer mode and the outgoing message type 23
Recording your personal outgoing message 23
Setting the number of rings before answering 24
Setting the voice prompts 24
Installing the phone
6
Installing the base station
To properly install the base station, plug the line cord and the
power cable into the base station. Plug the cord and the cable into
the wall socket.The green indicator on the base station indicates
that the phone is properly installed.
Warning ! The electrical network is classified as dangerous
according to criteria in the standard EN 60-950.The only way to
power down this product is to unplug the power supply from the
electrical outlet. Ensure the electrical outlet is located close to the
apparatus and is always easily accessible.
Warning
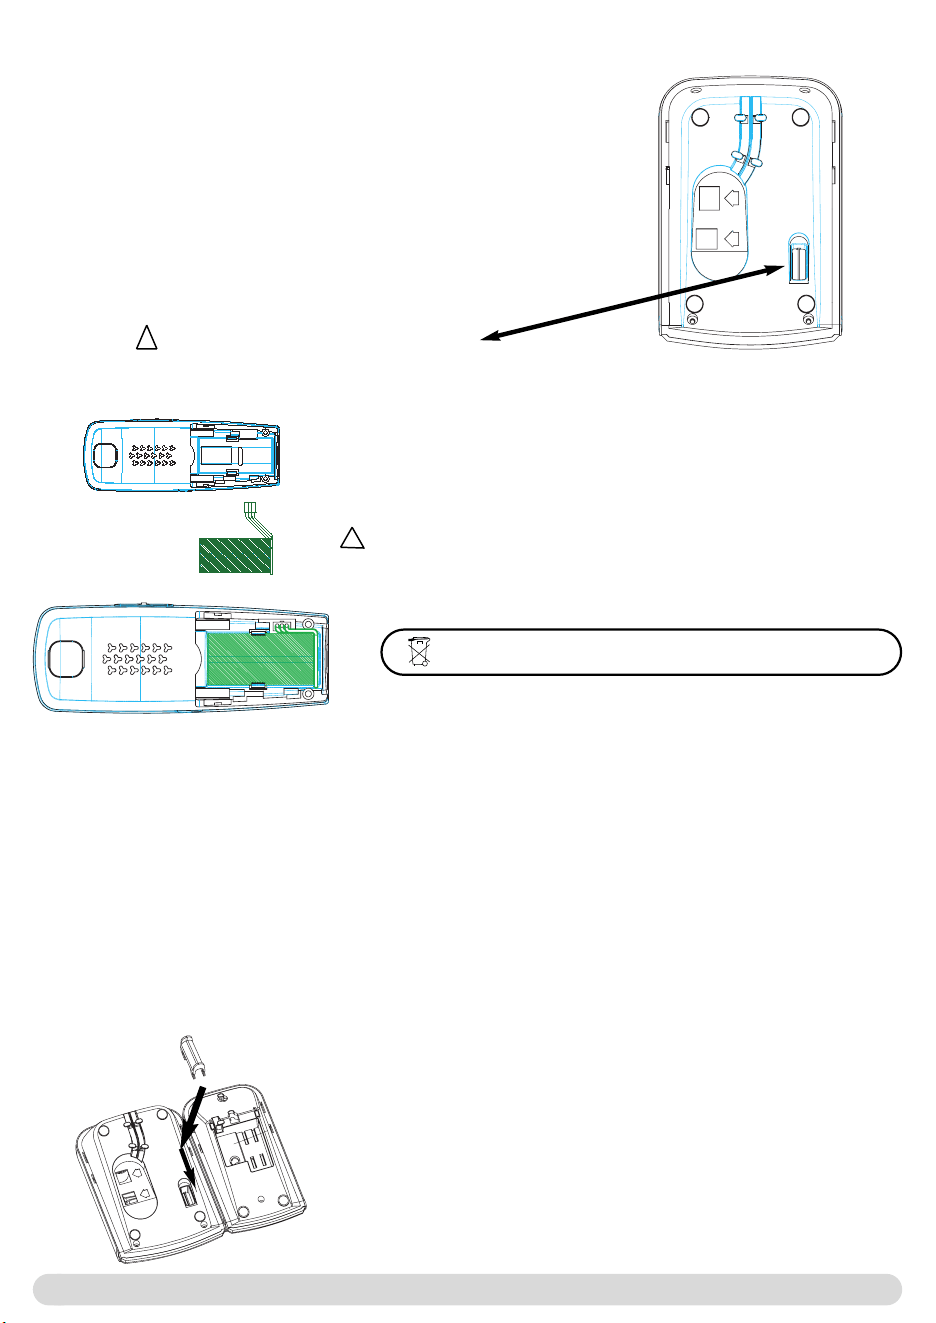
Installing and replacing the battery pack
To insert the battery pack, open the battery door on the
handset by sliding it down. Connect the battery pack to the
connector inside the handset.
Place the battery with sticker face up .
When replacing the battery pack, only use Philips rechargeable
battery packs NiMh 2HR AAA 600mAh.
Battery life and range
The battery life is about 250 hours in stand by time (when the handset is in idle mode & ready to receive
a call) and around 16 hours in communication. A low battery alert will inform you that the handset has
to be charged. If this is during a call, the call will end shortly after the alert.
Optimal battery life is reached after 3 cycles of full charge/discharge.
Under ideal conditions the range is a maximum of 50 meters indoors and 300 meters outdoors.When
reaching the range limit, the conversation will become crackly, move closer to the base station otherwise
the call will be cut off.To reach optimal range place the base station away from electrical appliances.
The Zenia 300 Vox handset charger is separate from the base
so that it can be located in the most convenient place regard-
less of the position of the telephone line connection. However,
the handset charger is delivered with an accessory that can be
used for linking together the base and the charger.They form
thus a single aesthetically pleasing unit.This accessory is located
under the charger. It can be fitted as shown on the picture. If
not in use, it can be conveniently stored under the charger.
!
!
Do not insert anything in this opening
Batteries should not be disposed of with general household waste.
Connecting the base and the charger
Basic use of the base station
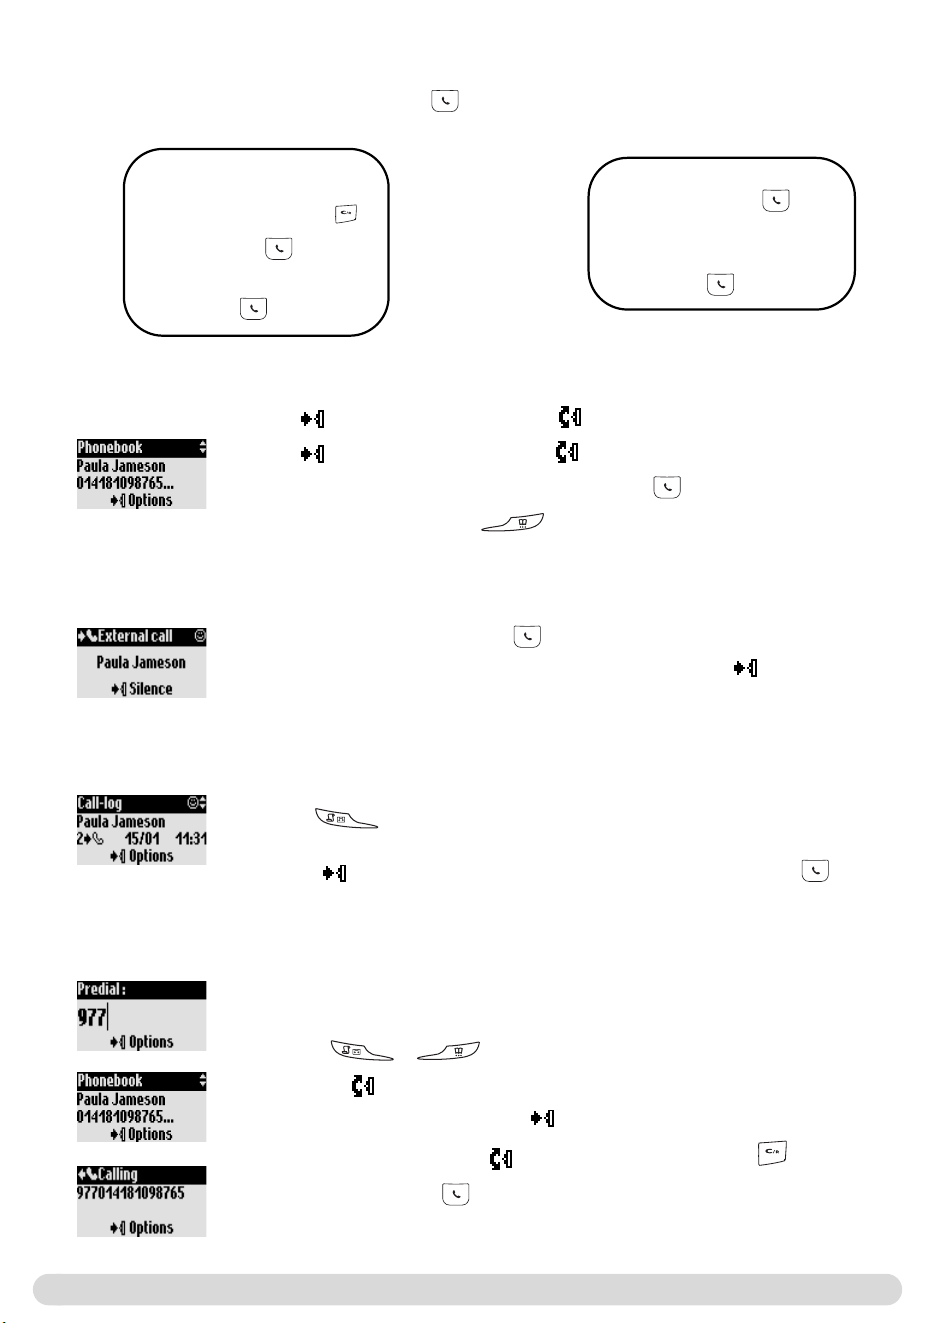
In-call features on the base station
Connect the line and dial from the base station keypad
Making a call from the base
Press and then
When the phone rings, press to answer the call. Press again to end the call.
Redial (Redial last number called from the base)
Answering/ending a call on the base
To activate/deactivate the Do Not Disturb mode from the base
During an external call, you can access from the base to additional features.
To mute the base microphone when on line
1- Press
The caller can no longer hear you, but you can hear him.
To resume the conversation press again .
Call transfer from the base
During an external call, you can transfer the call to handset from the base station
1- Press
2- The caller hears music (if music on hold is activated)
3- All the handsets ring
4- Answer the call on any handset.
The caller is directly transfered to the handset
If no handset answers, after a while the base will ring again, resume the call on the base by pressing
again.
To record a memo on the base in idle mode
To start recording press , speak close to the base and press again (see page 26).
To record a conversation on the base when on line
To start recording press , press again to stop recording (see page 11).
The call is recorded on the answer machine for a maximum of 6 mins. It automatically stops if the answer
machine gets full.
Press to activate/deactivate this mode with your own settings (see page 37).
Use of the base station
7

%&5
; )
;
)
?
;7
;
*&*%&+A*%+B)0=)225
- )
+
B))
B)+@
? ?)
*5
;
()
(=7>
The number of messages blinks fast on the base display when the answer machine is full.
*5
@1
0@ =#.>
; , ,,
:@
?) =)@ >
;
&
%&'5
C
*=$'
; ,
Introduction
9
Understanding the menu system
To access the carousel menu from idle mode press on the side of the
handset.
The carousel represents a loop of icons that gives access to the different
first level menus. Scroll up or down to reach the desired menu. Press
to validate.
The sub menus are listed and represented by little squares at the bottom
of the display.To reach one particular sub menu use the pilot key and
press to validate your choice.
A tick shows the selected sub-menu or option.The shows the option
you are browsing.
Note : Some menus are also directly accessible via a dedicated key on the
keypad (example: Call log or Phonebook ).
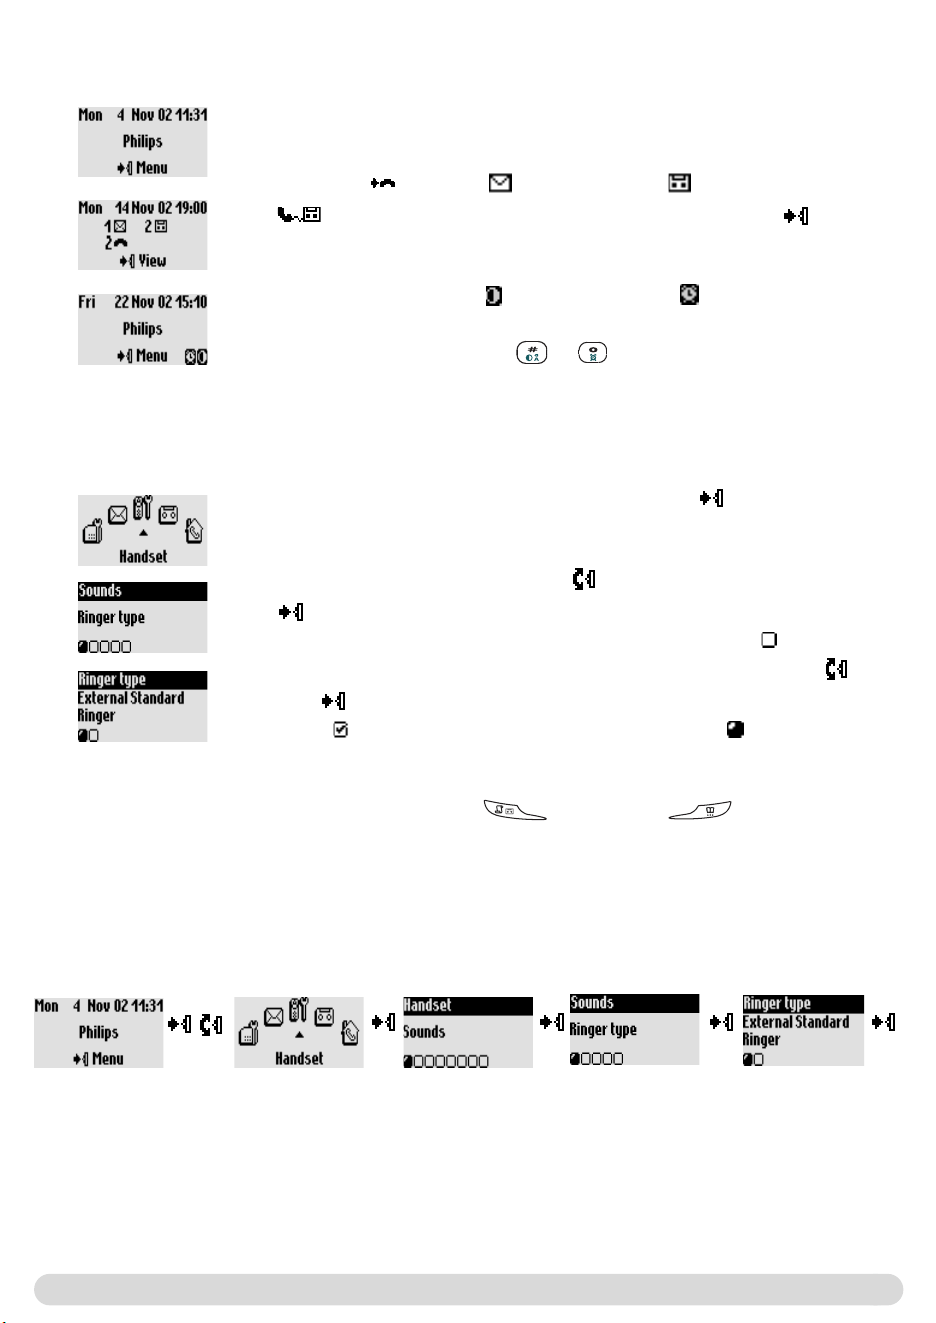
The handset screen in idle mode
In idle mode, the Zenia 300 Vox display shows different information :
In normal idle mode the display shows the date & time, the name of the
handset and the instruction for using the menu.
Example of navigation in the menus
To reach the ringer type menu
Press
to select
Press
to select
Press
to select
Press
to select
Press to see
the list of
melodies &
listen
Scroll
up or
down
Do Not Disturb mode and the alarm clock if activated, are also
displayed on the idle screen.
To modify these settings use & on the keypad.
Missed call , new SMS or new messages (answer machine) or
(voice mailbox), if any, are displayed in idle mode. Press the pilot
keyon the side of the handset to reach the corresponding menu.
=&=
! #!
'! @ .!
2!5
CH
.
!&
?
#!*
?
'!A
"
!0
#!&
?
'!A
+$5
H#=
@ >
!;=77>
#!
'!5
.!5
H @ )
2!0
H
;
;
B@ )
?))@
*AB
5 =>
%&=
5$
75
75
&7!
;
*&$)0=)22
; ,
(
A5'8,/4B
&@ @ 7
C 7I#
=#8@ #>
*'
!B;
#!5
?)76?
?0= >
Warning
*
!;
#!5
?
?
*=$'
5)
+
&@ !@
:@
?
0%
:
?) =)@
> ;
=&
@1
B@
(D)

3
3
E'$$/7)C *! * )
) "))4;9
*3 ))7
()
)
?)C
;)?
:7@
7
;
"@ C
=(">)=>
; )
5 ; J
)7
?)4;9)*!9
; C ;
; )C ;
; C ;
; )C ;
; C ;
?)4;9
)
;
*7 )7@
+7D
KLMN<OPQ=> RST
#UVWXY
'Z[ ) N
.ì G
D27
6\]^
18_A 2 E
ù `
)7af S X Q
$@ ,C J bcdefg3I!h
66
#
'
.
2
6
8
$
;
;
;
;
;
;
;
i%Bi@ :@
;
SMS
13
SMS (Text messages)
Send new SMS
Read SMS
SMS settings
SMS stands for Short Message Service. SMS are short text messages sent/received via the network.
To benefit from this service you must subscribe to the Caller Display service (CLI) from your network
provider.
SMS can be exchanged with a phone (mobile or compatible fixed lines), a fax or an E-mail (country
dependent), if the receiver has also subscribed to the CLI & SMS services.
The Zenia 300 Vox factory settings correspond to the main national operator. If you wish to
send or receive SMS through another operator you must set the corresponding numbers
(see page 16).
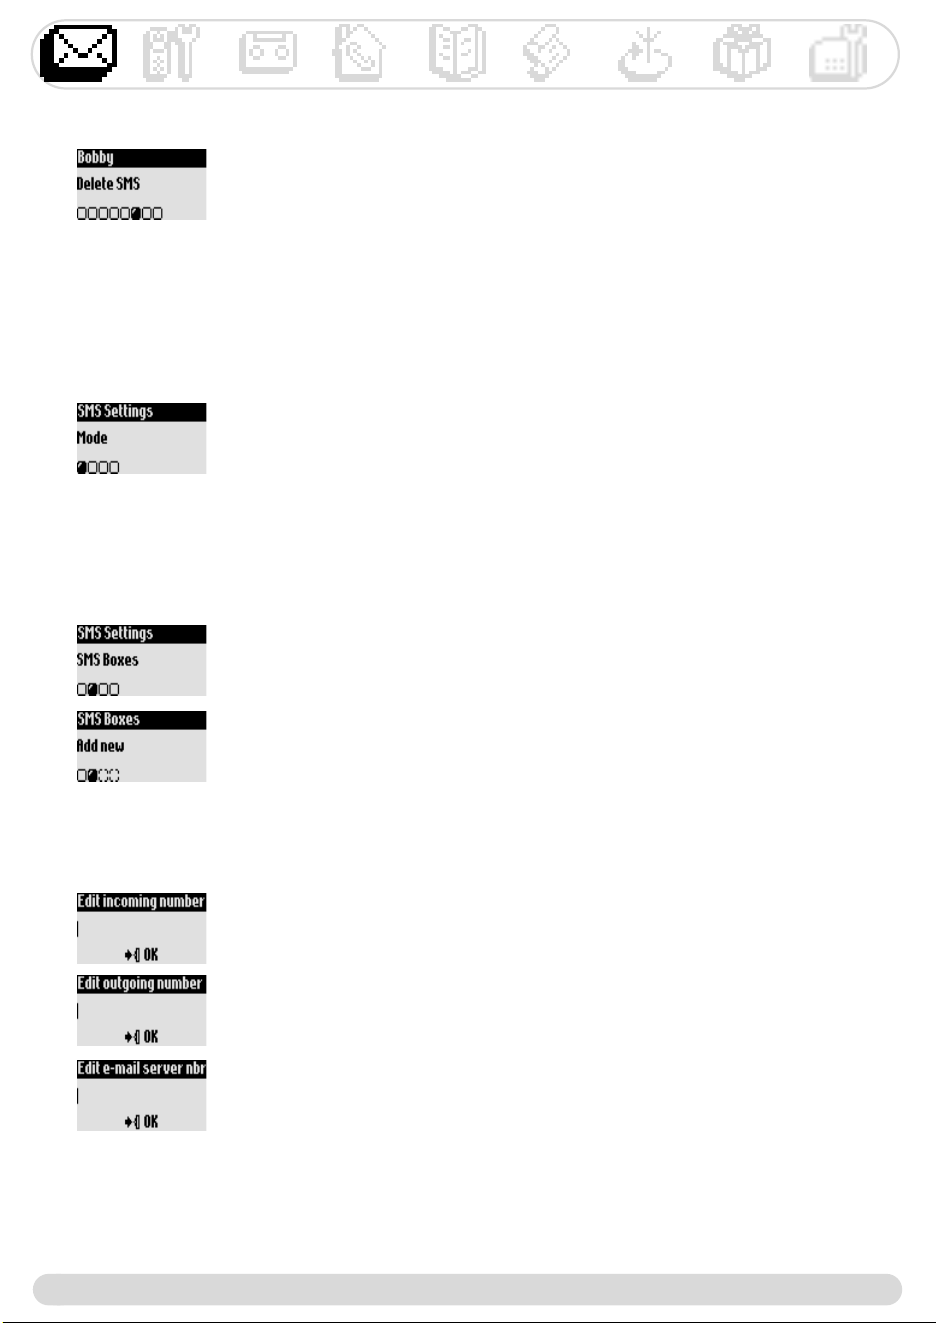
You have the possibility of opening 10 SMS boxes (country dependent) one shared & 9 private to
increase confidentiality.
A password can protect your SMS box, but it is not compulsory.
To send an SMS to the receiver’s own SMS box, you must know his destination box (if needed).
The delivery report may be charged. It is deactivated by default, activate it when you send an SMS.
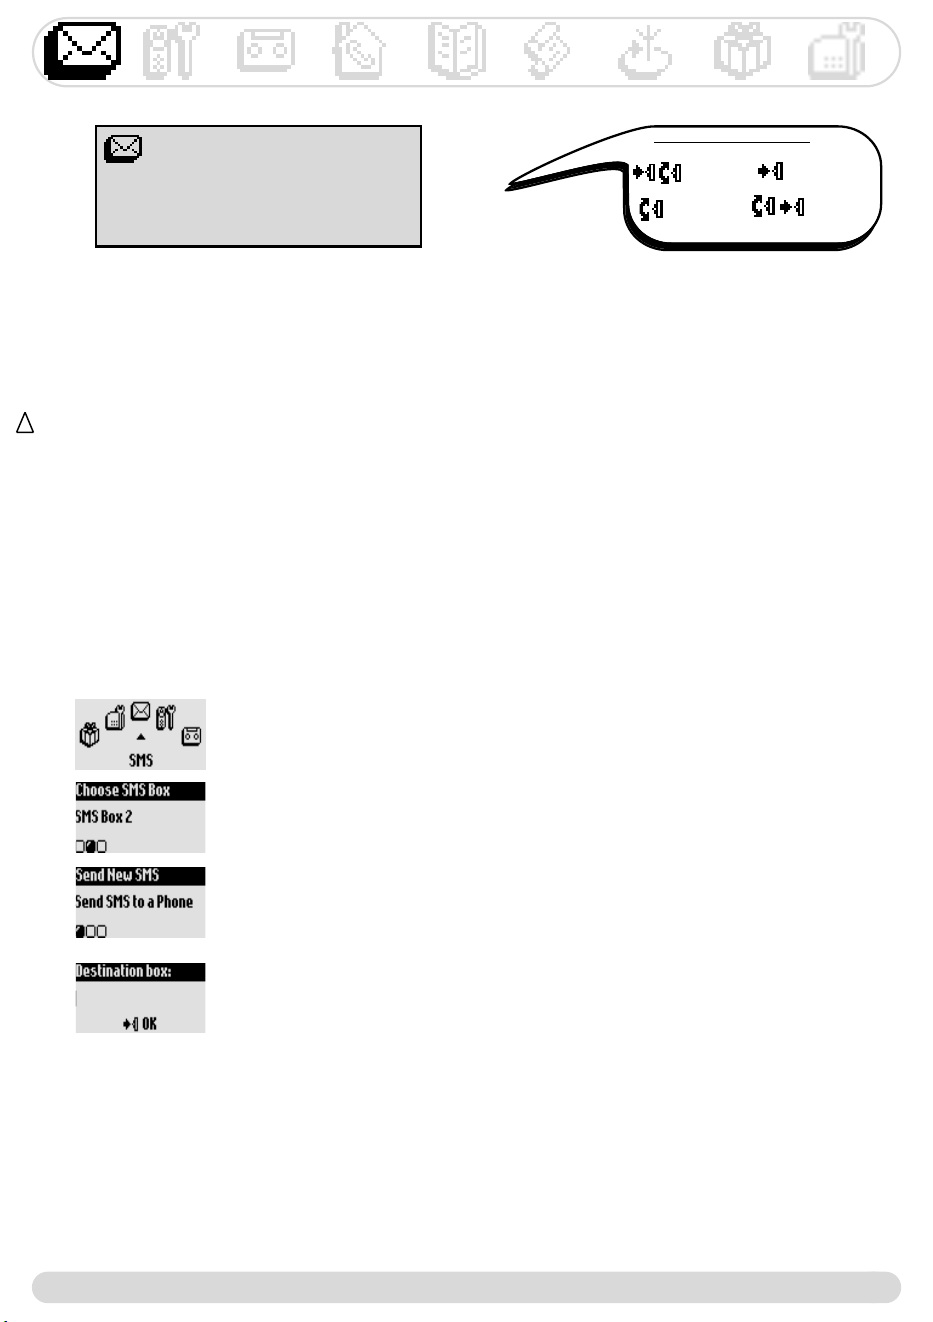
Sending new SMS
To send an SMS to a phone
1- Go to SMS, validate
2- Select Send new SMS, validate
3- Choose your SMS box & enter the password (if you have created several
SMS boxes), validate
4- Select Send SMS to a Phone, validate
5- Dial the number (you can use the call log or the phonebook)
6- Enter the destination box (if prompted to), validate
7- Input the text (see page 12)
8- Scroll to Delivery report to activate it if necessary, validate
9- Select Send Now, validate
Navigation reminder :
(Go to) (Validate)
(Scroll to) (Select)
The outgoing SMS can be up to a maximum of 160 characters long (E-mail address included).
The special character ¤ counts for 2.
Zenia 300 Vox can store up to 200 SMS (depending on the length of the SMS) for the 10 SMS boxes.
!
Note :The delivery report option is country dependent

*+37=>
!j@
#!5@
'!05*57)=
5*57>@
.!5@
2!!@
6!:7=#>
8!5 @
!5@
+
?5*55*5?5*5)
5*5)
*&+
!j@
#!5@
'!05*57)=5*5
7>@
.!55*5
2!5@
-)8'=55*5>
+
-
*+54=>
!j@
#!5@
'!05*57)=
5*57>@
.!5 @
2!:7=#>
6!5@
B5*5@ 5*5
?@ !@ "# ?
G)7
*5&+
!j@
#!5@
'!05*57)=5*5
7>@
.!55*5
2!5!@
6!&@
-)8'=55*5>
+
:
*$
!j@
#!5@
'!05*57)=
5*57>@
.!55*5
2!5"#@
6!@
8!?
*7+
!j@
#!5@
'!05*57)=
5*57>@
.!55*5@
2!5$@
-)
*5+
!j@
#!5@
'!05*57)=
5*57>@
.!55*5@
2!5
*++
!j@
#!5@
'!05*57)=
5*57>@
.!55*5@
2!5%
+5*5!
?%@ %"@ $
*'&
!j@
#!5@
'!05*57)=
5*57>@
.!55*5@
2!5%"@
+
(
*+
!j@
#!5@
'!05*57)=
5*57>@
.!55*5@
2!5
*+AB
?5*5HE'$$/7!
@ )
!&$"@
#!'$$"@
'!(" (
=>
*+4=>
05*57
5*5)5*57
!j @
#!5$(@
'!5" @
.!5)@
2!7=)>@
6!))@ =)>
?)@ 55*57$ ((
:)@ 7 0@
Warning
+
*+
:)5*5!@ )
5*5
!j @
#!5$(@
'!5 @
.!0'*'!!

+
*' =>
H5*5
!j @
#!5$(@
'!5 %@
.!0
Handset
18
Handset
Sounds
Babysit mode
Registration
Rename handset
Languages
Date & time
Display contrast
Backlight
Setting the handset sounds
You can set the ringer for :
- The external standard ringer for callers whose number is not stored in the phonebook or with no VIP
settings (see page 30).
- The internal ringer for intercom (if there are at least 2 handsets).
To set the 3 VIP ringer types (Friends , Family & Work ) see page 36.
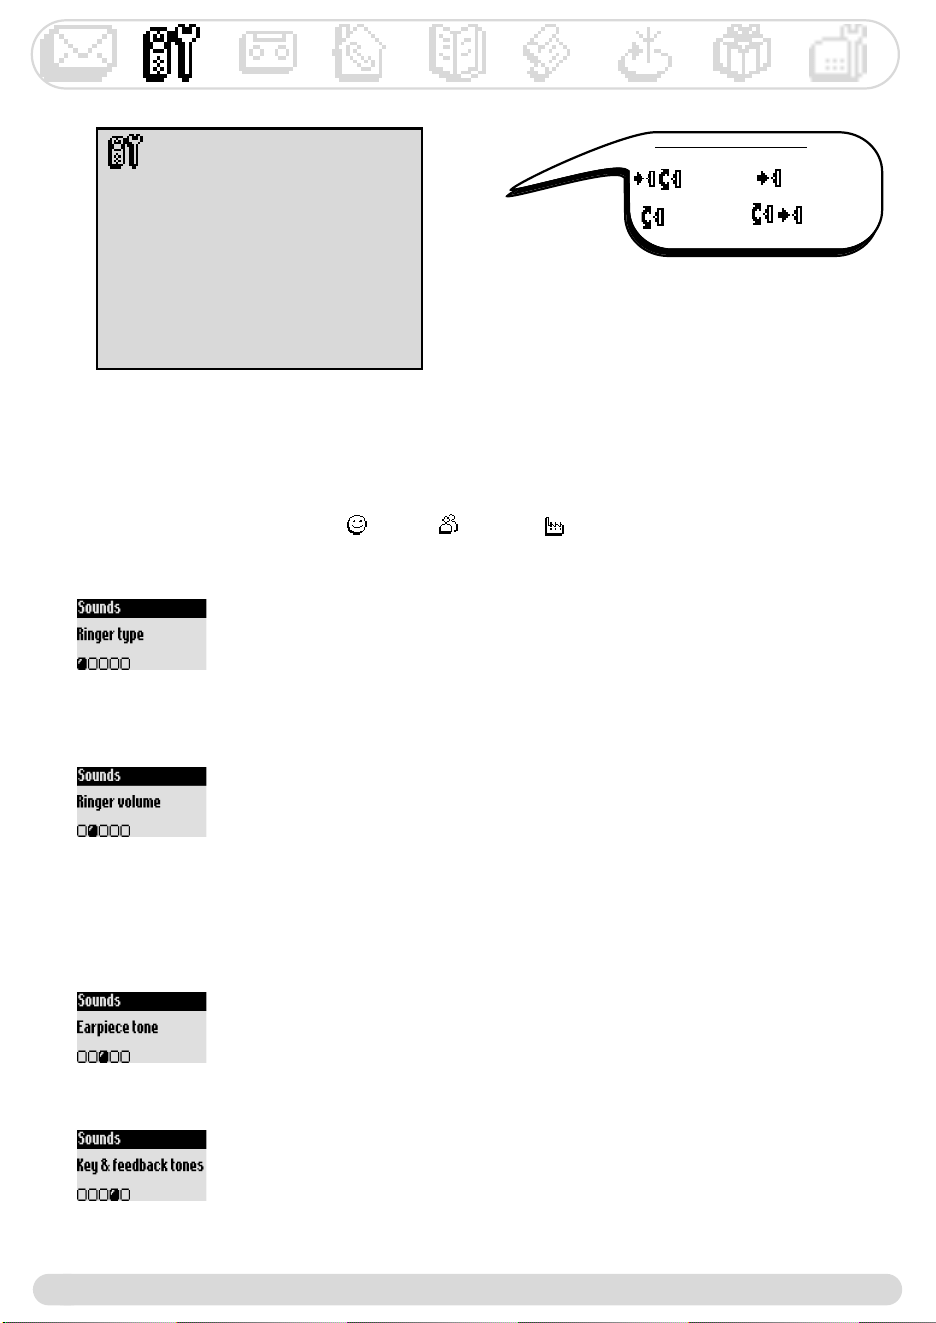
To set the ringer on the handset
1- Go to #, validate
2- Select , validate
3- Select $, validate
4- Choose !, validate
5- Select the ringer in the list and validate
To set the volume level
There are 5 levels plus the vibration call alert.
1- Go to #, validate
2- Select , validate
3- Scroll to , validate (the current level is heard)
4- Choose the appropriate volume and validate
Note :You can activate the vibration call alert. In this case the
ringer will be in silence mode
To set the earpiece tone
1- Go to #, validate
2- Select , validate
3- Scroll to , validate
4- Choose %& or ' and validate
Navigation reminder :
(Go to) (Validate)
(Scroll to) (Select)
To set the key & feedback tones
Tones are audio feedbacks heard when pressing the keys, validating a setting.
1- Go to #, validate
2- Select , validate
3- Scroll to ($)*+, validate
4- Select !"", validate
*
?)G ;
)
*'='
!j+(@
#!5 ."(@
'!5'*'!!@
(:=#8>
CH))
Warning : !"
.
Warning #$%&&' (
)#*+,-
*
!
#!B@
'!.!0)
.!/
:@ )=(1>
?
*5
? ))5*5
7
!j+(@
#!5(@
'!5"E
.!5'*'!!@
*7
!j+(@
#!5$(@
'!5$((@
.!0!@
2!0=.!>
C :@ !
(
!>?
#!5?
'! 0
9:*.3$%;-
8-<
E'$$/7).;)
? @A
D)
!> ?
#!5?
'!5
0
Warning )
% %
;
:
(
!>?
#!5!"?
'! 0 ?
.!
$
"
*$
!j +(@
#!5.#$,
'!534(*14(*'!!
C &
*
!j+(@
#!5((@
'!5
*
!j+(@
#!50@
'!0@
.!
Warning 0"
1 #(1
0" #(
%&
;&
&
5))
H)
") :'$)7
6$('
*&*%&+A*%+B)0=)22
-
!j)(@
#!5 -)$(@
'!5'*'!!
- ,
)=>
%&
5
+
?(*5
H)
*&AB'
?))=3 >
!; %
#!?
C :0&=0%:>@
)/:;
='$>
*''
!j)(@
#!5(($(@
'!5@
.!0
C =>0
:@ @
='#>
*&='AB'
0' 9
A<B A/B
AB AB
Answer machine
23
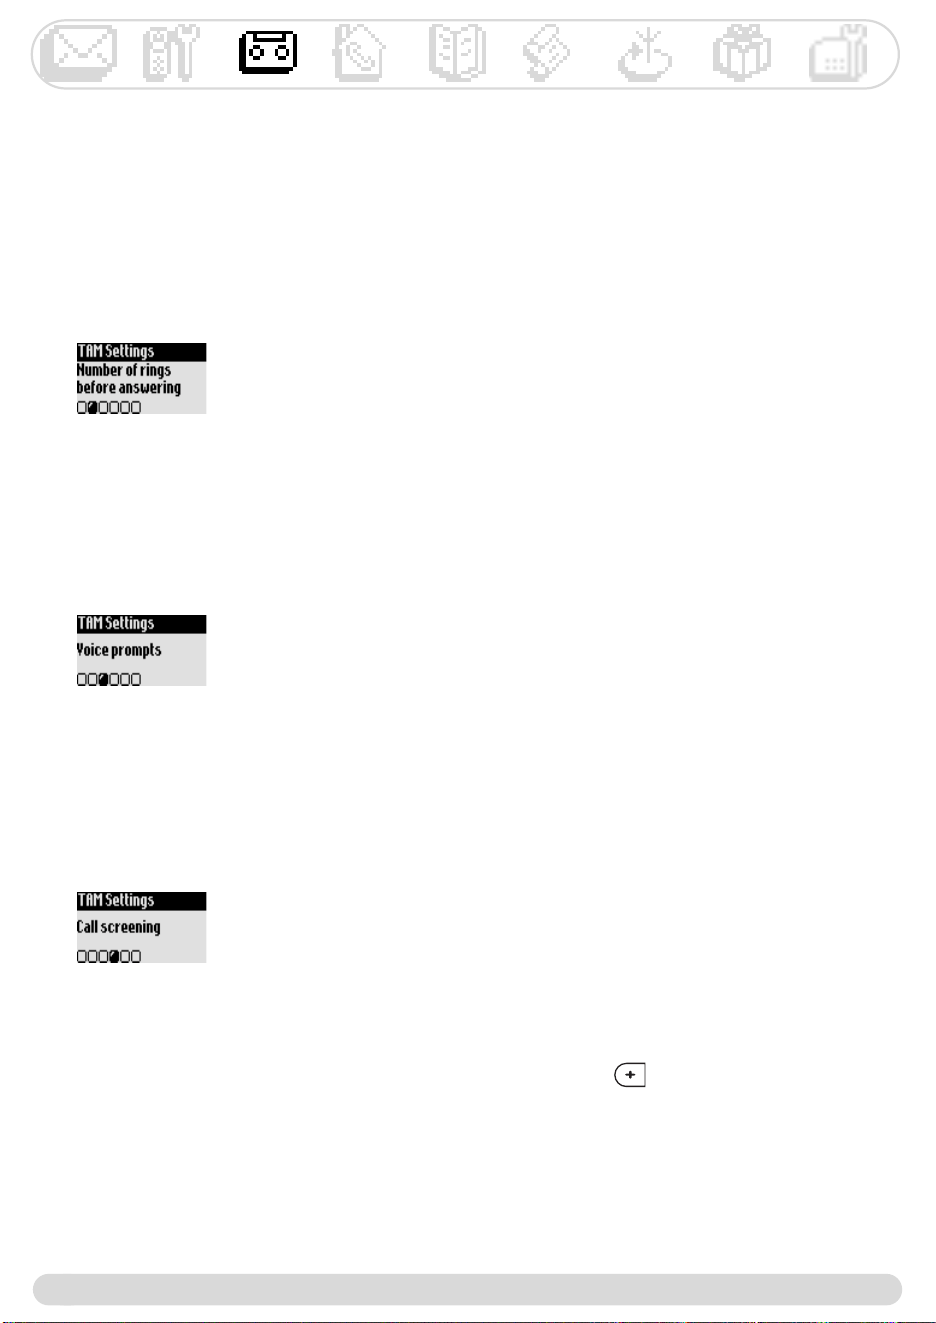
Selecting the answer mode and the outgoing message type
You can select among 2 answer modes :Answer only (when no messages can be left), and Answer &
Record (when messages can be left). For each mode, 2 outgoing message types are available : Predefined
or Personal message. By default the answer machine is set to Predefined Answer & Record mode.
To select the answer mode
1- Go to , validate
2- Scroll to , validate
3- Select ,, validate
4- Choose the appropriate mode (among the 4 options above) and validate
Note : A predefined message cannot be deleted.
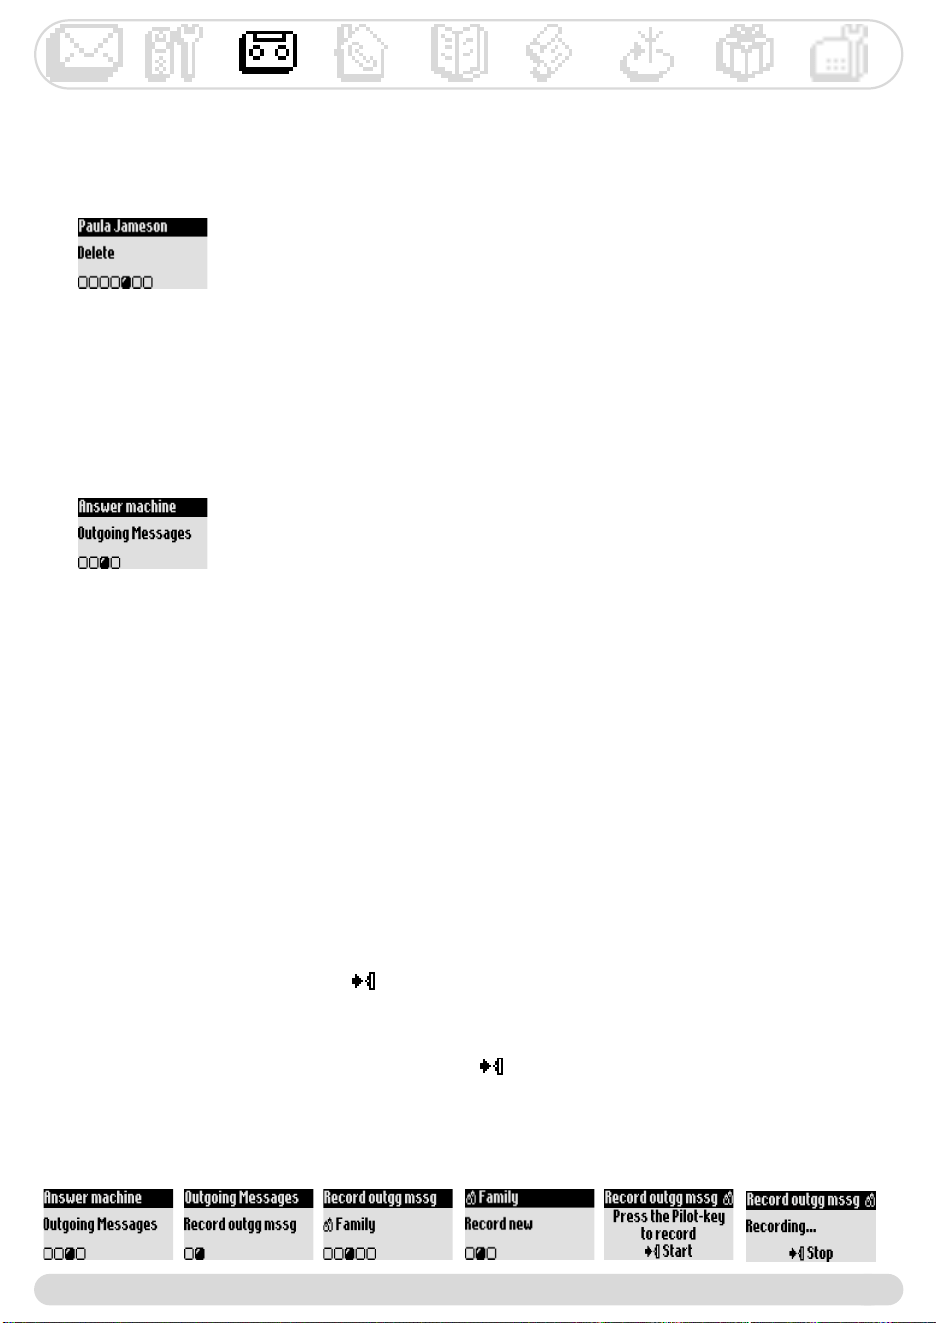
To delete messages
Once you have listened to the message you can delete it.
1- Go to , validate
2- Select , validate
3- Select the message to delete, validate
4- Scroll to , validate
.
Warning : If Answerphone full
Deleting messages
To record an outgoing message
1- Go to , validate
2- Scroll to , validate
3 -Scroll to , validate
4- Select a group (standard or 1 of the 3 VIP groups), validate
5- Select , validate
6- Press to start recording
Note : After recording, remind to set the answer machine mode
on the personalized outgoing message (see above)
To stop recording press again
The message is automatically played back.You can delete and/or record it
again.The personal message can be up to 3 mins long.
Note : Select a standard outgoing message (OGM) if you have no Caller
Display (CLI) subscription.
Recording your personal outgoing message (OGM)
You can record 5 different personal OGM :
- a specific personal OGM for Answer & Record mode for each of the VIP phonebooks (Family, Friends,
Work),
- the standard OGM for Answer & Record mode for non VIP callers, and
- the standard OGM for Answer only mode for all callers.
It is possible to record specific messages for VIP groups only if you subscribe to the Caller Display service
(CLI) and if you have set the VIP groups in the phonebook (see page 30).
%&
-
55&
H)='@2@8
?>
?=>)?)
)') :)
)2
A.)
*55&
!j)(@
#!5-)$(@
'!5"$("($@
.!5
'
/)) "
H
H
*'
!j)(@
#!5-)$(@
'!5%(@
.!5(($0*(($*'!!
?)
)
H
*'='
!j)(@
#!5-)$(@
'!5($@
.!5'*'!!
049
)) ;
Answer machine
25
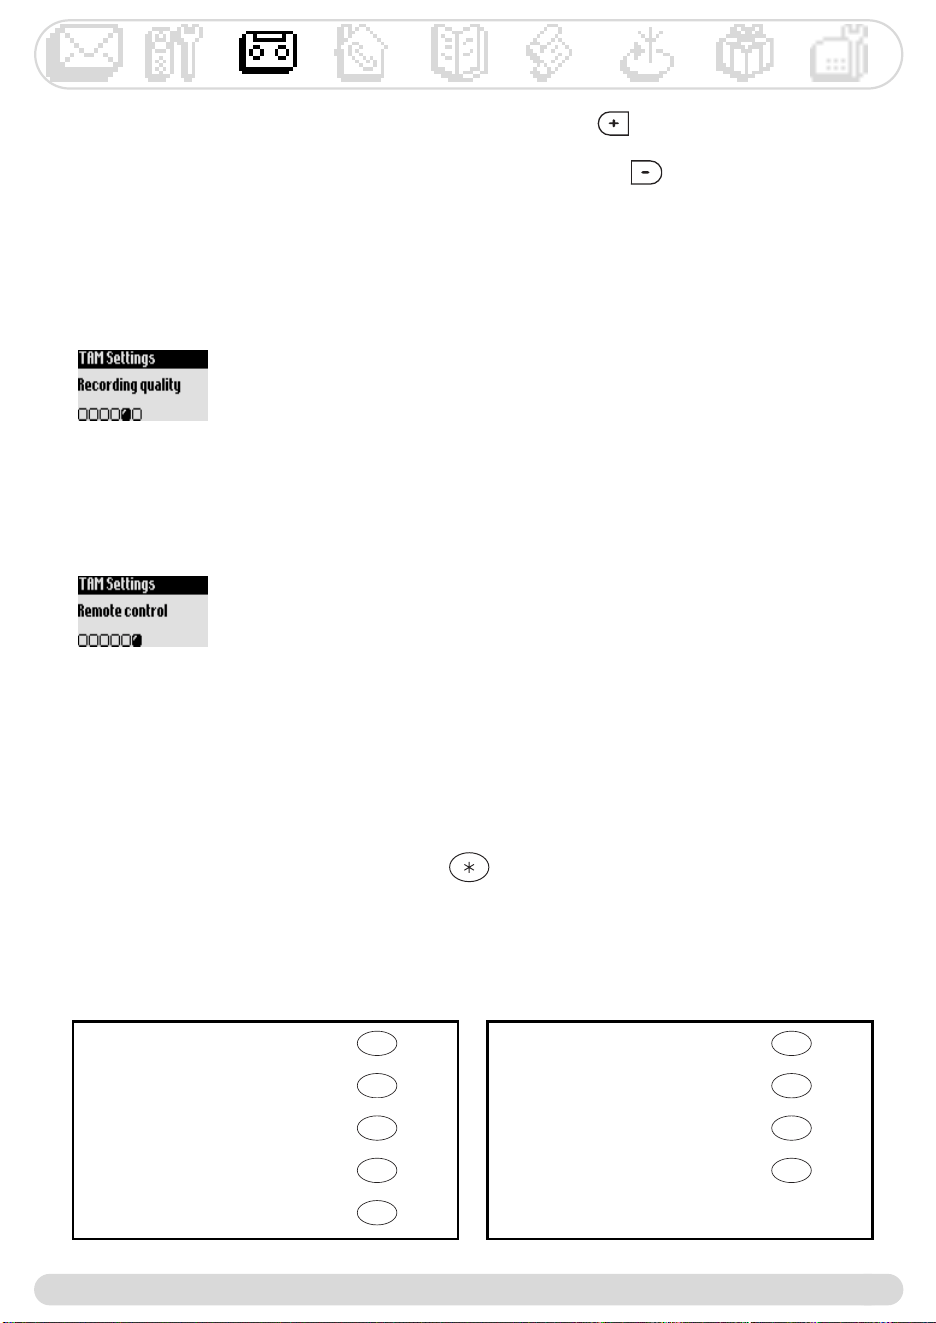
Setting the recording quality
There are 2 recording qualities : standard & high.
In standard quality the total capacity is up to 60 mins. In high quality the total capacity is up to 30 mins.
To set the recording quality
1- Go to , validate
2- Scroll to &, validate
3- Scroll to -$, validate
4- Select the appropriate settings and validate
Activating the remote control
Remotely control your answer machine
To activate/deactivate the remote control feature
1- Go to , validate
2- Scroll to &, validate
3- Scroll to , validate
4- Scroll to , validate
5- Select !"" and validate
Note :The default setting is OFF.Activate this feature if you want to be able
to remotely use the answer machine.
To remotely access your answer machine :
1- From another phone, dial your home phone number
2- During or after the message press the star key on the phone
3- Dial your remote control code
4- If you have new messages they will be automatically played.
To increase the volume of the base loudspeaker when on line, press several times.
To decrease and/or deactivate the base loudspeaker when on line, press several times.
The following table indicates the features available when remotely accessing the answer machine.
Record memo : Dial
Play previous message : Dial
Play message : Dial
Play next message : Dial
Listen again to the message : Dial
5
3
2
1
0
Delete : Dial
Activate answer machine : Dial
Stop : Dial
Deactivate answer machine : Dial
9
8
7
6
Answer machine
26
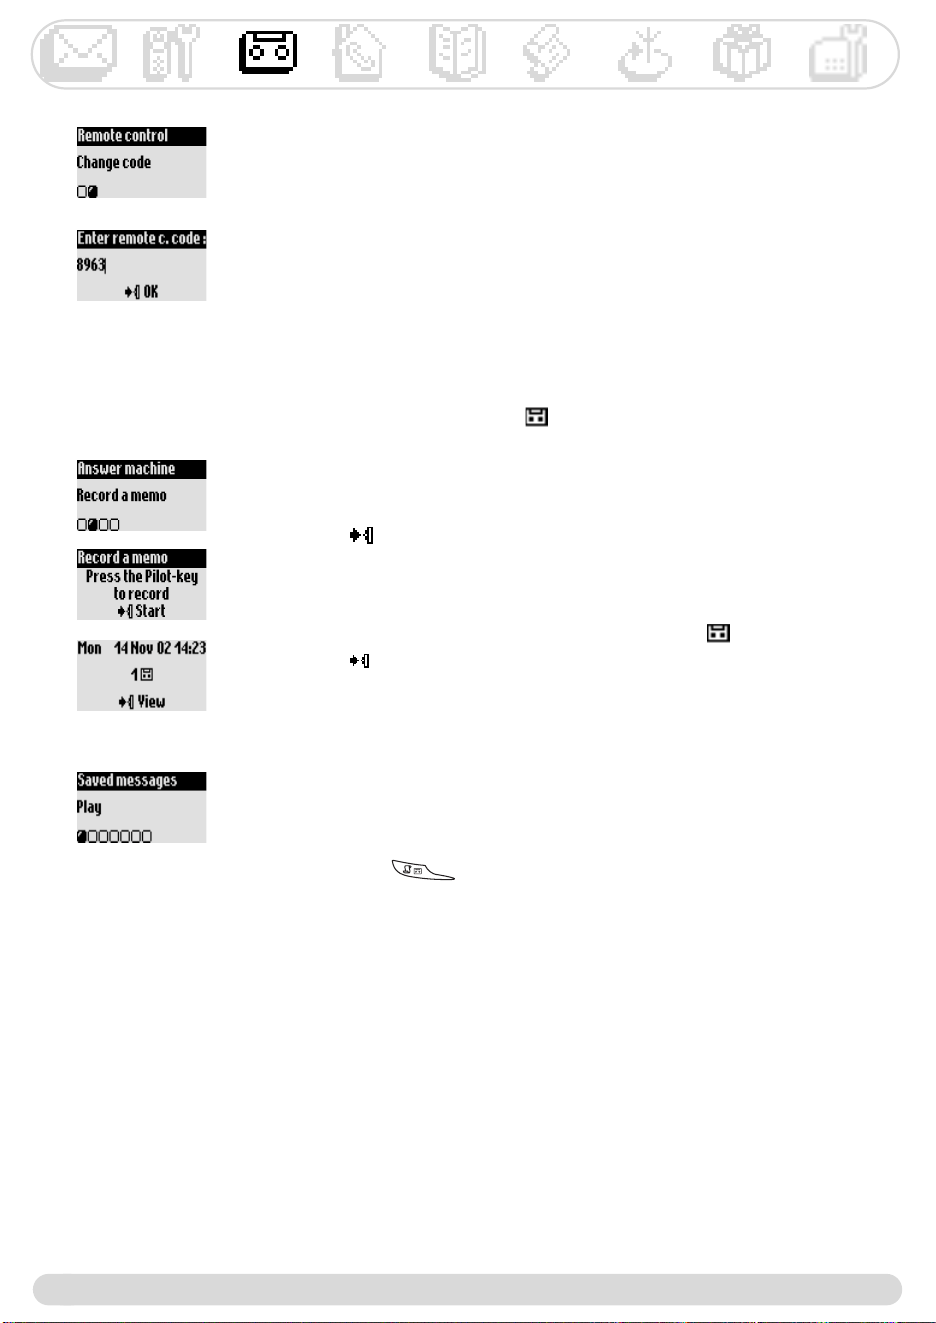
Recording/listening to a local message on the handset
This feature allows you to leave local messages for your family on the answer machine.
A memo is recorded from the handset, it is represented by in the call log and can last up to 3 mins.
To record a memo on the handset
1- Go to , validate
2- Scroll to , validate
3- Press to start recording
4- Press again to stop
To listen to the memo on the handset
The display shows there is 1 new local message (. )
1- Press to /
2- The message is automatically played
is also available in the options
To listen to a saved memo on the handset
1- Go to , validate
2- Select , validate
3- Select 0$, validate.
Long press on to reach the messages list.
To change the remote control code
The default code is 0000.We advise you to personalise it.
1- Go to , validate
2- Scroll to &, validate
3- Scroll to , validate
4- Scroll to , validate
5- Delete the default code 0000 and enter the new remote c. code, validate
Warning !"!"#!"$
0
A
; =#>
?)@ =>@ 7
?)
:'
!j&,
#!:@ +)@
)@
'!?
.!?
?,
55
&7
:!
!;
#!5 &,
'!:@ +)@
)
??7
:)
@ &
.!?
"
2! -(
??
CH)
B=
>='>
0' 9
A<B A/B
AB AB
CH: :
C
5
0)7)#=
:>('
!;
#!5 &,
'!5)
.!?
2! @
Phonebook
29
Phonebook
View
Add new
Using the phonebook
255 names and numbers can be stored in the phonebook.
The phonebook contains all the information related to the callers, especially the VIP settings.The names
and numbers are shared with all the handsets registered to your base.
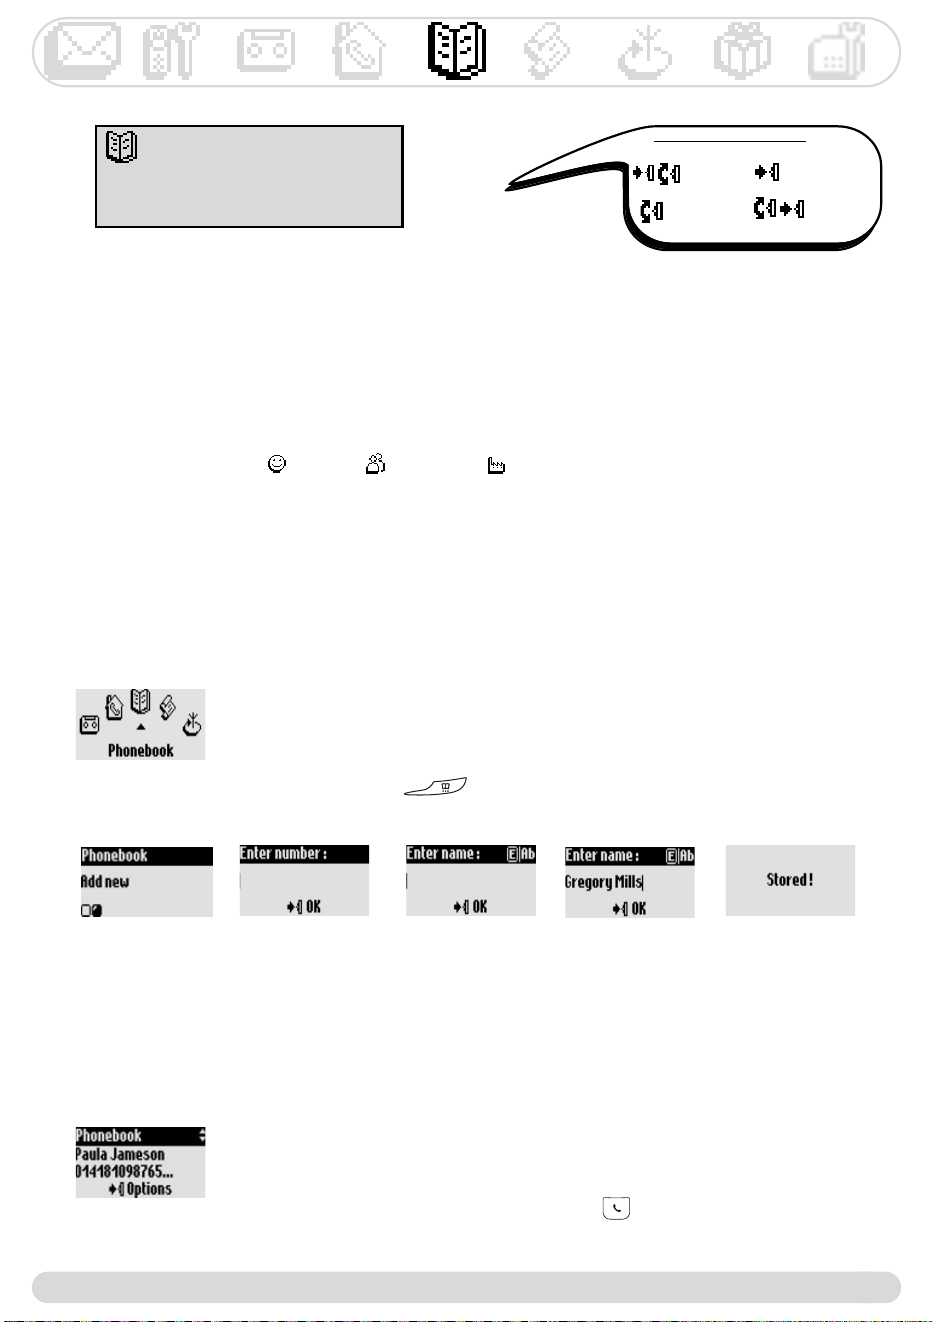
Adding a name to the phonebook
The names are stored in alphabetical order.
To store a name
1- Go to Phonebook, validate
2- Scroll to Add new, validate
3- Dial the number, validate
4- Enter the name, validate (see page 12)
A long press on gives direct access to Enter number.
To store a name from predial
Once the number is dialled, select Store in the options
VIP settings
The VIP groups are Friends , Family and Work .When ringing, the VIP ringer helps you identify
the caller’s group and the screen shows the caller’s name. A specific welcome message can be associated
to a VIP group (see page 23).A subscription to the Caller Display (CLI) service is needed.
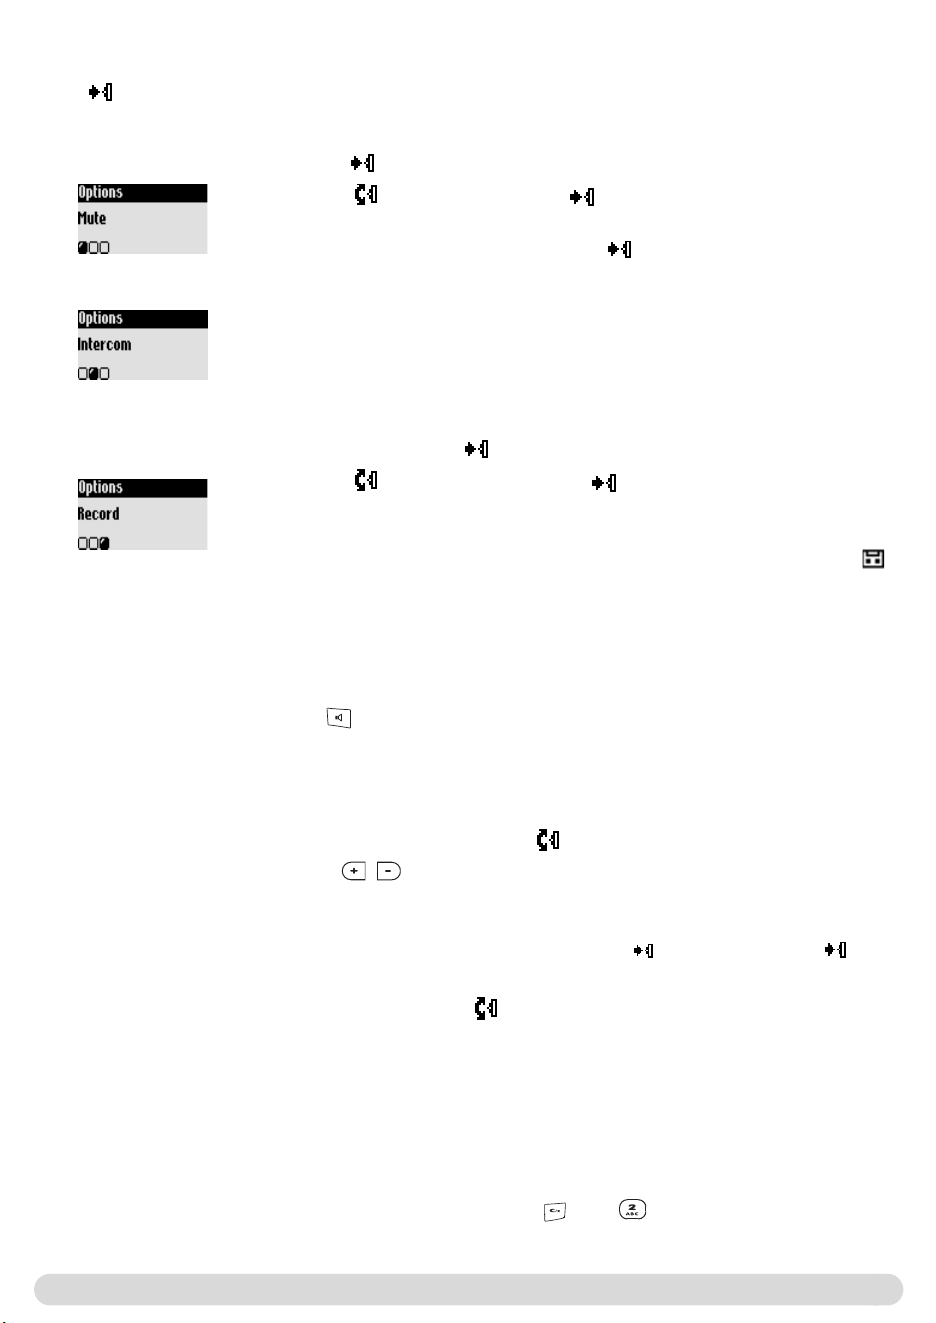
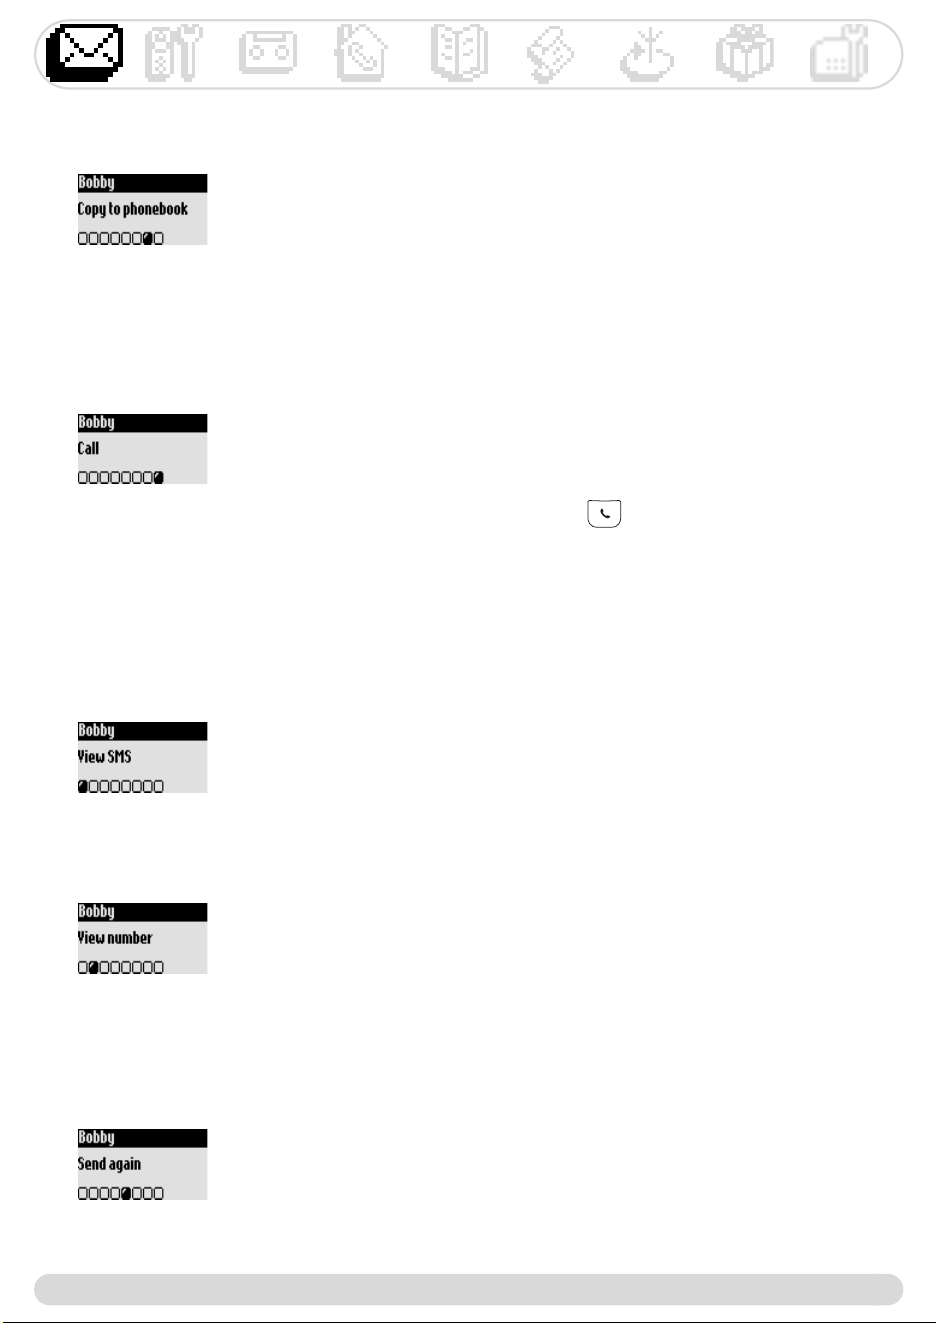
Calling from the phonebook
To call from the phonebook
1- Go to Phonebook, validate
2- Scroll to View, validate
3- Select a name from the list
4- Choose Call in the options or press
Navigation reminder :
(Go to ) (Validate)
(Scroll to) (Select)
.$
,
/&$
H)
?1@
?1@ =
)> *
*'&$
!;
#!") @
*
!j"#@
#!5 %@
'!5@
.!5 $"@
2!)
C :) H
@
*
!j"#@
#!5 %@
'!5@
.!5$@
2!)
C :) H
@
*5/.
?/:;@ /:;
!j"#@
#!5 %@
'!5@
.!5%&$@
2!5/:;
*+4
:)G5*57@ 7
)@ ))5*5
!j"#@
#!5 %@
'!5@
.!5$" @
2!7@
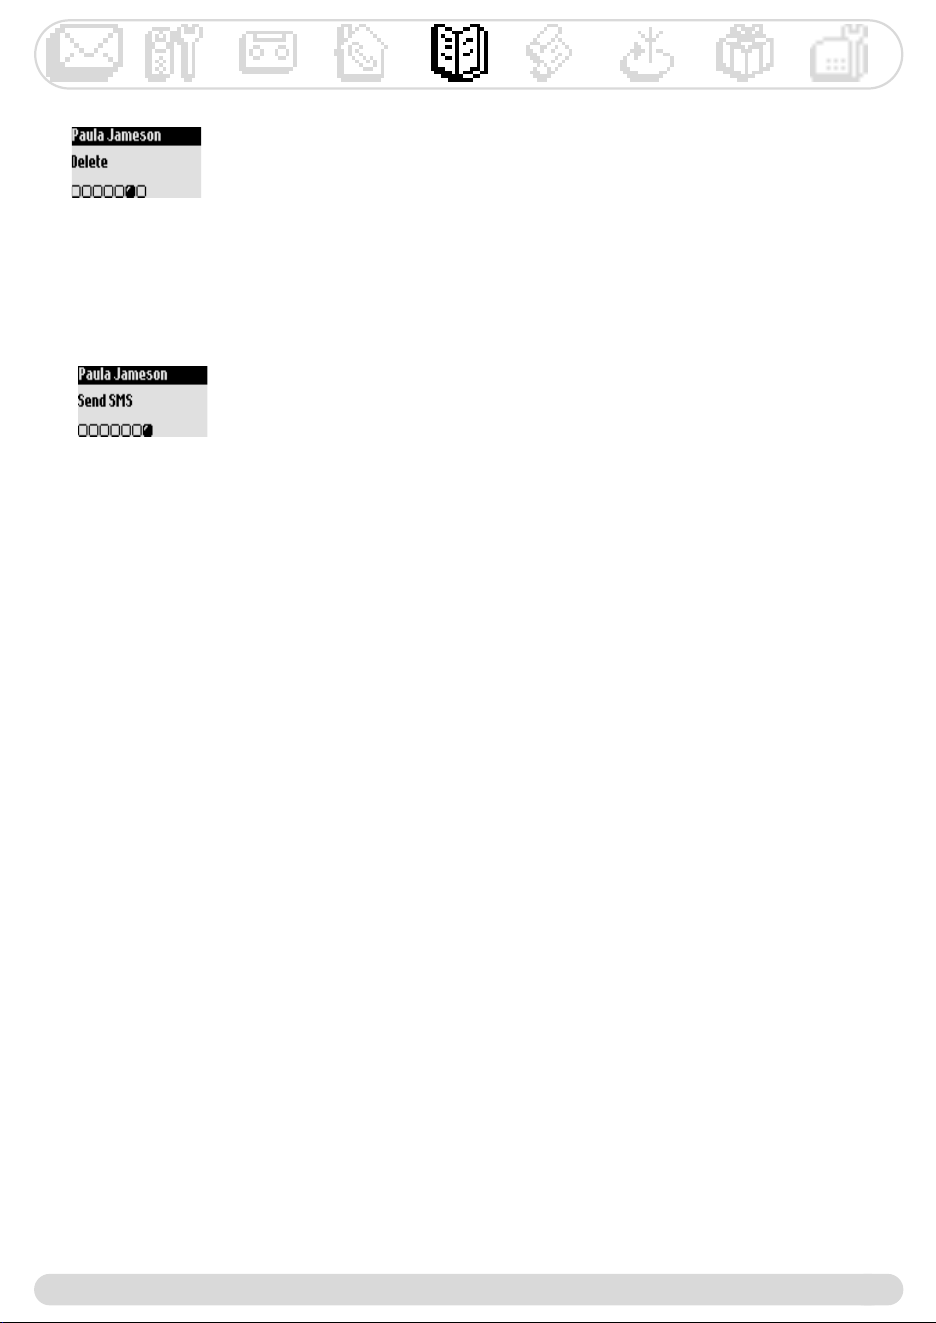
.$
,
*+5$
!j"#@
#!5 %@
'!5@
.!5@
2!05*57)=
5*57>@
6!7=>@
8!5*(@
!B7=#>@
!5@
$!5@
*
!j"#@
#!5 %@
'!5@
.!0
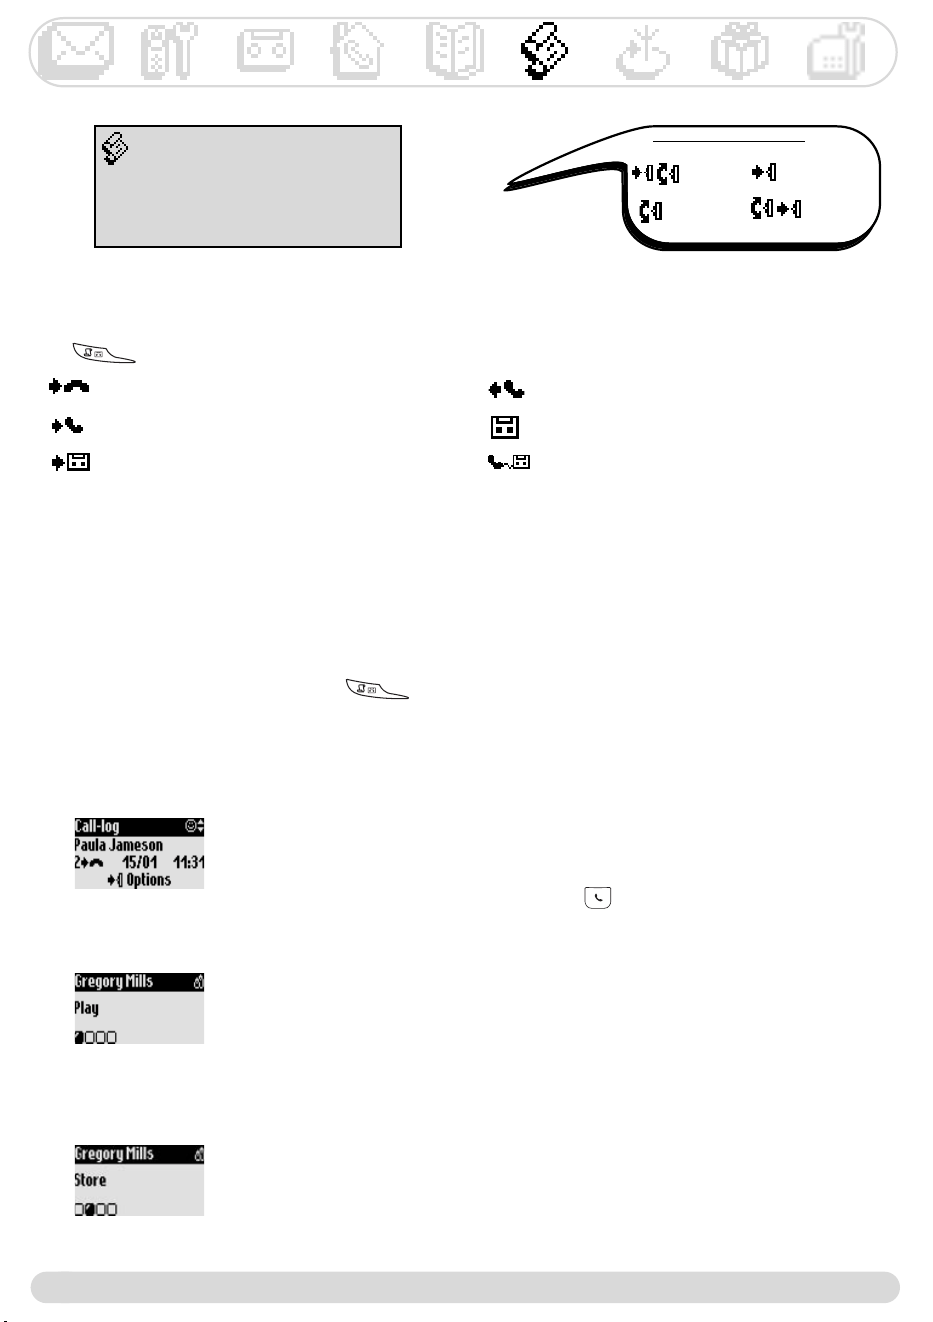
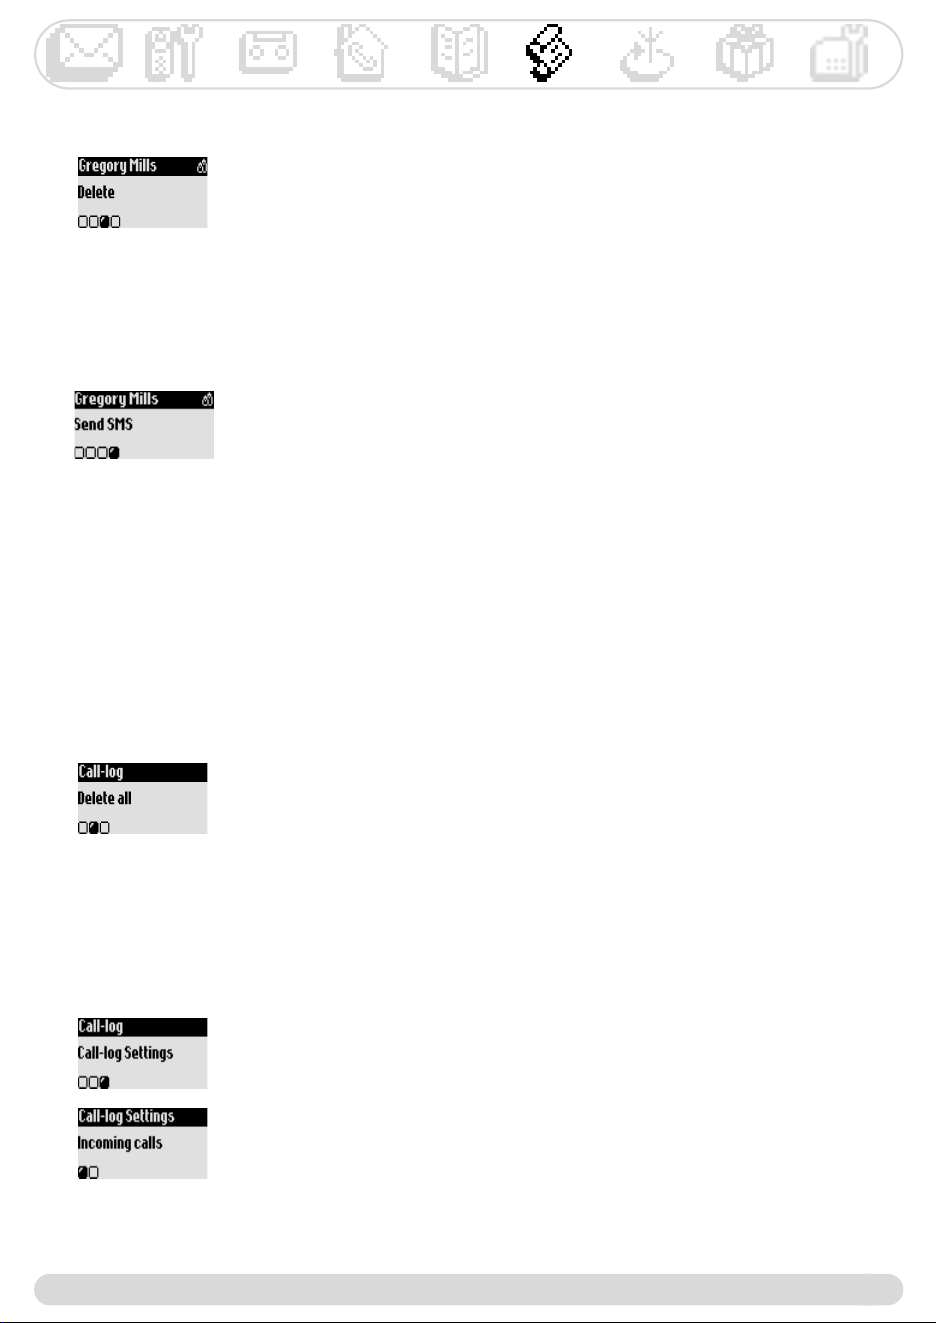
Call log
32
Using the call log
Use to enter the call log.The call log stores up to 80 entries.
- : unanswered calls - : outgoing calls
- : answered calls - : local messages or recorded conversation
- : messages - : messages (voice maibox/if info sent by
the network operator)
If you have subscribed to the Caller Display service (CLI), the call log shows, for incoming & outgoing
calls, the name (or number) of the callers, the VIP group icon if any, the date & time of the call as well as
the number of times they have tried to reach you (up to 9).
Call log
View
Delete all
Call log Settings
To view the call log from the handset
1- Press
2- The list is displayed, scroll through the list to reach the desired
information, validate
Viewing the call log
To store the caller’s name and phone number from the call log
1- Go to Call log, validate
2- Scroll to View, validate
3- Scroll through the list to reach the desired entry, validate
4- Select Store, validate
5- Enter the name, validate
To call/call back or redial from the call log
1- Go to Call log, validate
2- Scroll to View, validate
3- Scroll through the list to reach the desired entry, validate
4- Select Call in the options or press
To listen to a message from the call log
1- Go to Call log, validate
2- Scroll to View, validate
3- Scroll through the list to reach the desired entry, validate
4- Select Play and validate
Navigation reminder :
(Go to) (Validate)
(Scroll to) (Select)
,,
*
H
!j$@
#!5@
'!0
C?))
*
!j$@
#!5 $$(@
'!5 &$(*'$$(@
.!5
H,
"
*+5
!j$@
#!5%@
'!5@
.!5@
2!05*57)=
5*57>
6!7=>@
8!5*(@
!B7=#>@
!5@
$!5@
*5
!j$@
#!5%@
'!5@
.!5@
2!0
Warning
0&$
,-
*&
??)
7))
*&
!j#@
#!5((!@
'!?7 ? :
)@
/)H
.!; @
=$>
2!0
CH)
:) @ .
*54
!j#@
#!5((!@
'!5=@ @ )@ >@
.!5$ G@
2!5 $" 7
@
C :4949)
;5
?)7=
>
H7@ @ G
=> 5)
0&$
@09-
+
0' 9
A<B A/B
AB AB
0&$
,:
;' =5>
?)
0=.$>
0)H0)@
/7
*'='5&
!j#@
#!5'(@
'!5@
.!&=>)
)
2!?)7
6!A
-))
?)
?)@
345'9 5&
0
5=.$>)
34
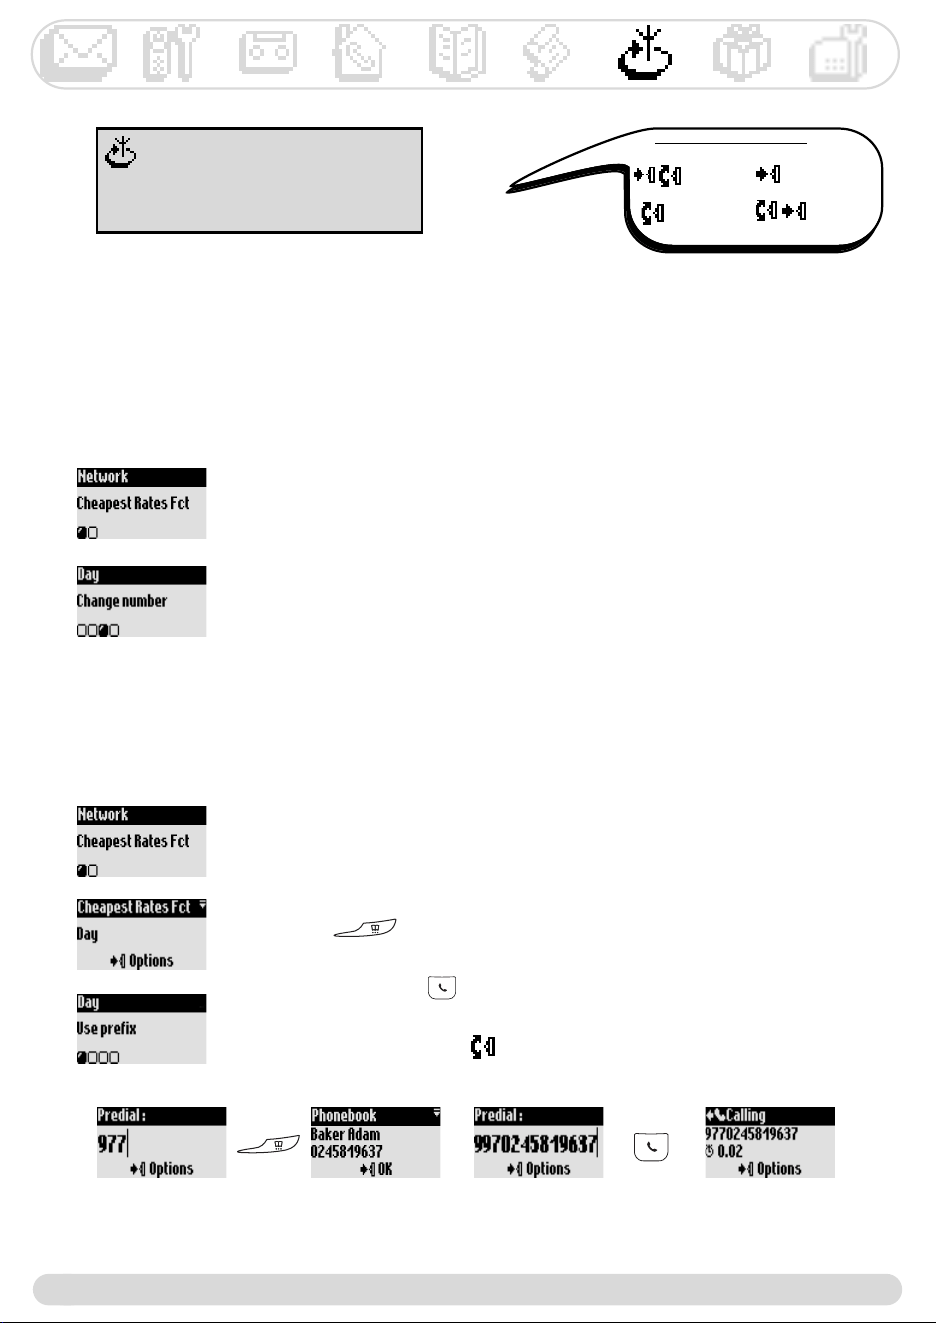
,(
34
/:;
0
(
4&&9
/.
50&=0%:>
=0>
*'&#
!j @
#!5(0@
'!5%@
?
.!; (
0' 9
A<B A/B
AB AB
*/.
!j @
#!5%&@
'!5@
.!0
C?/:;
?)
!j @
#!5(0@
'!5(@
.!
B@
?a=)2>
?
*$
!j @
#!5)#@
'!5 @
.!5 @
*'='$
( ,))
*$
34
,
*'
!j @
#!5)#@
'!5)#$(@
.!5$@
2!0
@"0"1
?)))
/:;)
:)@ )@ )
) ??)=>
7))
50&=0%:>
"+--
*
!j @
#!5)#@
'!5)#$(@
.!5$@
2!0
*'='@"0"1
!j @
#!5 ("@
'!5 @
.!5 @
2!5 @
6!5)@ )
CH. :
@ )
*'='"0"5
( ,))
,C
*
!j.((@
#!5(@
'!5(@
.!5@
2!;
6!;
8!(
*''
!j.((@
#!5(@
'!5$@
.!5
5
%
5
0' 9
A<B A/B
AB AB
*
!j.((@
#!5(@
'!5$@
.!0
*'='
?))
)
!j.((@
#!5(@
'!5(,
.!5'*'!!@
C :@ )
,
*"3*
!j.((@
#!5"$(@
'!
.!-)=.>
*
:)
@ 0&=0%:>
*AB
!j.((@
#!52($(@
'!5@
.!5-*(@
*&$
!j.((@
#!52($(@
'!5 #@
.!5-*).6,
?)&0?)
;);5?
:5&)
*=>
!j.((@
#!52($(@
'!5@
.!5(*2$(@
C?)@ )
Base station
40
Service code settings
When you subscribe to extra services with your operator you may need to set some codes in your
phone.
The default codes are the codes used by the main national network operator.
If you subscribed to another operator you may need to change the codes.
Contact your network operator for more information on the services (see page 35).
To change a service code
1- Go to Base station, validate
2- Scroll to Service code settings, validate
3- Select the appropriate service, validate
4- Select Change and enter the new code and validate
To change the operator type (country dependent)
1- Go to Base station, validate
2- Scroll to Line settings, validate
3- Scroll to Operator type, validate
4- Select among the suggested types and validate
Note : Useful if the Caller Display service does not work when you
subscribe to that service.The default setting is type 1.
To activate/deactivate the first ring (country dependent)
To prevent the phone from ringing when receiving an SMS, the first ringer is
deactivated.You can activate it.
1- Go to Base station, validate
2- Scroll to Line settings, validate
3- Scroll to First ring, validate
4- Select ON/OFF, validate

<%.
-
;<%.
?j(;&0?
?*
j(;)
HE'$$/7j(;
@ )C @ @
?
E'$$/7)
?E'$$/7)j(;@
)G@ )
?E'$$/7@
='>@ )G
"3*
?*
&$
5&0?
?*
@ @ (!
))
5'@ )

555
-
5E 3'5
55 C?1))
()
59 A@ ;E'$$=? 8'8@? 8'8#? 8'8$>
)1&,2,0 5
@ ;?
))
.&D9 ?1##$!#.$@
)@ 7:?6$!2$
>??)6$!
2$?))))
)
*9 ?)?/!'=?
)/@ 6$!2$>
59 &))) &
H7 &)
)
3'9 ;
@ 7)
"55
B@
;0
&0?A?
G(
8#$%*07
-
&E'$$@ E'$$
)7:::??!&,2,0))
1C
('=>C 6$2$=#$$$>
('C =1)>C
?5:'$.!6/:::=$,#$$$>?5:'$.!/:'=$,#$$>
('#=>'$.$6=#$$>
?)10,2,0
&C 6,$8,#$$'
/;j* &0?A?
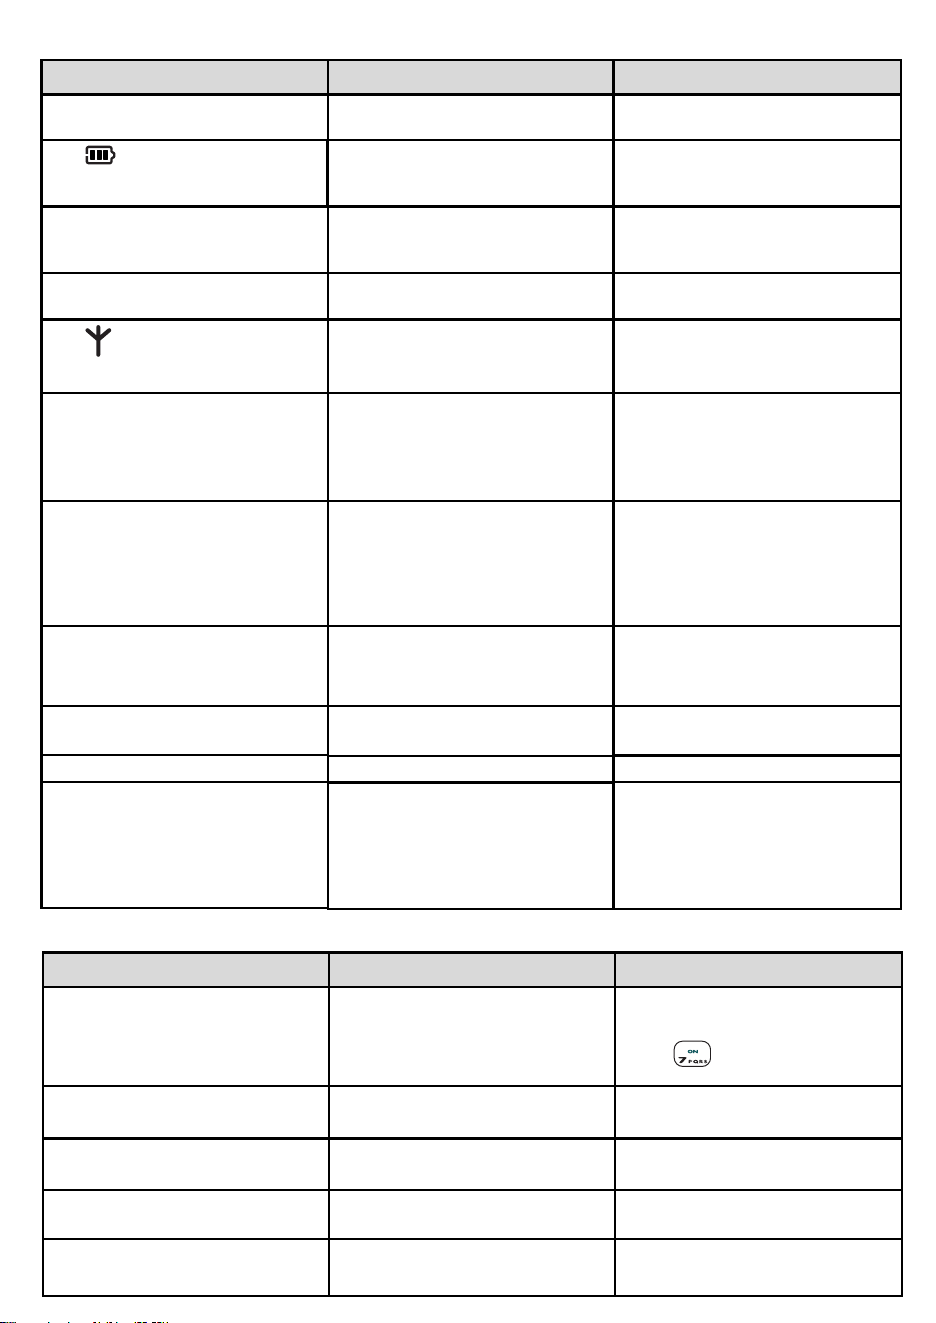
PROBLEMS
The green indicator does not light
up
- The base station is not properly
connected
- Check mains power and
connections
The does not scroll when
the handset is placed on the charger
- Bad contact
- Dirty contacts
No ringer - The ringer is deactivated
- The Do Not Disturb mode is ON
- Set the ringer (see page 18, 38)
- Deactivate it
The does not appear
- No mains power
- The handset is too far from the
base station
- Check connections
- Move closer to the base station
Crackling on the line - Handset too far from the base
station
- The base station is too close to
electrical appliances, reinforced
concrete walls or metal doorframes
- Move closer to the base station
- Move the base station to find a
better place (the higher the
better)
The handset displays failed
- when attempting to add another
handset to the base station
- when using a handset
- The procedure to add a handset
has failed, try again
- Maximum number of handsets
has been reached
- Base station is already busy with
another handset
- Disconnect and connect the
base station power supply. Follow
the procedure to register a
handset (page 19, 39)
- Un-register a handset (page 19)
- Wait until it is available
Noise interference on your radio
or television
- The Zenia 300 Vox base station
or mains power pack are too
close to electrical appliances
- Move the base station or power
pack as far as possible
Caller Line Identification service
(CLI) does not work
No new SMS are received
- SMS memory is full
- Service not activated
- Check your subscription with
network
- Delete old SMS
No SMS can be sent/received
- The outgoing/incoming SMSC
numbers are not set or are
wrong
- The SMS box or destination box
is wrong
- SMS mode is OFF
- Contact your operator to get
the correct SMSCs numbers
- Check the information stored
(page 16)
- Change SMS mode (page 16)
The answer machine does not
record messages
The remote control access does
not work
It is not possible to record an
outgoing message
The Zenia 300 Vox hangs up
during remote access
The answer machine stops
automatically
- The memory is full
- The answer only mode is activated
- The Answer & record is not
activated
- The remote control access is
not activated
- The memory is full
- 3 failed attempts to send a code
- duration is too long
- The memory is full
- Message exceeds 3 mn
- Delete messages
- Select the Answer & record mode
- Press
- Activate the remote control
access (page 25)
- Delete messages
- Enter the correct code
- Manage the remote control quicker
- Play & delete messages
- Messages must not exceed 3 mn
No dialling tone
CAUSES
SOLUTIONS
PROBLEMS CAUSES SOLUTIONS
- No power
- You are too far from the base
station
- Check connections
- Move closer to the base station
- Move the handset slightly
- Clean the contacts with a cloth
moistened with alcohol
Answer machine troubleshooting...
Telephone troubleshooting...

A
Adding handset 19
Adding a name 29
Alarm clock 36
Answering call 7, 10
Answer machine settings 23
B
Babysit mode 19, 27
Base keys 4
Base ringer 36,38
Base stations & indicators 4
Battery pack & battery life 3, 6
C
Call forward 35
Call log 32, 33
Call transfer/conference call 32, 33
Calling from call log 10, 32
Chain dialling 10
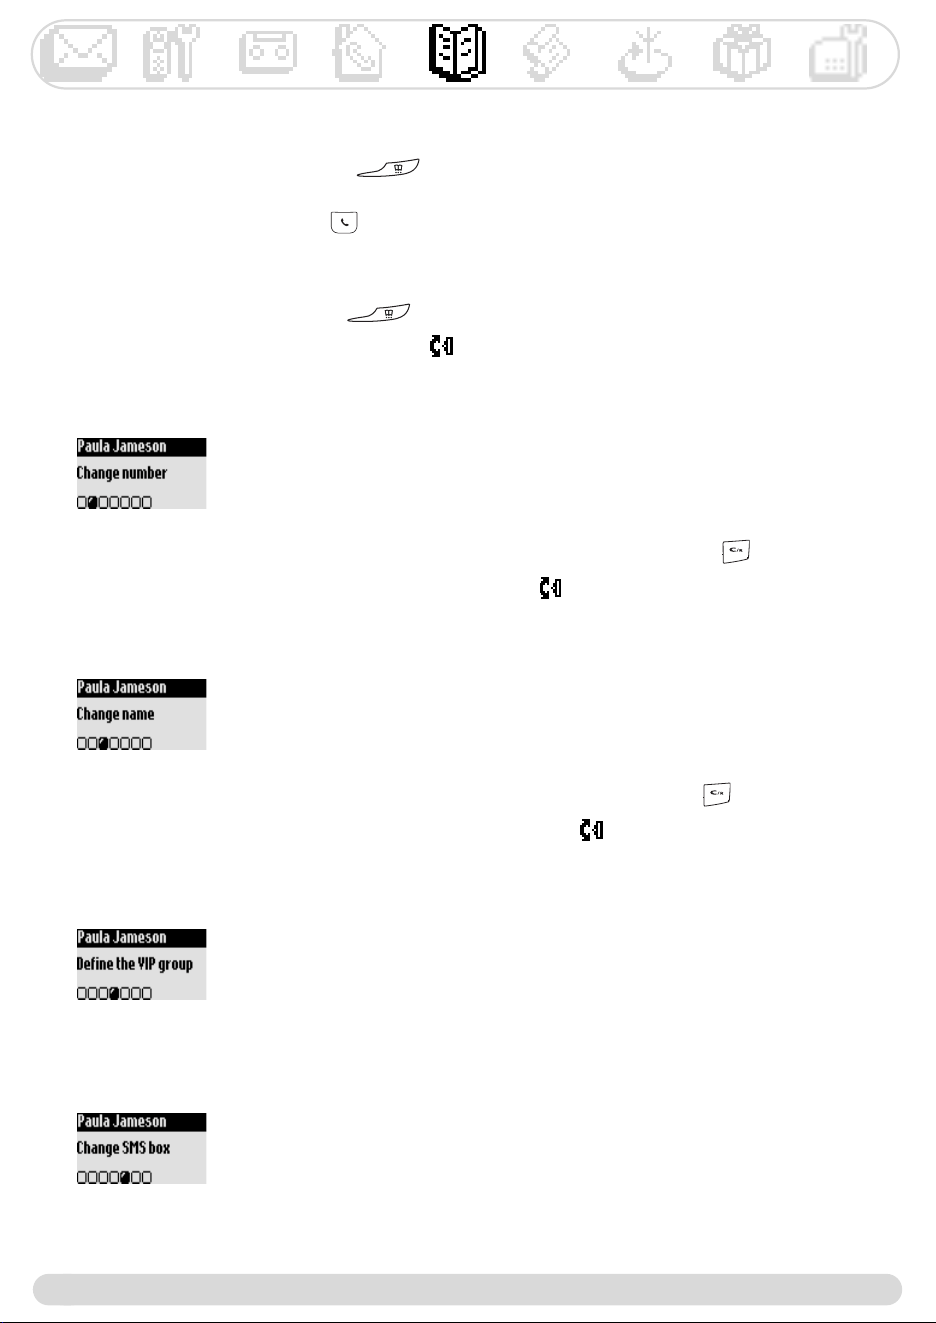
Changing entry (name & number) 29
Changing VIP group 30
Cheapest rates (Changing operator) 34
Contrast 21
Call cost & duration 36
D
Date & time (Set and change) 20, 21
Deactivating ringer 18
Deleting entry 31
Deleting messages (answer machine) 23
Deleting messages (SMS) 16
Destination box 13
Dial mode 39
Direct calling 7, 10
Do Not Disturb mode 37
E/F
Earpiece tone 18
Earpiece volume 11
Ending call 7, 10
Entry type (VIP/Standard) 30
External ringer type 18
First ring 40
G
GAP 41
H
Handset keys 2
Handset ringer 18
I
Icons 3
In-call features 7, 11
Indicators (LEDs) 3, 4
Installation 6
Internal ringer type 18
Intercom 27
K
Key & feedback tones 18
Keypad lock/unlock 2
L
Line settings 40
Listening to messages (Answer machine) 22
Listening to pre-recorded outgoing messages 23
Local message (Memo) 7, 26
M
Making calls 7, 10
Message service (Operator voice mail) 32
Music on hold 38
Mute 4, 7, 11
N
Name (Add, delete, change) 29, 30, 31
Network services 35
Notification beeps 19
Number (Change) 30
O
Operator type 40
Outgoing message 23
P
Pause 2
PABX/PSTN 39
Phonebook 29, 30, 31
Predial 10
Pulse 39
R
Range 6
Recall type 39
Recording quality 25
Recording conversation 4, 7, 11
Recording local memo 4, 7, 26
Recording personal melody 38
Recording personal outgoing message 23
Redial 4, 7, 10
Registration mode 39
Remote programming (Answer machine) 25
Remote accessing answer machine 25
Remote control code 26
Rename handset 20
Ringers 19, 36, 38
Rings before answering (Answer machine) 24
S
Screening calls 4, 8, 24, 25
Service codes settings 40
Silence 10
SMS box 16
SMS (Sending) 13
SMS centre 16
SMS (Reading) 14
SMS mode 16
SMS settings 16
Sounds 18, 38
S/T
Toll saver (Answer machine) 24
Tone 39
U
Unregistering handset 19
V
Vibration call alert. 18
VIP settings 30, 36
Voice prompts 24
Volume (Ringers) 18, 38
Index