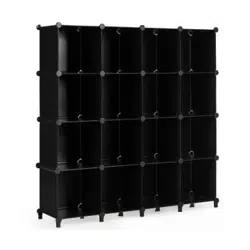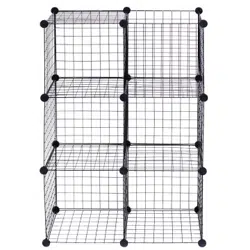
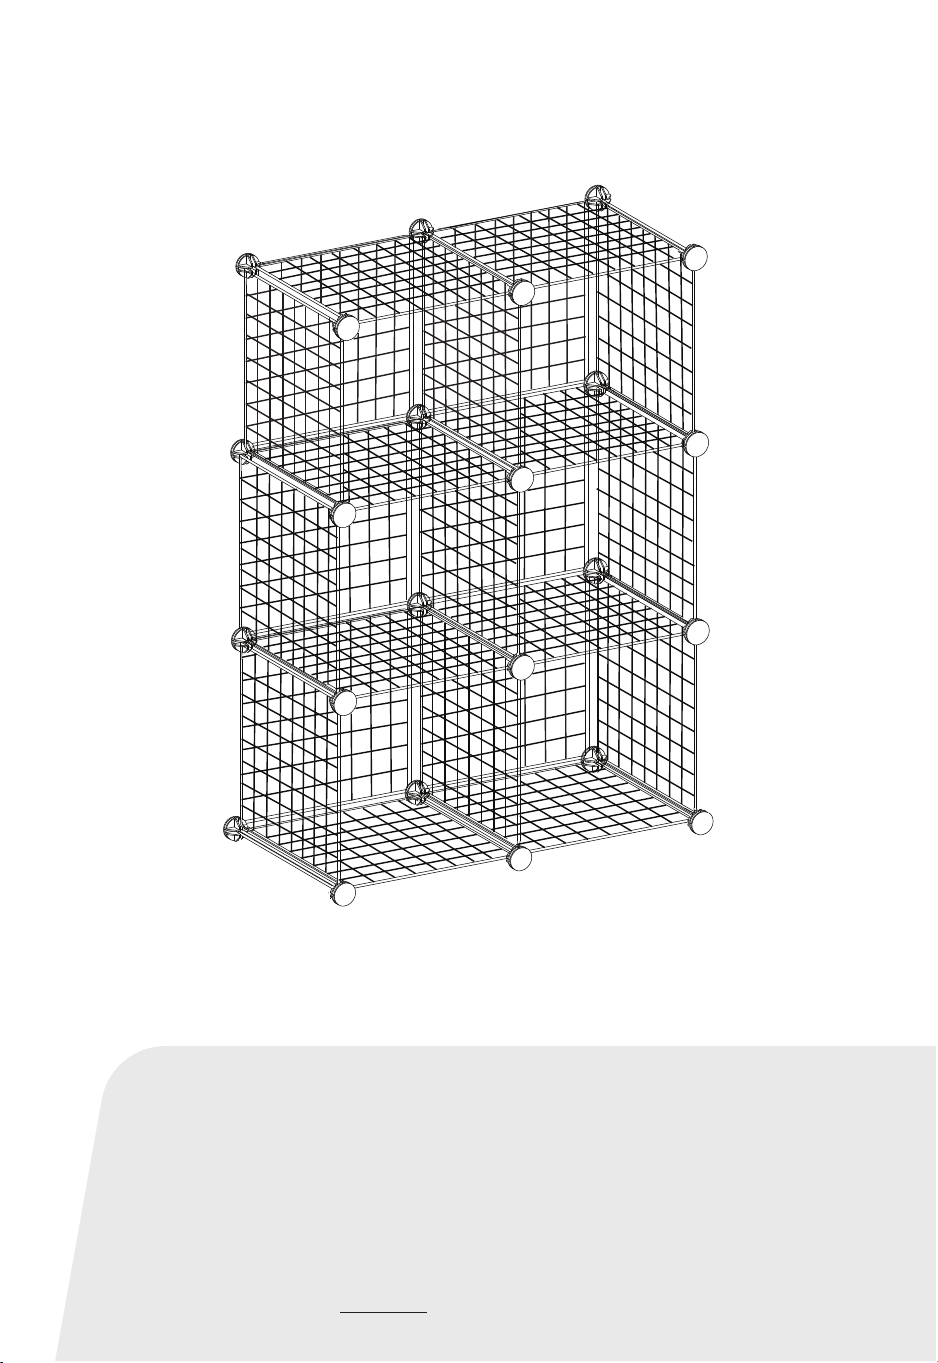
Wire Grid Organizer
HW56101
USER’S MANUAL
THIS INSTRUCTION BOOKLET CONTAINS IMPORTANT SAFETY INFORMATION. PLEASE READ AND KEEP FOR FUTURE REFERENCE.
Before You Start
Please read all instructions carefully.
Retain instructions for future reference.
Separate and count all parts and hardware.
Read through each step carefully and follow the proper order.
We recommend that, where possible, all items are assembled
near to the area in which they will be placed in use, to avoid
moving the product unnecessarily once assembled.
Always place the product on a flat, steady and stable surface.
Keep all small parts and packaging materials for this product
away from babies and children as they potentially pose a serious
choking hazard.
02
● Please check the components/parts quantity according to ”Part List”
before assembling.
● Before next step, please make sure to assemble the connectors in place.
● Please complete the assembly and ensure the stability before use.
● We provide two extra connectors for free as subsequent usage.
● To avoid accidents, do not let children play with the product.
● The load weight of each cube is 33 lbs., please do not place overweight
items.
● No climbing and swallowing by children.
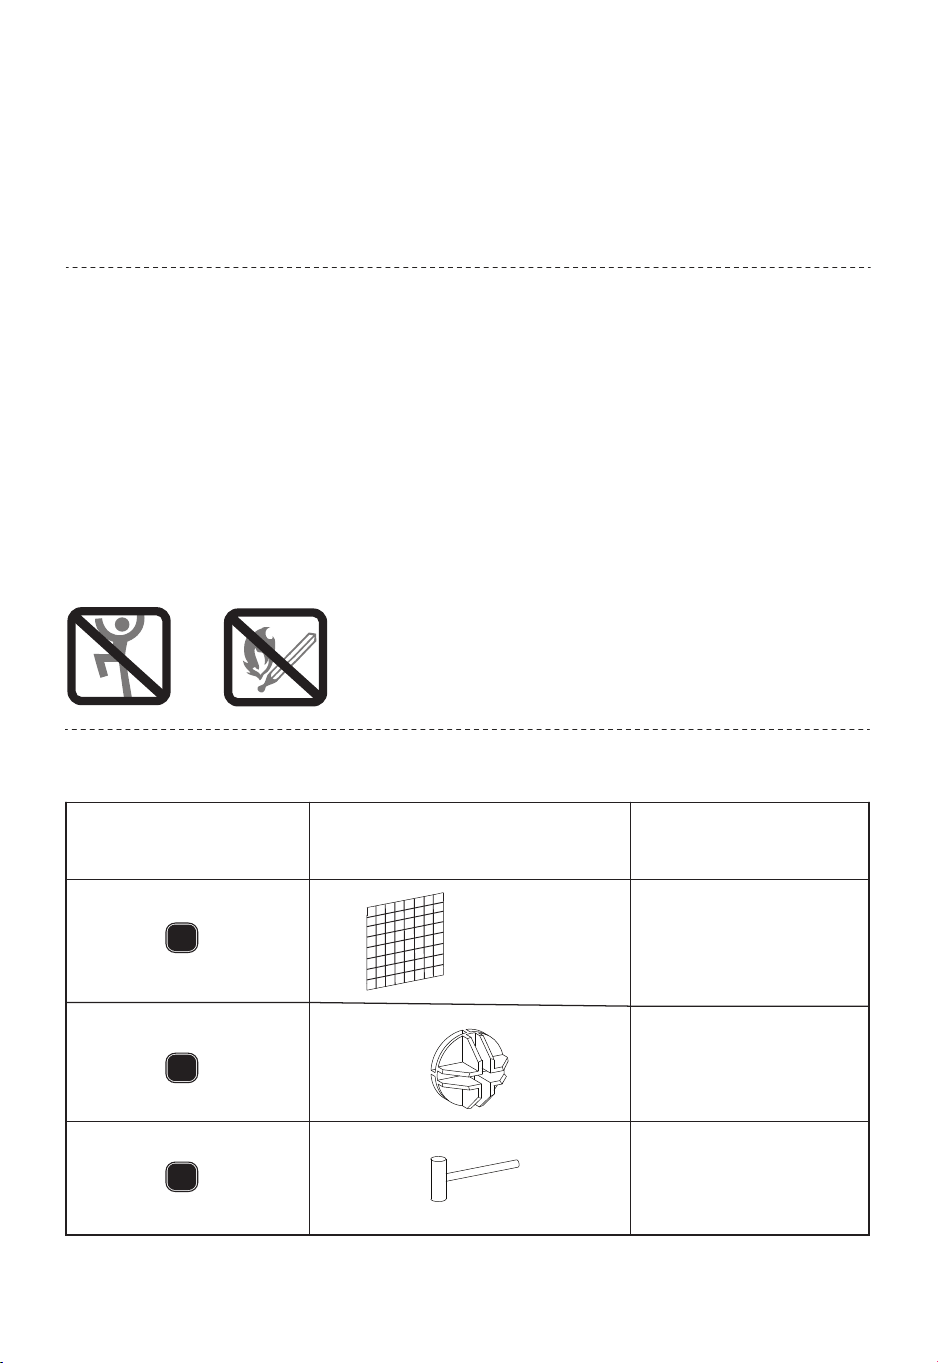
PARTS LIST
No.
Part image
Quantity
23
26(2 spare)
1
13.8”×13.8”
A
C
B
We are very appreciated that you purchased our products.
Please strictly obey to the caution items during using.
It is our willingness if you can use it properly.
Please confirm if the spare parts are complete .
Also need assemble according to demands.
Please keep this instruction and hand it over when you transfer the product
03
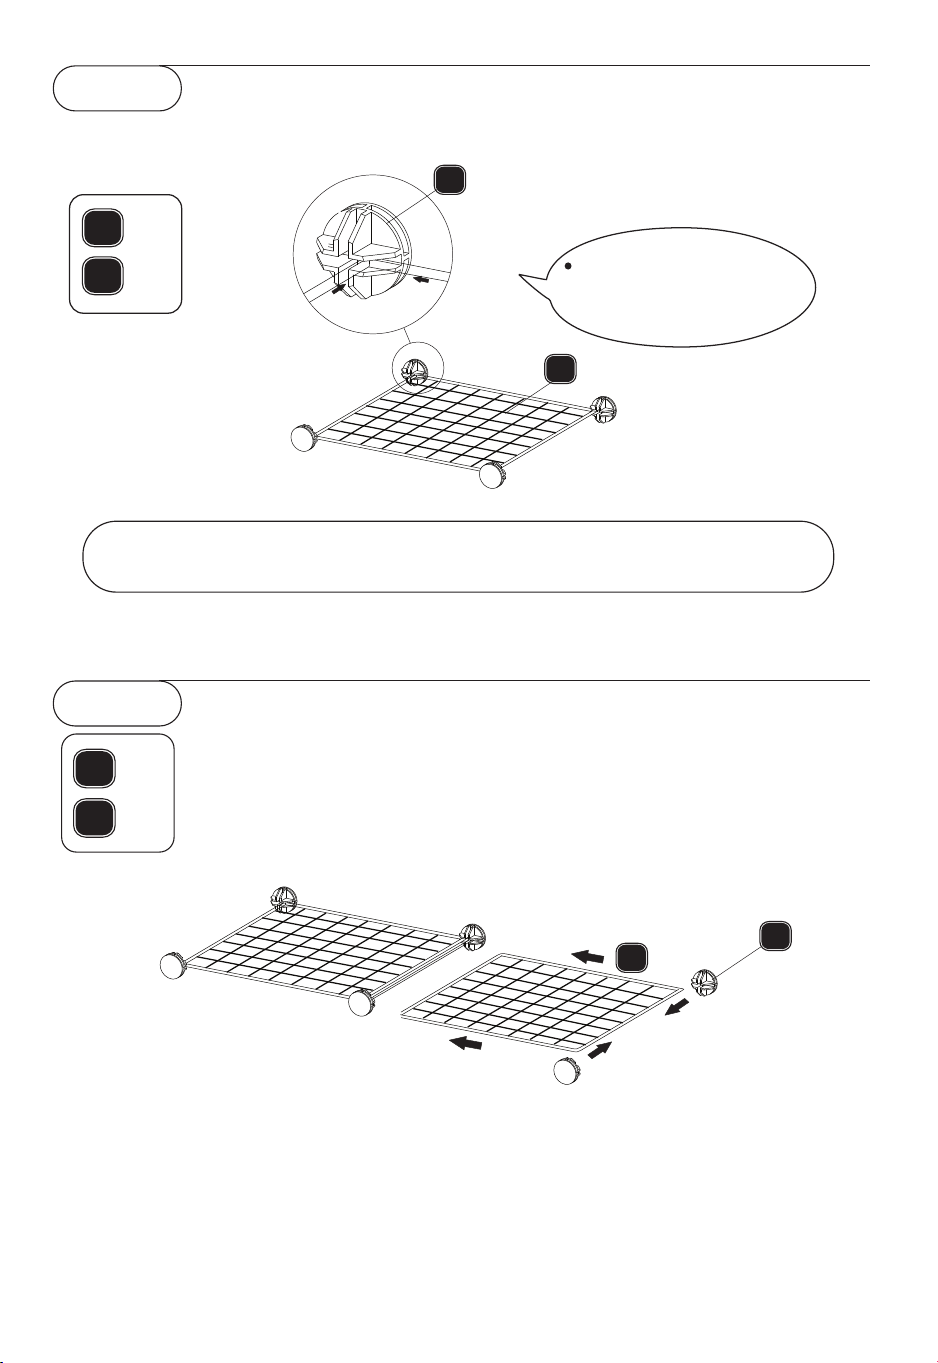
× 1
B
× 2
A
× 1
B
× 4
A
STEP 1
STEP 2
A
B
Please pay attention to
the connectors
mounting direction.
B
A
Before next step, please mak e sure to assemble the
shelf corner to the end of the connector groove.
Please install from left to right.
04
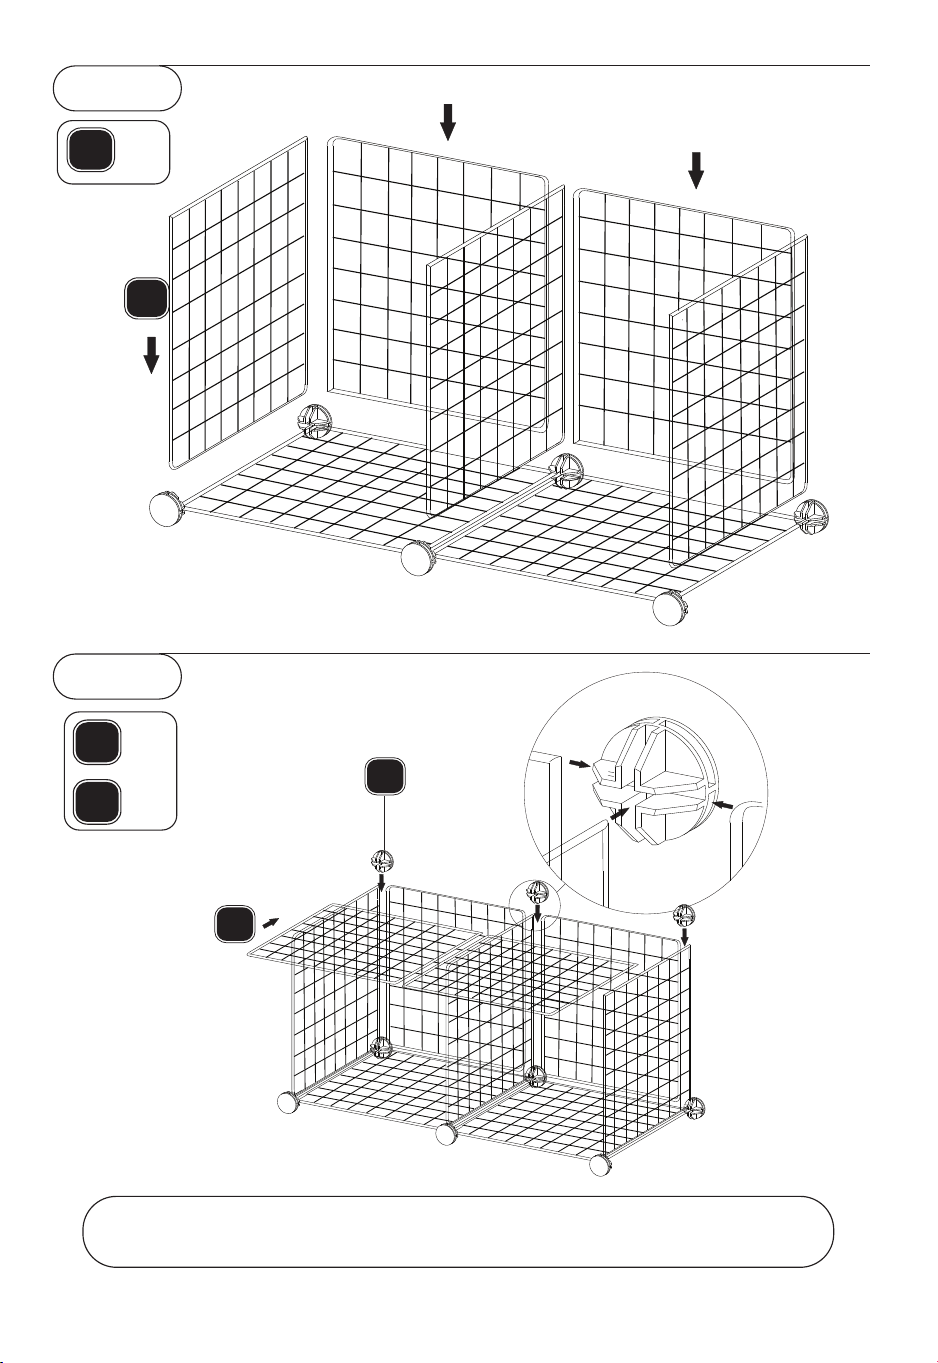
Please pay attention to the connectors' mounting
direction as the enlarged picture shows.
A
B
A
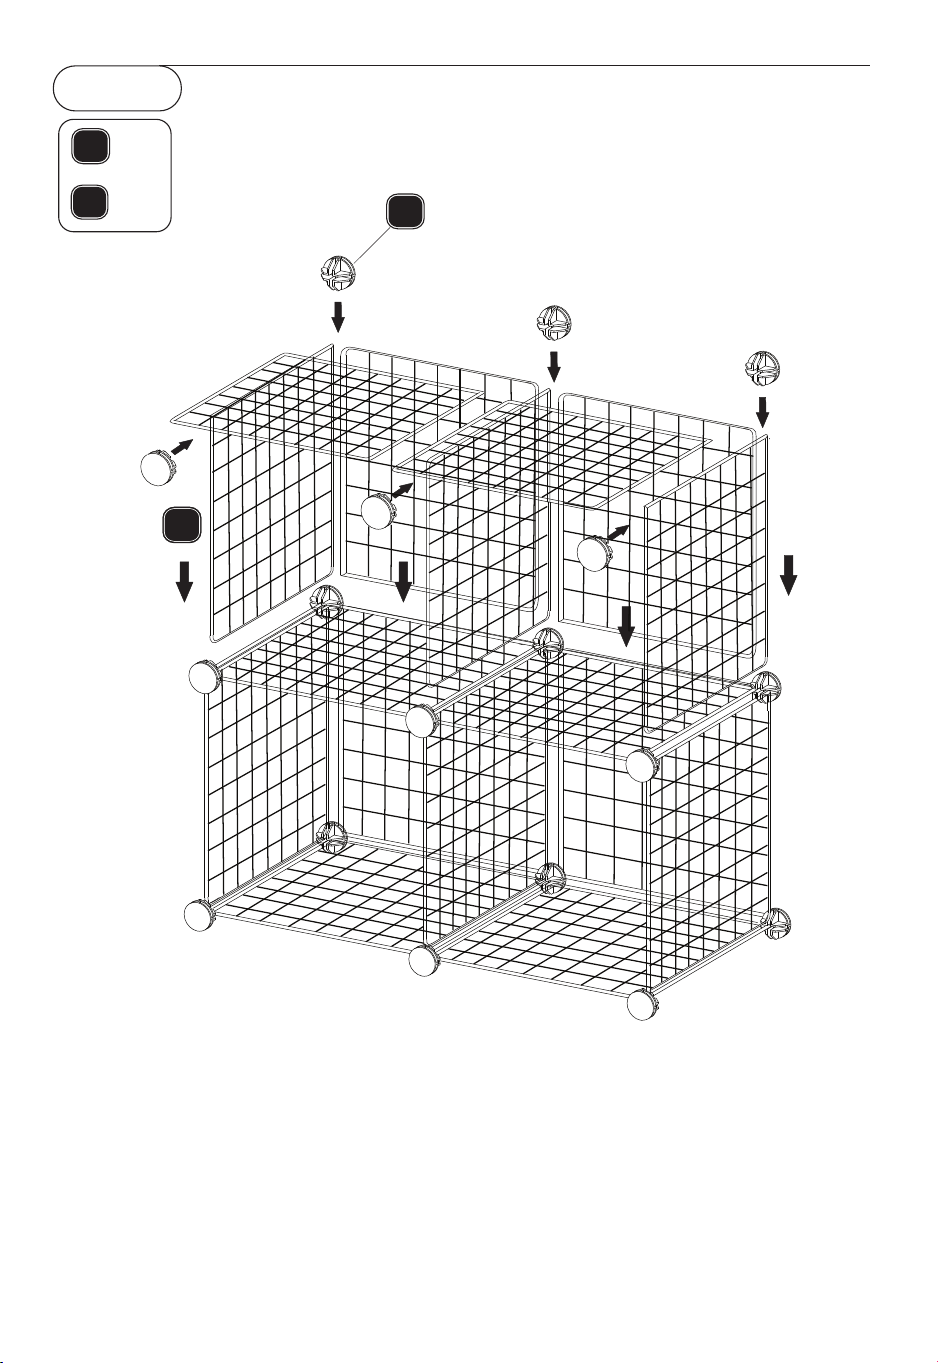
STEP 3
STEP 4
× 2
× 3
A1
A
B
× 5
A
05
× 3
B
To tighten the connections between the every part,please knock down
each connector with the hammer to fix the shelf corner to the end of
the connector groove.
C
B
STEP 5
STEP 6
06
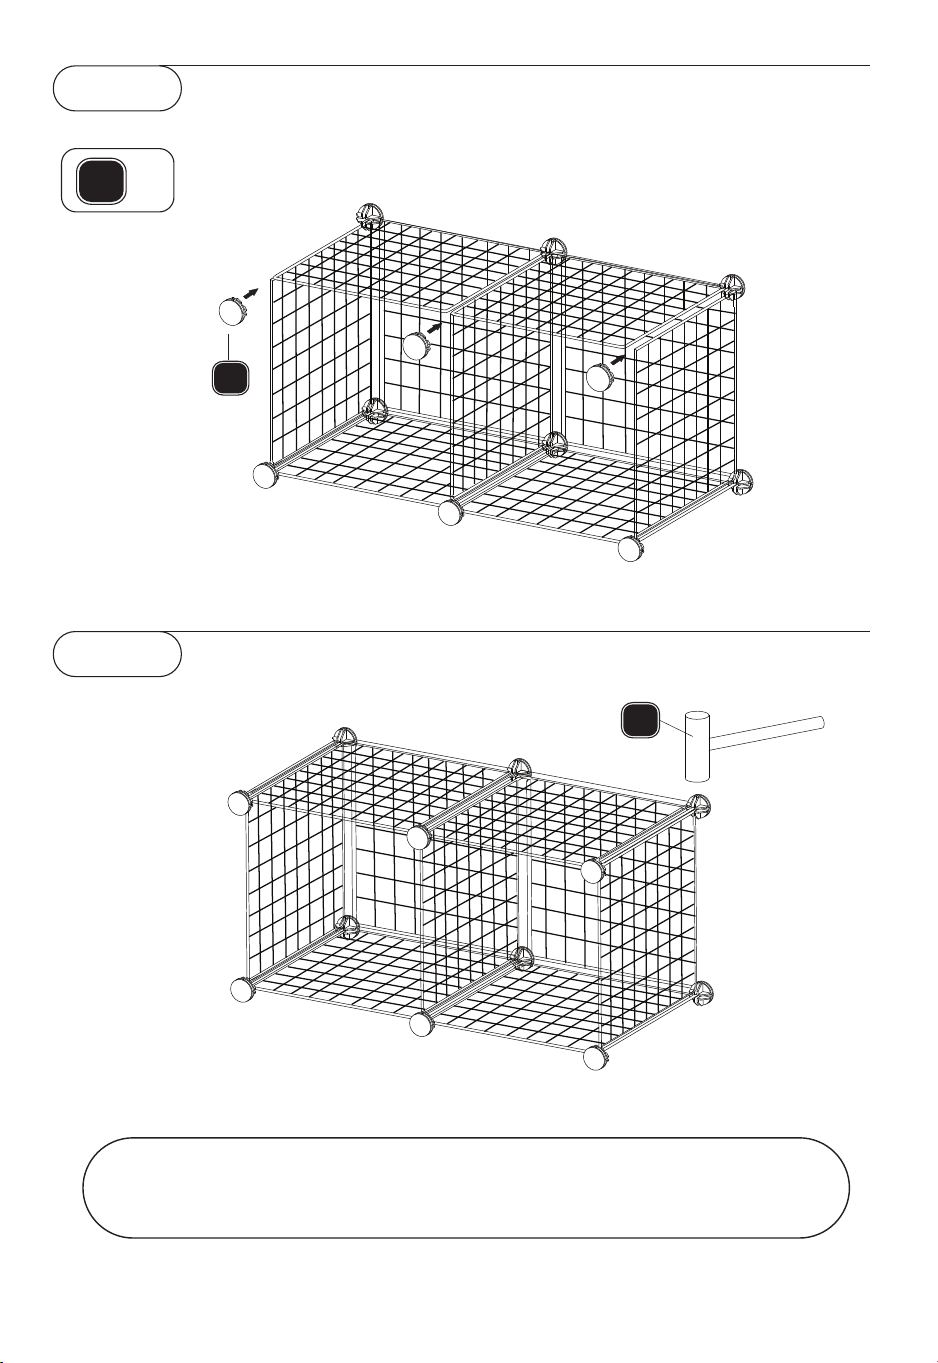
× 7
A
× 6
B
A
A
B
STEP 7
07
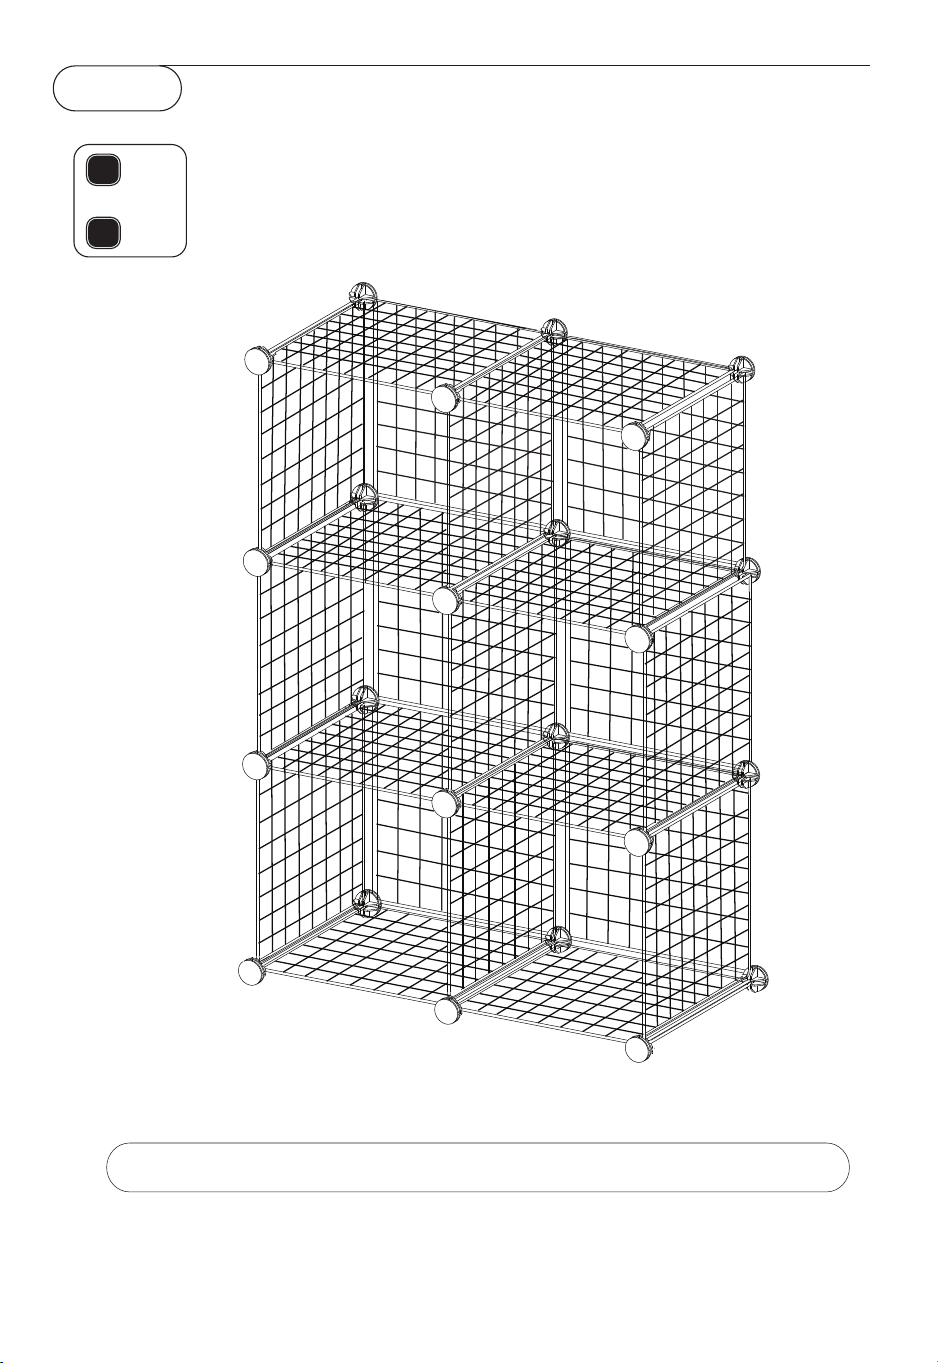
STEP 8
× 7
A
× 6
B
Please repeat step 7, make sure all connectors are assembled in place
08

Please give us a chance to make it right and do better !
Contact our friendly customer service department for help first.
Replacements for missing or damaged parts will be shipped ASAP !
Contact Us!
Do NOT return this item.
US office: Fontana UK office: Ipswich AU office: Truganina
DE office: Hamburg
FR office: Saint Vigor d'Ymonville
PL office: Gdańsk
US:cs.us@costway.com
UK:cs.uk@costway.com