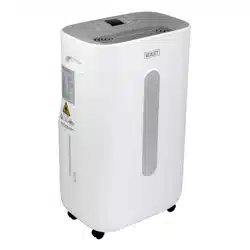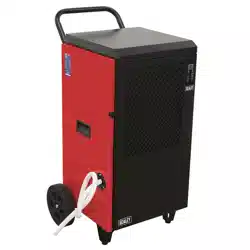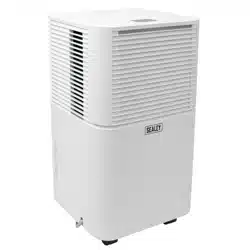
10L DEHUMIDIFIER
MODEL NO: SDH102.V2
Thank you for purchasing a Sealey product. Manufactured to a high standard, this product will, if used according to these instructions,
and properly maintained, give you years of trouble free performance.
IMPORTANT: PLEASE READ THESE INSTRUCTIONS CAREFULLY. NOTE THE SAFE OPERATIONAL REQUIREMENTS, WARNINGS & CAUTIONS. USE
THE PRODUCT CORRECTLY AND WITH CARE FOR THE PURPOSE FOR WHICH IT IS INTENDED. FAILURE TO DO SO MAY CAUSE DAMAGE AND/OR
PERSONAL INJURY AND WILL INVALIDATE THE WARRANTY. KEEP THESE INSTRUCTIONS SAFE FOR FUTURE USE.
1. SAFETY
1.1. ELECTRICAL SAFETY
WARNING! It is the user’s responsibility to check the following:
9 Check all electrical equipment and appliances to ensure that they are safe before using. Inspect power supply leads, plugs and
all electrical connections for wear and damage. Sealey recommend that an RCD (Residual Current Device) is used with all electrical
products.
Electrical safety information. It is important that the following information is read and understood:
9 Ensure that the insulation on all cables and on the appliance is safe before connecting it to the power supply.
9 Regularly inspect power supply cables and plugs for wear or damage and check all connections to ensure that they are secure.
Important: Ensure that the voltage rating on the appliance suits the power supply to be used and that the plug is tted with the
correct fuse.
8 DO NOT pull or carry the appliance by the power cable.
8 DO NOT pull the plug from the socket by the cable.
8 DO NOT use worn or damaged cables, plugs or connectors. Ensure that any faulty item is repaired or is replaced immediately by a
qualied electrician.
If the cable or plug is damaged during use, switch o the electricity supply and remove from use.
Ensurethatrepairsarecarriedoutbyaqualiedelectrician.
1.2. GENERAL SAFETY
9 Check that the dehumidier is in sound condition and good working order. Take immediate action to repair or replace damaged parts.
9 Use recommended parts only. Unauthorised parts may be dangerous and will invalidate the warranty.
8 DO NOT stand or place any object less than 30cm from the front of the unit, 30cm from the rear and sides of the unit, and 50cm above
the unit.
8 DO NOT obstruct the air intakes or outlets of the dehumidier, and DO NOT cover with washed clothes.
8 DO NOT place any object into the outlets - the unit has a fan running at high speed, contact with this will cause injury.
8 DO NOT operate the dehumidier when you are tired or under the inuence of alcohol, drugs or intoxicating medication.
8 DO NOT switch the dehumidier o by disconnecting it from the mains. ALWAYS switch to the “OFF” position rst.
8 DO NOT remove the oat lever from the water collection tank.
8 DO NOT connect or disconnect the plug from the mains with wet hands.
8 DO NOT use the dehumidier outside.
8 DO NOT place the dehumidifier near to radiators or other heating appliances.
8 DO NOT tip to any side as escaping water could damage the appliance.
9 ALWAYS discard the water from the collection tank, DO NOT use it for any other purpose.
9 Only operate the dehumidier on a level and stable surface.
9 To prevent water from freezing, DO NOT use the dehumidier at ambient temperatures below 5°C.
9 Ensure that heating appliances are not exposed to the ow of air from the dehumidier.
9 Before attempting to move the dehumidier, empty the contents of the collection tank.
9 Use top carrying handle when moving unit.
9 Switch o and disconnect it from the mains before attempting any cleaning or other maintenance work.
9 Ensure that the dehumidier is correctly turned o when not in use, and stored in a safe, dry area, out of reach of children.
NOTE: This appliance is not intended for use by persons (including children) with reduced physical, sensory or mental capabilities or
lack of experience and knowledge, unless they have been given supervision or instruction concerning the use of the appliance by a
person responsible for their safety. Children should be supervised to ensure that they do not play with the appliance.
1.3. SAFETY PRECAUTIONS ON SERVICING
WARNING: Any person who is involved with working on or breaking into a refrigerant circuit should hold a current valid certicate from
an industry-accredited assessment authority, which authorizes their competence to handle refrigerants safely in accordance with an
industry, recognized assessment specication.
WARNING: Servicing shall only be performed as recommended by the equipment manufacturer. Maintenance and repair requiring
the assistance of other skilled personnel shall be carried out under the supervision of the person competent in the use of ammable
refrigerants.
WARNING: If you don’t understand something or need help, please contact Sealey.
Refer to
instruction
manual
Do not cover Caution:
risk of fire
Indoor use only
This appliance contains approximately 45g
of R290 refrigerant gas.
Appliance shall be installed, operated and
storedinaroomwithaoorarealargerthan
4m².
Original Language Version
© Jack Sealey Limited
SDH102.V2 Issue 3 (3) 26/09/23

1.3.1. CHECKS TO THE AREA
1.3.1.1. Prior to beginning work on systems containing ammable refrigerants, safety checks are necessary to ensure that the risk of ignition
is minimized. For repair to the refrigerating system, the following precautions shall be complied with prior to conducting work on the
system.
1.3.2. WORK PROCEDURE
1.3.2.1. Work shall be undertaken under a controlled procedure so as to minimize the risk of a ammable gas or vapour being present while the
work is being performed.
1.3.3. GENERAL WORK AREA
All maintenance sta and others working in the local area shall be instructed on the nature of work being carried out. Work in conned
spaces shall be avoided. The area around the workspace shall be sectioned o. Ensure that the conditions within the area have been
made safe by control of ammable material.
1.3.4. CHECKING FOR PRESENCE OF REFRIGERANT
1.3.4.1. The area shall be checked with an appropriate refrigerant detector prior to and during work, to ensure the technician is aware
of potentially ammable atmospheres. Ensure that the leak detection equipment being used is suitable for use with ammable
refrigerants, i.e. no sparking, adequately sealed or intrinsically safe.
1.3.5. PRESENCE OF FIRE EXTINGUISHER
1.3.5.1. If any hot work is to be conducted on the refrigeration equipment or any associated parts, appropriate re extinguishing equipment shall
be available to hand. Have a dry powder or CO2 re extinguisher adjacent to the charging area.
1.3.6. NO IGNITION SOURCES
1.3.6.1. No person carrying out work in relation to a refrigeration system which involves exposing any pipe work that contains or has contained
ammable refrigerant shall use any sources of ignition in such a manner that it may lead to the risk of re or explosion. All possible
ignition sources, including cigarette smoking, should be kept suciently far away from the site of installation, repairing, removing and
disposal, during which ammable refrigerant can possibly be released to the surrounding space. Prior to work taking place, the area
around the equipment is to be surveyed to make sure that there are no ammable hazards or ignition risks. “No Smoking” signs shall
be displayed.
1.3.7. VENTILATED AREA
1.3.7.1. Ensure that the area is in the open or that it is adequately ventilated before breaking into the system or conducting any hot work. A
degree of ventilation shall continue during the period that the work is carried out. The ventilation should safely disperse any released
refrigerant and preferably expel it externally into the atmosphere.
1.3.8. CHECKS TO THE REFRIGERATION EQUIPMENT
1.3.8.1. Where electrical components are being changed, they shall be t for the purpose and to the correct specication. At all times the
manufacturer’s maintenance and service guidelines shall be followed. If in doubt consult the manufacturer’s technical department for
assistance.
1.3.8.2. The following checks shall be applied to installations using ammable refrigerants:
9 The charge size is in accordance with the room size within which the refrigerant containing parts are installed.
9 The ventilation machinery and outlets are operating adequately and are not obstructed.
9 If an indirect refrigerating circuit is being used, the secondary circuit shall be checked for the presence of refrigerant.
9 Marking to the equipment continues to be visible and legible. Markings and signs that are illegible shall be corrected.
9 Refrigeration pipe or components are installed in a position where they are unlikely to be exposed to any substance which may corrode
refrigerant containing components, unless the components are constructed of materials which are inherently resistant to being corroded
or are suitably protected against being so corroded.
1.3.9. CHECKS TO ELECTRICAL DEVICES
1.3.9.1. Repair and maintenance to electrical components shall include initial safety checks and component inspection procedures. If a fault
exists that could compromise safety, then no electrical supply shall be connected to the circuit until it is satisfactorily dealt with. If the
fault cannot be corrected immediately but it is necessary to continue operation, an adequate temporary solution shall be used. This
shall be reported to the owner of the equipment so all parties are advised.
1.3.9.2. Initial safety checks shall include:
9 Those capacitors are discharged: this shall be done in a safe manner to avoid possibility of sparking.
9 That there no live electrical components and wiring are exposed while charging, recovering or purging the system.
9 That there is continuity of earth bonding.
2. i INTRODUCTION
Compact, efficient, low noise portable unit that extracts up to 10L of water per day. Removes excess moisture from air to prevent build-
up of mildew and mould. Features adjustable 24hr timer, water-full indicator and auto-defrosting. Digital control panel, LED display and
3-colour indicator to show different RH% levels. Refrigerant is environmentally friendly R290. Supplied with drain hose for continuous
operation.
3. i SPECIFICATION
Model No: .................................................... SDH102.V2
CO
2
Equivalent: .............................................................0
Condensate Tank: .......................2L (with Auto-Shut-O)
Dehumidifying Capacity: ....... 10L/Day @ 30
o
C, 80% RH
Freezing Pressure (Max): ....................................3.2MPa
Fuse Rating:..............................................................10A
Global Warming Potential (Rating): ............................... 3
IP Rating: ................................................................IPX1
Mass: ........................................................................45g
Maximum Airow: ..............................................120m³/hr
Plug Type: ...............................................................3-Pin
Power: ....................................................................195W
Power Supply Cable Length: ......................................2m
Refrigerant: ............................................................ R290
Steaming Pressure (Max): ..................................3.2MPa
Original Language Version
© Jack Sealey Limited
SDH102.V2 Issue 3 (3) 26/09/23
Supply: .................................................................... 230V
Working Space: .......................................................15m³
Working Temperature: ..........................................5-35°C
4. OPERATION
NOTE: Empty water tank before every use.
NOTE: During operation keep doors and windows closed.
NOTE: Place the unit in the area to be dehumidied ensuring that inlet and outlet grilles are unobstructed and that the unit is positioned
as stated in section 1.2. Close all doors and windows.
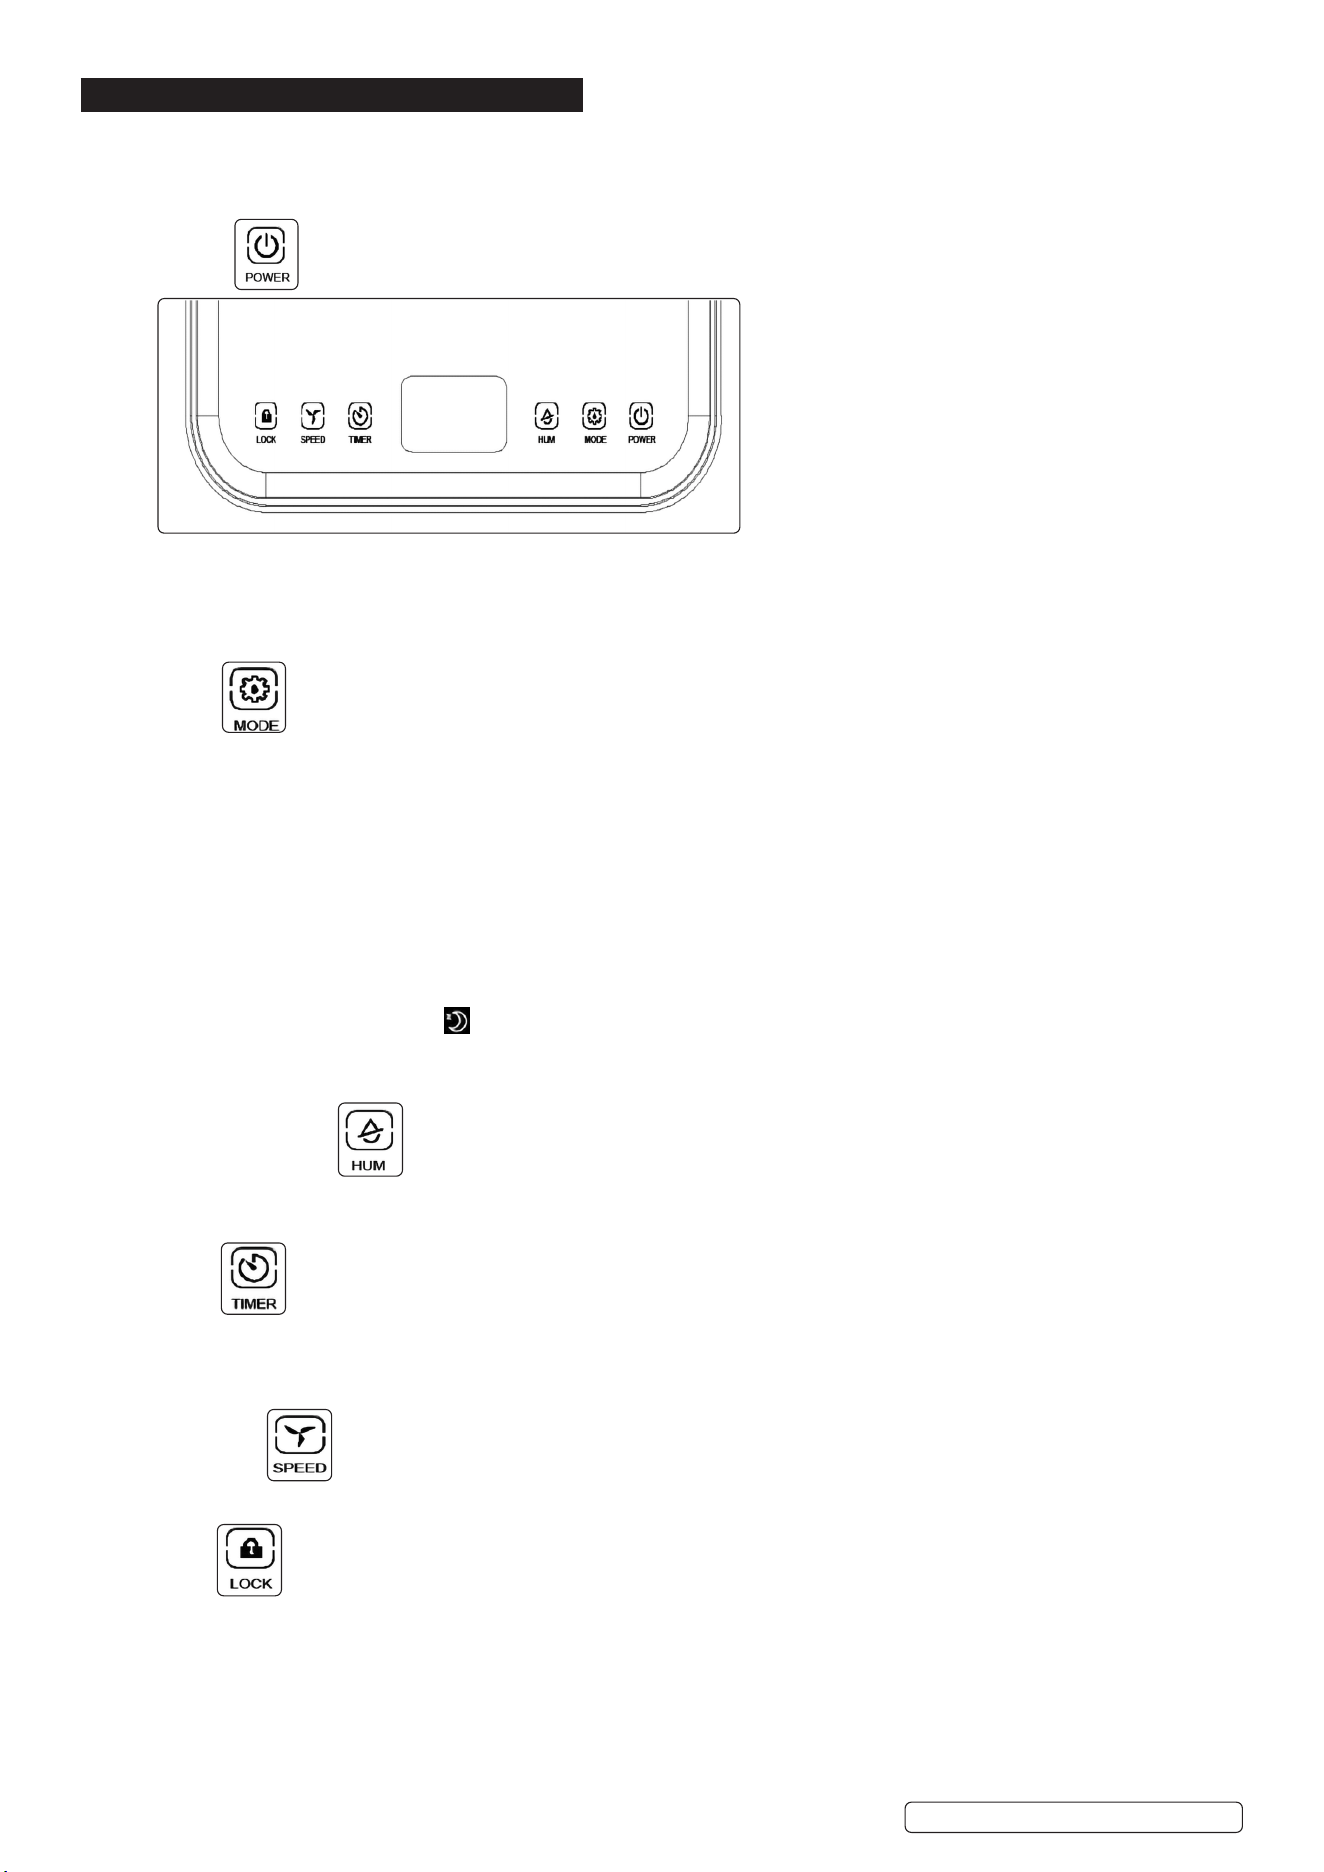
4.1. POWER
4.1.1. After switching on the power, all indicators and the LED screen will be on for 1 second and then o. After a buzzer, the power indicator
will be on and the machine will be in standby mode.
4.1.2. Press power button and the machine starts to run. Intially the machine’s settings are 60%RH humidity, automatic mode and high speed
operation.
4.1.3. Press this key again, the machine will stop running, and the fan will stop. The power light will remain lit.
4.2. MODE
4.2.1. To select mode press mode button to switch between modes. The corresponding code indicator will light up in the LED screen.
4.2.2. Auto Mode
The corresponding code indicator (A) will light up in the LED screen.
When the environmental humidity is greater than or equal to the set humidity by +3%, the fan and compressor start working after 3
seconds.
When the environmental humidity is less than or equal to the set humidity by -3%, the compressor stops working and the fan will shut
down.
NOTE: Both fan speed and humidity can be adjusted while running in auto mode.
4.2.3. Continuous drying mode
The corresponding code indicator (Cnt) will light up in the LED screen. The machine continues to run, but the humidity cannot be
adjusted.
4.2.4. Sleep mode
The corresponding code indicator ( ) will light up in the LED screen. After 10 seconds idling, all indicators gradually fade and the
fan speed is automatically switched from high to low. Press the timer button to set the required sleep period. Touch any button to wake
up the indicator. Press mode button again to exit the sleep mode.
NOTE: In sleep mode, fault codes is not displayed, fan speed is not adjustable but the humidity is adjustable.
4.3. HUMIDITY SETTING
4.3.1. In automatic mode or sleep mode press the button to adjust the set humidity. Each press increments the setting by 5%. Once 80% is
reached the value set cycles back to 30%.
4.3.2. If the button is held down continuously the unit will display the current ambient temperature.
4.4. TIMER
4.4.1. The timer can be set from 0-24 hours in 1 hour increments. Set the value to “00” to cancel the timer function.
4.4.2. After the timer is set, the timer LED is on during the timing period. After the timing is over, the timer LED turns o.
4.4.3. To set the running time turn the unit o.
4.4.4. To set the standby time turn the unit on.
4.5. FAN SPEED
4.5.1. The fan speed can only be adjusted in the automatic mode. Press this key to switch between high and low wind speed.
4.5.2. The corresponding fan speed indicator lights up ( 3 blades or 4 blades).
4.6. LOCK
4.6.1. Press this button to engage the child lock function. The child lock indicator light is on when set. All other keys are locked and cannot be
operated. Press this button again, the indicator light will go out, and the button will be restored.
Original Language Version
© Jack Sealey Limited
SDH102.V2 Issue 3 (3) 26/09/23

5. DRAINAGE
5.1. WATER TANK
5.1.1. When the water tank is full the warning light on the control panel will ash, the unit will stop working and a buzzer will sound.
5.1.2. To remove the water tank rst remove lower rear cover by gently pulling it from both sides using grip recesses to pull it.
5.1.3. Carefully slide the water tank forward making sure no spillage occurs.
5.1.4. Before replacing water tank dry it o thoroughly and also remove any mildew deposits.
5.2. CONTINUOUS DRAINAGE
5.2.1. Connect a water pipe (not supplied) to the drain on the rear of the unit.
5.2.2. The water pipe requires an inner diameter of 9mm and should not be longer than 1.5 metres.
5.2.3. Ensure the connection does not leak.
WARNING! The water pipe must ALWAYS be lower along all of it’s length than the unit outlet drain height.
6. MAINTENANCE
WARNING! Switch the machine off and unplug from the mains before carrying out any maintenance or cleaning.
6.1. FILTER CLEANING
6.1.1. It is recommended that the air filter is cleaned every two weeks maximum.
6.1.2. To remove the filter, remove water tank and gently pull down exposed tab of filter.
6.1.3. The filter may only be washed with water.
8 DO NOT use hot water. Leave to dry naturally.
8 DO NOT use solvent cleaners nor use heat to dry the filter.
6.1.4. Once dry, replace the filter by snapping it back into place, making sure that the lower edge fits behind the casing locations and that all the
lugs are sprung gently into place thus holding the filter up inside casing.
6.2. CLEANING THE CASING
6.2.1. The casing may be cleaned by rubbing over with a damp cloth.
8 DO NOT use detergents, abrasive or solvent cleaners as these will damage the surface finish.
8 DO NOT allow the control panel to become wet.
7. TROUBLESHOOTING
SYMPTOM POTENTIAL CAUSE POSSIBLE REMEDY
Unit does not operate Is power supply connected? Insert the plug into an electrical outlet fully and
securely - check fuse in plug is OK.
Check to see if the water tank is full of water i.e. is water
level warning light on.
Remove front cover
Empty water out of the tank.
Check to see if the water tank is fitted properly in position. Remove front cover and reposition tank.
Dehumidied volume
is small
Is lter dirty / clogged ? Clean lter section
Check for any obstructions to front and back air inlets /
outlets of unit.
See section
Low ambient temp. Unit does not work below approx 5
o
C.
Low ambient humidity. Unit has reached required level set.
Humidity remains too
high.
Room size may be too large. Room size may exceed 12m
3
.
Doors and windows may be opened and closed frequently. Keep doors and windows shut during
operation.
The dehumidifier is used together with a kerosene heater
which emits water vapour.
Turn heater o.
E2 Humidity sensor problem Change a sensor
LO Environmental humidity is below 20% Unit shuts down.
HI Environmental humidity is above 90%
CL Low temperature protection, the environmental
temperature<5
0
C
CH High temperature protection, the environmental
temperature>38
0
C
Original Language Version
© Jack Sealey Limited
SDH102.V2 Issue 3 (3) 26/09/23
Sealey Group, Kempson Way, Suffolk Business Park, Bury St Edmunds, Suffolk. IP32 7AR
01284 757500 sales@sealey.co.uk www.sealey.co.uk
Original Language Version
© Jack Sealey Limited
ENVIRONMENT PROTECTION
Recycle unwanted materials instead of disposing of them as waste. All tools, accessories and packaging should be sorted,
taken to a recycling centre and disposed of in a manner which is compatible with the environment. When the product
becomes completely unserviceable and requires disposal, drain any fluids (if applicable) into approved containers and
dispose of the product and fluids according to local regulations.
WEEE REGULATIONS
Dispose of this product at the end of its working life in compliance with the EU Directive on Waste Electrical and Electronic Equipment
(WEEE). When the product is no longer required, it must be disposed of in an environmentally protective way. Contact your local solid
waste authority for recycling information.
SDH102.V2 Issue 3 (3) 26/09/23
Note: It is our policy to continually improve products and as such we reserve the right to alter data, specifications and component parts without prior
notice. Please note that other versions of this product are available. If you require documentation for alternative versions, please email or call
our technical team on technical@sealey.co.uk or 01284 757505.
Important: No Liability is accepted for incorrect use of this product.
Warranty: Guarantee is 12 months from purchase date, proof of which is required for any claim.
REGISTER YOUR
PURCHASE HERE