
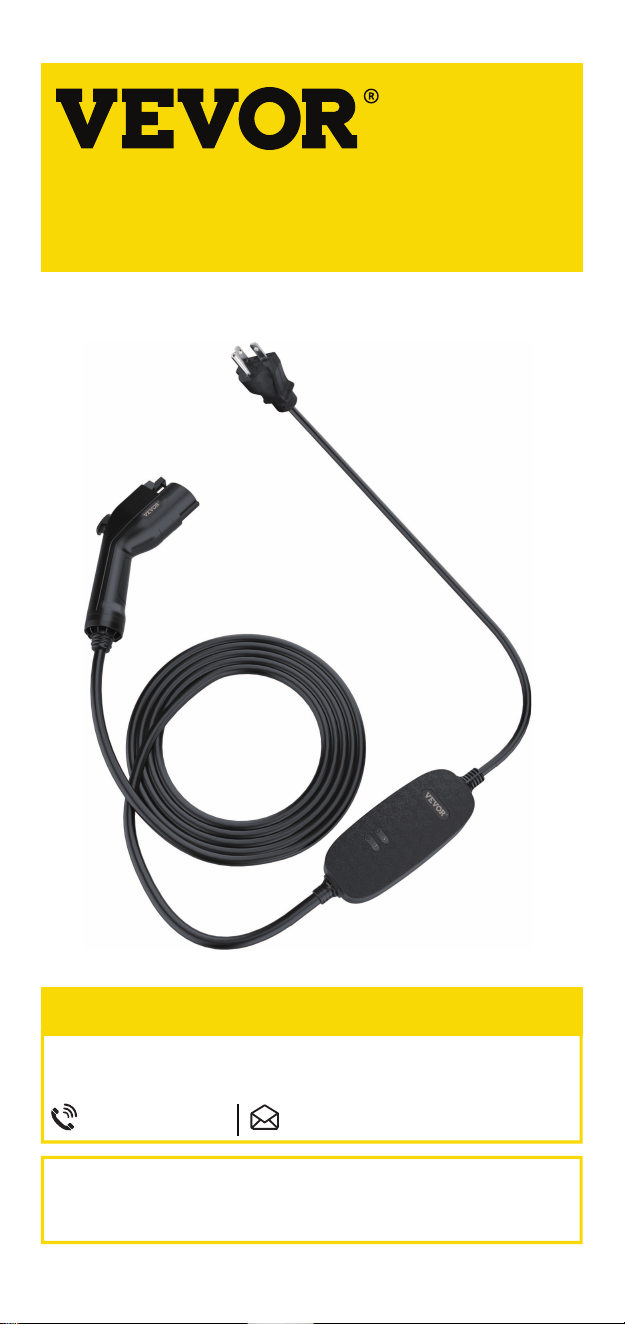
PORTABLE ELECTRIC
CAR CHARGER
USER MANUAL
01
PORTABLE ELECTRIC CAR
CHARGER
15A-TYPE1
NEED HELP? CONTACT US!
Have product questions? Need technical suppo?
Please feel free to contact us:
855-385-1880 CustomerSe[email protected]
IMPORTANT :Be sure to review the contents of this manual before
attempting to operate the equipment. This manual should be
located where all machine users can easily reference it.

02
Dear Customer, Many thanks for choosing to purchase a Vevor product. Thanks
to its technology, design and operation and the fact that it exceeds the strictest
quality standards, a fully satisfacto use and long product life can be assured.
Please read this manual carefully to use the product correctly and safely. Before
using this product please pay special attention to “safety advice and warnings”.
This product is intended for domestic use only. Please keep this manual safe for
future use. Vevor will not accept any liability if the product is subject to
improper use, or failure to comply with this guidance.
Safety Advice and Warnings
•Read these instructions carefully before plugging in the charger and keep them
for future reference. Failure to follow and obsee these instructions could lead to
an accident.
•Do not allow infants or children to play with packaging material. It may cause
suocation.
•Do not disassemble, repair or modify this product.
•This charger shall not be used by children. Keep the charger and its cord out of
reach of children.
•This charger can be used by people with reduced physical, senso or mental
capabilities or lack of experience and knowledge if they have been given
supeision or instruction concerning use of the appliance in a safe way and
understand the hazards involved.
•This charger is not a toy. Children should be supeised to ensure that they do not
play with the appliance.
•Ensure that the voltage indicated on the rating label matches the mains voltage
before plugging in the charger.
•Connect the charger to a socket that can supply a minimum of 16 amperes.
•The charger’s plug must t into the mains socket properly. Do not alter the plug.
•Do not use the charger if the cable or plug is damaged. If any of the charger
casings break, immediately disconnect the charger to prevent the possibility of an
electric shock.
•Do not use the charger with damp hands or feet or barefooted.
•Do not use in inclement weather or immerse the poable charger in water.
•Do not force the power cord. Never use the power cord to lift up, car or unplug
the charger.
•Check the state of the power cord. Damaged or tangled cables increase the risk
of electric shock.
•The temperature of the accessible suaces may be high when the charger is in
use.
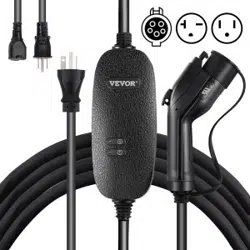
Applicable Vehicles
There are two dierent charging standards for EVs,
Type 1 and Type 2. Please make sure you are choosing
the correct charging plug for your EV.
TYPE 1: IEC 62196 Type 1, is a Noh American standard
for electrical connectors for electric vehicles maintained
by SAE International. Recommended SAE J1772.
TYPE1
TYPE2
03
-Do not place the charger unit or its cables on or near high temperature items.
-Do not leave this product in a closed unventilated environment while in use.
-The charger must be grounded.
-The charger does not contain any user-seiceable pas.
-Please do not disconnect the plugs while the EV charger is charging the vehicle.
-Do not operate the charger in temperatures outside its operating range
of -22° F to 122°F(-30°C ~+ 50°C)
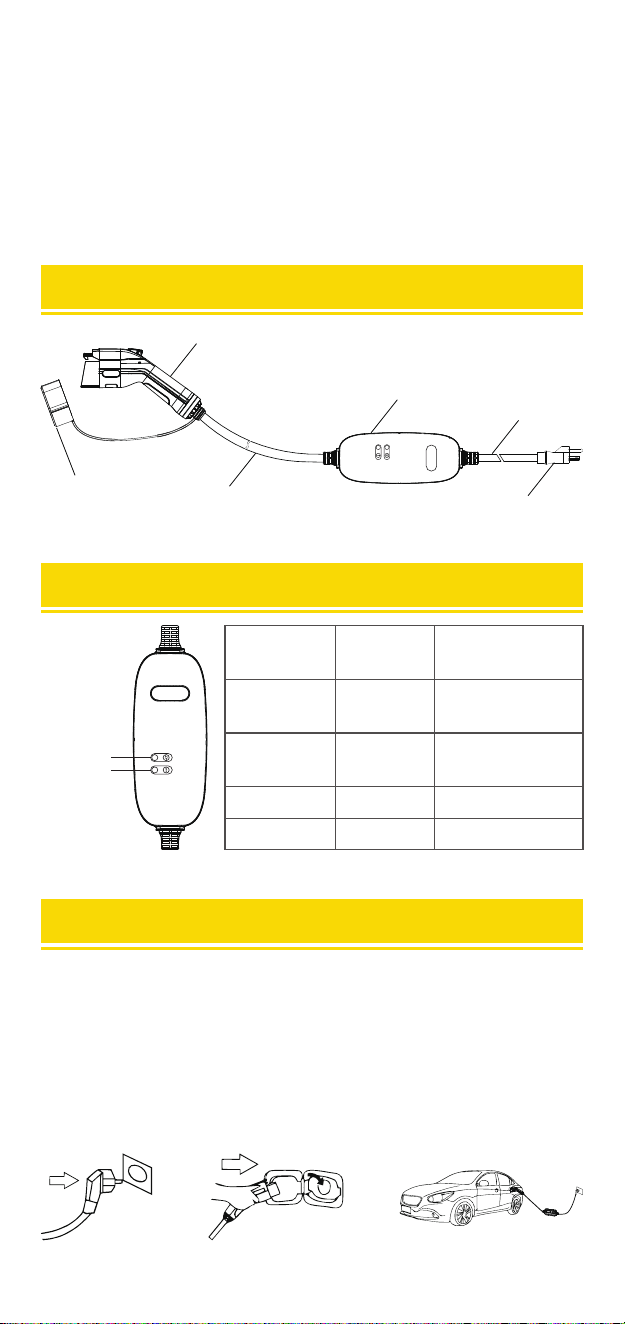
Charging Your Vehicle
Use only on mains power with fault current circuit breaker.
Carefully read this guide together with your vehicle owner’s handbook prior to
charging your electric vehicle.
1.Firmly inse the power plug into the outlet on the wall. Ensure the rated current
of the outlet socket is not less than 16A(Figure 1).
2.Inse the Type 1 plug into the inlet on the electric vehicle(Figure 2).
3.The device stas charging automatically after the LED Light 1 begins to keep
blinking regularly(Figure 3).
1 2 3
Means of Indicator Lights
LED Light 2
(Red)
O
O
O
Others
Status
Read to Connect
to Vehicle
Charging
Full Charged
See Troubleshooting
LED Light 1
(Green)
Blinking
fastly
Blinking
Slowly
On
Others
LED Light1
LED Light2
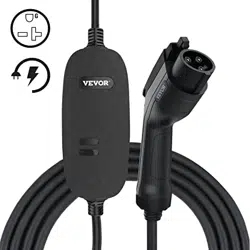
Poable EV Charger Components
Dust Cap
Charging Cable
IEC 62196 Type 1
Charging Plug
Control unit
Mains Lead
Mains plug
04
Troubleshooting
Blinks once
Keeps
blinking
fastly
Keeps
blinking
slowly and
regularly
Lights on
Lights o
Lights o
LED Light 1
(Green)
Blinks once
Lights o
Lights o
Lights o
Blinks once
eve 2
seconds
Blinks twice
eve 2
seconds
LED Light 2
(Red)
Initial Status
To Be
Connected
Normal
Charging
End of
Charging
Abnormal
Communication
Undeoltage
Functions
Power on or reset. The relay
is "o".
The voltage of Detection Point 1
is 12V, and the relay is “o”.
The voltage of Detection Point 1
is 6V, and the relay is “on”.
The voltage of Detection Point 1
is 9V, and the relay is “o”.
The voltage of Detection Point 1
is abnormal (that is, the voltage
value is not one of the following
values: [6±0.8]V, [9±0.8]V,
[12±0.8]V), the charger enters
the protection status. When the
voltage at Detection Point 1 is
back to normal, the charger will
return to its normal working
state.
When the voltage is no more
than 75V±10V for 0.1 second,
the power output will be
stopped. When the voltage rises
to 90V±10V, the charging system
will sta again after a 5-second
delay.
Denition
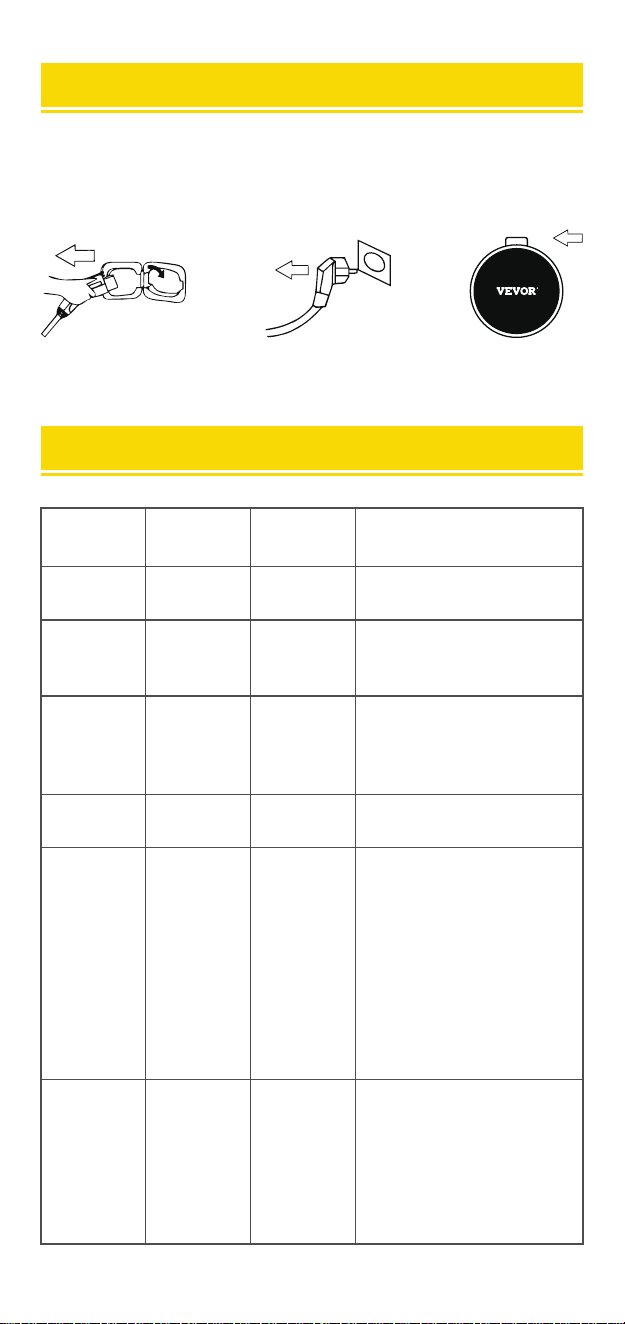
Stop Charging
1. Disconnect the Type 1 plug from the vehicle inlet(Figure 4).
2. Disconnect the power plug from the outlet(Figure 5).
3. Replace the charger plug dust cap and store the charger unit in the bag
provided, in a d place(Figure 6).
54 6

05
Lights o
Lights o
Lights o
Lights o
/
Lights o
Blinks
3 times
eve 2
seconds
Blinks
4 times
eve 2
seconds
Blinks
5 times
eve 2
seconds
Blinks
6 times
eve 2
seconds.
Lights on
Blinks 8
times
eve 2
seconds
Oveoltage
Leakage
Overcurrent
Power Plug /
Circuit board
Over-heat
PE wire is
not connected
to ground
Power-on
Self-test
failed
When the voltage is no lower
than 270V±10V for 0.1 second,
the power output will be
stopped. When the voltage
drops to 254V±10V, charging
will sta again after a 5-second
delay. "
When the leakage current is no
lower than 25±5mA, the relay
will be "o" (the response time
is <100mS). When the failure is
eliminated, the charger must be
powered on again to continue
charging.
1. When the current is more
than the "Stage1 Fixed
Overcurrent Value" but no more
than the "Stage2 Fixed
Overcurrent Value" for 5
seconds, the relay will be "o";
after 10 seconds, the relay will
be "on" again. If this overcurrent
situation occurs again, the relay
will be "o" again. After 3 times
of repeats, the failure light will
be on, and the charging is over.
The charger must be
re-powered on to continue
charging. "2. When the current
is greater than the "Stage2
Fixed Overcurrent Value" for 1
second, the relay will be "o",
the failure light will be on, and
charging will be over. It must be
powered on again to continue
charging. "
When the temperature of the
power plug or circuit board is
more than 85℃ for 2 seconds,
the relay will be "o". It must
wait for the temperature to
drop below 65℃ for 2 seconds
to return to normal working.
Charging is allowed, but the
warning light will be "red" (no
blinking) all the time.
If the charger is faulty, the
relay will be "o" and the
charger will repo the need
for repair.

06
Technical Specication
Line Input Power
Current
Circuit Breaker Rating
Power Draw at Idle
EV Charging Plug
Operating Temperature
Power Plug
Cable Length
Model
Protection Level
Charging Protection
Ceicate
Weight
Type 1 Poable Charger
110-240V
15A/13A/10A/8A
18 amps@240v
< 2 watts
SAE-J1772 (IEC 62196 Type 1)
-22°F to 122°F / -30°C to 50°C
6-20/5-15P
25 Ft
3.5 kg
CE / RoHS
Over-current protection, over-voltage protection,
under-voltage protection, leakage protection,
and overheat protection integrated.
IP54 for the Type 1 plug and IP65 for the controller box

Tel: 855-385-1880
E-mail: CustomerSeice@vevor.com