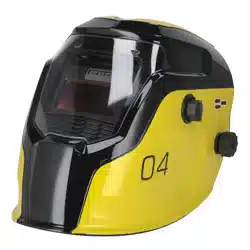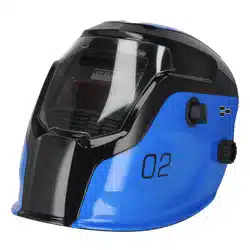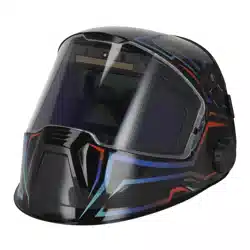
AUTO DARKENING PANORAMIC WELDING
HELMET - SHADE 9-13
MODEL NO: PWH602
Thank you for purchasing a Sealey product. Manufactured to a high standard, this product will, if used according to these
instructions, and properly maintained, give you years of trouble free performance.
IMPORTANT: PLEASE READ THESE INSTRUCTIONS CAREFULLY. NOTE THE SAFE OPERATIONAL REQUIREMENTS, WARNINGS &
CAUTIONS. USE THE PRODUCT CORRECTLY AND WITH CARE FOR THE PURPOSE FOR WHICH IT IS INTENDED. FAILURE TO DO SO
MAY CAUSE DAMAGE AND/OR PERSONAL INJURY AND WILL INVALIDATE THE WARRANTY. KEEP THESE INSTRUCTIONS SAFE FOR
FUTURE USE.
1. SAFETY
8 Protectors that have been subject to impact shall not be used and shall be discarded and replaced.
8 If the impact level symbols are not equal on both the lens/lter and the frame, then it is the lower level that shall be assigned to the
complete protector.
9 The protections corresponding to the code numbers/letter 7, 9, CH are provided by the complete protector only if the respective
symbols are equal on both the lens and the frame.
8 DO NOT place the helmet on hot surfaces.
8 DO NOT immerse the lter in water and protect it from contact with liquid and dirt.
9 The material which may contact the wearer’s skin can cause allergic reactions.
9 Any helmet worn over standard ophthalmic spectacles may transmit impact, thus creating a hazard to the wearer.
8 DO NOT use this product for overhead welding or cutting.
9 This product is for eye protection against high-speed particles at room temperature.
9 The automatic welding lter shall always be used with a backing ocular.
IMPORTANT: Unauthorised modications and replacement parts will void the warranty and expose the operator to the risk of personal injury.
WARNING! If the auto-darkening lter does not darken when the arc ignites, stop welding immediately and inspect the ADF and its
power supply. Change if necessary.
8 DO NOT use any solvents or abrasive cleaning detergent on the lter screen or helmet components.
9 We recommend a usage period of 4 years. The period depends on various factors such as use, cleaning, storage and maintenance.
9 Frequent inspections and replacement in case of damage are recommended.
9 Always wear safety glasses or goggles under the welding helmet and protective clothing to protect your skin from radiation, burns and
splatter.
9 A visual inspection is necessary before every use.
9 The protection marked in accordance with this standard is only provided when all lens and retention components are installed
according top the list or other manufacturers insurrections.
9 If the helmet, lter or the cover plate is in any way damaged, they must be immediately replaced.
9 Replace the device after a mechanical impact.
2. INTRODUCTION
Fully digital Panoramic Welding Helmet and true colour technology give the best possible welding experience providing improved depth
perception and better peripheral vision. High quality variable shade 9-13 lens manufactured and tested to ISO 16321. Fully automatic
switching from light to dark on striking arc. Digital control panel easily switches between modes and set delay, sensitivity and shade
settings. Also includes memory save function to preset and save up to nine personalised settings. Externally the helmet also features
rotating switch and mode selector to easily switch between welding and grinding settings whilst adjusting shade without removing the
mask. Battery is easily replaceable but has solar back up to prolong the battery life. Suitable for MIG, TIG, MMA, gas welding, cutting
and grinding.
3. SPECIFICATION
MODEL NO. PWH602
Grinding Function: Yes
Operating Temperature: -10
o
C to +60
o
C
Operating Time Light/Dark: 0.04-2.0s (Digital Control)
Power: Lithium Cell Battery
Shade Active: Weld- 9 -13 Cut- 4-8 Grind- 3
Shade Inactive: 3/4
Viewing Area: Front Panel - 108 x 82mm
Side Panels - 75/50 x 60mm
Original Language Version
© Jack Sealey Limited
PWH602 Issue 2 15/02/24
Notied Body; 1883
Type Examination cericate no. C3669.1YXE
Carried out by ECS GmbH -
European certication service
Applicable standards:
EN 61000-6-3:2007+A1, EN IEC 6100-6-1:2019, ISO 16321-2:2021
4. OPERATION
NOTE: Consider environmental conditions where helmet is being used and be aware of use in these conditions, stop using if feeling
fatigued or unwell.
WARNING! Before using the helmet for welding make sure you have read and understood the safety instructions in Section 1.
9 Make sure there is no dust on any sensor.
9 Set the exact mode that you need.
If the battery icon is ashing, please change the battery before use. See 4.7.
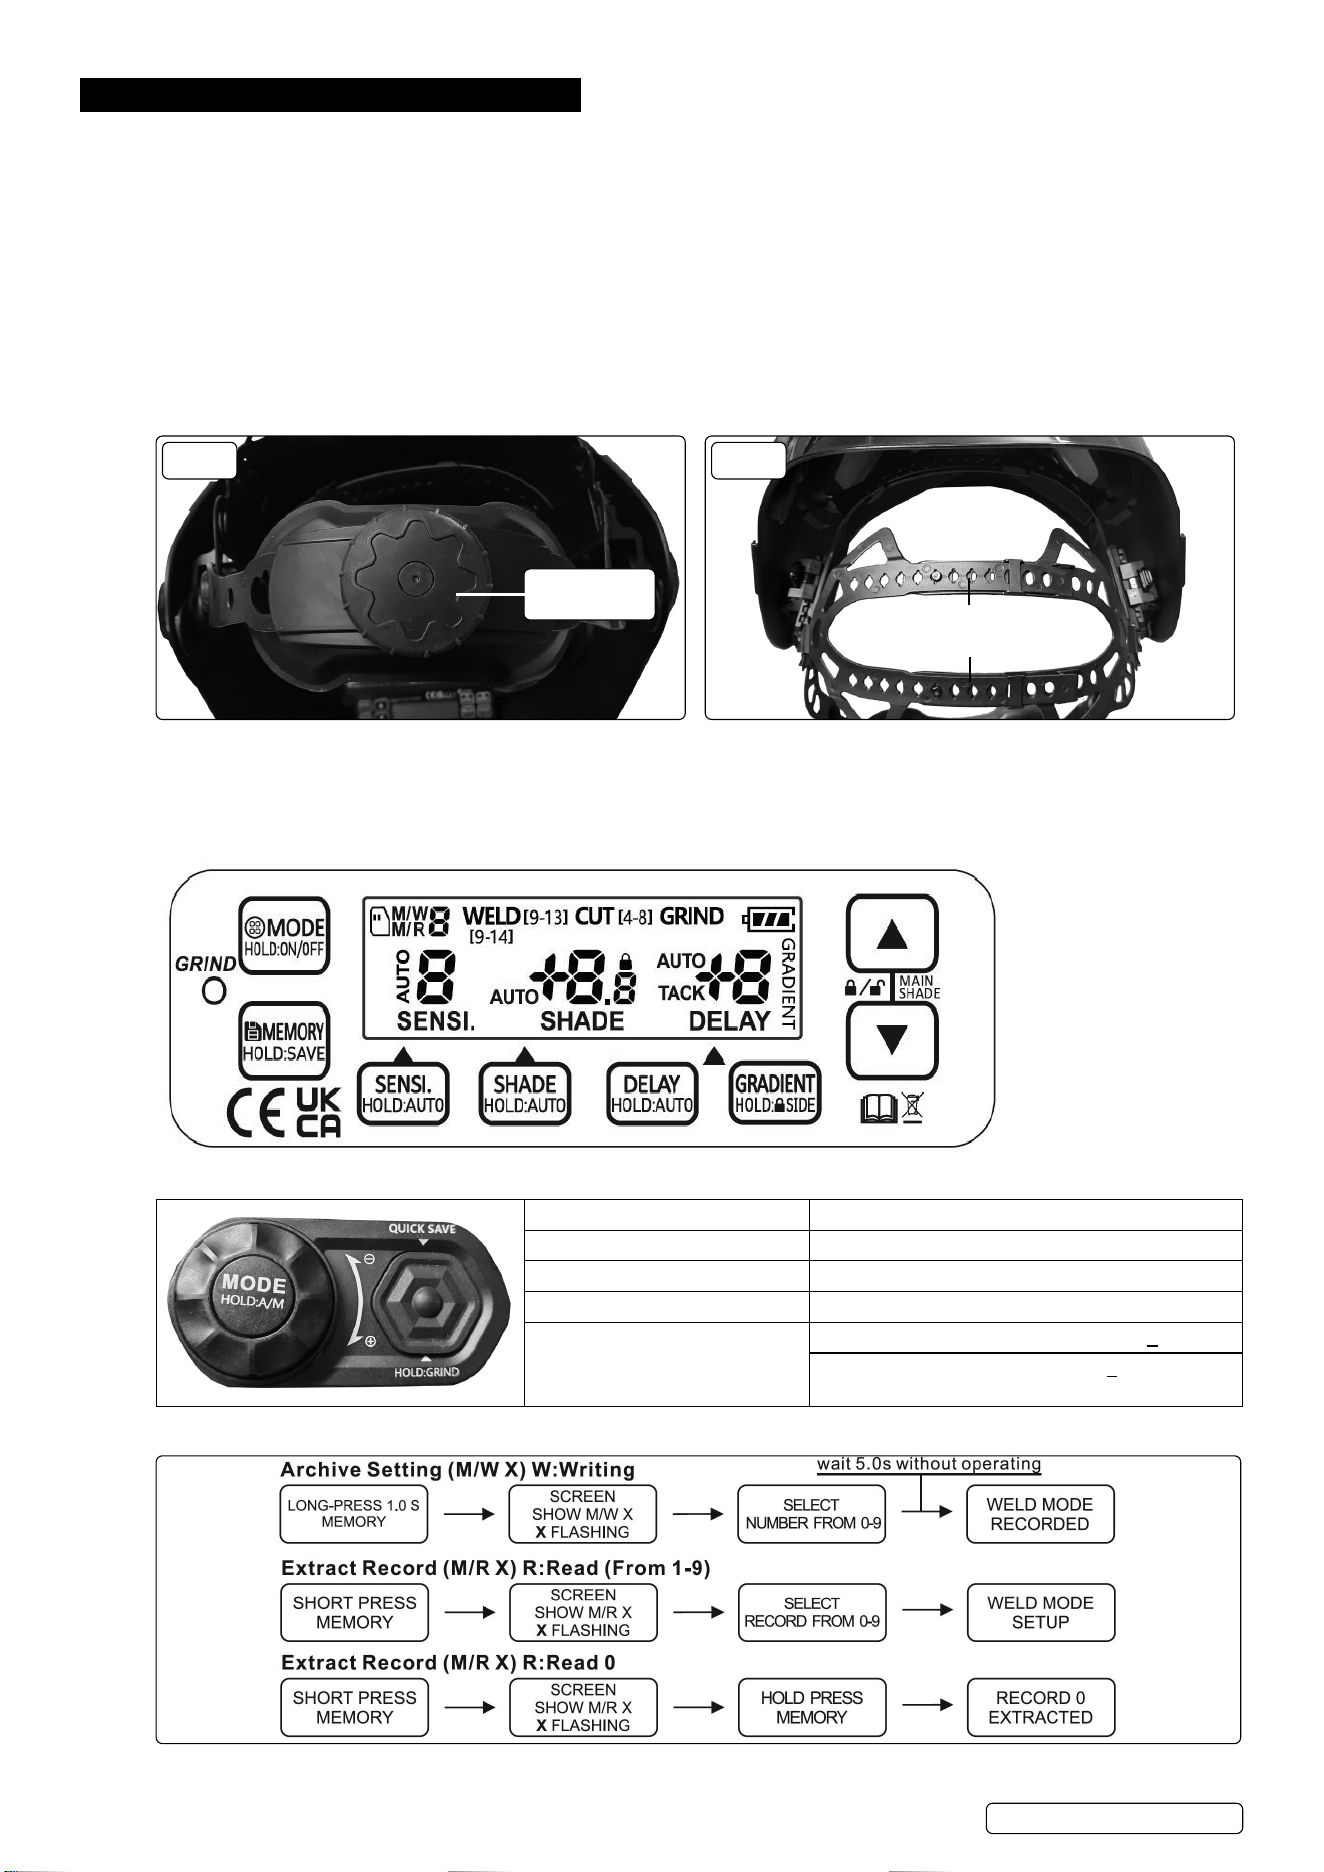
4.1. FITTING INSTRUCTIONS
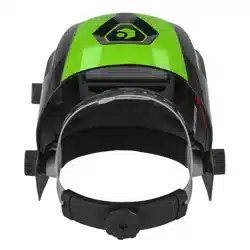
4.1.1. The circumference of the headband is adjusted by turning the wheel on the rear (g.1).
4.1.2. The two top straps can also be adjusted by releasing the pin from the top strap and adjusting as required (g.2).
4.1.3. The distance between the headband assembly and the helmet can be adjusted by undoing the external thumbwheels both sides, and
sliding the headband assembly forwards or backwards, as required. Retighten the thumbwheels.
4.1.4. Test the t of the helmet by lifting it up and closing it a few times whilst wearing it. If the headband moves whilst tilting, readjust it until it
is stable.
FIG.1
ADJUSTMENT
WHEEL
FIG.2
ADJUSTMENT
STRAPS
4.2. MODES
4.2.1. The ADF has 4 modes: CUT (4-8), WELD (9-14), GRIND and DARK.
4.2.2. The mode can be selected using the internal or external controls, as shown below.
WARNING! DO NOT weld in GRIND mode.
4.3. INTERNAL CONTROLS
4.4. EXTERNAL CONTROL BUTTON
Press MODE Select the mode from WELD, CUT, DARK
Hold MODE for 1s Automatic shade function ON/OFF
Press SILICON button Saves the welding mode in record 0.
Hold SILICON button Switches to grind mode
Twist the knob Manual mode, shade will be adjusted by +0.5
Auto Shade mode, shade deviation +0.1
4.5. MEMORY MODE
Original Language Version
© Jack Sealey Limited
PWH602 Issue 2 15/02/24

FUNCTION ADF OPERATING-UI PANEL USAGE
Sensitivity Without
Auto
Function
Press and .
Level 9: for special welding that needs super
sensitivity.
Level 8: for most applications but especially for low
current welding work.
Level 0: only in some specic surrounding lighting
conditions in order to avoid unwanted triggering.
With
Auto
Function
Press and .
Hold .
Sensitivity is automatically adjusted with deviation
+2.
Delay Without
Auto
Function
Press and .
Level 9: 2.0s is suitable for most applications,
especially for high amps current application and
longer welding interval.
Level 1 & 2: suitable for spot welding.
Level 0: Tack mode
With
Auto
Function
Press and .
Hold .
Delay is automatically adjusted with deviation +2.
Shade Without
Auto
Function
Press and .
Adjust the shade by your experience or according
to chart recommended.
With
Auto
Function
Press and .
Hold .
Shade is automatically adjusted with deviation +2.
All
Series
Hold .
Shade locked at the desired level.
Press and select DARK mode.
Press simultaneously, main window locked.
Hold press , side window locked.
Gradient Without
Auto
Function
Hold .
Oering a gradual recovery from dark to light (not
suitable for tack mode and spot mode).
With
Auto
Function
Press or .
4.6. REPLACING AUTO DARKENING WELDING FILTER
Remove the front protection plate and put the helmet face down. Press both tabs on the top of the lter and push the ADF out.
4.7. REPLACING THE BATTERIES
Remove the two batteries from the bottom of the cassette. Insert the new batteries the correct way up.
5. MAINTENANCE
5.1. CLEANING
9 Clean with a soft cloth in mild detergent.
8 DO NOT use aggressive solvents such as acetone.
5.2. STORAGE
9 Store in a clean, dry place, between -10
o
C-60
o
C.
9 Remove the battery or turn o the ADF before long-time storage.
9 Keep the solar cells of the auto-darkening welding lter in the dark. DO NOT expose to light during storage to maintain power down mode.
8 DO NOT place any heavy items on or inside the helmet. This may damage the electro-optical lter.
5.3. MAINTENANCE
9 Always check for damage before use. Outer and inner visors should be replaced with genuine certied spare parts.
9 Transport the product in the original packaging away from direct sunlight.
9 We recommend a usage period of 4 years. The period depends on various factors such as use, cleaning, storage and maintenance.
Original Language Version
© Jack Sealey Limited
PWH602 Issue 2 15/02/24
6. TROUBLESHOOTING
PROBLEM POSSIBLE CAUSE SOLUTION
Irregular darkening or dimming. Headgear has been set unevenly so there
is an uneven distance from the eyes to the
lter lens.
Readjust the headband.
The lter won’t darken or ickers. Front cover lens is dirty or damaged. Clean or replace the lens.
Sensors are dirty/blocked. Clean the sensors surface.
Solar panel is blocked. Ensure the solar panel is free from
obstruction whilst welding.
Sensitivity is set too low or the delay time
is too small.
Adjust sensitivity/delay time to required
level.
Welding current too low. Adjust weld amps.
Filter darkening without arc being struck. Sensitivity is set too high. Adjust sensitivity to required level.
Filter remains dark after completing a
weld.
Delay time is set too long. Adjust delay time to required level.
Slow response. Operating temperature is too low. Do not use at temperatures below -10
o
C
or 14
o
F.
Welding helmet slips. Headgear is not properly adjusted. Readjust the headband.
EU | Sealey EU Ltd, Farney Street, Carrickmacross, Co. Monaghan, A81 PK68 Ireland
UK | Sealey Group, Kempson Way, Suffolk Business Park, Bury St Edmunds, Suffolk. IP32 7AR
01284 757500 sales@sealey.co.uk www.sealey.co.uk
ENVIRONMENT PROTECTION
Recycle unwanted materials instead of disposing of them as waste. All tools, accessories and packaging should be sorted,
taken to a recycling centre and disposed of in a manner which is compatible with the environment. When the product
becomes completely unserviceable and requires disposal, drain any fluids (if applicable) into approved containers and
dispose of the product and fluids according to local regulations.
Note: It is our policy to continually improve products and as such we reserve the right to alter data, specifications and component parts without prior notice.
Important: No Liability is accepted for incorrect use of this product.
Warranty: Guarantee is 12 months from purchase date, proof of which is required for any claim.
REGISTER YOUR
PURCHASE HERE
This document has been drawn up according to Regulation (EU) 2016/425 as amended to apply to GB for Personal Protective
Equipment. The declaration of conformity can be accessed at www.sealey.co.uk.
BATTERY REMOVAL
Under the Waste Batteries and Accumulators Regulations 2009, Jack Sealey Ltd are required to inform potential purchasers of products
containing batteries (as defined within these regulations), that they are registered with Valpak’s registered compliance scheme. Jack
Sealey Ltd’s Batteries Producer Registration Number (BPRN) is BPRN00705.
WEEE REGULATIONS
Dispose of this product at the end of its working life in compliance with the EU Directive on Waste Electrical and Electronic Equipment
(WEEE). When the product is no longer required, it must be disposed of in an environmentally protective way. Contact your local solid
waste authority for recycling information.
Original Language Version
© Jack Sealey Limited
PWH602 Issue 2 15/02/24