
THIS INSTRUCTION BOOKLET CONTAINS IMPORTANT SAFETY INFORMATION. PLEASE READ AND KEEP FOR FUTURE REFERENCE.
EN FR
USER’S MANUAL
LED Bathroom Mirror
BA7803CA
Before You Start
Please read all instructions carefully.
Retain instructions for future reference.
Separate and count all parts and hardware.
Read through each step carefully and follow the proper order.
We recommend that, where possible, all items are assembled
near to the area in which they will be placed in use, to avoid
moving the product unnecessarily once assembled.
Always place the product on a flat, steady and stable surface.
Keep all small parts and packaging materials for this product
away from babies and children as they potentially pose a serious
choking hazard.
02

03
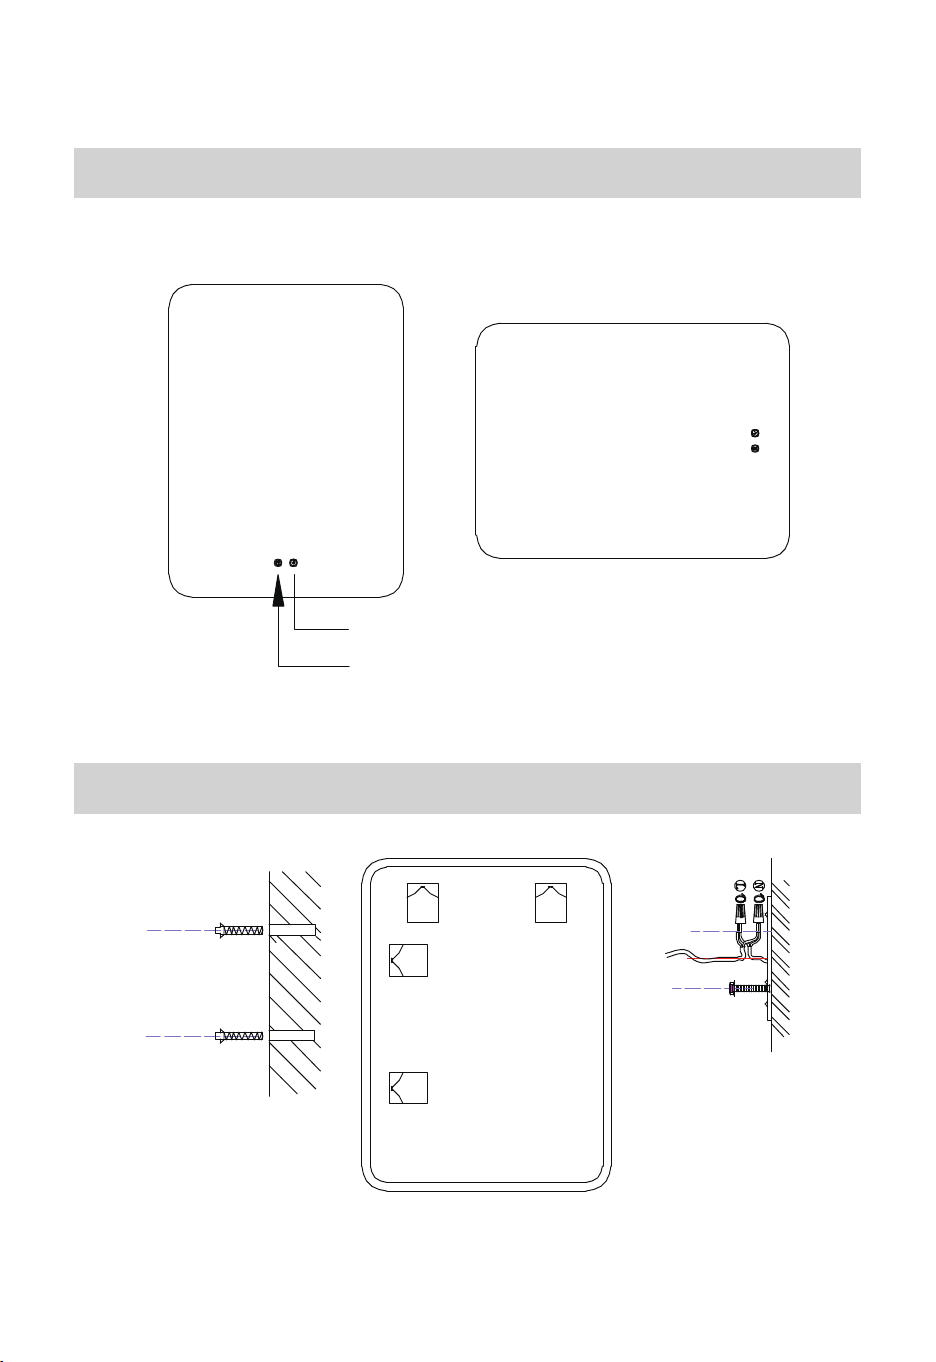
Assembly Instruction
1. Use a tape measure to determine the position on the wall and drill
holes. Drill holes (on the left and right) according to the size of the
screws, and then tap the plastic parts into the drilled holes (as
shown in the figure).
2. Twist the self-tapping screw into the fixed plastic part, leave the
screw about 10MM outside the wall, and ensure that the screw is
fixed well enough to bear the weight of the mirror.
3. Hang the mirror on the fixed screw, and align the hook behind the
mirror with the screw.
4. After installation, tear off the protective film on the mirror surface.
5. Insert the plug cord directly into the socket, and the connecting
wire can be hidden behind the mirror (if there is a reserved power
wire on the wall, you can cut off the plug of the light wire and
connect the light wire to the reserved wire).

04
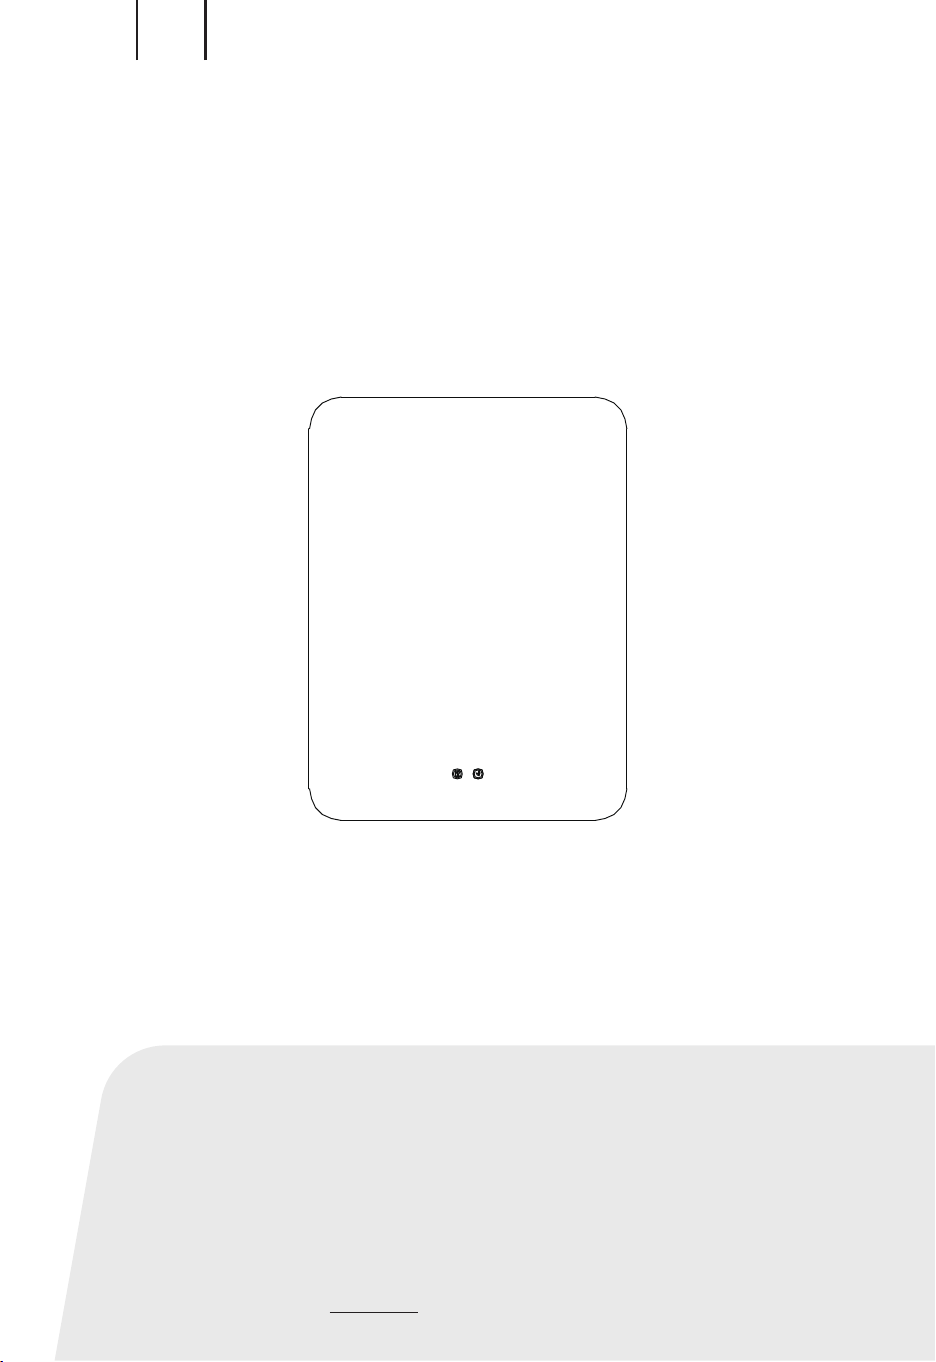
Back View
Front View
Hang vertically
Hang horizontal
Light source key
Defogging key

05
Maintenance
1. Please wear gloves to install.
2. Turn off the power first when installing or cleaning.
3. Please use non-corrosive cleaning agent when cleaning.
4. When touching the switch, just press the mirror surface lightly
with your hand, do not press hard.
Using Instruction
1. In the power-on state, when the light is off, the touch key is blue.
Short press the light source key to turn on the light, and the touch
key turns white; short press again to convert light source color
temperature.
2. When the light is on, long press the light source key to adjust the
light brightness.
3. In the power-on state, the defogging key is blue. Short press the
switch to enter the defogging mode, and the defogging key turns
white.
4. The light source mode features a memory function. When you
adjust it to your favorite brightness state, the next time you turn
on the power, it will be the last lighting state.
5. Short press and long press the touch switch can be used at will,
whose functions are not interfered and restricted.
Please give us a chance to make it right and do better !
Contact our friendly customer service department for help first.
Replacements for missing or damaged parts will be shipped ASAP !
Contact Us !
Do NOT return this item.
US:cs.us@costway.com
UK:cs.uk@costway.com
US office: Fontana UK office: Ipswich AU office: Truganina
DE office: Hamburg
FR office: Saint Vigor d'Ymonville
PL office: Gdańsk
EN FR
MANUEL DE L’UTILISATEUR
CE MANUEL CONTIENT DES INFORMATIONS IMPORTANTES SUR LA SÉCURITÉ. VEUILLEZ LE LIRE ET LE CONSERVER POUR TOUTE RÉFÉRENCE FUTURE.
Miroir de Salle de Bain LED
BA7803CA
02
Avant de Commencer
Veuillez lire attentivement toutes les instructions.
Conservez les instructions pour vous y référer ultérieurement.
Vérifiez toutes les pièces et les accessoires.
Lisez attentivement chaque étape et suivez l’ordre correct.
Nous recommandons que, dans la mesure du possible, tous les
produits soient assemblés à proximité de la zone où ils seront
utilisés, afin d’éviter tout déplacement inutile du produit une fois
assemblé.
Placez toujours le produit sur une surface plane et stable.
Conservez toutes les petites pièces de ce produit et les matériaux
d’emballage hors de portée des bébés et des enfants, car ils
pourraient présenter un risque d’étouffement.

03
Instructions de Montage
1. Utilisez un ruban à mesurer pour déterminer la position à perforer
sur le mur. Percez des trous (à gauche et à droite) en fonction de
la taille des vis, puis enfoncez les pièces en plastique dans les
trous percés (comme indiqué sur la figure)
2. Vissez la vis autotaraudeuse dans la partie en plastique fixe,
laissez la vis à environ 10 mm à l'extérieur du mur et assurez-vous
que la vis est suffisamment bien fixée pour supporter le poids du
miroir.
3. Accrochez le miroir sur la vis fixée et alignez le crochet derrière le
miroir avec la vis.
4. Après l'installation, retirez le film protecteur sur la surface du
miroir.
5. Insérez le cordon d'alimentation directement dans la prise et le fil
de connexion peut être caché derrière le miroir (s'il y a un fil
d'alimentation réservé sur le mur, vous pouvez couper la prise du
fil de lumière et connecter le fil de lumière au fil réservé).
04
Vue Arrière
Vue de Face
Accrocher verticalement
Accrocher horizontalement
Bouton de la source lumineuse
Bouton de désembuage

05
Maintenance
1. Veuillez porter des gants pour l'installation.
2. Coupez d'abord l'alimentation lors de l'installation ou du nettoyage.
3. Veuillez utiliser un agent de nettoyage non corrosif lors du nettoyage.
4. Veuillez appuyez légèrement sur le bouton du miroir avec votre
main, n'appuyez pas fort.
Instructions d'Utilisation
1. À l'état allumé, lorsque la lumière est éteinte, le bouton tactile est
bleu. Appuyez brièvement sur le bouton de la source lumineuse
pour allumer la lumière et le bouton tactile deviendra blanc;
appuyez brièvement à nouveau pour modifier la température de
couleur de la source lumineuse.
2. Lorsque la lumière est allumée, appuyez longuement sur le bouton
de la source lumineuse pour régler la luminosité de la lumière.
3. Lorsqu'il est allumé, le bouton de désembuage est bleu. Appuyez
brièvement sur le bouton pour activer le mode de désembuage et
le bouton deviendra blanc.
4. Le mode source lumineuse dispose d'une fonction de mémoire. Si
vous le réglez sur votre niveau de luminosité préféré, la prochaine
fois que vous allumerez l'appareil, il sera réglé sur le dernier
niveau de luminosité.
5. Une courte pression et une longue pression sur le bouton tactile
peuvent être utilisées à volonté, ses fonctions ne seront pas
perturbées et restreintes.
VEUILLEZ NOUS DONNER L’OCCASION DE L’AMÉLIORER !
Contactez d’abord notre service à la clientèle amical pour l’aide.
Les replacements pour les pièces manquantes ou endommagées seront envoyés
le plus vite possible!
Contactez-nous !
Ne retournez pas cet article.
Contactez notre service à la clientèle pour obtenir de l’aide.
US office: Fontana UK office: Ipswich AU office: Truganina
DE office: Hamburg
FR office: Saint Vigor d'Ymonville
PL office: Gdańsk
