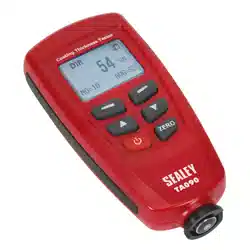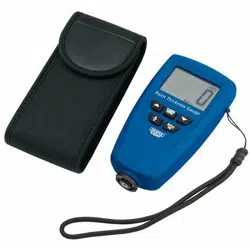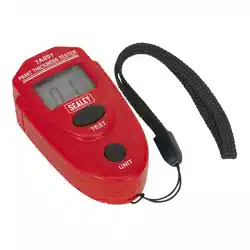
paint thickness gauge
model no: ta091
thank you for purchasing a sealey product. Manufactured to a high standard, this product will, if used according to these
instructions, and properly maintained, give you years of trouble free performance.
IMPORTANT: PLEASE READ THESE INSTRUCTIONS CAREFULLY. NOTE THE SAFE OPERATIONAL REQUIREMENTS, WARNINGS & CAUTIONS. USE
THE PRODUCT CORRECTLY AND WITH CARE FOR THE PURPOSE FOR WHICH IT IS INTENDED. FAILURE TO DO SO MAY CAUSE DAMAGE AND/OR
PERSONAL INJURY AND WILL INVALIDATE THE WARRANTY. KEEP THESE INSTRUCTIONS SAFE FOR FUTURE USE.
1. safety
1.1. geneRaL safety
WaRning! ensure Health & Safety, local authority, and general workshop practice regulations are adhered to when using this gauge in
workshop or bodyshop environments.
9 Take extra care if the vehicle is jacked up or on a raised ramp/hoist.
9 maintain correct balance and footing at all times. ensure floor/road surface is not slippery and wear non-slip shoes.
9 If the vehicle is parked on a road, observe normal pedestrian precautions before working in the road, especially on the offside of the
vehicle.
8 DO nOt use when you are tired, under the influence of alcohol, drugs or intoxicating medication.
2. intRODuctiOn
Ideal for the showroom, bodyshop and valeting bay to accurately verify the thickness of paint and check for accident damage. Uses
magnetic induction to provide accurate and consistent readings to 0.1mm. Suitable for iron, steel and aluminium with non-magnetic
coatings including paint, enamel, plastic and epoxy. displays measurement in mm or mil. Powered by CR2032 3V battery (supplied).
3. specificatiOn
model no ...............................................................TA091
Accuracy .................................................................. ±2%
Graduations ......................................................... 0.1mm
Range ..................................................................0-2mm
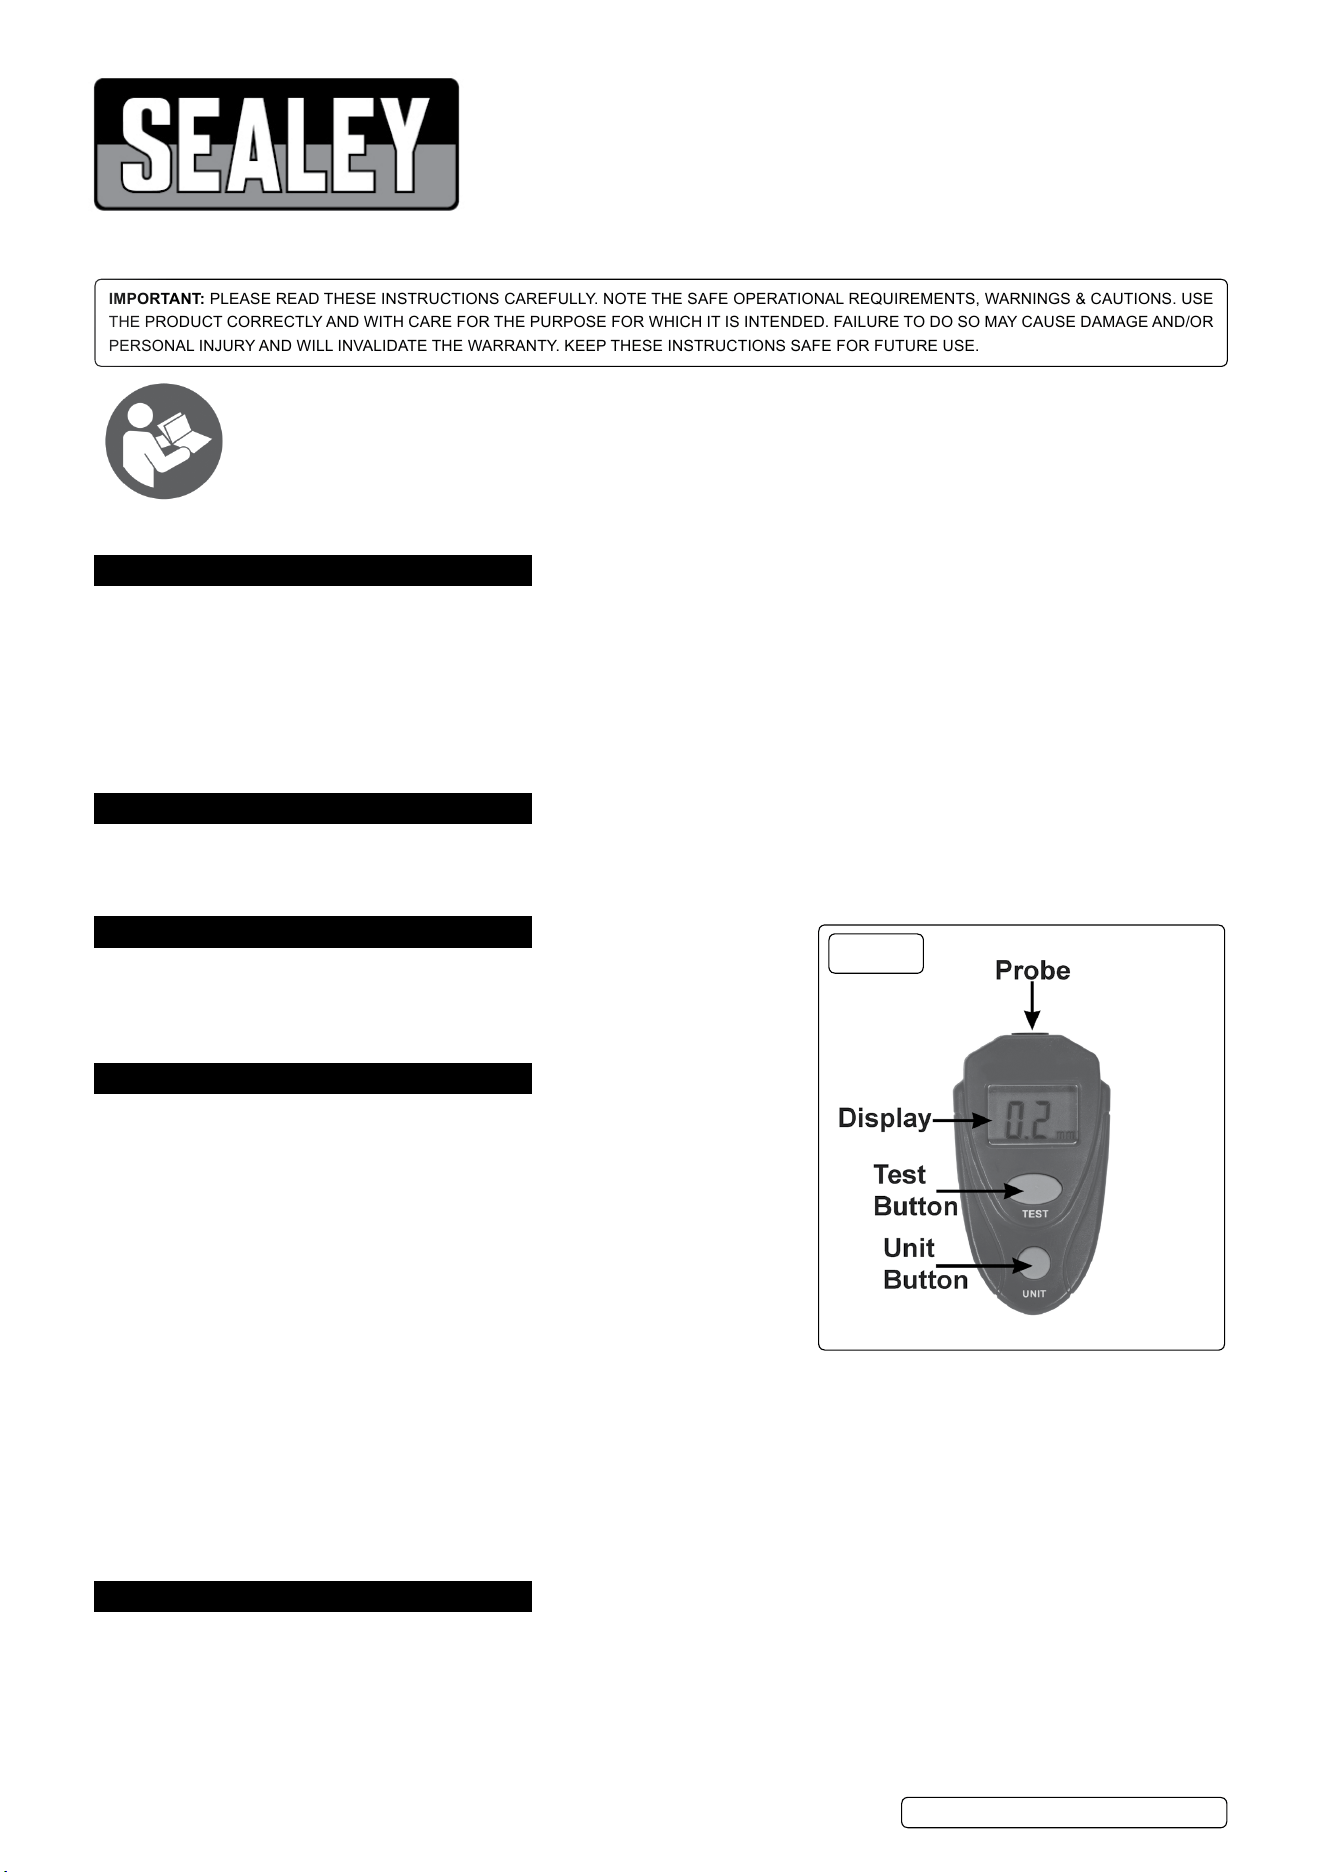
4. OpeRatiOn
4.1. Hold the tester and make sure that it is at least 20cm away from the object
to be tested and other objects. Then press the ‘TeST’ button to turn on the
tester. ‘- -’ appears on the display and ashes, then ‘mm’ appears.
4.2. Press the ‘UnIT’ button to select the desired unit - ‘mm’ or ‘mil’.
4.3. Place the tester’s probe perpendicular to the surface to be tested, the display
will show the coating thickness.
● If the display shows ‘- -’, it means the tester does not detect any iron, steel or
aluminium substrate.
● If the display shows ‘OL’, it means that the coating thickness exceeds the tester’s
measuring range.
● If the display shows ‘ - O’, it means that the probe has wear or substrate under
the coatings or it may be of a metal other than iron, steel or aluminium.
4.4. When you measure, the reading will remain on the display, move the tester away and press ‘TeST’ to delete the reading, the display
will show ‘- -’.
4.5. If it does not detect the presence of iron, steel or aluminium in about thirty seconds, it will turn itself off automatically. To turn the tester
off manually, press and hold down the ‘TeST’ button for one second.
nOte: If the temperature changes during measurement turn off the tester and turn it on again and then make the measurement
immediately. This will ensure measurement accuracy.
different kinds of steel have different magnetic suceptibilities and conductivities, so the measurement results of coatings on different
kinds of steel (substrate) may be different, even if these coating thicknesses are the same. For coatings on steel, measurement results
can only be used for non-critical reference.
5. BatteRy RepLaceMent
5.1. When the low battery indicator appears on the display, the battery must be replaced immediately.
5.2. make sure the tester has turned off, then rotate the battery cover in the direction indicated by the arrows on the battery cover.
5.3. Tap the tester on your palm to remove the battery cover and the battery will fall out.
5.4. Install a new cell of the same type (3V button cell, CR2032 or equivalent), make sure the positive terminal of the button cell will face the
battery cover when the cover is installed.
TA091 | Issue 2 13/03/18
Original Language Version
© Jack Sealey limited
Refer to
instructions
g.1
sealey group, kempson Way, suffolk Business park, Bury st edmunds, suffolk. ip32 7aR
01284 757500 01284 703534 sales@sealey.co.uk www.sealey.co.uk
enviROnMent pROtectiOn
Recycle unwanted materials instead of disposing of them as waste. All tools, accessories and packaging should be sorted, taken to
a recycling centre and disposed of in a manner which is compatible with the environment. When the product becomes completely
unserviceable and requires disposal, drain any fluids (if applicable) into approved containers and dispose of the product and fluids
according to local regulations.
BatteRy ReMOvaL see sectiOn 4
Under the Waste Batteries and Accumulators Regulations 2009, Jack Sealey ltd are required to inform potential purchasers of products
containing batteries (as defined within these regulations), that they are registered with Valpak’s registered compliance scheme. Jack
Sealey ltd Batteries Producer Registration number (BPRn) is BPRn00705.
note: It is our policy to continually improve products and as such we reserve the right to alter data, specifications and component parts without prior
notice.
important: no liability is accepted for incorrect use of this product.
Warranty: Guarantee is 12 months from purchase date, proof of which is required for any claim.
TA091 | Issue 2 13/03/18
Original Language Version
© Jack Sealey limited