Loading ...
Loading ...
Loading ...
7
To maintain the appearance and increase the service
life of your fryer, clean your unit daily.
1. Unplug the unit.
2. Allow the unit and oil to cool completely before cleaning.
x
x Burn Hazard.
Do not touch hot liquid or heating surfaces while unit is
heating or operating.
Hot liquids and food can burn skin. Allow the hot liquid to cool before handling. Do
not drop or spill water into hot oil as it will spray or splatter the hot oil out of the tank.
WARNING
CAUTION
HOT
Cleaning
6. Carefully remove the Well(s) (F) from the unit to lter or discard
used oil.
7. Tie 2 or 3 layers of cheesecloth over the top of an empty bucket,
leaving slack in cheesecloth to keep oil from overowing the
edges of bucket, when draining the well.
NOTE
BUCKET MUST BE LARGE ENOUGH TO HOLD ALL OF THE OIL
IN WELL. BE SURE THE OIL HAS COOLED. DO NOT REMOVE OR
CLEAN HOT OIL.
8. Strain oil through cheesecloth into the bucket.
NOTE
DO NOT CLEAN THE UNIT WITH STEEL WOOL.
9. Use a damp cloth or sponge dipped in soapy water to clean the
unit and Well(s) (F); rinse and dry thoroughly. May also ll the
Well(s) (F) with water and dish washing liquid. Lower Electrical
Power Head (O) to the down position. The soapy water mixture
can then be heated to approximately 200~250°F for a few
minutes, to clean unit. It’s important that the unit doesn’t run dry
as it will cause the element to burn out.
10. Make sure Electrical Power Head (O) and cords do not come in
contact with water. Spray cleaning solution onto soft cloth and
wipe unit clean.
11. Rinse thoroughly.
12. Dry thoroughly after cleaning.
NOTE
A VERY SMALL AMOUNT OF SOAP LEFT IN THE WELL CAN RUIN
THE OIL. ANY WATER REMAINING IN THE WELL WILL CAUSE
VIOLENT BOILING AND SPUTTERING WHEN OIL IS HOT.
13. Cleaning the Heating Element (P): If considerable carbon
has collected on the Heating Element(s) (P), it can be burned
o by operating the unit with a dry well at a temperature
setting of 250°F (121.1°C) for a few minutes. The deep fryer
will automatically shut down, which will also serve as a test of
the Safety Reset Switch (B). (Refer to "Safety Reset Switch" on
page6). Turn the Thermostat Control Dial (A) back to the "OFF"
position and brush o loose carbon and clean and dry the well
thoroughly.
14. Cleaning the exterior surfaces: Keep all surfaces of the unit free
of splashed shortening or other foreign particles by washing with
hot water and soap. Rinse and wipe o excess water. Polish with
a dry, soft cloth.
x
x Electrical Shock Hazard.
Keep water and other liquids from entering the inside
of the unit. Liquid inside the unit could cause an
electrical shock.
Do not spray water or cleaning products. Liquid could contact the electrical
components and cause a short circuit or an electrical shock. Do not use unit if
power cord is damaged or has been modied.
WARNING
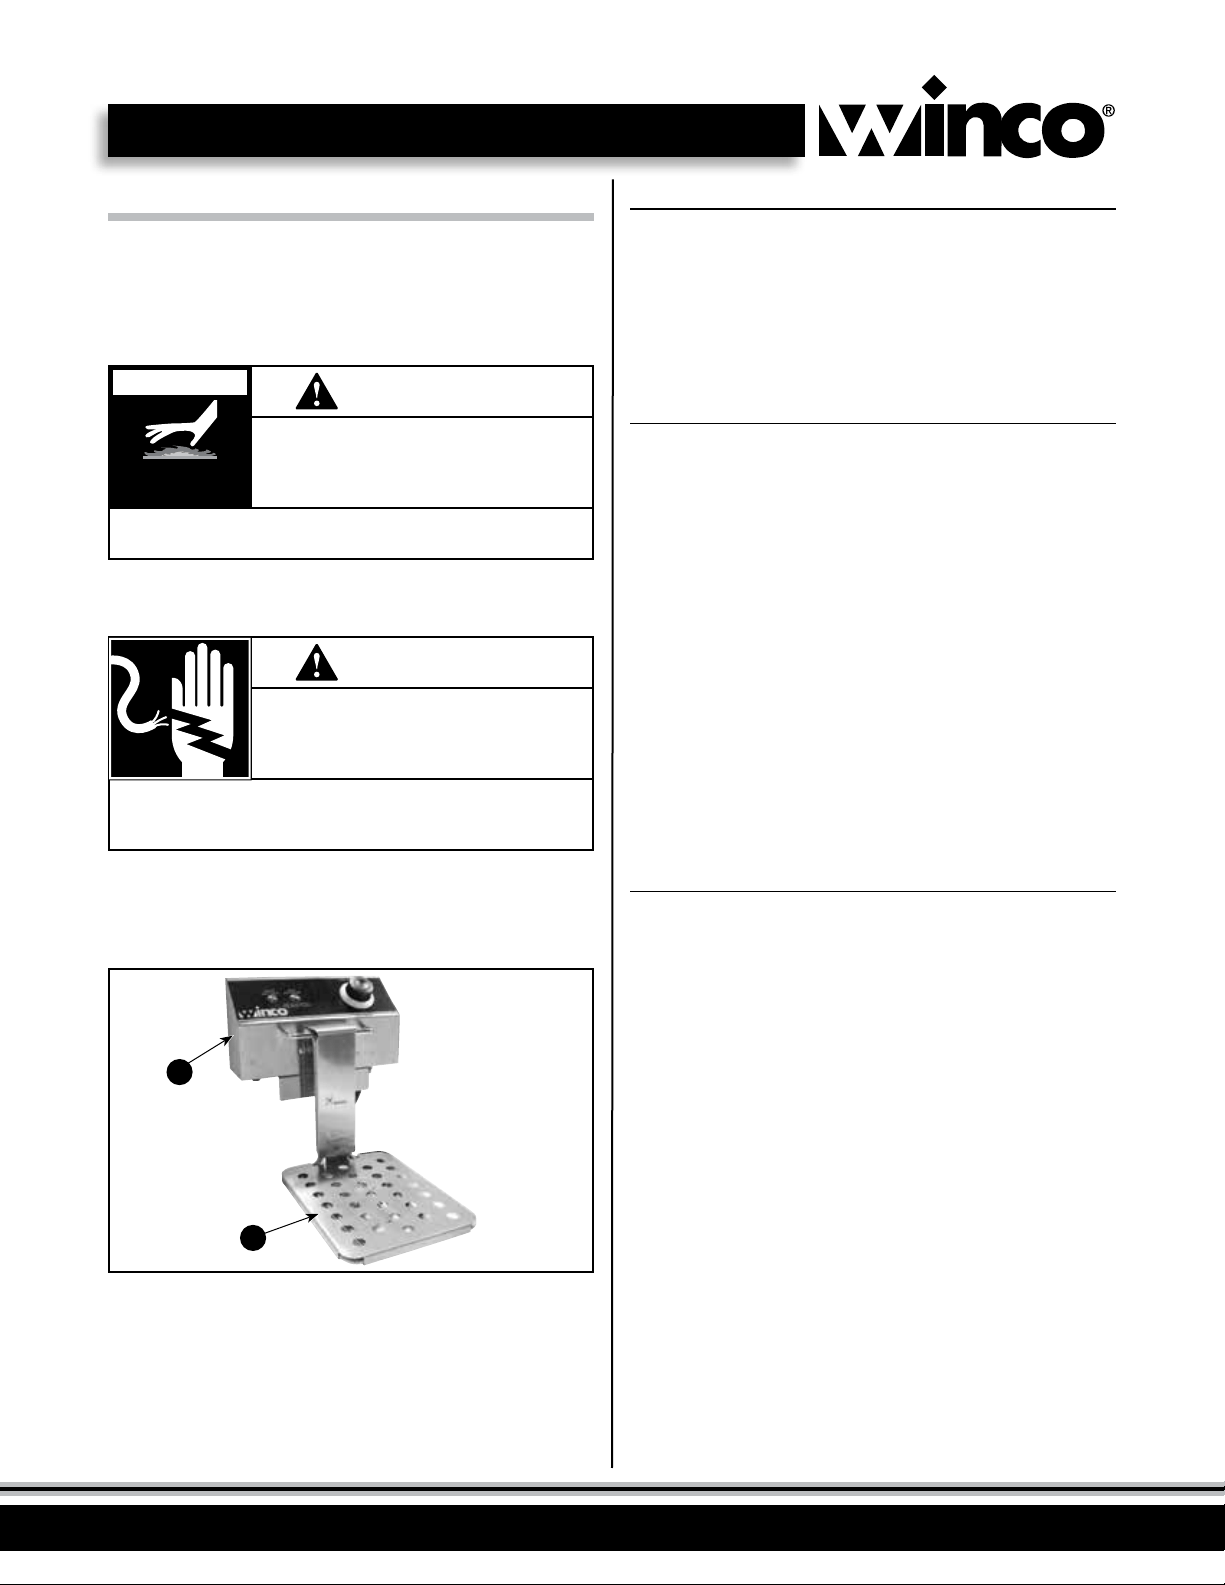
Figure 7. Preparation for Cleaning the Unit
3. Do not immerse the cord, plug, or Removeable Electrical Power Head
(O) in water or any other liquid.
4. Remove the Electrical Power Head (O). (Figure 7)
5. Remove any large food particles from the well using a slotted
spoon or spatula.
For easy cleaning, the
Removeable Electrical Power
Head and Heating Element
can be completely separated
from the base unit
DO NOT immerse the
Removeable Electrical
Power Head in water
O
P
Loading ...
Loading ...
Loading ...