1-800-RAIN BIRD
|
www.rainbird.com The Intelligent Use of Water®
Problem Potential Issues Potential Solution
WATERING ISSUES
Controller is in automatic or
manual watering mode, but
the system is not watering
Water source is not supplying water Verify there is no disruption to the main water line and that all other water supply lines
are open and functioning properly.
Wiring is loose, not properly
connected or damaged
Check that wiring is securely connected at the controller and in the eld. Check for
damage and replace if necessary. Check wiring connections and replace with watertight
splice connectors if needed.
Connected rain sensor may be
activated
Let the rain sensor dry out or disconnect it from the controller terminal block and replace
it with a jumper wire connecting the two SENS terminals.
Jumper wire connecting the two
SENS terminals on the terminal
block may be missing or damaged
The controller will not function if the jumper wire is removed and a rain or rain/freeze
sensor is not connected. Jumper the two SENS terminals on the controller terminal
block by connecting them with a short length of 14- to 18-gauge wire. If a rain sensor is
installed, ensure both rain sensor wires are properly seated in the SENS terminals.
Solenoid or master valve is shorted Conrm short message on the display. Correct the issue in the wiring. Clear the message
by testing watering at the shorted valve or by pressing the > button.
Excessive watering
Programs may have multiple
watering run days and start times
that were set unintentionally
Watering run days and start times apply to the entire program, not individual zones.
Programs (A, B or C) only require a single start time to run.
Valve will not turn o with
the controller
Valve diaphragm is dirty or
damaged and does not seat
properly
Check small ports in valve for blockage by debris; rinse and inspect valve diaphragm and
diaphragm seat for dirt or damage. Replace diaphragm or valve body if damaged.
Valve not fully in “Manual O”
mode
Depending on valve model, verify the solenoid is tightened into the full clockwise
position (“Manual O”) or turn the bleed screw or knob on top of the valve clockwise to
tighten.
Solenoid burned out or obstructed Turn o water and remove the valve solenoid. Check for twisting or damage to solenoid
o-ring, and for dirt impeding the movement of the plunger in the solenoid. Run water
into the solenoid to dislodge dirt and/or push a piece of wire into the small hole in the
retainer at the bottom of the solenoid to see if the plunger inside will move up and down
freely. If not, replace the solenoid.
Damaged or misaligned parts allow
water to leak from valve
Check the valve body and the bonnet for cracks. Verify the integrity of the seal between
the body and bonnet, and the solenoid and bonnet. Repair or replace valve parts as
necessary to stop leak.
ELECTRICAL ISSUES
Display is blank
Power not reaching the controller Verify the power outlet is operational and the main AC power supply is securely plugged
in and working properly.
Verify the orange power supply wires are connected to the controller
“24 VAC” terminals.
Display is frozen and the
controller is not accepting
programming
An electrical surge may have
interfered with the controller’s
electronics
Press and release the RESET button in the controller wiring bay. This will temporarily
disrupt the controller from getting power from the input. If there is no permanent
damage, the controller should accept programming and resume normal operation.
Unplug the controller for two minutes, then plug it back in. If there is no permanent
damage, the controller should accept programming and resume normal operation.
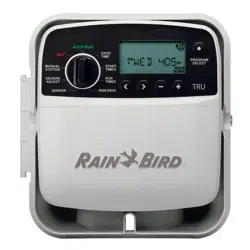
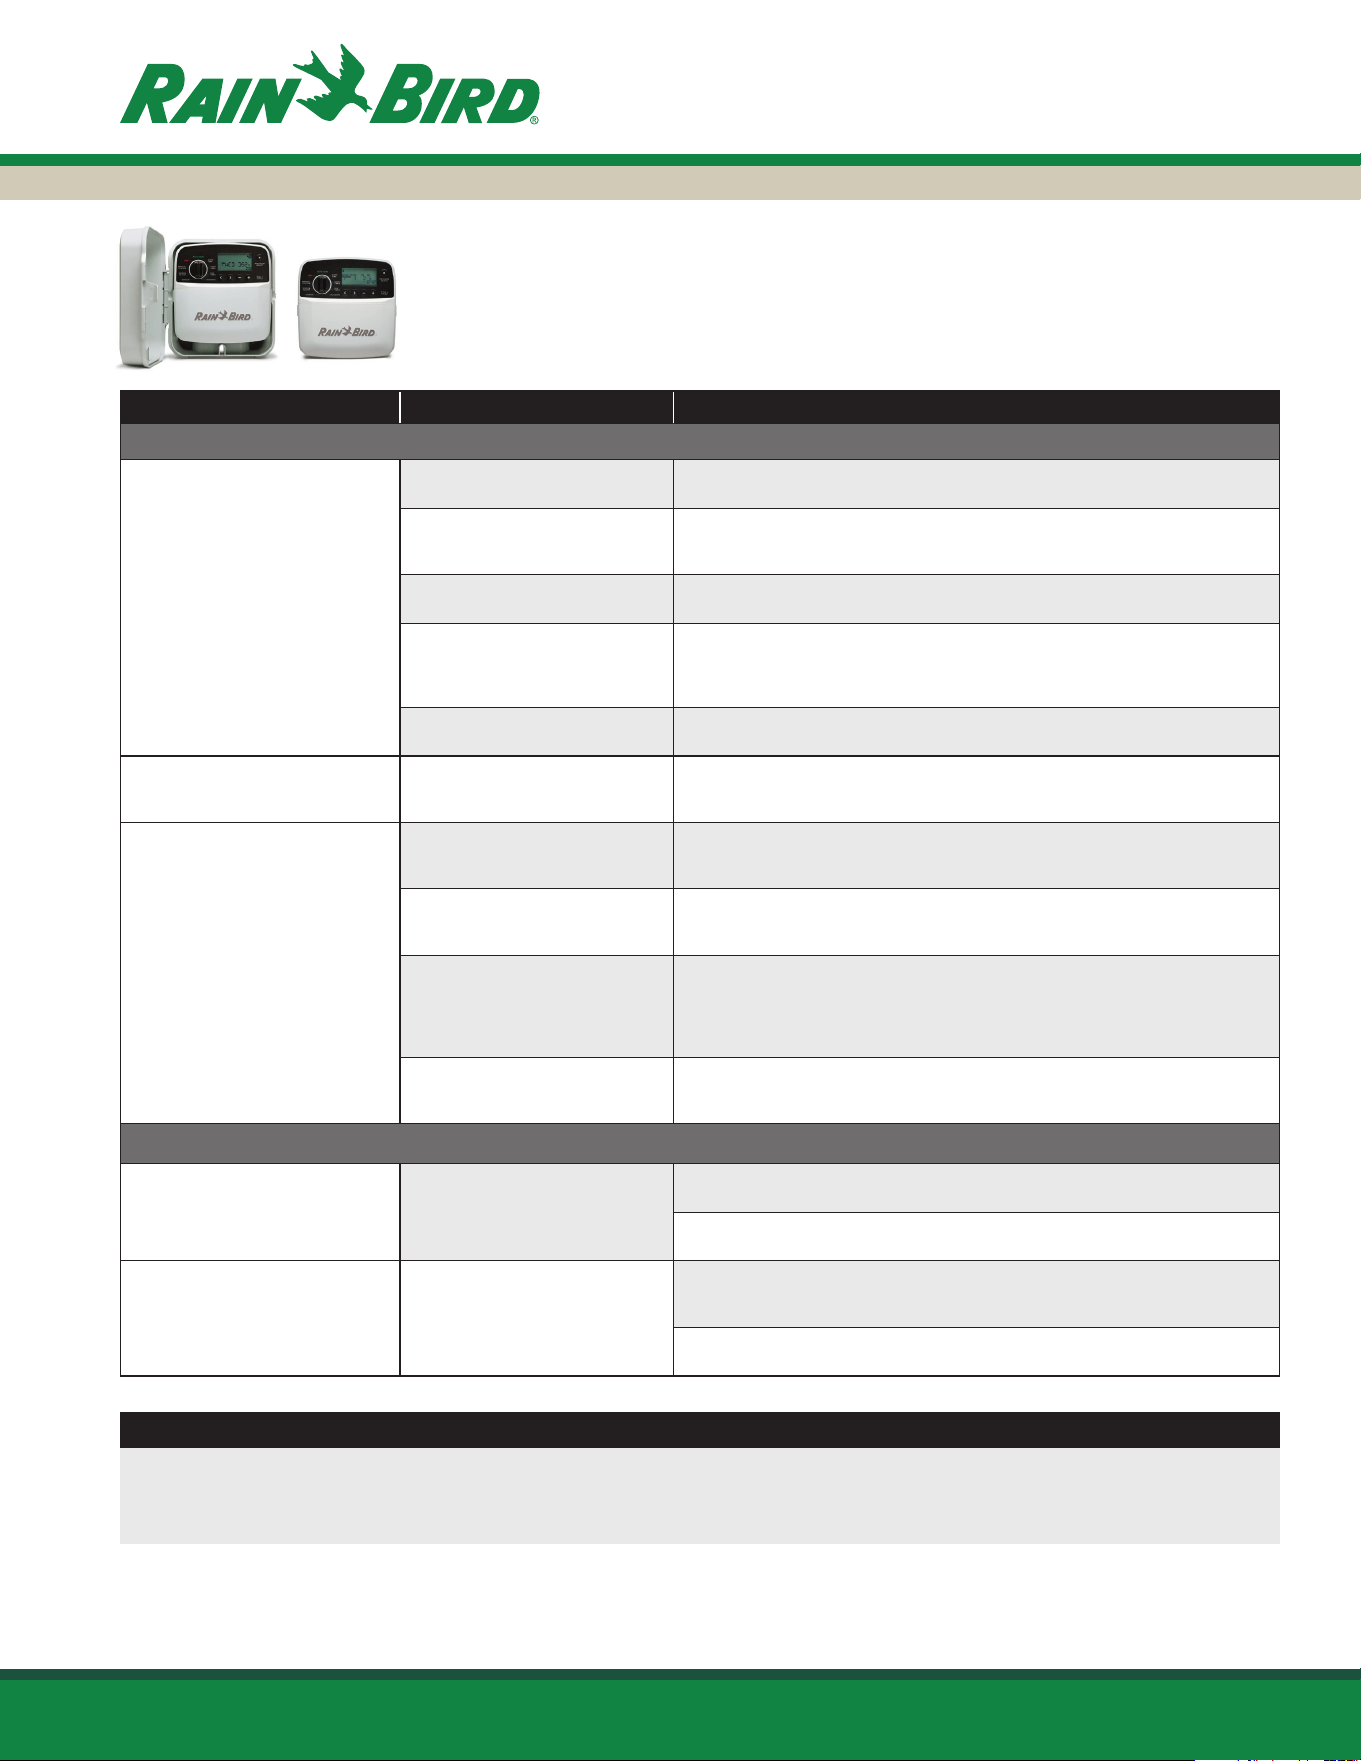
TRU Series Irrigation Controllers
Troubleshooting Guide
RESETTING THE CONTROLLER
Restore the controller to its factory default settings
(Note: This action will reset all programmed watering schedules back to factory default settings, and cannot be reversed.)
1) Turn the dial to SEASON ADJUST.
2) Press and hold the < and > buttons at the same time until “Cleared” is displayed.
© 2023 Rain Bird Corporation
Rev. 10/23