USER MANUAL
ENGLISH
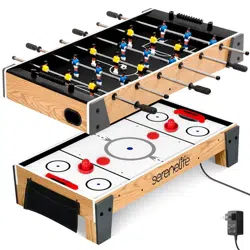
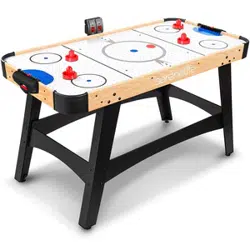
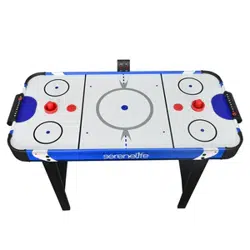
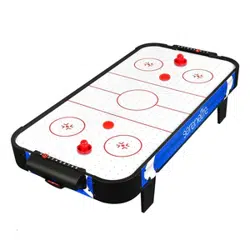
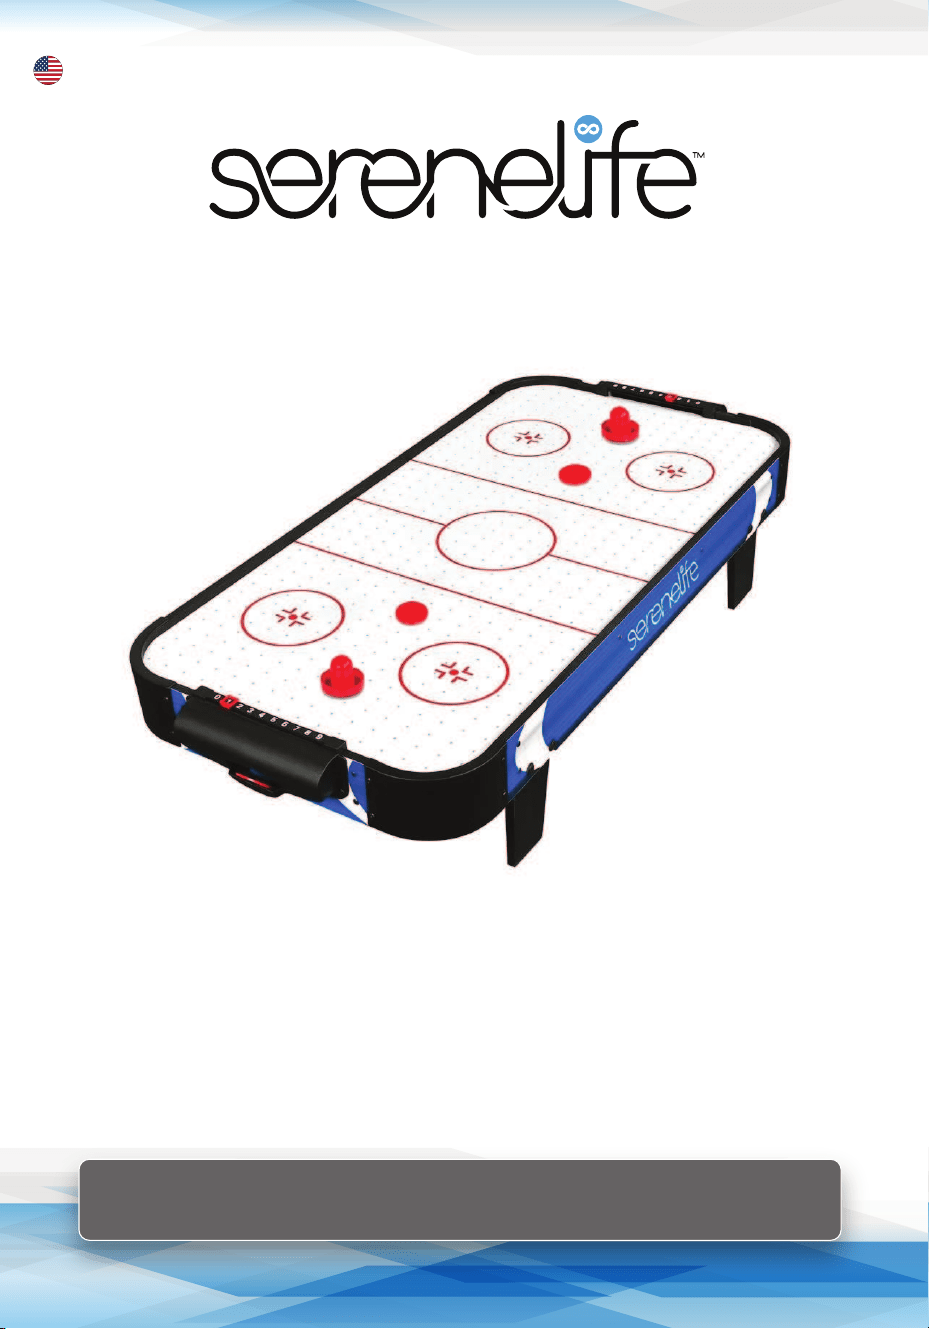
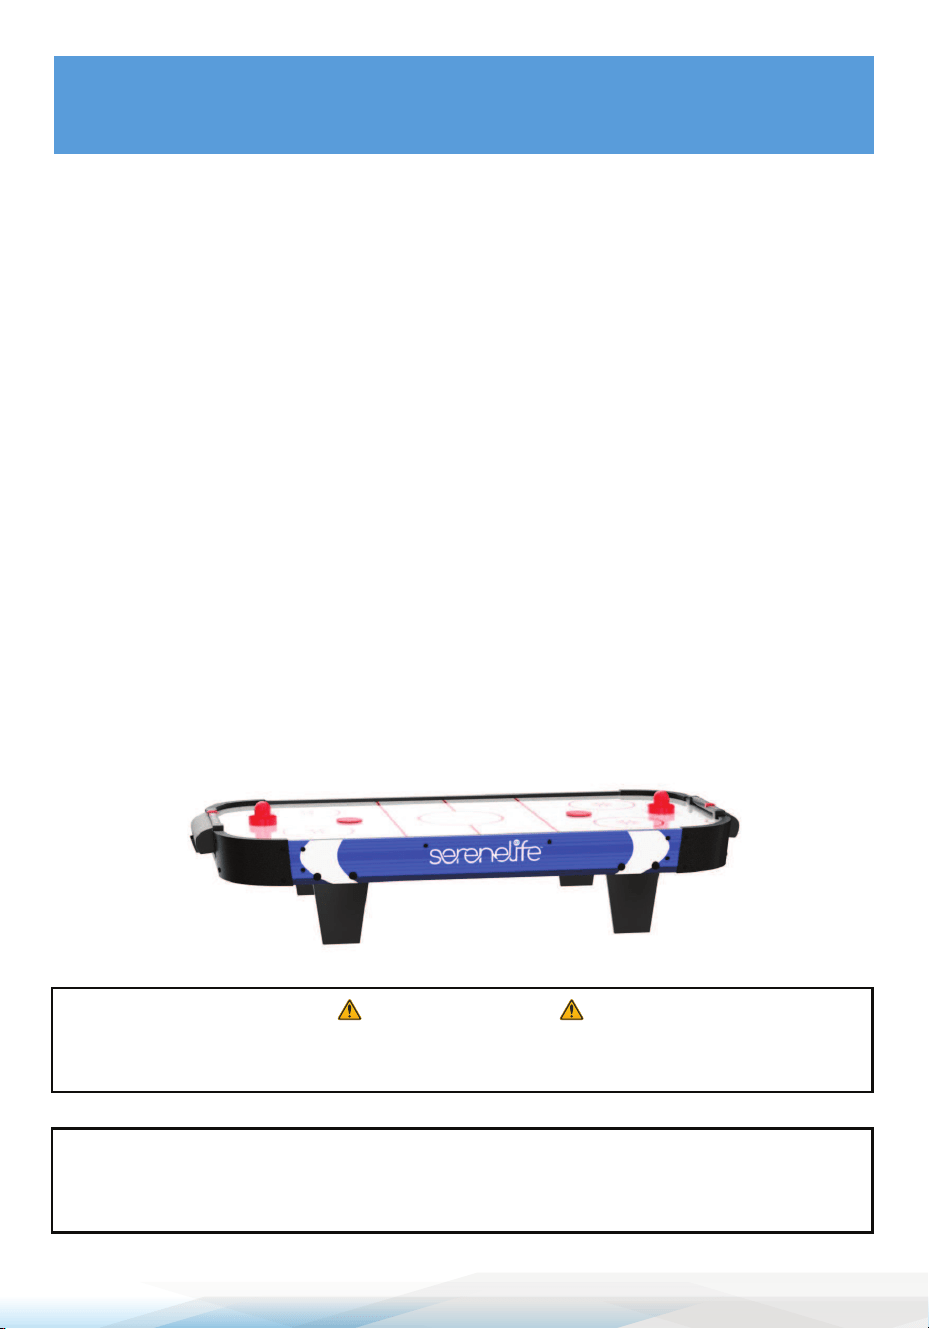
40” Air Hockey Table
Ideal for Indoor Games, Room and Bar
SKARHDT21
2 www.serenelifehome.com
IMPORTANT
After receiving the shipment, inspect the product thoroughly to ensure that it has been
shipped with care. Before assembly make sure that the packaging contains all parts.
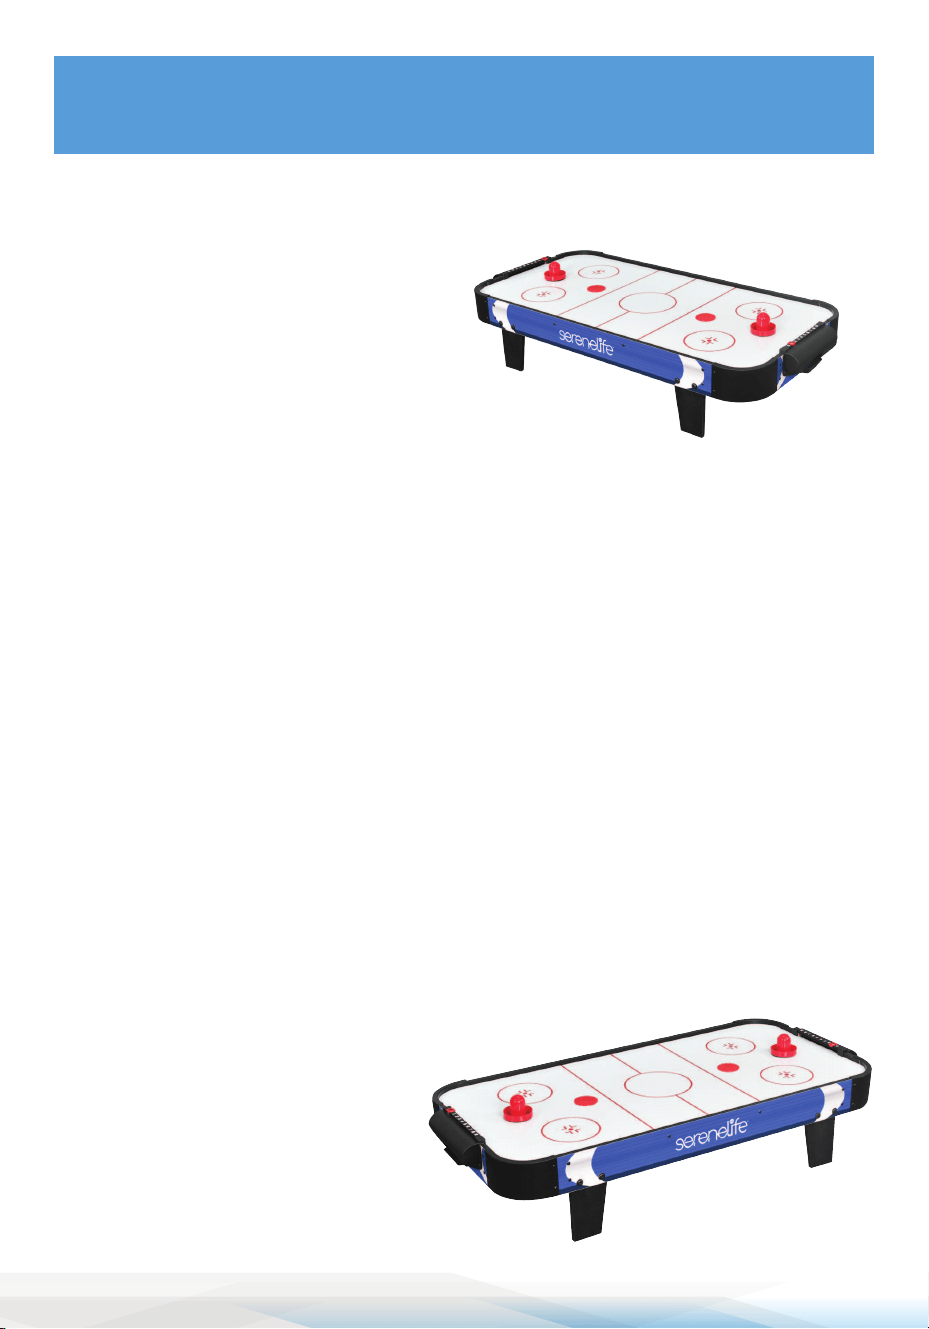
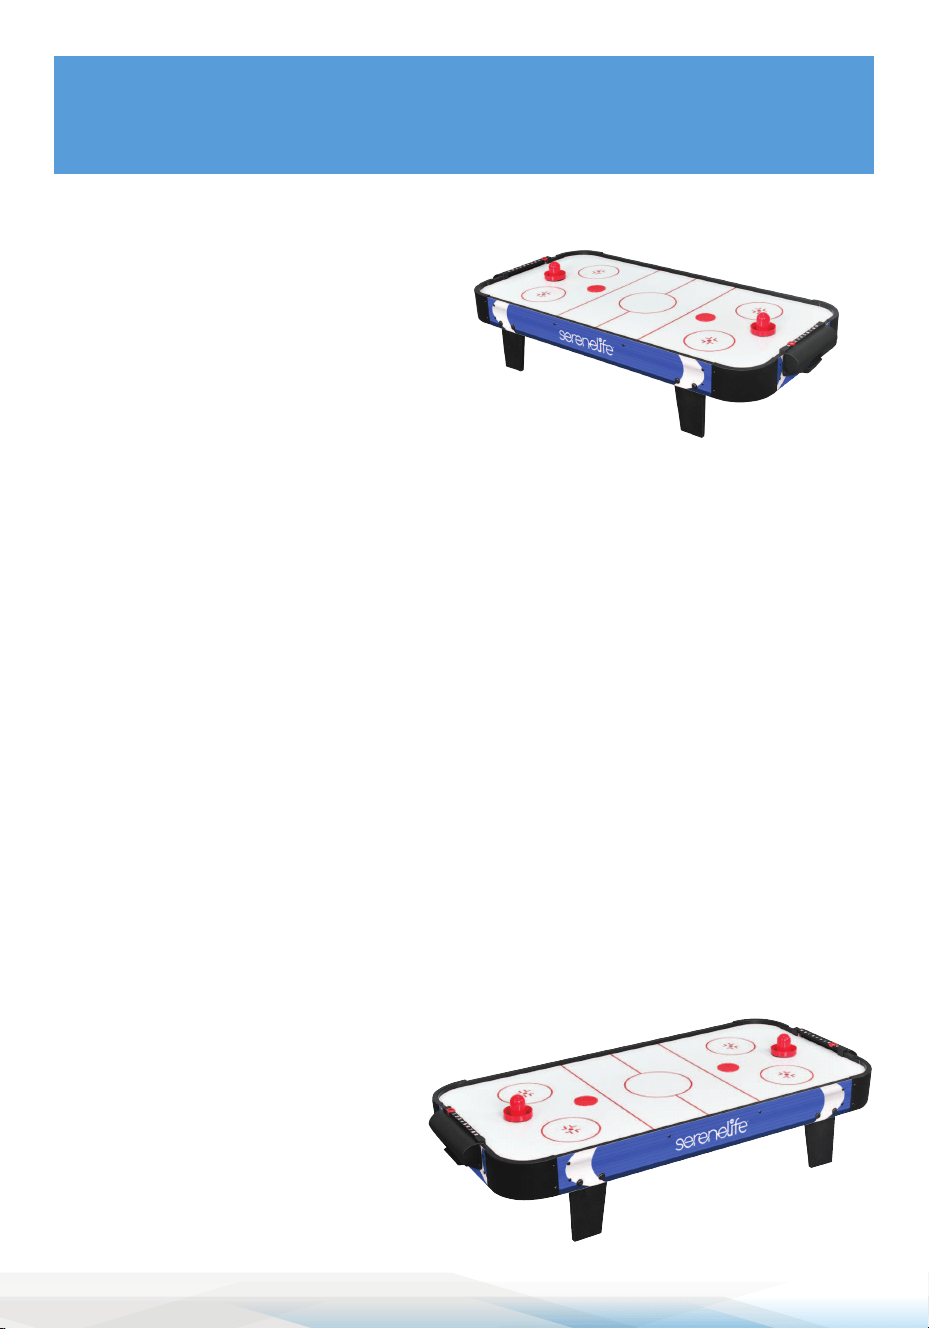
FEATURES:
• Lightweight and Compact Design
• Perfect for Any Game Room or
Apartment
• Space Saving
• Stylish Design
• Made of Durable MDF High-Gloss Finish
• Hi-Gloss Smooth Playing Surface
• Includes 60mm Red Puck and 65mm Green Felt Pusher
• Scratch Resistant and Durable Surface
• Heavy Duty Plastic Corners
• Safe and High-Quality Design
• Sturdy Construction
• Comes with Hardware and Tools for Easy Assembly
• 110V Fan Motor Pushes Air through the Surface for Smooth Gliding
WHAT'S IN THE BOX:
• 40" Air Hockey Table
• (2) Red Pusher with Green Pad
• (2) Red Puck
TECHNICAL SPECS:
• Construction Material:
MDF with PVC and Graphic
• Pusher: 2.5" -inches
• Green Pad: 2.5" -inches
• Puck: 2- /8" -inches
• Hockey Table Thickness:
1 /2" MDF -inches
• Hockey Table Dimensions (L x W x H):
40" x 20" x 8-5/8" -inches

www.serenelifehome.com 3
ASSEMBLY TIPS
1. Find a clean, level surface to begin the assembly of your game table. The
table will be partially assembled upside down and then turned over onto its
legs. This is a heavy game and turning it over will require at least two strong
adults.
2. Remove all of the contents from box and verify that you have all of the parts
shown on the Parts Identifier before you begin assembly.
Note: Some parts may be preinstalled or pre-assembled.
3. Some figures or drawings may not look exactly like your product. Please read
and understand the text before beginning each assembly step.
4. When installing parts that have more than one screw or bolt, hand tighten all
screws or bolts in place before finishingt ightening with screw driver or hex
wrench.
5. Electric screwdrivers may be helpful during assembly; however, please set a
lo torque and use extreme caution because screws may be stripped or
overtightened if the electric screwdriver's torque is set too high.
PLEASE READ THESE ASSEMBLY INSTRUCTIONS ENTIRELY
BEFORE ASSEMBLING YOUR PRODUCT
WARNING!
READ AND FOLLOW ALL ASSEMBLY OPERATION AND
SAFETY INSTRUCTIONS CAREFULLY.
CHOKING HAZARD
THIS TABLE CONTAINS SMALL BALLS AND PARTS -
NOT SUITABLE FOR CHILDREN UNDER 3 YEARS OF AGE.
4 www.serenelifehome.com
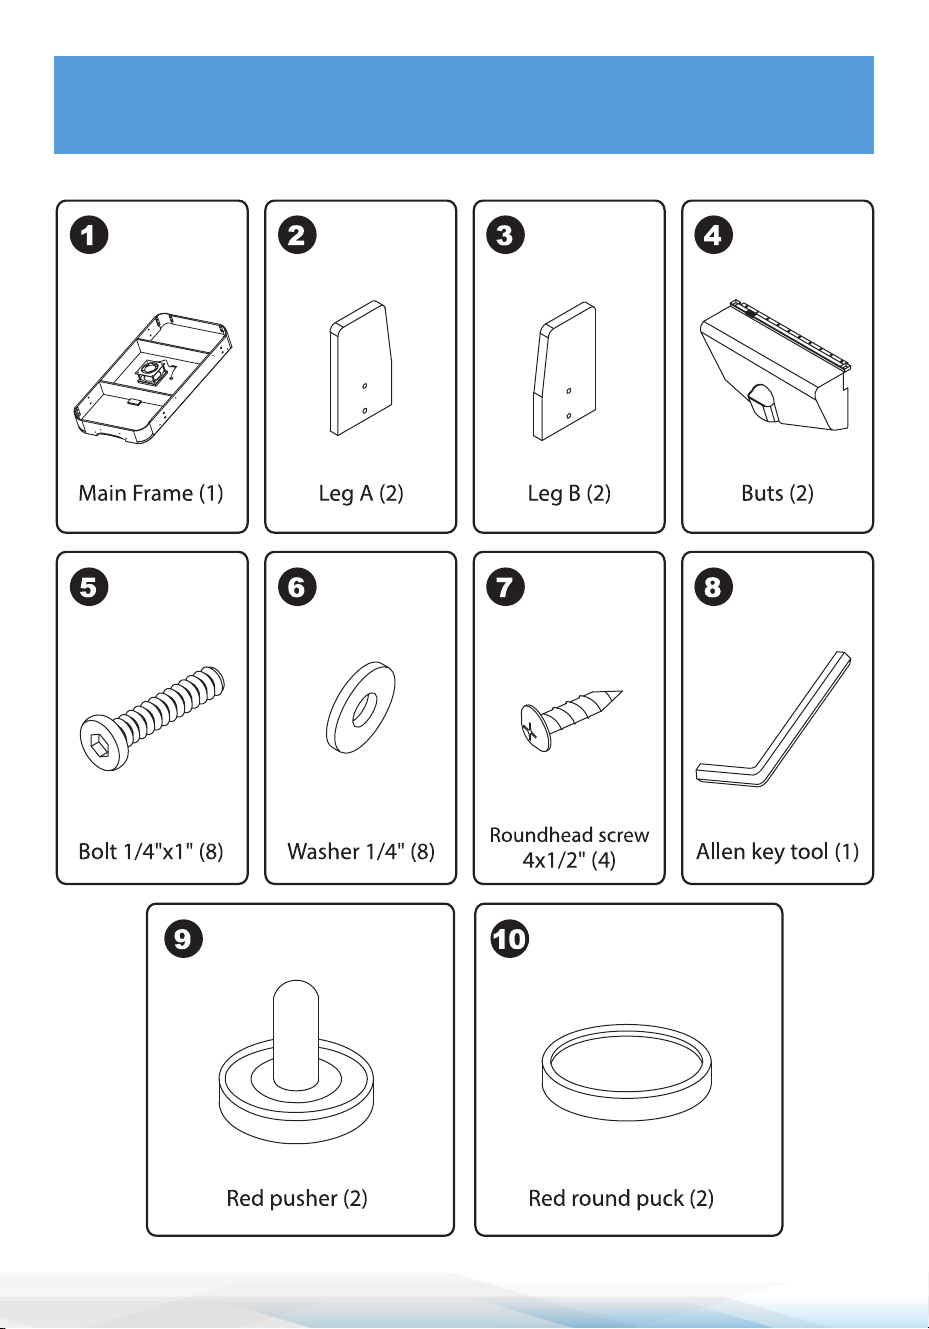
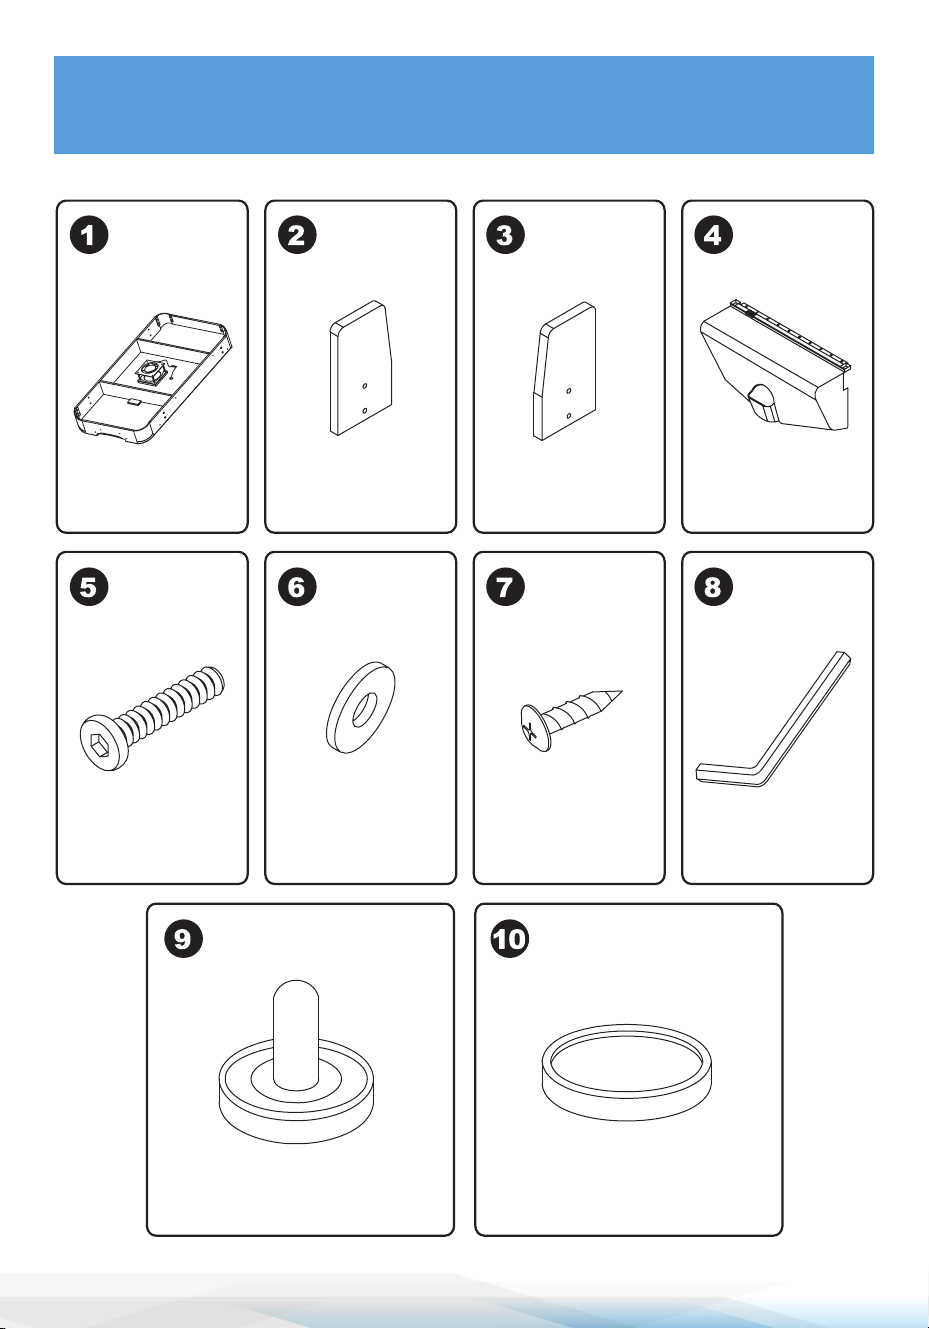
PART LIST

www.serenelifehome.com 5
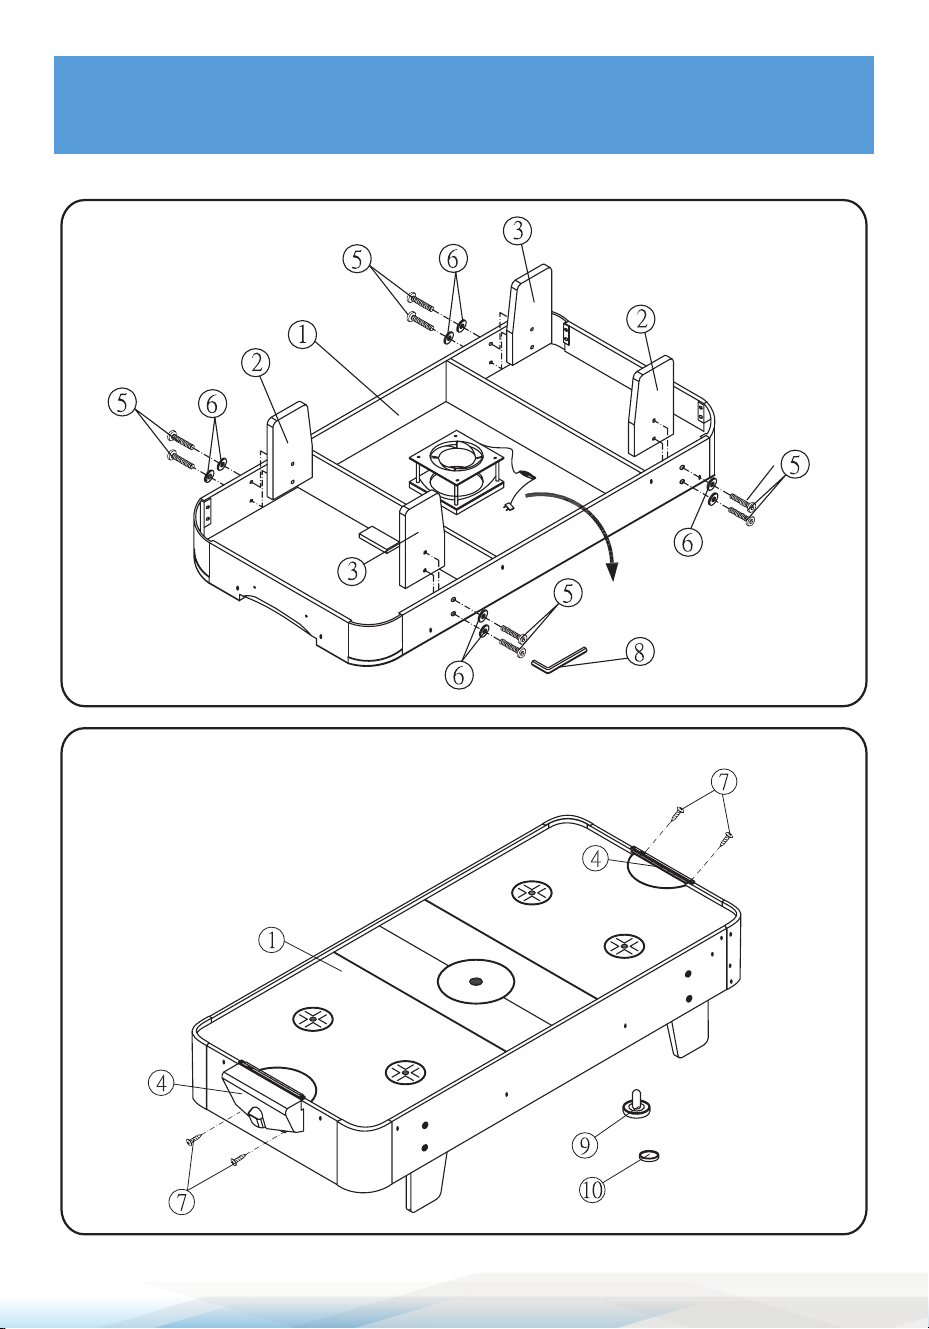
ASSEMBLY INSTRUCTIONS
STEP 1
STEP 2

Questions? Comments?
We are here to help!
serenelifehome.com/pages/contactus

MANUAL DE USUARIO
SPANISH
Mesa de hockey de aire de 40"
Ideal para juegos en interiores, salas y bares
SKARHDT21
2 www.serenelifehome.com
IMPORTANTE
Después de recibir el envío, inspeccione el producto a fondo para asegurarse de que se
haya enviado con cuidado. Antes del montaje, asegúrese de que el embalaje contiene
todas las piezas.
CARACTERÍSTICAS:
• Diseño ligero y compacto
• Perfecto para cualquier sala de
juegos o apartamento
• Ahorro de espacio
• Diseño elegante
• Hecho de MDF duradero con acabado
de alto brillo
• Superficie de juego lisa de alto brillo
• Incluye disco rojo de 60 mm y empujador de fieltro verde de 65 mm
• Superficie duradera y resistente a los arañazos
• Esquinas de plástico de alta resistencia
• Diseño seguro y de alta calidad
• Construcción robusta
• Viene con hardware y herramientas para facilitar el montaje
• El motor del ventilador de 110 V empuja el aire a través de la
superficie para un deslizamiento suave
CONTENIDO DE LA CAJA:
• Mesa de Hockey de aire de 40"
• (2) pulsador rojo con almohadilla
verde
• (2) Discos rojos
ESPECIFICACIONES TÉCNICAS:
• Material de Construcción:
MDF con PVC y gráfico
• Empujador: 2.5" -pulgadas
• Almohadilla verde: 2.5 "-pulgadas
• Disco: 2-3/8" -pulgadas
• Grosor de la mesa de hockey:
1/2 "MDF -pulgadas
• Dimensiones de la mesa de
hockey (largo x ancho x alto):
40 "x 20" x 8-5 / 8" -pulgadas
www.serenelifehome.com 3
CONSEJOS DE ARMADO
1. Busque una superficie limpia y nivelada para comenzar el montaje de su
mesa de juego. La mesa se montará parcialmente boca abajo y luego se dará
la vuelta sobre sus patas. Este es un juego pesado y darle la vuelta requerirá
al menos dos adultos fuertes.
2. Retire todo el contenido de la caja y verifique que tiene todas las piezas que
se muestran en el identificador de piezas antes de comenzar el ensamblaje.
Nota: Algunas piezas pueden estar preinstaladas o preensambladas.
3. Es posible que algunas figuras o dibujos no se parezcan exactamente a su
producto. Por favor, lea y comprenda el texto antes de comenzar cada paso
de montaje.
4. Al instalar piezas que tengan más de un tornillo o perno, apriete a mano
todos los tornillos o pernos en su lugar antes de terminar de apretar con un
destornillador o una llave hexagonal.
5. Los destornilladores eléctricos pueden ser útiles durante el montaje; Sin
embargo, establezca un par de apriete bajo y tenga mucho cuidado porque
los tornillos pueden pelarse o apretarse demasiado si el par del destornillador
eléctrico es demasiado alto.
LEA ESTAS INSTRUCCIONES DE MONTAJE EN SU TOTALIDAD ANTES
DE MONTAR SU PRODUCTO.
ADVERTENCIAS!!
LEA Y SIGA TODOS LOS MONTAJES, OPERACIONES Y
INSTRUCCIONES DE SEGURIDAD CUIDADOSAMENTE.
PELIGRO DE ESTRANGULAMIENTO
ESTA MESA CONTIENE PEQUEÑAS BOLAS Y PIEZAS:
NO APTO PARA NIÑOS MENORES DE 3 AÑOS.
.
4 www.serenelifehome.com
Cuadro principal
(1)
Pata A (2) Pata B (2) Bases (2)
Perno 1/4"x1"
(8)
Arandela ¼ "
(8)
Empujador rojo
(2)
Disco redondo rojo
(2)
Llave de Allen
(1)
Tornillo de
cabeza redonda
4 x 1/2"
(4)
LISTA DE PIEZAS
www.serenelifehome.com 5
PASO 1
PASO 2
ASSEMBLYIN STRUCTIONS

Preguntas? Comentarios?
Estamos aquí para ayudar!
serenelifehome.com/pages/contactus

MODE D’EMPLOI
FRENCH
Table de hockey sur air de 40 pouces
Idéale pour les jeux en intérieur,dans une salle de jeux ou un bar
SKARHDT21

2 www.serenelifehome.com
IMPORTANTE
À la réception de votre colis, vérifiez attentivement le produit pour vous assurer qu'il a
été expédié avec soin. Avant l'assemblage, assurez-vous que l'emballage contient
toutes les pièces nécessaires.
CARACTÉRISTIQUES:
• Conception légère et compacte
• Parfaite pour toute salle de jeux ou
appartement
• Gain d'espace
• Design stylé
• Fabriquée en MDF durable avec finition
brillante
• Surface de jeu lisse et brillante
• Inclus : un palet rouge de 60 mm et un poussoir vert de 65 mm
• Surface résistante aux rayures et durable
• Coins en plastique robuste
• Conception sûre et de haute qualité
• Construction solide
• Livré avec quincaillerie et outils pour un montage facile
• Moteur de ventilateur 110V propulsant de l'air pour une glisse fluide
CONTENU DU CARTON:
• Table de hockey sur air de
40 pouces
• 2 Poussoirs rouges avec pad
vert
• 2 Palets rouges
SPÉCIFICATIONS TECHNIQUES:
• Matériau de construction:
MDF avec PVC et graphiques
• Poussoir : 2,5 pouces
• Pad vert : 2,5 pouces
• Palet : 2-3/8 pouces
• Épaisseur de la table de hockey:
1/2 pouce de MDF
• Dimensions de la table de hockey (L x l x H):
40 x 20 x 8-5/8 pouces

www.serenelifehome.com 3
CONSEILS D'ASSEMBLAGE
1. Trouvez une surface propre et plane pour commencer l'assemblage de votre
table de jeu. La table sera partiellement assemblée à l'envers puis retournée
sur ses pieds. C'est un jeu lourd et le retourner nécessitera au moins deux
adultes forts.
2. Enlevez tout le contenu de la boîte et vérifiez que vous avez toutes les pièces
indiquées sur l'identificateur de pièces avant de commencer l'assemblage.
Remarque: Certaines pièces peuvent être préinstallées ou pré-assemblées.
3. Certaines figures ou dessins peuvent ne pas ressembler exactement à votre
produit. Veuillez lire et comprendre le texte avant de commencer chaque
étape d'assemblage.
4. Lors de l'installation de pièces comportant plus d'une vis ou boulon, serrez
d'abord tous les vis ou boulons à la main avant de les serrer complètement
avec un tournevis ou une clé hexagonale.
5. Les tournevis électriques peuvent être utiles lors de l'assemblage ;
cependant, veuillez régler un faible couple et faire preuve d'une extrême
prudence car les vis peuvent être endommagées ou trop serrées si le couple
du tournevis électrique est trop élevé.
VEUILLEZ LIRE CES INSTRUCTIONS D'ASSEMBLAGE ENTIÈREMENT AVANT
D'ASSEMBLER VOTRE PRODUIT.
AVERTISSEMENTS!
LISEZ ET SUIVEZ ATTENTIVEMENT TOUTES LES INSTRUCTIONS
D'ASSEMBLAGE, D'UTILISATION ET DE SÉCURITÉ.
RISQUE D'ÉTOUFFEMENT
CETTE TABLE CONTIENT DE PETITES BALLES ET PIÈCES - NE
CONVIENT PAS AUX ENFANTS DE MOINS DE 3 ANS.
.

4 www.serenelifehome.com
CADRE PRINCIPAL
(1)
PIED A (2) PIED B (2) BOUTS (2)
BOULON 1/4"X1
(8)
ROND
ELASTIQUE 1/4"
(8)
Poussoir rouge
(2)
Palet rond rouge
(2)
Clé Allen
(1)
VIS À TÊTE
RONDE 4X1/2"
(4)
LISTE DES PIÈCES

www.serenelifehome.com 5
ÉTAPE 1
ÉTAPE 2
INSTRUCTIONS D'ASSEMBLAGE

Des questions? Commentaires?
Nous sommes ici pour aider!
serenelifehome.com/pages/contactus