Loading ...
Loading ...
Loading ...
9
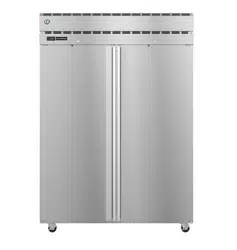
Front of Appliance (standard models)
or Service (control module) Side
(pass-thru models)
Locking Casters
Fig. 2
b) Legs: Optional 6 in. legs available. Attach and tighten the optional adjustable 6 in. legs
to the bottom of the appliance.
WARNING
When using legs, avoid sliding the appliance across the oor after legs are installed.
b) Leveling the Appliance
After installing the casters or optional 6 in. legs, lower the appliance to the oor and
check the level of the appliance.
a) Casters: If the appliance is out of level, follow the instructions and steps found in
HS-3590 provided in the accessories bag. Otherwise, continue to the next section.
NOTICE! Make sure the casters are tight and no slack is left between the
casters, shim plates, and appliance.
b) Legs: If the appliance is out of level , turn the bottom portion of the leg for height
adjustment. Otherwise, continue to the next section. NOTICE! Make sure the legs
are tight and no slack is left between the leg and appliance.
2. Install the Shelves
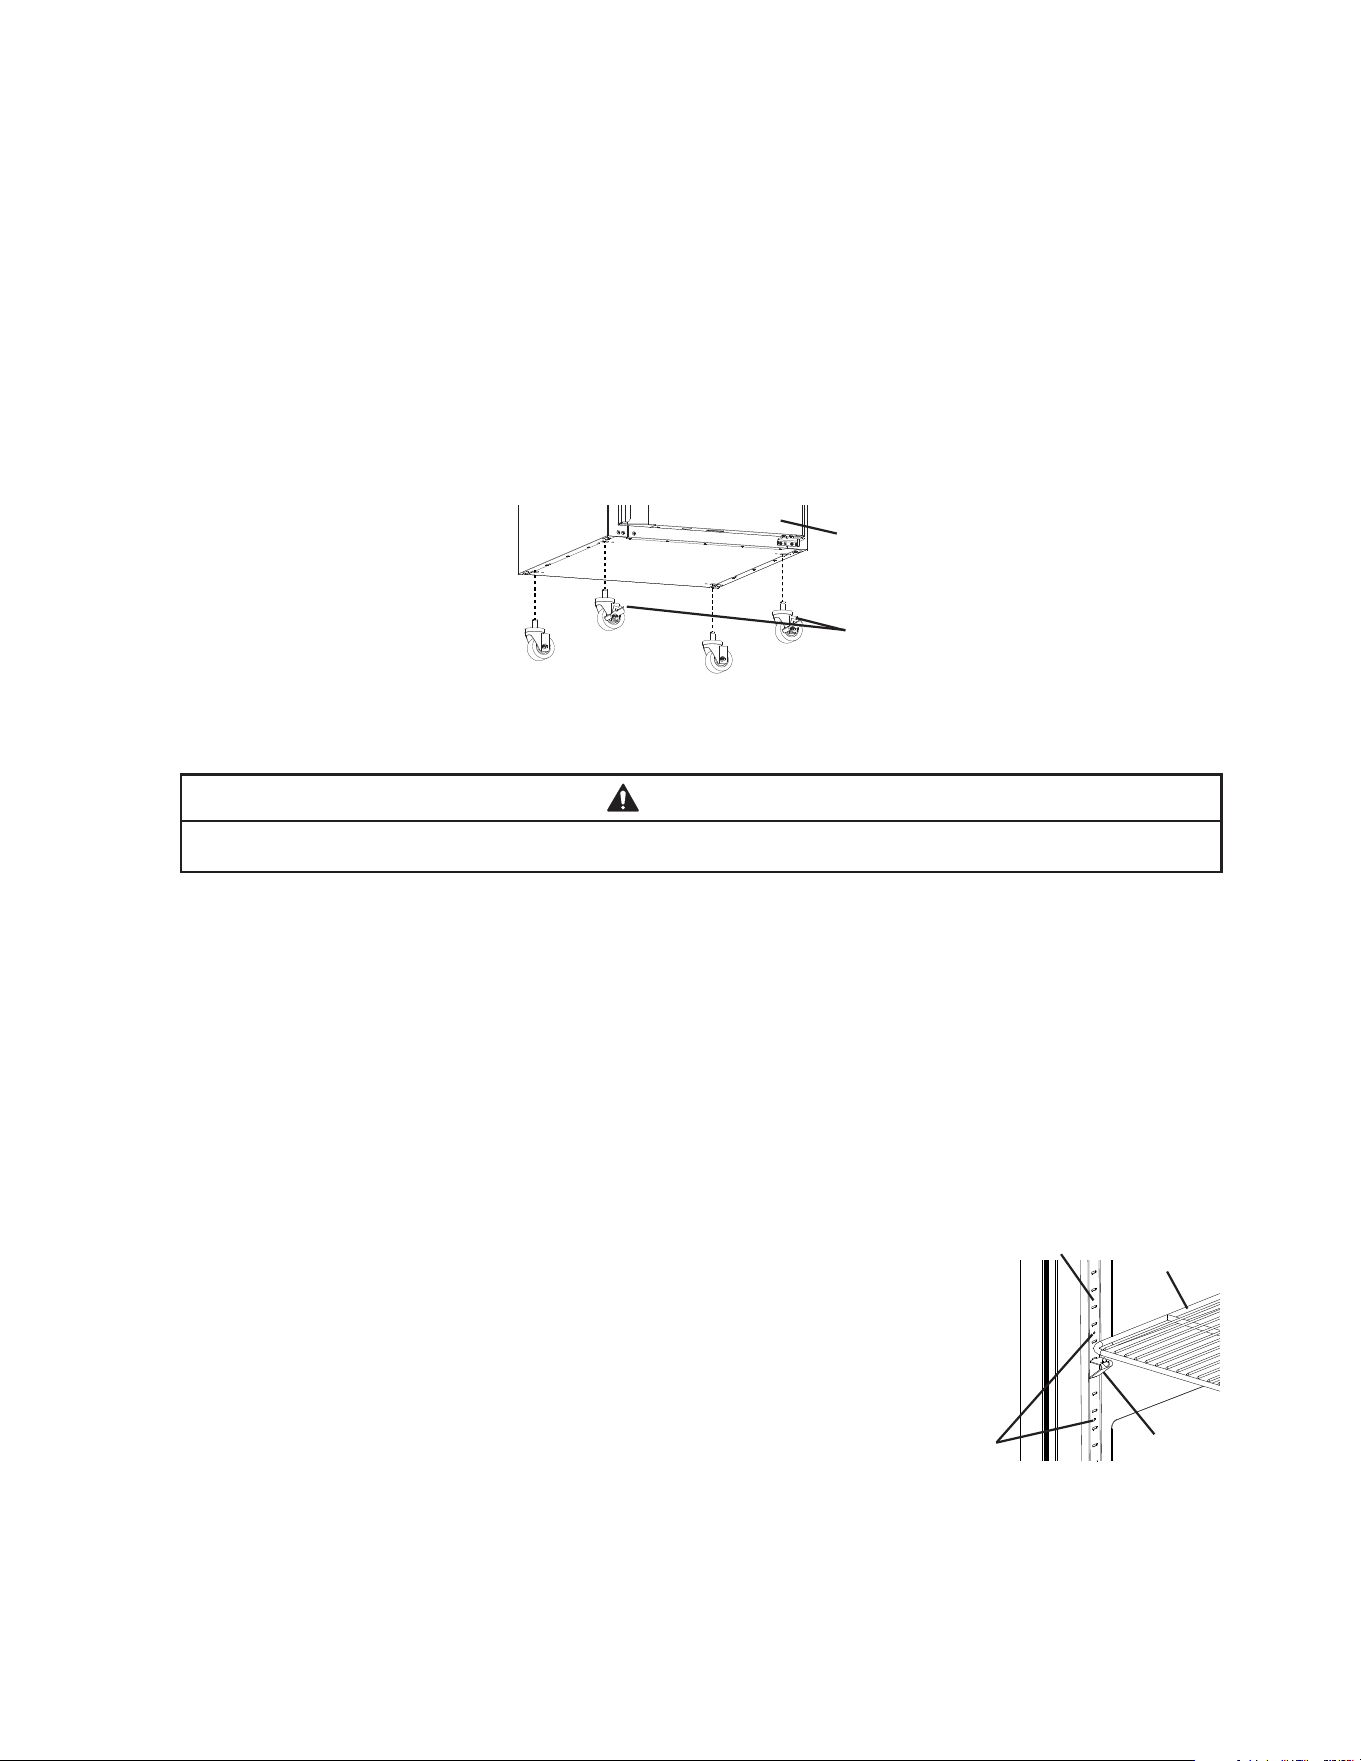
Shelf support clips are provided in the accessory pack.
1) Place the shelf support clips into the pilasters (4 shelf
support clips per shelf). Indexing holes are provided on the
pilasters in evenly spaced intervals to assist in positioning
the support clips at the same height. See Fig. 3.
2) Place the shelves in position on the shelf support clips.
3. Check the Refrigeration Circuit
1) Visually check that the refrigerant lines do not rub or touch other lines or surfaces and
that the condenser fan blade turns freely.
2) Check that the compressor is snug on all mounting pads.
Shelf
Support
Clip
Indexing
Holes
Pilaster
Shelf
Fig. 3
C. Setup
1. Caster or Optional 6 in. Leg Installation and Leveling the Appliance
a) Caster or Optional 6 in. Leg Installation
1) Move as close to the nal location as possible.
2) Remove the 2 bolts securing the appliance to the pallet, then remove the appliance
from the pallet. Block the appliance securely at a height of 8" (20cm) off the oor.
Do not lay the appliance down. NOTICE! Do not allow the door(s) to bear the weight
of the appliance.
a) Casters: Attach and tighten the casters to the bottom of the appliance. Locking casters
should be attached to the front of the appliance for standard models and on the
service (control module) side on pass-thru models. See Fig. 2.
NOTICE! Ensure casters are completely threaded into appliance and tight.
Loading ...
Loading ...
Loading ...