
Loading ...
Loading ...
Loading ...
5
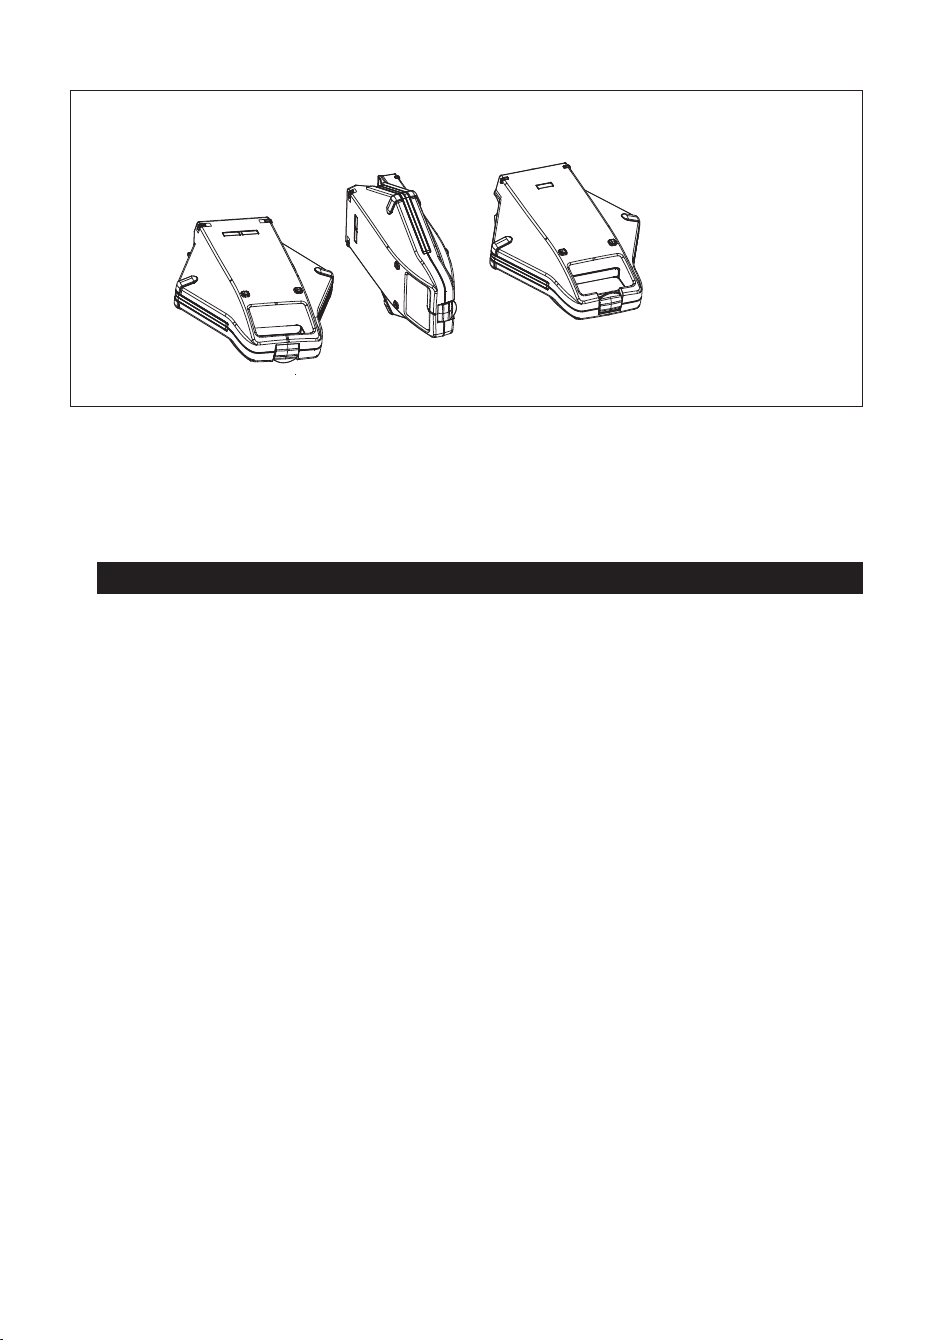
4. Close the Bubble Wafe Maker and using the handle, rotate the wafe maker as illustrated. This
ipping operation will allow the batter to ow to the other cooking plate. (See Figure 2)
1. 2. 3.
Figure 2
5. Bake until Blue light goes On. Rotate the Bubble Wafe Maker back and open to take the wafe out.
NOTE: Do not open the Bubble Wafe Maker for at least 1 min 30seconds. This can cause the
under-cooked wafes to break and they can be difcult to remove fromthe plates.
6. If the wafes are not dark enough, close the Bubble Wafe Maker and then wait another
15 seconds. Repeat as needed.
7. When you are satised with your wafes, use a non-metallic utensil to remove them from the
heating plates.
NOTE: To create a cone shape, roll the bubble wafe and place it in the included cone rack to cool.
8. To make more wafes, repeat from step 3.
9. When nished baking wafes remove plug from wall outlet.
10. After it has sufciently cooled, the heating plates may be wiped clean.
Tips For Perfectly Baked Wafes
1. Stir your wafe batter only until large chunks of dry ingredients are dissolved. Over mixing the wafe
batter can cause the wafes to be hard.
2. The exact amount of batter needed to make perfect full-sized wafes depends on the type and
consistency of the batter. Use the same ladle or measuring cup each time to determine how much
batter you need to ll the lower plate fully so as to cover the peaks in the plate.
3. When making softer variety of wafes, once they are baked, support them with a spatula at the
bottom so it is easier to take them out from the plates, since softer wafes can break easily.
4. For a cone shape bubble wafe, bend the Bubble Wafe and leave it to cool in the cone rack
(accessory included) and ll it with your chosen ingredients. When making large batches to serve at
once, you can keep the wafes fresh & crisp by placing them ina preheated oven at 200°F. Take them
out using oven mitts when you are ready to serve.
5. To avoid wafes with a moist base, kept the wafes on a wire cooling rack. This will retain the
crispness of the wafes.
6. Bubble wafes are best served in a tall glass or a small paper cone.
7. You can reheat your wafes in the Bubble Wafe Maker. Pre-heat the Bubble Wafe Maker place the
wafes on the lower plate so they t the grooves correctly, then close the Bubble Wafe Maker and
heat for 1 to 2 minutes, checking every 30 seconds to avoid burning.
8. You can also freeze your wafes to eat later. After the freshly baked wafes have cooled completely,
pack them in a covered container or plastic freezer bag. Make sure to separate the wafes with a
sheet of wax paper between each wafe. To reheat the frozen wafes, place in a pre-heated oven,
toaster oven or toaster until they are hot.
9. For extra crispy Bubble wafes, beat egg yolks, blend with our and other ingredients and then,
gently with folding movements, add beaten egg whites into the batter.
17175-17227_BELLA_BubbleWaffleMaker_IM_r3.indd 517175-17227_BELLA_BubbleWaffleMaker_IM_r3.indd 5 8/18/20 4:05 PM8/18/20 4:05 PM
Loading ...
Loading ...
Loading ...