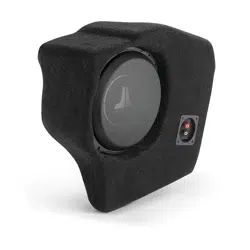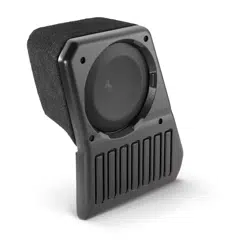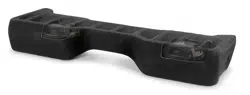

INSTALLATION GUIDE
for the
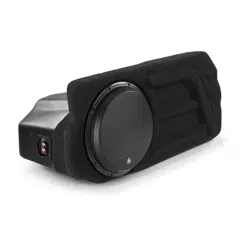
SB-N-TTNCRW2G/10TW3
SKU# 94699
2016-Up Nissan Titan Crew Cab Trucks
• Installation requires appropriate tools and safety equipment.
Professional installation is recommended.
• If you prefer to perform your own installation, please read this
installation guide completely before beginning.
• Before cutting or drilling, check for potential obstacles behind
mounting surfaces.
• Mount this product securely to prevent damage or injury in
severe conditions.
INSTALLATION
DIFFI CULT Y:
ESTIMATED TIME:
1 HOUR
Enclosure Type: Sealed
Driver Type: 10TW3-D8
Nominal Impedance: 2 ohms
Continuous Power Handling: 800 watts (RMS method)
Continued on Next Page
1
5
OUT
OF
SB-N-TTNCRW2G/10TW3 INSTR_SKU# 011574
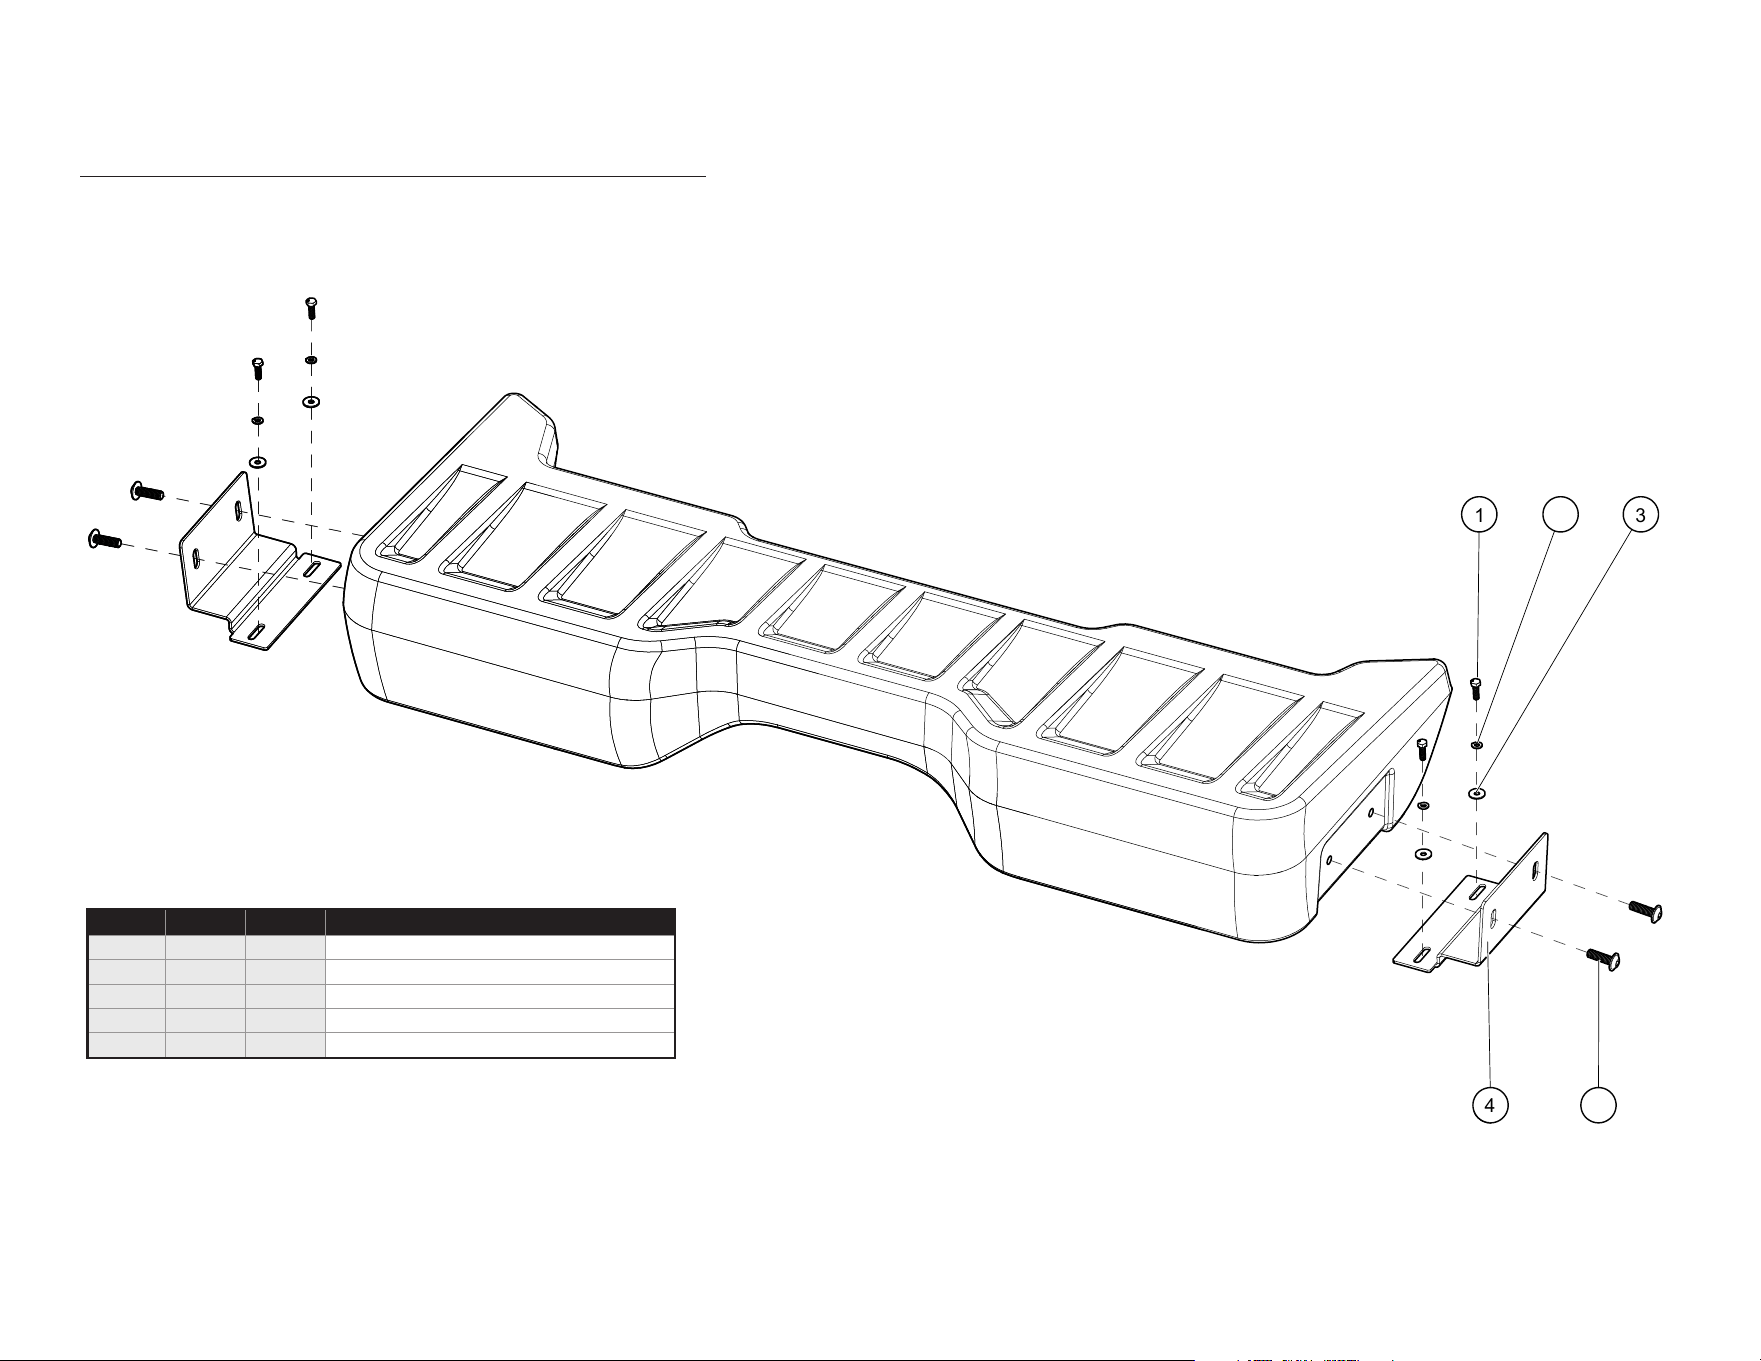
INCLUDED HARDWARE
Continued on Next Page
Page 2 • JL Audio, Inc., 2022
SB-N-TTNCRW2G/10TW3 INSTR_SKU# 011574
1 32
4 5
1 32
4 5
BOM ID Qty SKU Description
1 4 154090 M6 - 1 x 20 mm Hex Head Screw
2 4 154091 M6 Split Lock Washer
3 4 154092 M6 Oversized 18 mm OD Flat Washer
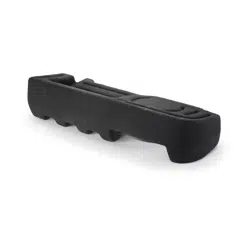
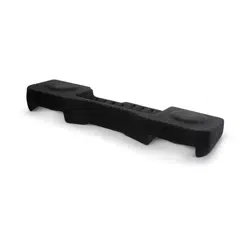
4 2 154449 Bracket
5 4 154450 3/8 - 16 x 1-1/4” Flanged Button Head Screw
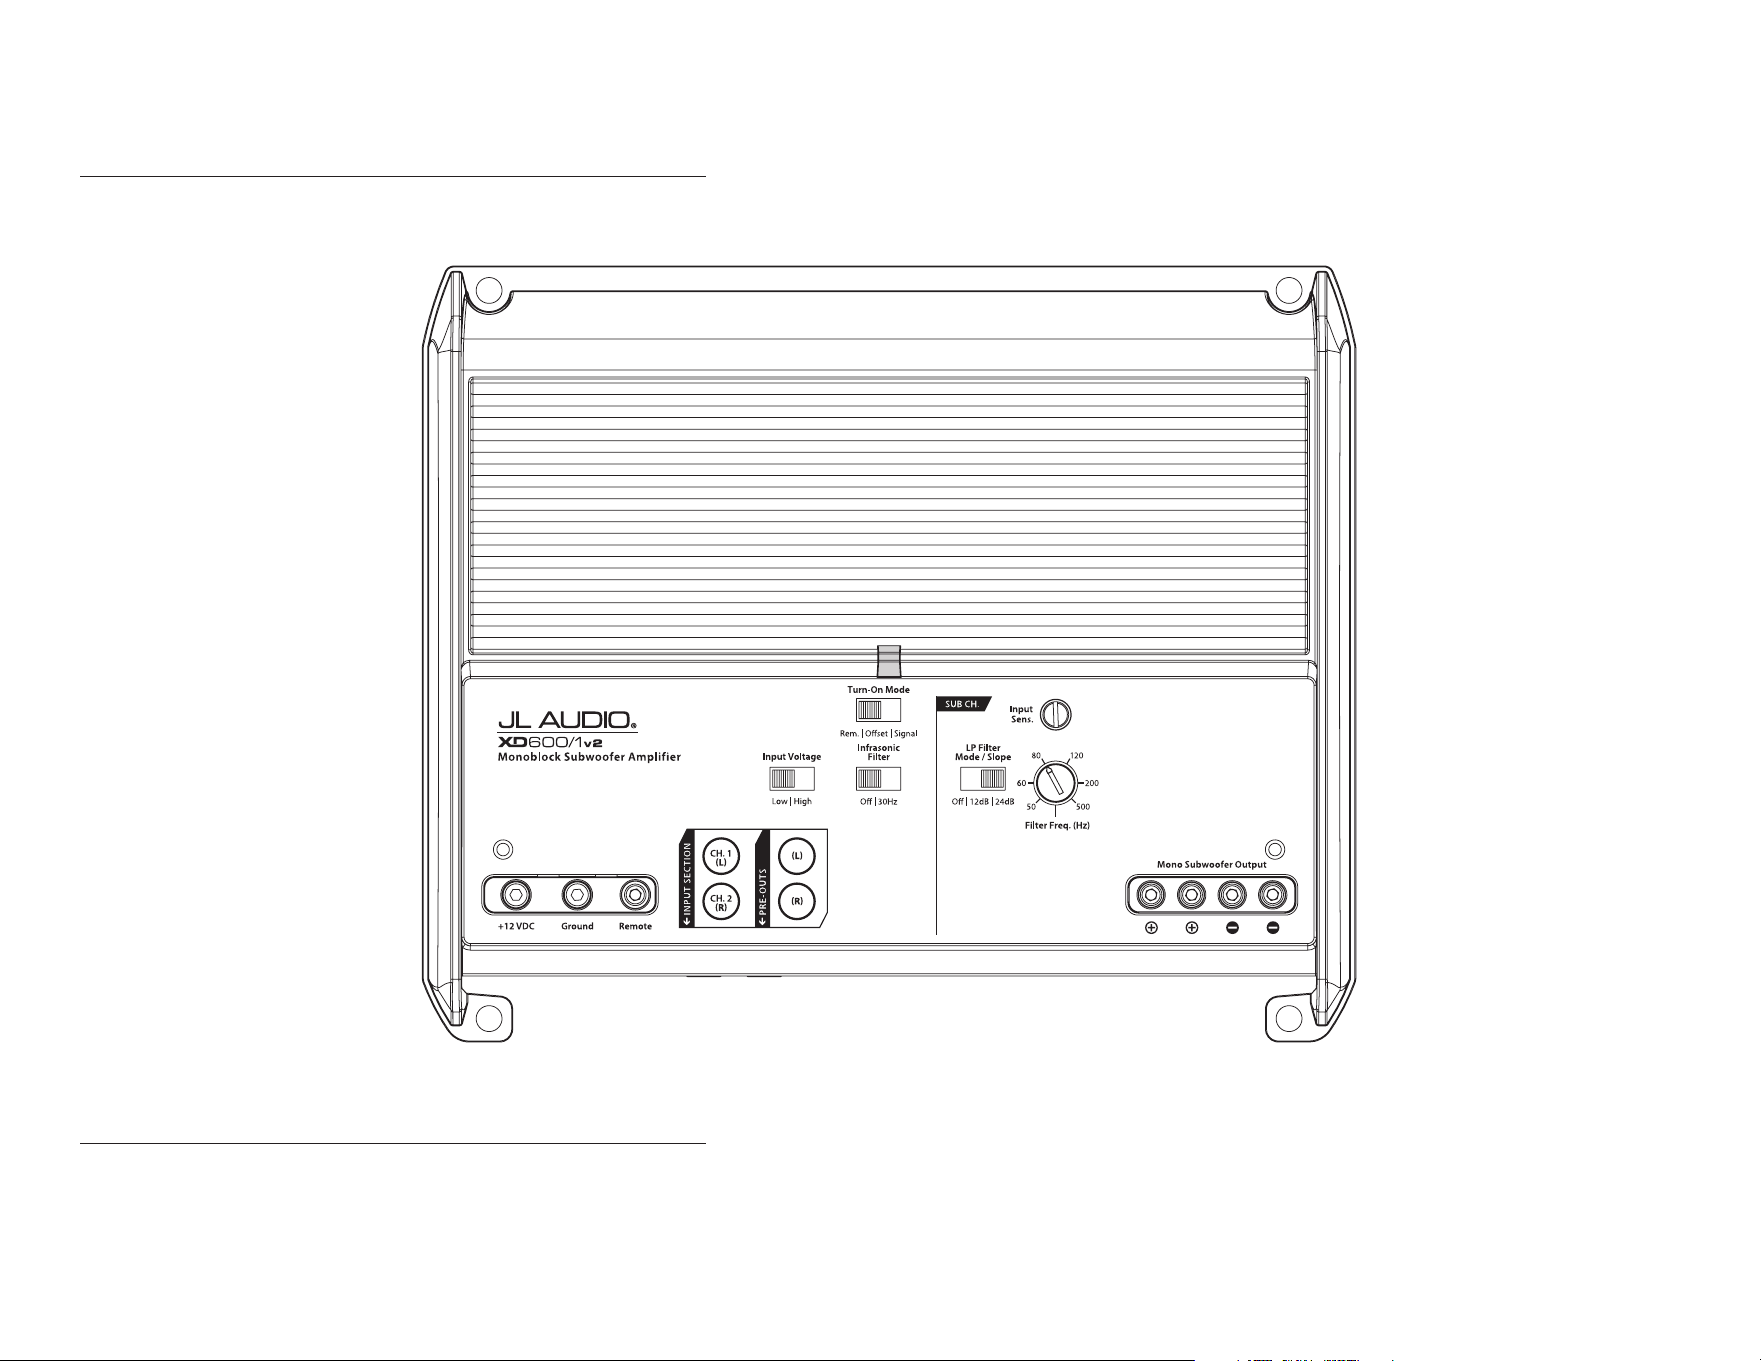
POWER RECOMMENDATION
JL Audio recommends high quality ampliers such as the JL Audio XD600/1v2. The diagram below shows the recommended crossover settings for the XD600/1v2. For a detailed description of the
amplier settings, consult the owner’s manual for the amplier. If another amplier is being used, please reference this illustration and use similar settings on that amplier.
CONNECTIONS
Using quality power, signal, and speaker wire is essential in ensuring the performance of your Stealthbox®. JL Audio recommends using a 4 AWG power kit such as the XD-PCS4-1B for your
Stealthbox® amplier. Other kits are available should you be using more than one amplier. Signal wire such as the JL Audio Premium Audio Interconnect Cables should be used to provide signal for
both channels of the amplier. JL Audio recommends using 12 AWG speaker wire for subwoofers such as our XC-BCS12-25.
Continued on Next Page
Page 3 • JL Audio, Inc., 2022
SB-N-TTNCRW2G/10TW3 INSTR_SKU# 011574
Page 4 • JL Audio, Inc., 2022 Continued on Next Page
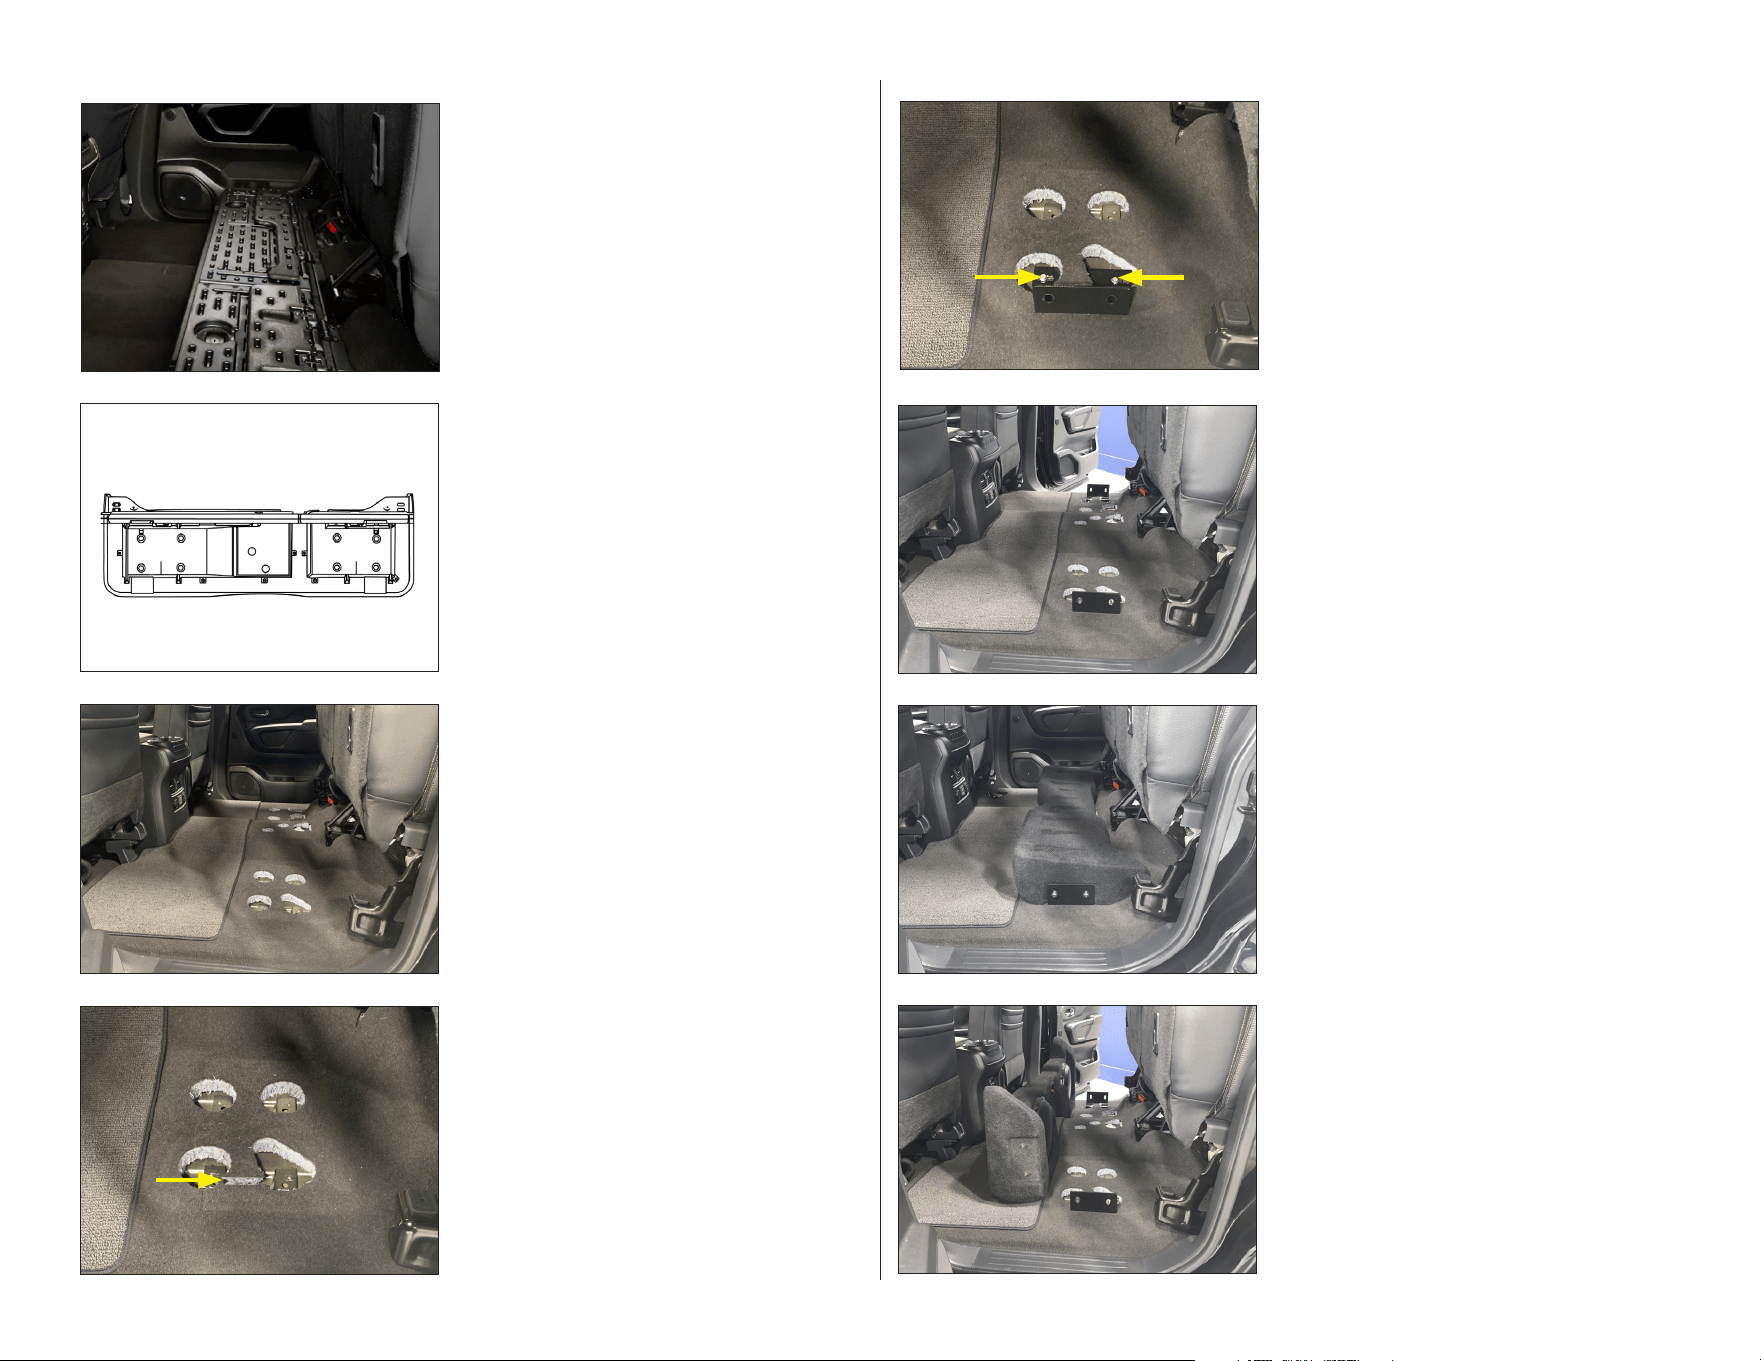
STEP 8
After aligning the Brackets, carefully flip the
Stealthbox® towards the front of the vehicle to
expose the screw assemblies that were loosely
tightened into the bottom of the Brackets in
Step 5 and Step 6.
Fully tighten the screw assemblies.
STEP 7
Carefully place the Stealthbox® into the vehicle
and align the two brackets to the threaded screw
holes on the driver and passenger sides of
the enclosure.
STEP 6
Repeat Step 5 on the opposite, passenger side
of the vehicle.
STEP 5
Insert a provided Bracket through the cut
opening in the carpet on the driver’s side.
Create two screw assemblies by sliding a
supplied M6 Split Lock Washer and
M6 Oversized 18 mm OD Flat Washer onto a
M6 - 1 x 20 mm Hex Head Screw. Pass the two
screw assemblies through the bottom of the
Bracket, aligning them to the factory bolt holes
and loosely tighten.
STEP 4
Use a blade to carefully cut the factory carpet
and padding as shown in the image.
Repeat on the oppposite, passenger side of
the vehicle.
STEP 3
Remove the rear seat storage box from
the vehicle.
STEP 2
Open the lid of the rear seat storage box and
remove all factory bolts that attach it to
the vehicle.
SB-N-TTNCRW2G/10TW3 INSTR_SKU# 011574
STEP 1
Empty the rear seat area. Fold the rear seat
bottom cushions up.
Page 5 • JL Audio, Inc., 2022
MID/HIGH FREQUENCY DRIVER FITMENT
A variety of JL Audio coaxial and component systems will t in the factory speaker locations of your vehicle.
CONGRATULATIONS!
You have completed the installation for this model! Enjoy your new Stealthbox®!
SB-N-TTNCRW2G/10TW3 INSTR_SKU# 011574
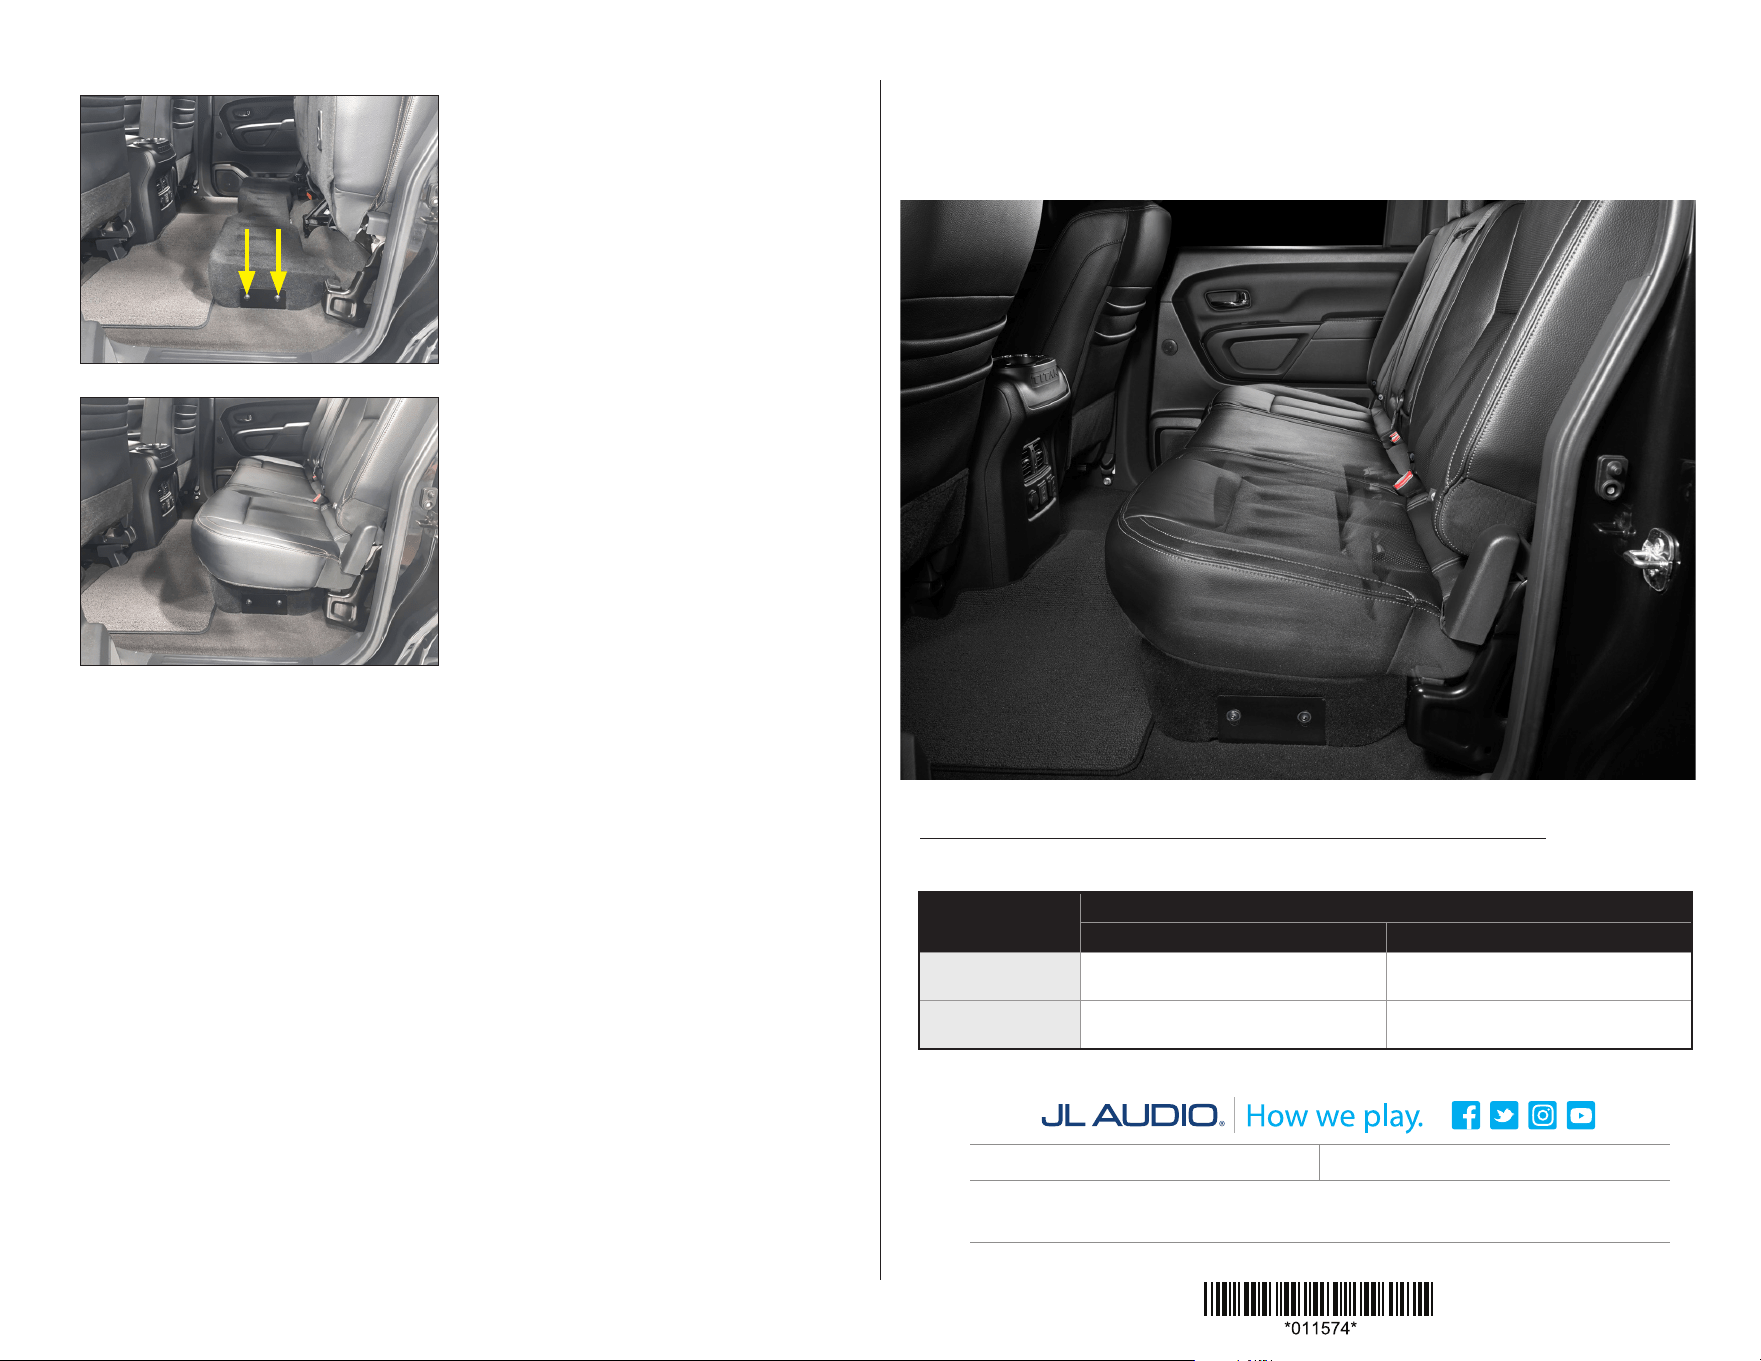
STEP 10
Fold the rear seat bottom cushions down.
STEP 9
Route the speaker cable from the amplifier to
the Stealthbox®. Connect the speaker cable to
the Stealthbox® enclosure’s terminal cup.
Carefully flip the enclosure down. Install four
supplied 3/8 - 16 x 1-1/4” Flanged Button Head
Screws to attach both driver and passenger
side Brackets to the threaded inserts of the
Stealthbox® and fully tighten.
All specifications are subject to change without notice. “JL Audio®” and “How we play®” are registered trademarks of JL Audio, Inc. “Ahead of the Curve” and its respective logo are trademarks
of JL Audio, Inc.
Printed in USA • ©2022 JL Audio, Inc. • For more detailed information please visit us online at www.jlaudio.com.
(954) 443-1100
www.jlaudio.com
JLA-SKU# 011574 • ver. 9.13.22 • 10369 NORTH COMMERCE PARKWAY • MIRAMAR, FLORIDA • 33025 • USA
®
Location / OEM
Speaker Size
Suggested JL Audio Speaker Models
Coaxial Models Component Models
Front Doors /
6 x 9-inch
C1-690x
(1)
, C1-690tx
(1)
, C2-690tx
(1)
C2-650x
(1)
C1-690
(1)
, C1-650
(1)
,
C2-650
(1)
,
C3-650
(1)
, C7-650cw
(1,2)
Rear Doors /
6.5-inch
C1-650x, C2-650x
C1-650, C2-650, C3-650,
C7-650cw
(2)
1 - Installation may require adaptor, 2 - Component woofer only