
OSCILLATING SPINDLE SANDER 450W
MODEL NO: SM1200
Thank you for purchasing a Sealey product. Manufactured to a high standard, this product will, if used according to these
instructions, and properly maintained, give you years of trouble free performance.
IMPORTANT: PLEASE READ THESE INSTRUCTIONS CAREFULLY. NOTE THE SAFE OPERATIONAL REQUIREMENTS, WARNINGS & CAUTIONS. USE
THE PRODUCT CORRECTLY AND WITH CARE FOR THE PURPOSE FOR WHICH IT IS INTENDED. FAILURE TO DO SO MAY CAUSE DAMAGE AND/OR
PERSONAL INJURY AND WILL INVALIDATE THE WARRANTY. KEEP THESE INSTRUCTIONS SAFE FOR FUTURE USE.
1. SAFETY
1.1. ELECTRICAL SAFETY
1.1.1. Electrical safety information, it is important that the following information is read and understood.
WARNING! It is the user’s responsibility to check the following:
Check all electrical equipment and appliances to ensure that they are safe before using. Inspect power supply leads, plugs
and all electrical connections for wear and damage. Sealey recommend that an RCD (Residual Current Device) is used with all
electrical products..If the product is used in the course of business duties, it must be maintained in a safe condition and routinely
PAT (Portable Appliance Test) tested.
1.1.2. Ensure that the insulation on all cables and on the appliance is safe before connecting it to the power supply.
1.1.3. Regularly inspect power supply cables and plugs for wear or damage and check all connections to ensure that they are secure.
1.1.4. Important: Ensure that the voltage rating on the appliance suits the power supply to be used and that the plug is tted with the
correct fuse - see fuse rating in these instructions.
8 DO NOT pull or carry the appliance by the power cable.
8 DO NOT pull the plug from the socket by the cable. Remove the plug from the socket by maintaining a rm grip on the plug.
8 DO NOT use worn or damaged cables, plugs or connectors. Ensure that any faulty item is repaired or replaced immediately by a
qualied electrician.
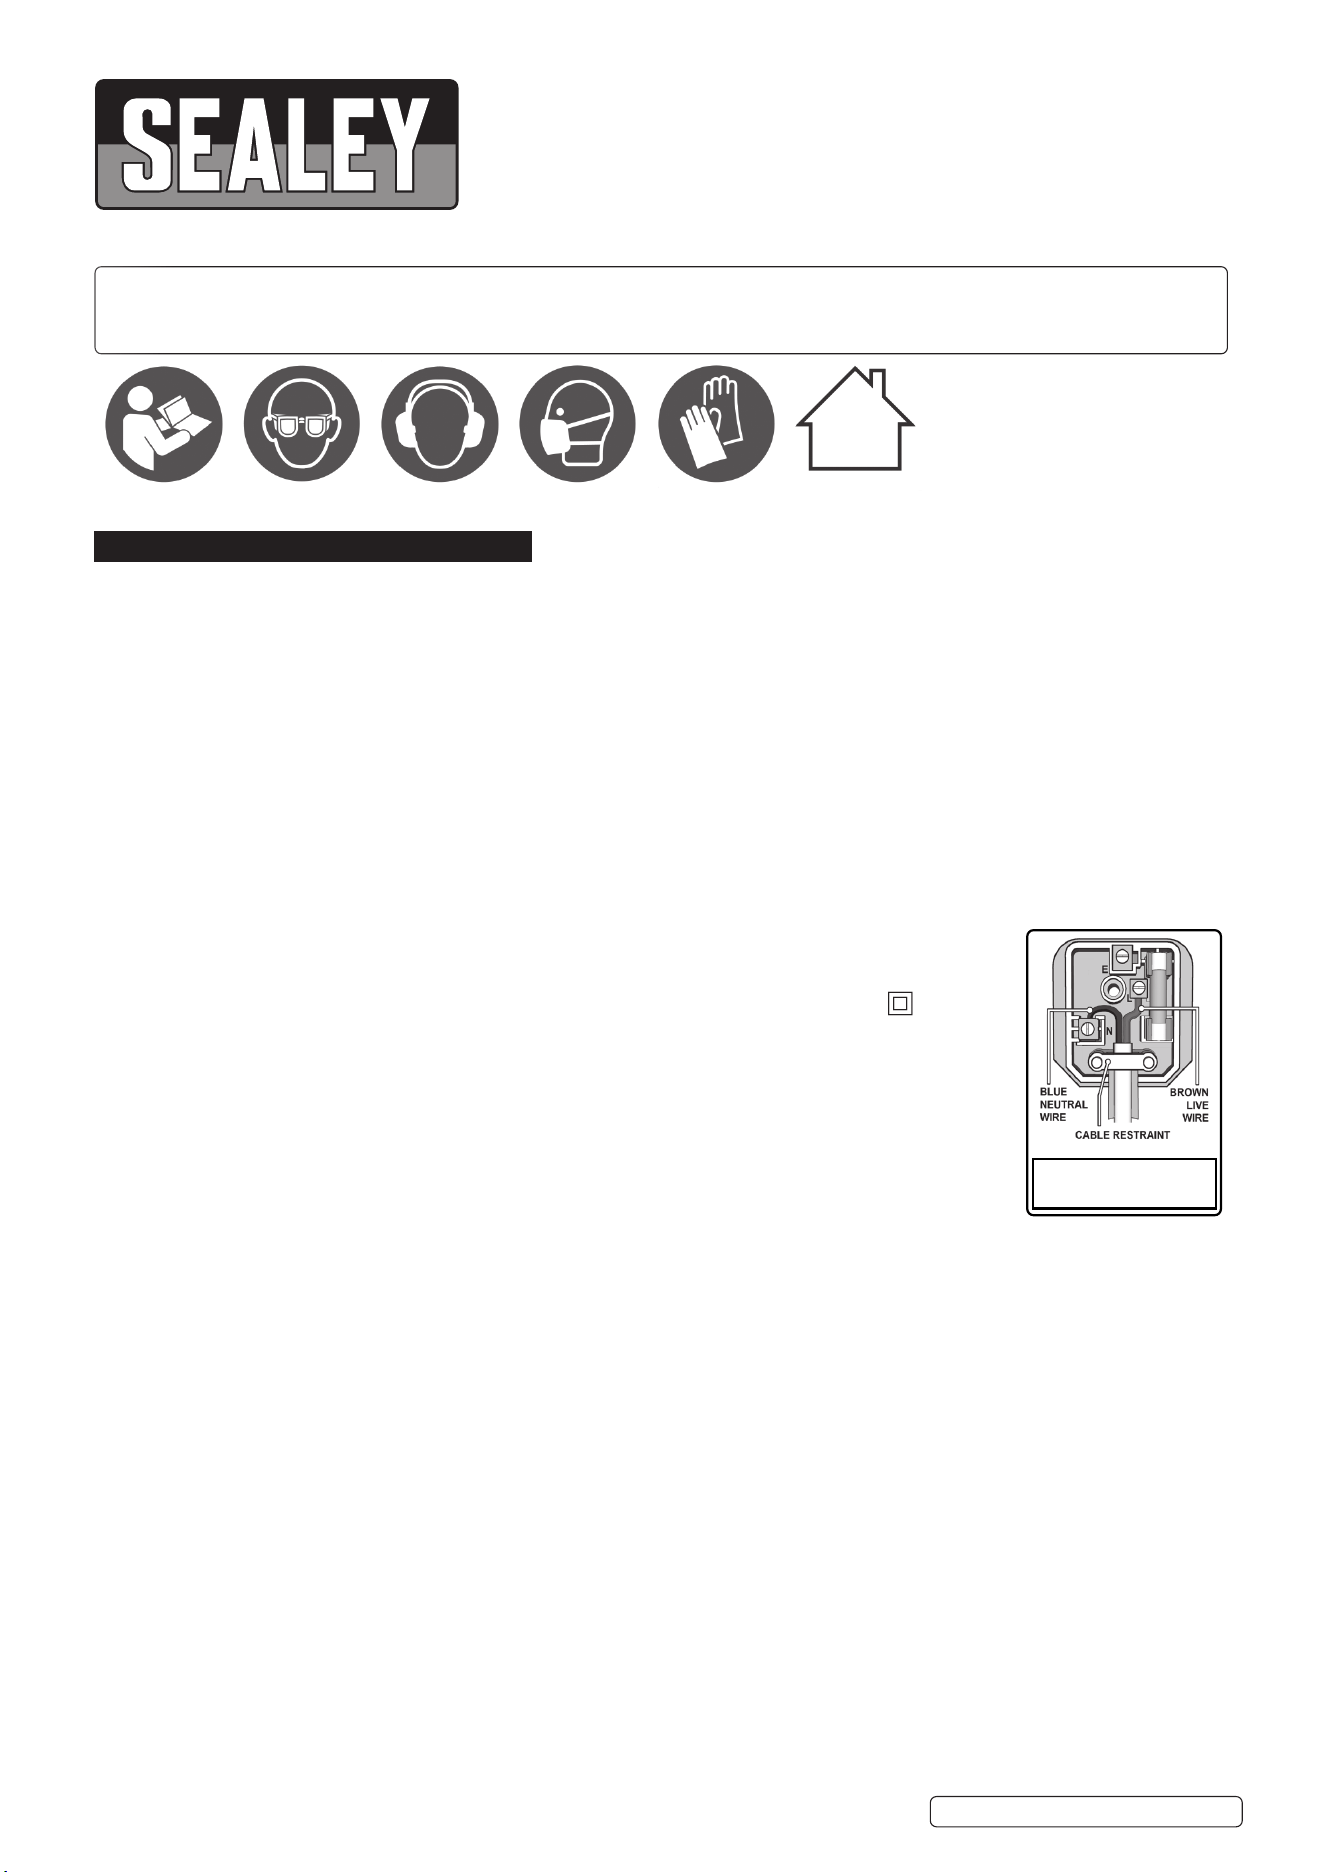
1.1.5. This product is tted with a BS1363 3 pin plug.
If the cable or plug is damaged during use, switch the electricity supply and remove from use.
Replace a damaged plug with a BS1363 pin plug. If in doubt contact a qualied electrician.
Class II products are wired with live (brown) and neutral (blue) only are marked with the
Class II symbol;
A) Connect the BROWN live wire to the live terminal ‘L’.
B) Connect the BLUE neutral wire to the neutral terminal ‘N’.
C) After wiring, check that there are no bare wires and ensure that all wires have been correctly
connected.
Ensure that the cable outer sheath extends inside the cable restraint and that the restraint is tight.
8 DO NOT connect either wire to the earth terminal.
Sealey recommend that repairs are carried out by a qualied electrician.
1.2. GENERAL SAFETY
9 Familiarise yourself with the application, limitations and potential hazards of the machine.
WARNING! Ensure all Health and Safety, local authority, and general workshop practice regulations are strictly adhered to.
WARNING! Disconnect from the electric power supply before changing accessories, servicing or performing any maintenance.
WARNING! DO NOT sand any materials containing asbestos.
9 Maintain the machine and keep in good condition (use an authorised service agent).
9 Check the alignment of moving parts regularly. For safest performance keep the machine clean at all times.
9 Before each use check all abrasive attachments for condition. If worn or damaged replace immediately.
9 Replace or repair damaged parts. Use recommended parts only. Unauthorised parts are dangerous and will invalidate the warranty.
9 Locate the machine in a suitable area. Keep area clean, uncluttered and ensure there is adequate lighting.
9 Ensure the machine is situated on a solid work surface, adequate for supporting the weight of the machine and the workpiece.
9 Ensure there are no flammable or combustible materials near the work area.
9 Remove ill fitting clothing, ties and loose jewellery, and tie back long hair.
9 Maintain correct balance and footing, ensure the floor is not slippery and wear non-slip shoes.
9 Keep hands and body clear of the worktable when operating the machine.
9 Wear approved safety eye or face protection when operating the machine. If dust is generated respiratory protection must be worn.
8 DO NOT operate the machine when you are tired or under the influence of alcohol, drugs or intoxicating medication.
8 DO NOT leave the machine running unattended.
8 DO NOT touch the abrasive whilst operating, or whilst sander is plugged into the electric supply.
8 DO NOT switch the machine on while the workpiece is in contact with the abrasive.
8 DO NOT operate the machine if any parts are damaged or missing as this may cause failure or possible personal injury.
8 DO NOT allow children or untrained persons to operate the machine. Keep them away from the work area.
8 DO NOT use the machine for any purpose other than wood finishing.
9 When not in use unplug from the mains electrical supply and store in a safe, dry, childproof location.
Original Language Version
© Jack Sealey Limited
Refer to
instructions
Wear eye
protection
Wear ear
protection
Wear a mask Wear protective
gloves
Indoor use only
Recommended fuse rating
5 Amp
SM1200 Issue 2 (3) 03/03/23
1.3. LEAD PAINT WARNING!
1.3.1. Paint once contained lead as a traditional ingredient. Contact with the dust from the removal of such paint is toxic and must therefore
be avoided. The following action must be taken before using the sander on a surface that you suspect may contain lead paint.
1.3.2. User must determine potential hazard relating to age of paint to be removed (modern paints do not have lead content).
▲ DANGER! Keep all persons and pets away from the work area.
1.3.3. We recommend personal protection by using the following safety items:
Paint Spray Respirator (Our ref SSP16EN)
PE Coated Hooded Coverall (Our ref SSP266).
Latex Gloves (Our ref SSP24).
1.3.4. Take adequate measures to contain the paint dust, flakes and scrapings.
Continue to wear safety equipment as in 1.3.3. above and thoroughly clean all areas when task is complete. Ensure paint waste is
disposed of, in sealed bags or containers, according to local regulations.
2. INTRODUCTION
For all types of curved sanding both in deep and wide work pieces. All sanding parts and accessories have allocated slots in the
housing for storage. A vacuum hose can be attached to the back of the spindle for dust extraction. Includes six sanding sleeves,
ve bobbin drums and six table inserts. Bobbin sizes range from 13-76mm. No-load speed 2000rpm. Supplied with a 2m mains
cable.
3. SPECIFICATION
Model No: ..................................................................SM1200
Belt Size(s): ...............................Sizes: 13/19/26/38/51/76mm
Bobbins Included:.............................................................Yes
External Diameter: ......................................................38mm
Motor Power: ................................................................. 450W
No-Load Speed: ....................................................... 2000rpm
Oscillations: ................................................................. 58/min
Supply: ..........................................................230v (AC) 50Hz
Spindle Height: ........................................................... 115mm
Table Size: ........................................................370 x 290mm
Table Tilt: ........................................................................... No
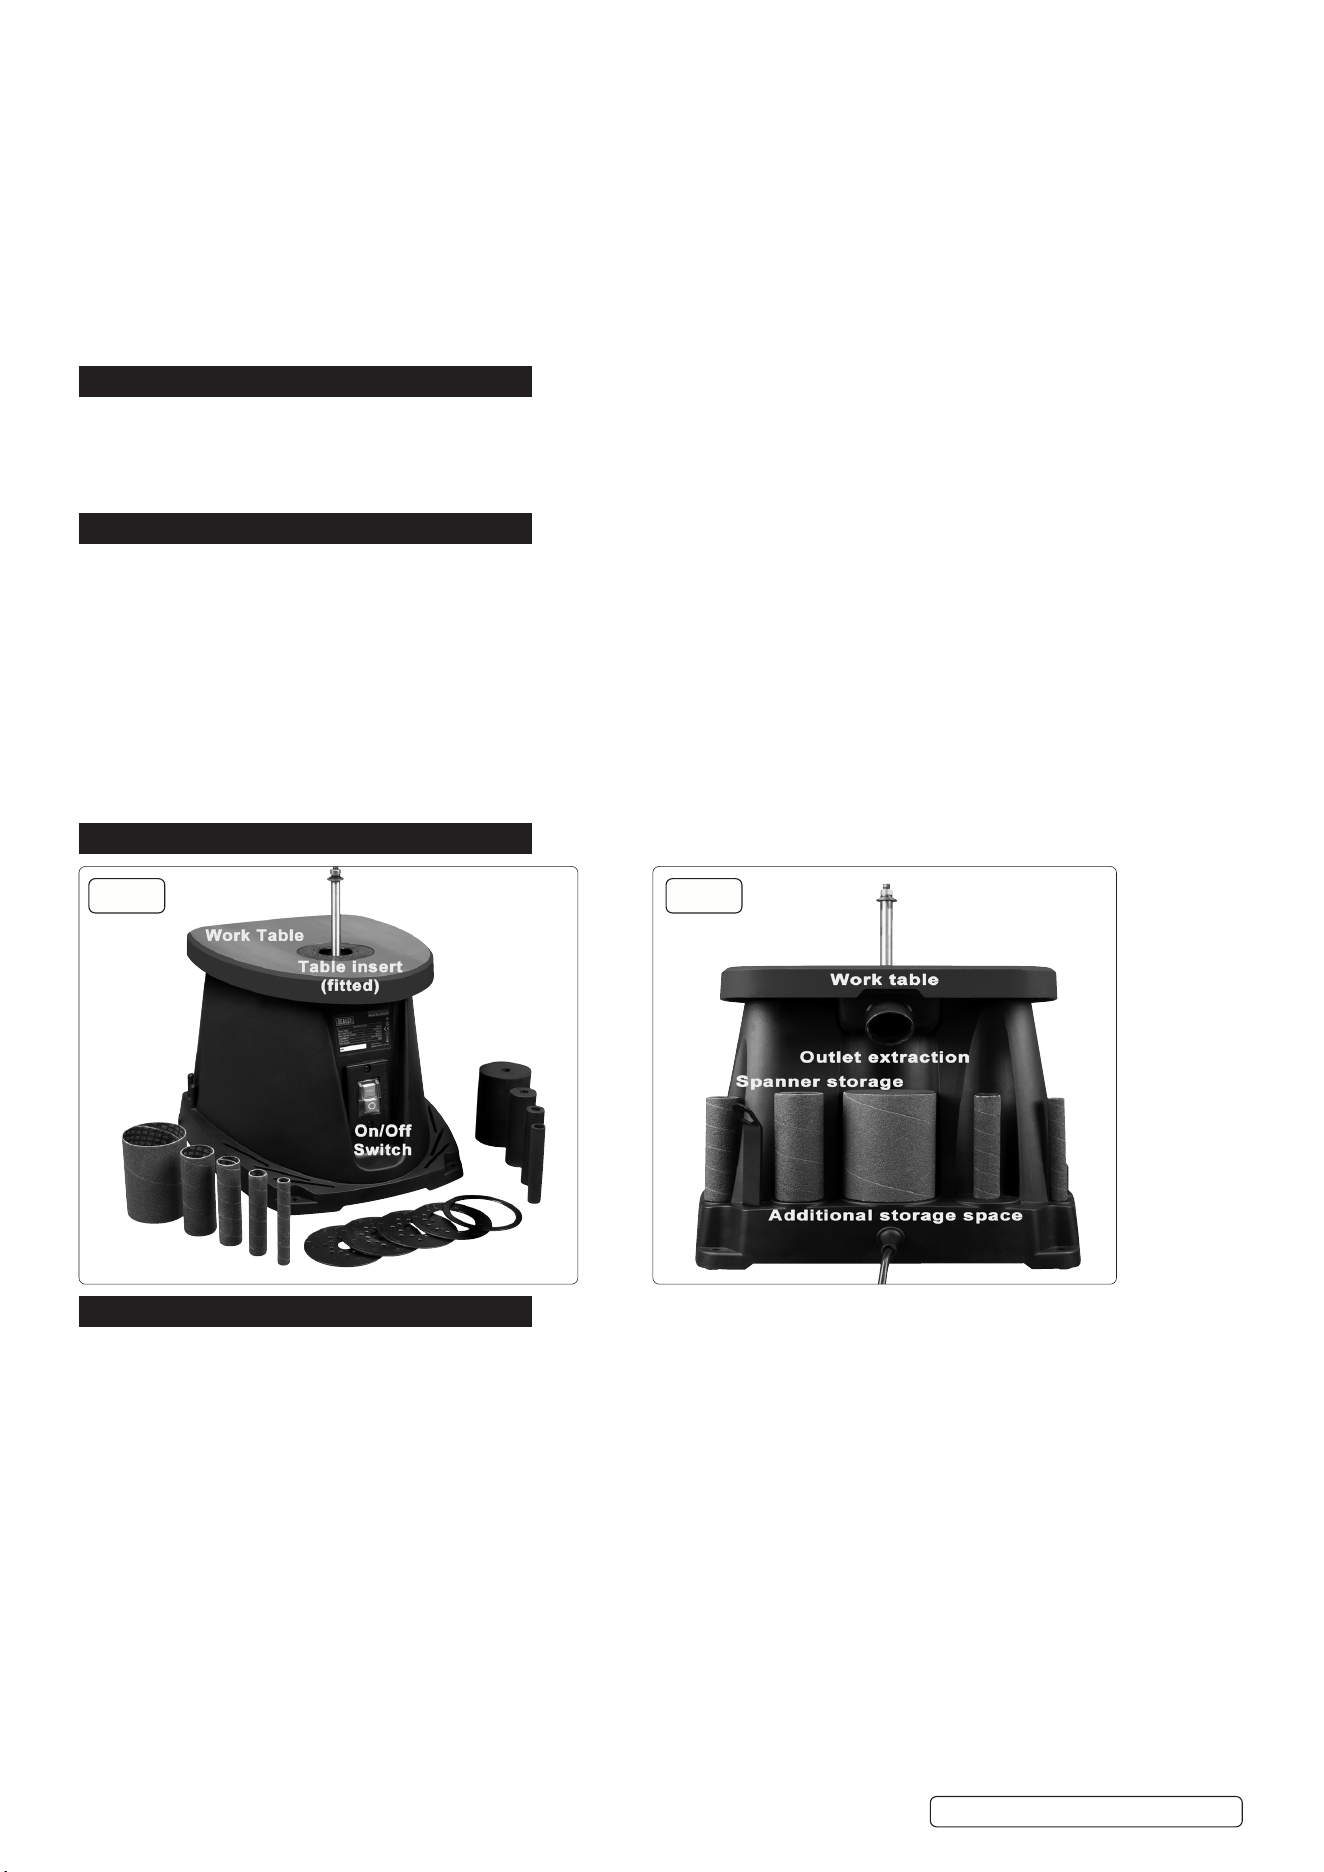
4. CONTENTS
5. PREPARATION
NOTE: Disconnect from power supply before carrying out repairs or maintenance.
5.1. TOOL HOLDERS
The sander comes supplied with two sets of holders, one for the sanding sleeves and rubber drums when not in use, the other for
the table inserts. There is also a space for the spindle spanner (supplied) to t into (g.2).
5.2. SAFETY ON/OFF SWITCH (g.1)
This machine is tted with a safety on/off switch. In the event of a power outage, the machine will require manually restarting
once power has been returned. To switch the machine on, press the green button marked ‘I’.To switch the machine off, press the red
button marked ‘O’. (NOTE: after a power disruption you will have to reset the sander by simply turning off then on again as the green
button will remain in but not operate the machine).
5.3. DUST EXTRACTION (g.2)
5.3.1. Ingestion of dust particles can be detrimental to health. The dust outlet is required to be connected to a dust extraction machine.
NOTE: The outlet diameter connection may vary on the extraction machine so a size adaptation may be necessary.
5.3.2. All forms of wood dust is hazardous to health. For work activities involving exposure to ne wood dust, a dust mask should be used.
5.4. SPINDLE SET-UP
5.4.1. Remove the nut and washer on the spindle, slide the selected rubber drum over the spindle (g.3).
5.4.2. Attach the washer retaining ring and loosely screw on the nut (g.3).
5.4.3. Slide the required sleeve over the rubber drum and tighten nut using spanner (g.2).
g.2
Sanding
Sleeves
Spindle with
nut and washer
Table inserts
Sanding
drums
g.4
Original Language Version
© Jack Sealey Limited
g.1 g.2
SM1200 Issue 2 (3) 03/03/23
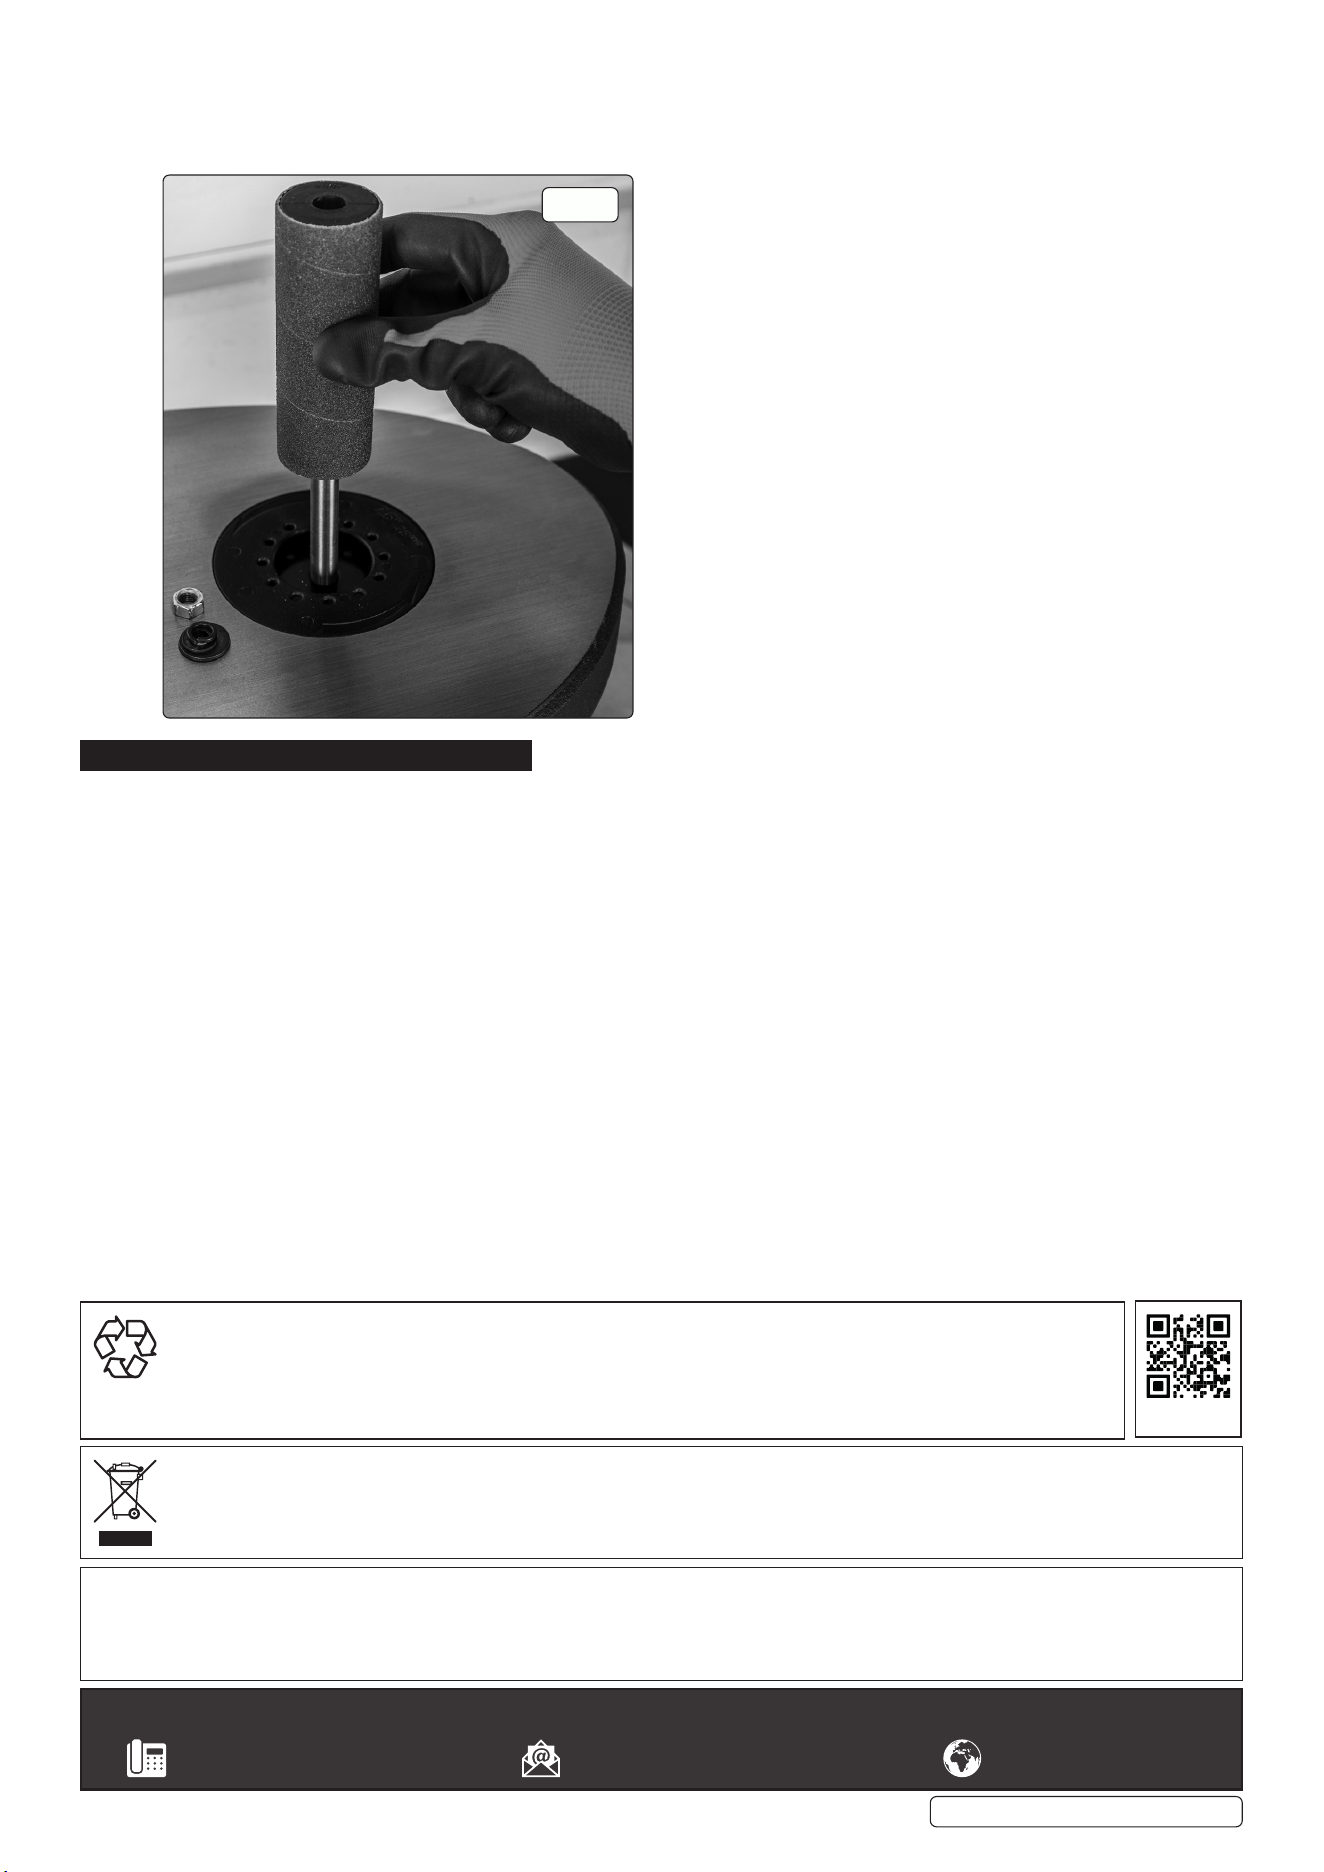
5.5. TABLE INSERT (g.3)
5.5.1. A correct table insert must be used at all times.
NOTE: If the table inserts become worn or damaged they must be replaced.
5.5.2. When tting the spindle inserts be sure that it locates into the table cut out correctly.
6. MAINTENANCE
6.1. Disconnect the sander from the mains power when not in use, and before servicing or performing any maintenance
6.2. Periodic inspection and cleaning reduces maintenance required and will keep your tool in good working condition.
6.3. The air inlets must remain unclogged to avoid damage to the motor.
8 DO NOT use worn or damaged cables, plugs or connectors. Ensure that any faulty item is repaired or replaced immediately by a
qualied electrician.
g.3
Original Language Version
© Jack Sealey Limited
Sealey Group, Kempson Way, Suffolk Business Park, Bury St Edmunds, Suffolk. IP32 7AR
01284 757500 sales@sealey.co.uk www.sealey.co.uk
Note: It is our policy to continually improve products and as such we reserve the right to alter data, specifications and component parts without prior
notice.
Important: No Liability is accepted for incorrect use of this product.
Warranty: Guarantee is 12 months from purchase date, proof of which is required for any claim.
WEEE REGULATIONS
Dispose of this product at the end of its working life in compliance with the EU Directive on Waste Electrical and Electronic Equipment
(WEEE). When the product is no longer required, it must be disposed of in an environmentally protective way. Contact your local solid
waste authority for recycling information.
ENVIRONMENT PROTECTION
Recycle unwanted materials instead of disposing of them as waste. All tools, accessories and packaging should be sorted,
taken to a recycling centre and disposed of in a manner which is compatible with the environment. When the product
becomes completely unserviceable and requires disposal, drain any fluids (if applicable) into approved containers and
dispose of the product and fluids according to local regulations.
REGISTER YOUR
PURCHASE HERE
SM1200 Issue 2 (3) 03/03/23