Instruct on Manual
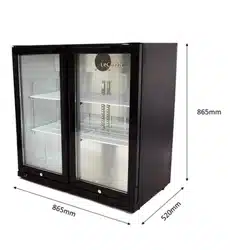
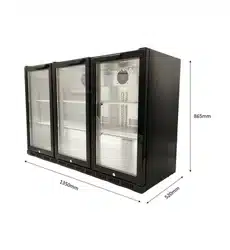
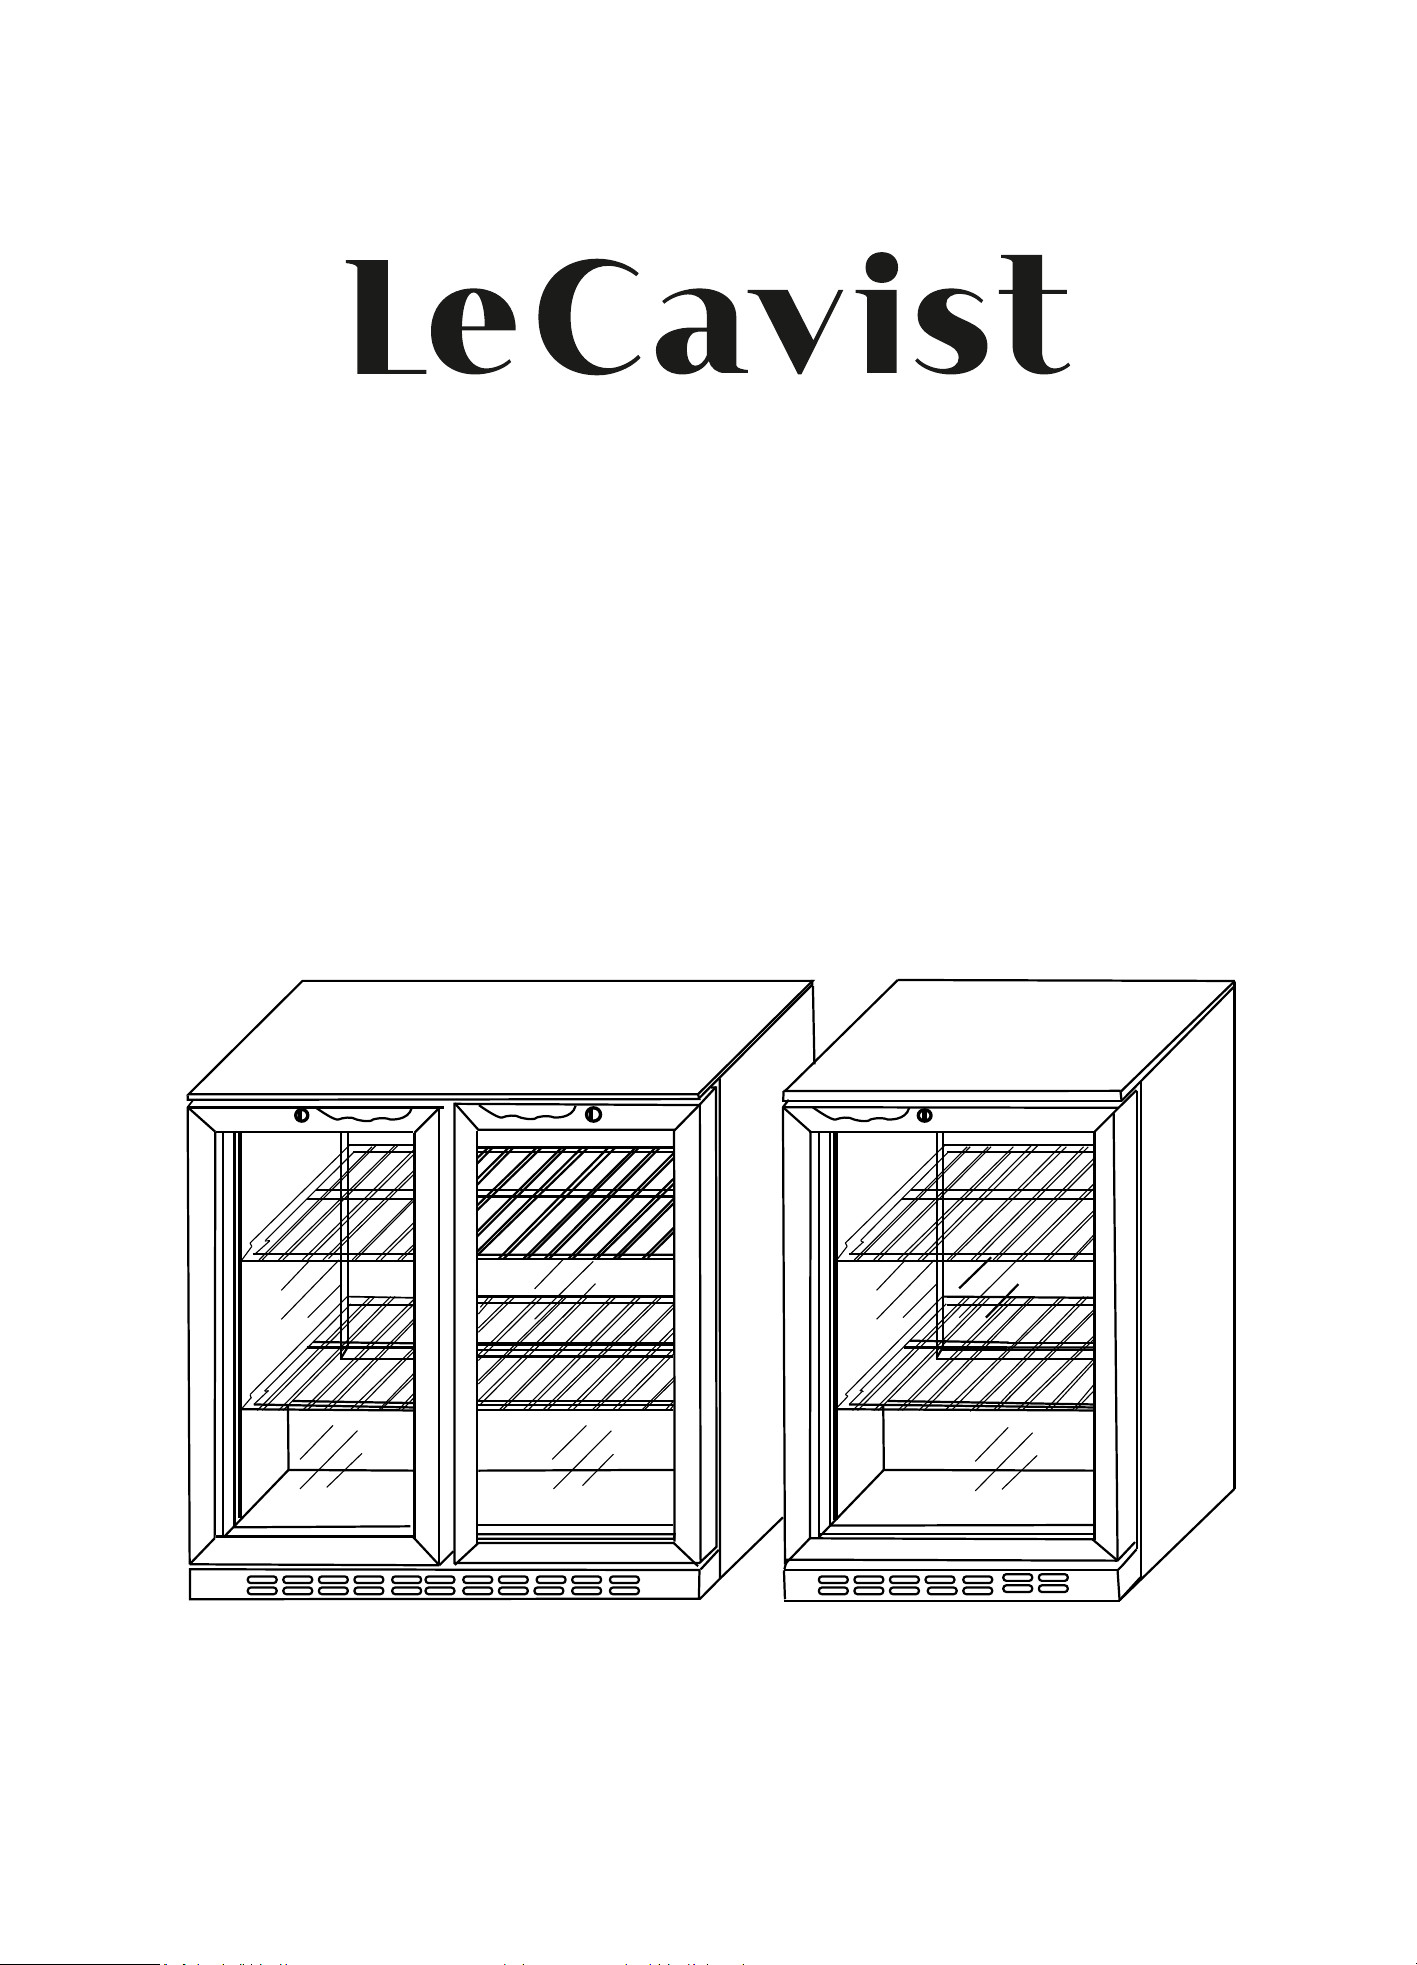
BACK BAR COOLER
LE125BB
LE205SBB
LE205BB
LE335SBB
LE335BB
i

IMPORTANT SAFETY INSTRUCTIONS
Read these instructions for use carefully before using the device. Observe all
safety instructions, so as to avoid damage through improper use.
1. Keep this instruction manual for future use. Should this appliance be
passed on to a third party, this instruction manual must be handed over.
2. This appliance is heavy. To prevent injury or damage to it, unpack and set
up with two people.
3. Never use a damaged appliance! Disconnect the appliance from the mains
outlet and contact your supplier, if it is damaged.
4. Connect and install this appliance in strict compliance with the relevant
instructions in this manual.
5. Only use the appliance for its intended use. The appliance is intended for
commercial use.
6. No responsibility is accepted for damage resulting from improper use or
non-compliance with the instructions.
7. Only use the appliance indoors.
8. Danger of electric shock! Never try to repair the appliance yourself.
Refer to qualified cust
omer service outlet for maintenance and repairs.
2
9. Regularly check the power plug and power cord for damage. A damaged
power cord has to be replaced by the manufacturer, his customer service
or a similar qualified person in order to avoid danger of injury.
10. Before inserting the power plug into the mains outlet, check that the power
supply voltage and current rating corresponds with the power supply details
shown on the appliance rating label.
11. Avoid damage to the power cord. Do not squeeze, bend or scour on sharp
edges. Keep away from hot surfaces and naked flames.
12. Please connect the earthing wire to the terminal of equipotentiality using a
qualified technician.
13. For your safety, only connect the appliance with a properly earthed
mains outlet. Unplug the appliance immediately if you get an electric
shock when touching the appliance.
14. Do not pull on the power cord. Only pull on the plug. D
o not wrap
the power cord around the appliance.
15. This appliance must be earthed!

16. Securely route the power cord so that no unintentional pulling or tripping
over it is possible.
17. Connect the power plug with an easy reachable mains outlet so that in
case of an emergency the appliance can be unplugged immediately.
18. Only use original accessories.
19. The appliance is powered when connected to the power supply.
20. Warning! Do not insert any objects into the casing of the appliance.
21. Do not open the casing.
22. Do not obstruct or cover the ventilation openings. Keep the appliance well
ventilated at all times.
23. Should the cover of the light or ventilator grill fall off or break, unplug the
appliance immediately and contact qualified personnel for repairs.
24. This appliance is not intended for use by persons (including children) with
reduced physical, sensory or mental capabilities, or lack of experience
and knowledge, unless they have been given supervision or instruction
concerning use of the appliance by a person responsible for their safety.
25. Children should be supervised to ensure that they do
not play with the
appliance.
26. Do not keep the key of the appliance lock near or within reach of children.
27. Do not touch the appliance with wet or damp hands. Do not operate the
appliance with wet hands or standing on a wet floor.
3
28. Warning! During cleaning or operation do not immerse the appliance in
water or other liquids. Do not clean the appliance with a garden hose.
29. Should water flow into the appliance, immediately unplug the appliance
and let it be inspected by qualified personnel before using again.
30. Do not place combustible, explosive or volatile articles, corrosive acids or
alkali in the appliance. Store high-proof spirits only in upright position and
close them properly. Containers with flammable gases and liquids can leak
at low temperatures and catch fire from electrical appliances’ sparking.
Danger of explosion!
31. Warning! This product is for food storage with containers. Do not place
food without container.
32. Danger of fire! In event of refrigerant leakage, unplug the appliance,
remove any ignition sources nearby, ventilate the room and contact your
supplier. Avoid contact with the eyes as the refrigerant
may cause serious
eye injury. You can find details on the refrigerant on the rating label.
33. Do not accelerate the defrosting process by using mechanical devices,
heating sources (candles or heaters) or other means. The emerging steam
can cause short circuit and too high temperatures can damage the
synthetic covering of the appliance.
34. Caution: Fire hazard
35. Warning – keep clear of obstruction all ventilation openings in the appliance
enclosure or in the structure for built-in.
36. Warning – do not use mechanical devices or other means to accelerate to
defrosting process ,other than those recommended by the manufacturer.
37. Warning – do not damage the refrigerant circuit.
38. Warning – do not use electrical appliances inside the food storage
compartments of the appliance ,unless they are of the type recommended
by the manufacture.
4
Controller Operation Instrction
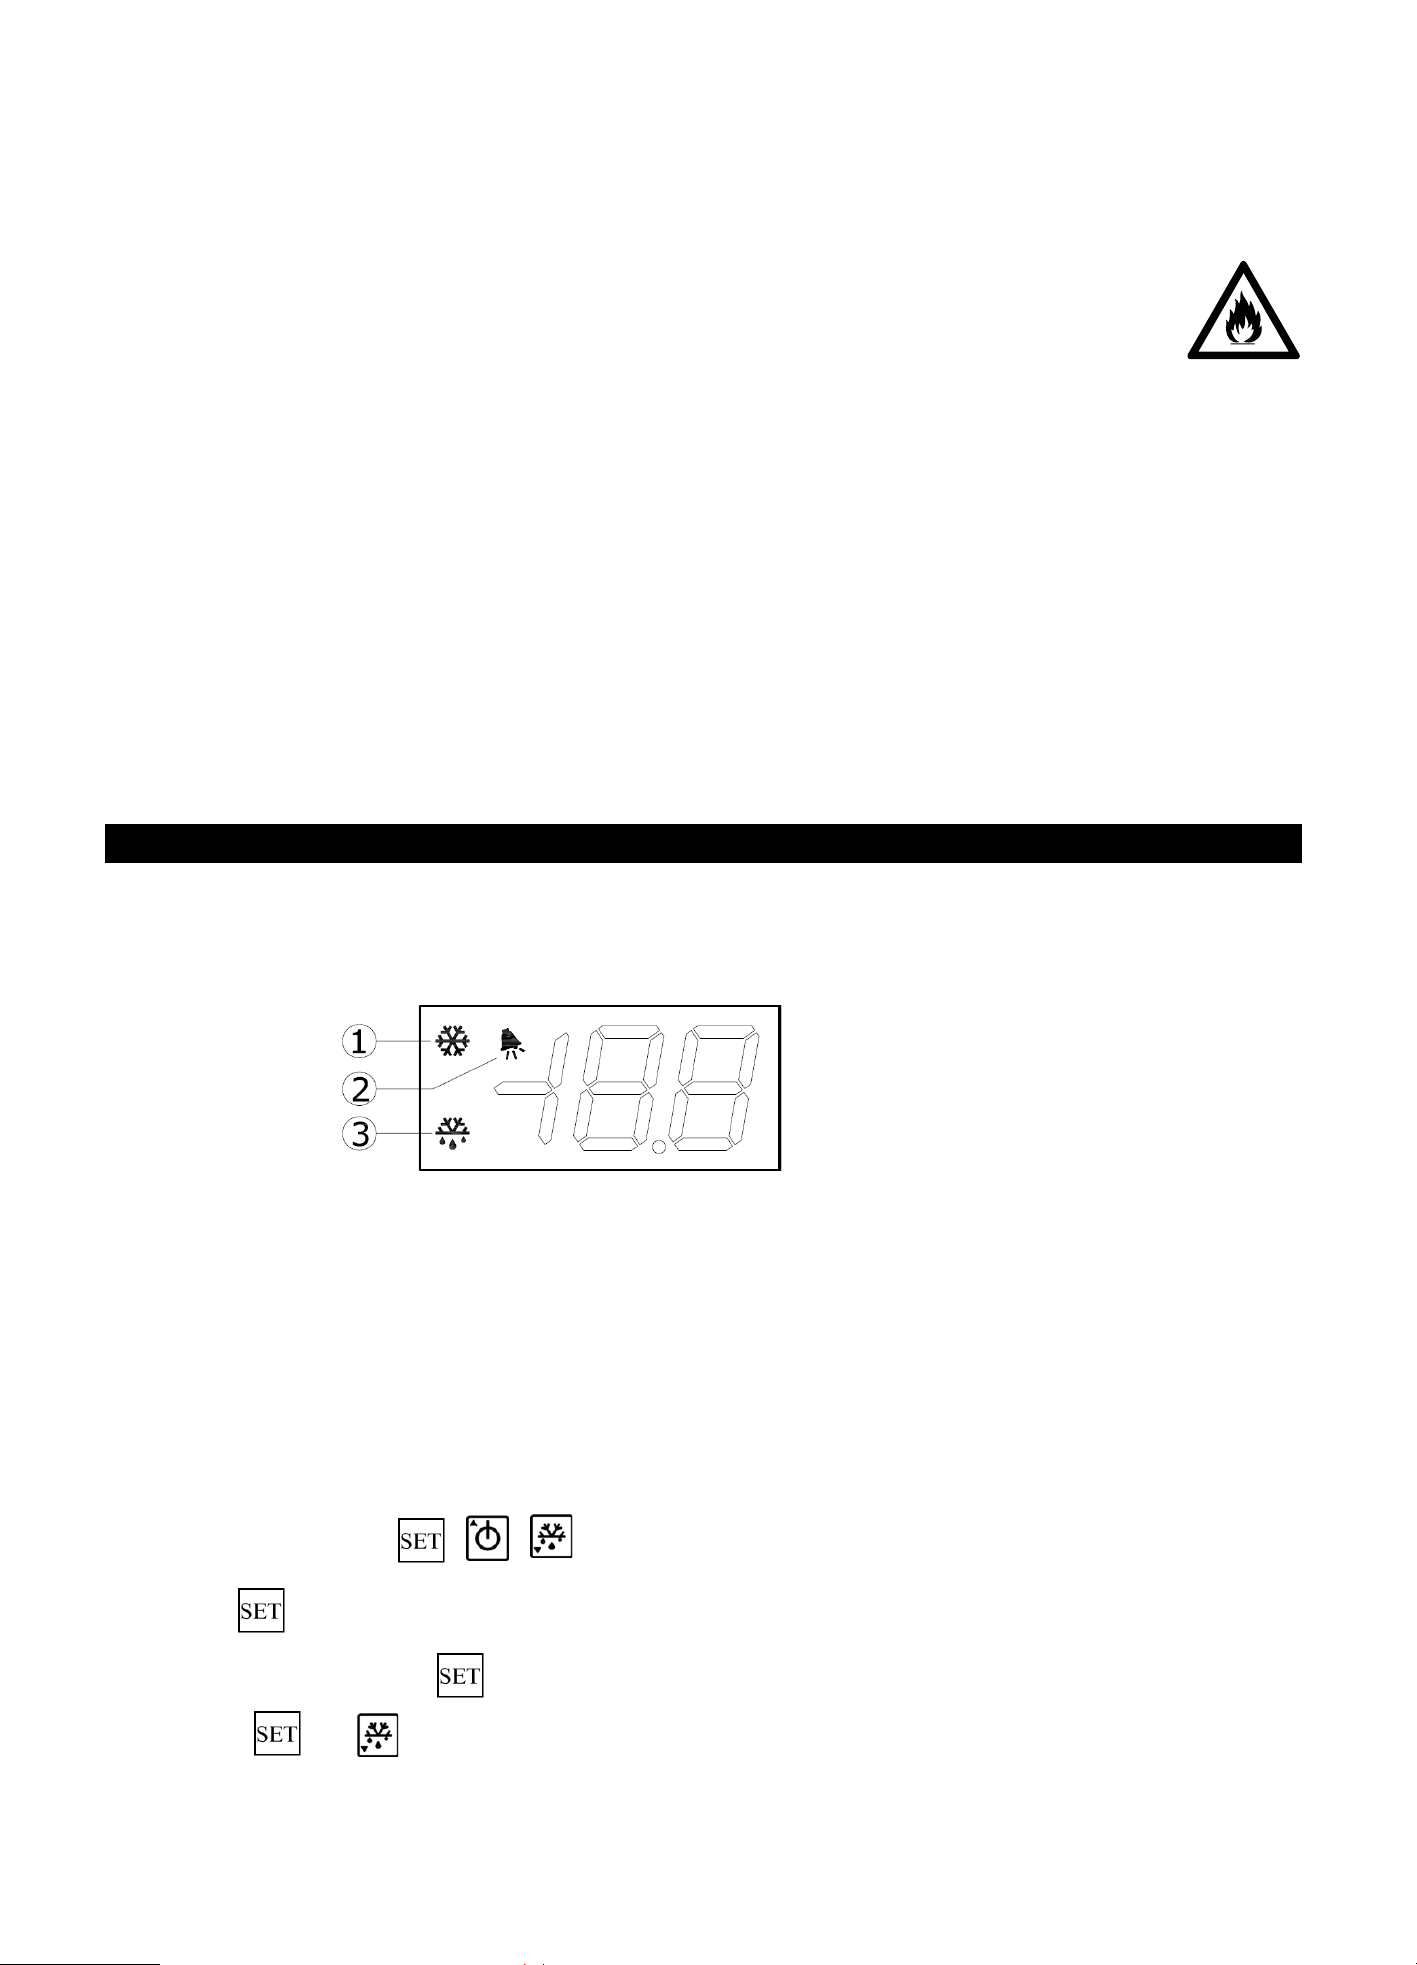
1. Display description
2 digits display(-88),3 characteristics(refrigeration,defrost,alarm)
1. Refrigeration. Light on means the unit is in refrigeration mode,
light blinking(1Hz) means refrigerating output delay.
2. Alarm. The controller will alarm when reaching set condition.
3. Defrost .Light on means the unit is defrosting.
Note:when setting parameters the alarm sign flashes at a speed of 2Hz.
2. Key description
There are 3 button , , to manipulate the controller.
2.1 button
In normal mode,press for more than 6s,you will access the menu of parameter 1,
press and at the same time you can access the menu of parameter 2.
5
In parameter setting mode,press will alternately display parameter value and parameter name,
if you press more than 3s,the parameters will be saved and exit setup.
button also used to save changes when you are settting the temperature.
Press and at the same time for more than 10s will lock / unlock the parameter,
you will see “ off ”/ “ on ” in the display window.(You can only check the parameter but cannot
change it when it’s locked)
2.2 button
Press for 10s will startup or shutdown the controller,it displays when the controller is off,
the compressor doesn’t work in this case.
Press and for 10s will restore defaults.You will see “CF”in the display window.
In parameter setting mode,you can press to select parameter.
In temperature setting mode,it is for increase the set temperature.
2.3 button
Press for 5s you will access defrost mode. In parameter setting mode,
you can press to select parameter.
In temperature setting mode,it is for decrease the set temperature.
3.Function and Parameters
3.1 Set temperature
Display or set current tempetature:
Press for 1s to display current temperature,press again return to normal mode.
Press or to increase or decrese the value,until reaches the expect number,
Press to confirm the setting.
3.2 Access parameter 1
1. Press for more than 6s,it will show parameter code”E1”.
2. Press and to see parameter name.
3. Press to see corresponding parameter values.
4. Press or to select parameters.
5. Press to save the modification.
6
6. If you want to modify other parameters,please repeat step2~5.
7. Press more than 3s,parameters will be saved and you will exit setup.
Note:
1. If you don’t press any buttons in 10s,parameters (the value temporarily stored in RAM)
you set before will not be saved.The parameters will be the previous settings.
2 .All value temporarily stored in RAM will lost if the controller blackout before you save the
parameter.The parameters will be the previous ones when you restart.
3.3 Access parameter 2
1. Press and for more than 6s,it will show parameter code”F1”.
2. Press and to see parameter name.
3. Press to see corresponding parameter values.
4. Press or to select parameters.
5. Press to save the modification.
6. If you want to modify other parameters,please repeat step2~5.
7. Press more than 3s,parameters will be saved and you will exit setup.
Note:
1. If you don’t press any buttons in 10s,parameters (the value temporarily stored in RAM)
you set before will not be saved.The parameters will be the previous settings.
2. All value temporarily stored in RAM will lost if the controller blackout before you save the
parameter.The parameters will be the previous ones when you restart.
3.4 Set the default parameters
Set the default parameters:
1. Press and and hold it until the power is on.
2. Loosen the buttons when you see “CF”.
3.5 Sensor
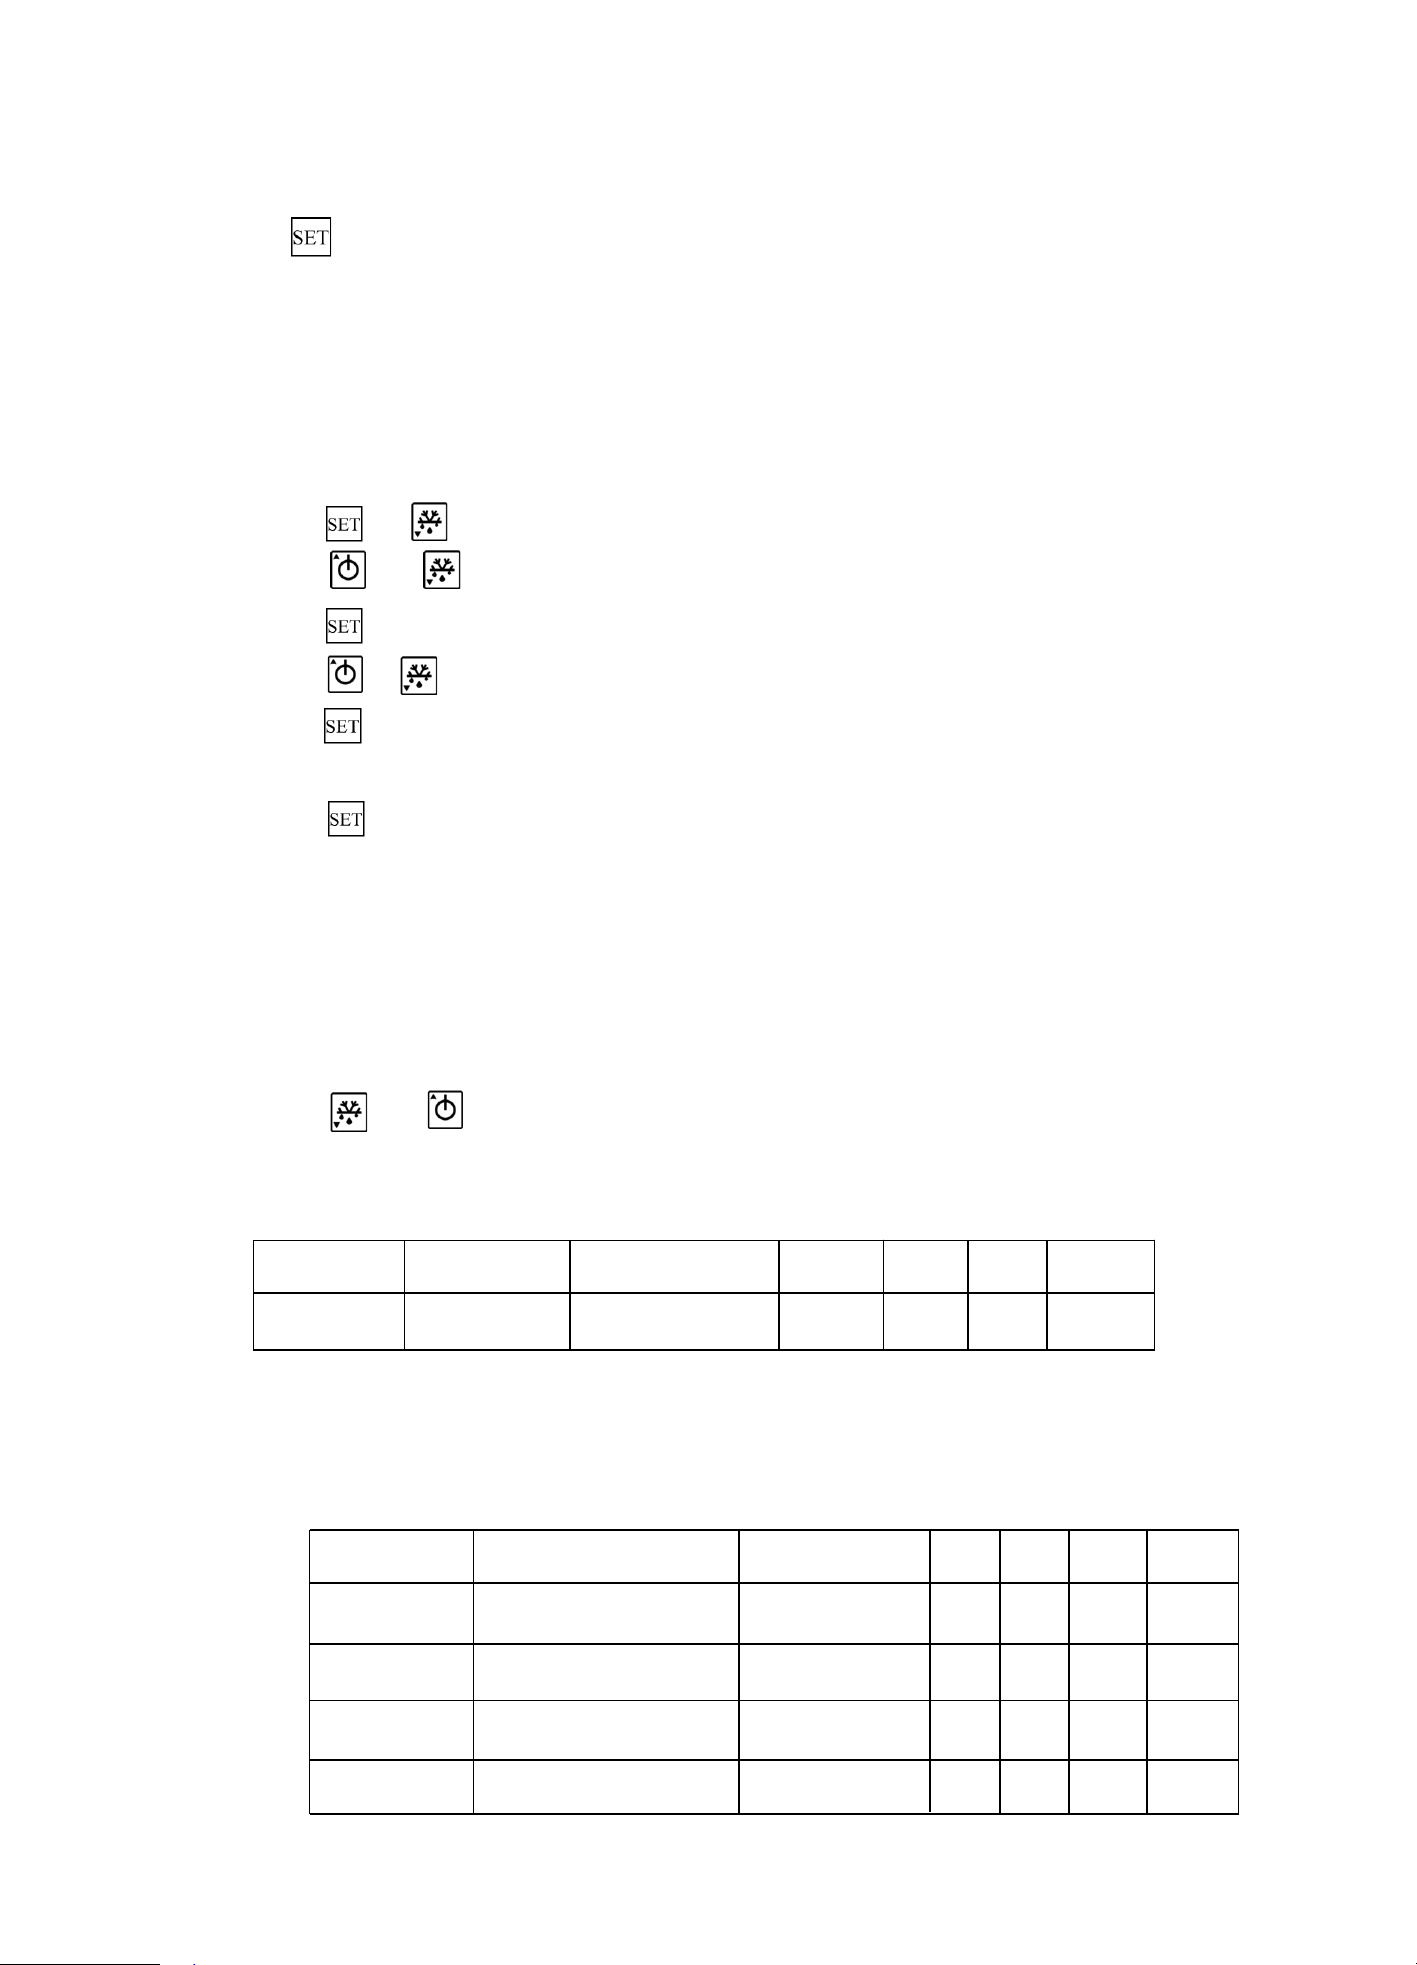
Parameters Description Parameter type Min Max Unit Default
E5 sensor offset 1 -10.0 10.0 ℃ 0.0
E5 sensor offset
This parameter is used to correct sensor of measuring temperature.The figure represents
the sensor temperature plus (positive) or minus (negative) offset.
3.6 Temperature control
Parameters Description Parameter typ Min Max Unit Default
SET Set temperature - -40 80 ℃ 4.0
E1 Minimum temperature 1 -40.0 E2 ℃ 2.0
E2 Maximum temperature 1 E1 99.0 ℃ 8.0
E3 Range of temperature 1 1 20.0 ℃ 4.0
6
7
St Set temperature
Used to set working temperature’s rest point
E1 Minimum temperature
The minimum value allowed to be set(St)
E2 Maximum temperature
The maximum value allowed to be set(St)
E3 Range of temperature
In cooling mode,when temperature <=St,compressor stops working;
when temperature>=St+rd, compressor starts working.
3.7 Compressor protection
Parameters Description Parameter type Min Max Unit Default
E4 1 0 10 Min 0
Compressor protection parameter:
Delay start time
of compressor
E4 Minimum shutdown time
It needs at least C1(Unit:Min)to make the compressor from shutdown to restart.
3.8 Defrost
Parameters Description Parameter type Min Max Unit Default
F1 Defrosting time 2 1 80 Min 18
F2 Defrosting cycle 2 0 24 h 6
F4 2 0 1 - 1
F6 2 1 30 - 10
Temperature display
when defrosting
Temperature locked
when defrosting
F1 Defrosting time
Time needed for defrosting
F2 Defrosting cycle
Intervals between two defrosting
When F2=0,the defrost fuction will be shutdown.
F4 Temperature display when defrosting
It displays current temperature while defrosting
When F4=0,it shows the temperature that sensor measures.
When F4=1,it shows the temperature when defrost begins.
How to return to normal display condition: after defrosting,
delay time after the F6, returning to normal temperature display.
3.9 Abnormal work mode
When the probe short circuit or high temperature overrun(higher than 99℃),you will see “HH”
When the probe open circuit or low temperature overrun(lower than -40℃),you will see “LL”
In this mode, the controller comes into timing work mode, compressor works for 45 minutes,
rest for 15 minutes, and that cycle repeats.
BEFORE FIRST USE
• Remove all packaging ( Disposal of packaging).
• Check for completeness and transport damage. In case of damages or incomplete delivery please contact your dealer ( Guarantee).
• Clean the appliance ( Cleaning).
• Place the appliance on a horizontal and stable surface with a maximum incline of 5%.
• Do not expose parts which heat up. Try to position the appliance close to a wall, but leave enough space for ventilation to ensure
good circulation and efficiency of the appliance.
• Keep the appliance away from any substance, which can cause ignition.
• Do not position the appliance in direct sunlight or near any heat sources.
• Protect the appliance from moisture, extreme heat or cold.
• Climate class of the appliance: 4. Please see the climate class and matched temperature range for reference:
Test room climate class
Dry bulb temperature Relative humidity
°C %
1 16 80
2 22 65
3 25 60
4 30 55
5 40 40
• Never use an extension cord – risk of overheating! If the power cord (4) does not reach the nearest mains outlet, either rearrange
your store layout or ask qualified personnel to fit a new outlet.
• The appliance is fitted with castors (5), so that you can easily move it from one place to another. Two of four castors have brakes.
Warning! Do not move the appliance across uneven floors or steps.
• If power is cut off, wait for at least 5 minutes before plugging the appliance in again to avoid damaging the compressor.
• Important! Allow the appliance to stand upright for 8 hours before connecting to a mains outlet for the first time, in order to allow the
refrigerant to settle.
• The maximum load for a shelf (8) is 25kg.
CLEANING
• Unplug your appliance and remove any products to a suitable back-up showcase before cleaning.
• Take out all removable parts before cleaning.
• Clean the inner compartment (9), equipment parts and casing (3) with dry cloth. Do not allow the control panel (7), power cord with plug (4),
Ventilation opening (2), lamp (11) or other electrical components to become wet.
• Never use corrosive detergents, wire brushes, or abrasive scourers to clean your appliance.
• Never use metal or sharp implements to remove debris.
• Dry all surfaces thoroughly.
• Use dry cloth to clean the gaskets and seals. Check them for debris to ensure the door (10) always closes properly.
• Do not remove or damage the rating label as it contains important data.
Replacing the lamp
• Please do not replace the lamp (11) yourself. Contact q
ualified personnel for this purpose.
• Note: the specification of replacement lamp should be the same as the original one.
8

DISPOSAL INTRODUCTIONS
Disposal of old appliances
•
Disable discarded appliances by removing the plug and cutting through the power cord.
•
Break any locks in order to avoid children and other persons becoming trapped. If possible, remove any doors and discard separately.
• Warning - hazardous chemicals!
Do not allow children to play with the old appliance.
•
Do not damage the refrigerant circuit during storage and transportation of old appliances! Make sure that the evaporator pipes,
refrigerant circuit and surface coverings are not damaged. Avoid contact with the eyes as the refrigerant may cause serious eye injury.
•
Do not store old appliance near heat and ignition sources. In event of leakage the refrigerant of this appliance is highly inflammable.
• Please note:
the refrigeration system contains gases and refrigerants which require specialist waste disposal.
Disposal of packaging
All packaging materials should be disposed of in an environmentally friendly way.
The cardboard may be used as scrap paper. The protective foil and the foam cushions are CFC – free.
Do not allow children to play with the packaging and destroy plastic bags safely.
You can break or cut the cardboard into smaller pieces and give to a waste paper disposal service.
Environmental protection
Discarded electric appliances are recyclable and should not be discarded in the domestic waste! Please actively support us in
conserving resources and protecting
the environment by returning this appliance to the collection centres (if available).
GB
GUARANTEE
A statutory guarantee applies for this product.
Claims must be submitted immediately after their determination.
The right to guarantee claims expires upon any intervention of the purchaser or third parties. Damages caused by wrong treatment or
operation, by false placement or
storage, improper connection or installation, as well as force or other external influences are not covered
by this guarantee. We recommend careful reading of the operating instructions as it contains important information.
The purchaser must prove the right to guarantee claims by presentation of the purchase receipt.
Note:
1.
In
case
this
product
does
not
function
correctly,
please firstly
check
if
there
are
other
reasons,
e.g.
interruption
of
the
power
supply,
or
incorrect handling are the cause.
2.
Please note that the following documents need
to be submitted together with your faulty product:
- Purchase receipt
- Model description/Type/Brand
- Describe the fault and problem as detailed as possible
In the case of a claim for guarantee or defects, please contact the seller personally.
9
This product contains a light source
of energy efficiency class G.
Light source in this product is
replaceable only by a professional.
Osass Australia Pty Ltd.
PO Box 141, Waverley 2024