
Loading ...
Loading ...
Loading ...
17sharkclean.co.uk16 sharkclean.co.uk
NOTE: Not all accessories come with all units� For a list of the accessories included with this model, see the top inside
flap of the box� To order additional accessories, visit sharkninja.co.uk
ADDITIONAL ACCESSORIES AVAILABLE ON SHARKACCESSORIES.COM
A
D
IG
L
B
E
JH
M N O P
C
F
K
A
8" Crevice Tool
B
18" Flexi Crevice Tool
C
Duster Crevice Tool
D
Dusting Brush
E
Multi-Angle Dusting Brush
F
Anti-Allergen Dust Brush
G
Upholstery Tool
H
Wide Upholstery Tool
I
Multi Surface Tool
J
Deep-Cleaning Motorised Pet Tool
K
Flexology® Under-Appliance Wand
L
Accessory Bag
M
Li-Ion Charger
N
Dual Li-Ion Charger
O
Li-Ion Battery
P
Car Maintenance Kit
TROUBLESHOOTING GUIDE
WARNING: To reduce the risk of shock and unintended operation, turn o
power and remove the Lithium ION Power Pack battery before servicing.
Vacuum is not picking up debris. No suction or light suction. Nozzle light is red.
(Refer to Checking for Blockages section for more information.)
• Check filters to see if they need cleaning� Follow instructions for rinsing and completely air-drying the
filters before reinserting in the vacuum�
• Dust cup may be full; empty dust cup�
• Check floor nozzle for blockages; clear blockages if required�
• Remove any string, carpet fibres, or hair that may be wrapped around the brushroll�
• Check connection between handheld vacuum and wand for blockages; clear blockages if required� If the
issue persists, please contact Customer Service�
• Check clog access in wand for any blockages and clear any debris�
Vacuum lifts area rugs.
• Make sure you are not engaging Boost mode as this can be too much suction for lighter rugs� Take care
when vacuuming area rugs or rugs with delicately sewn edges�
• Turn o the unit to disengage the brushroll and restart with the power/selector switch�
Brushrolls do not spin.
• Immediately turn o the vacuum� Remove any blockages before turning the vacuum back on� Make sure
the handheld vacuum is tilted back far enough for the brushrolls to engage� If the brushrolls still do not
spin, please contact Customer Service�
• If the floor nozzle has headlights and they are not illuminated, there is a connection issue between the
handheld vacuum, wand, and nozzle� Try disconnecting and reattaching the pieces� If the headlights still
do not illuminate, please contact Customer Service�
Vacuum turns o on its own.
There are several possible reasons for the vacuum turning o on its own, including blockages, battery
issues, and overheating� If vacuum turns o on its own, perform the following steps:
• Turn on the vacuum and check the battery indicator lights located on the handheld vacuum� If recharging
is needed, make sure power is turned o before connecting to the charger�
• Empty dust cup and clean filters (see Emptying the Dust Cup and Cleaning the Filters section)�
• Check wand, accessories, and inlet openings and remove any blockages�
• Allow unit and battery to cool for at least 45 minutes, until they return to room temperature�
• Press power button to restart the vacuum�
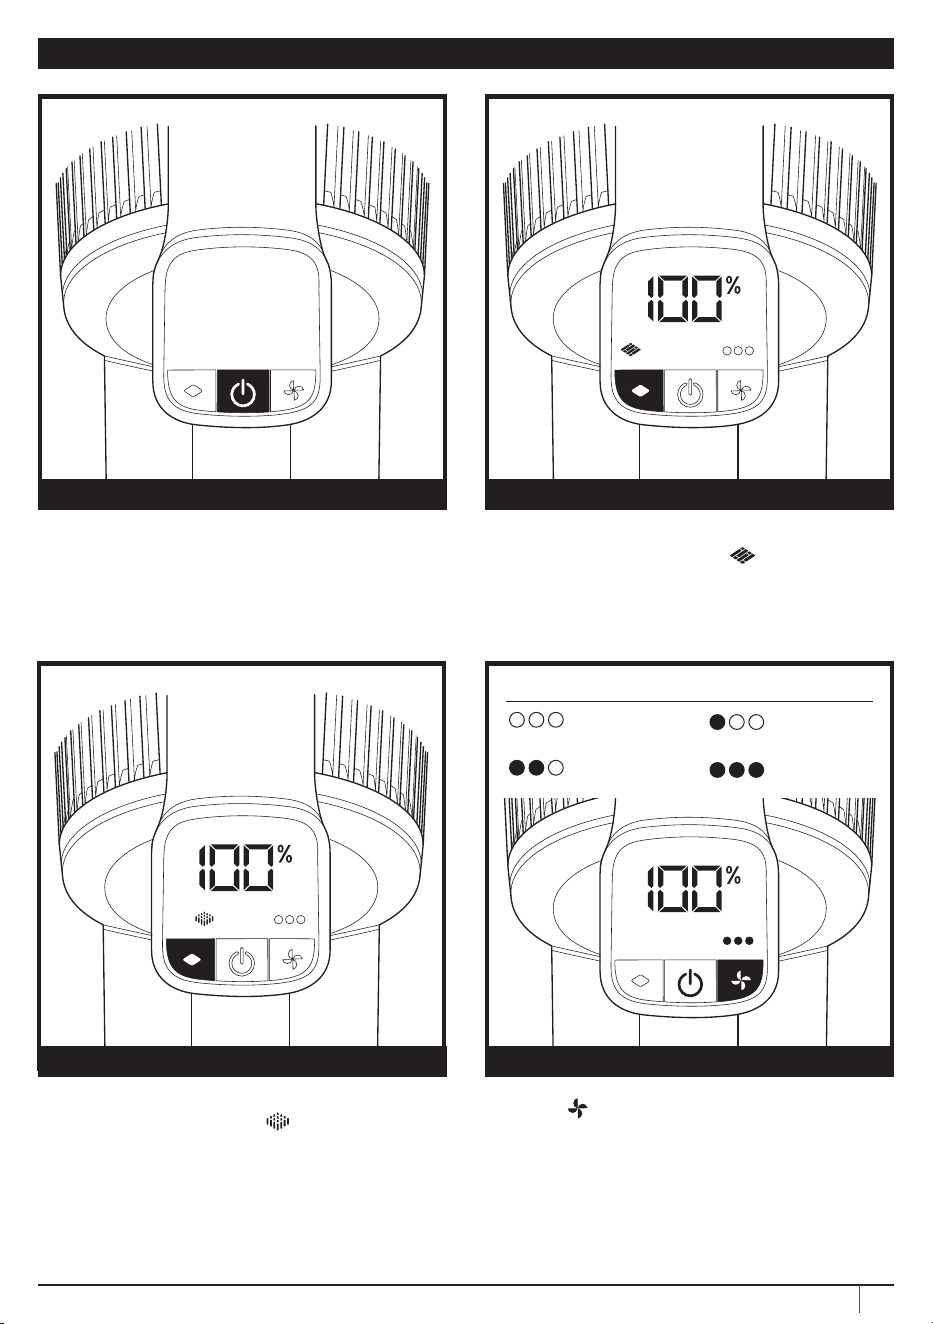
Battery Indicator Lights on handheld vacuum are flashing.
• Bottom LED light is flashing (Fig� A): Battery needs to be charged�
• Top and bottom LED lights are flashing (Fig� B): Battery temperature is not optimal, so charging is
temporarily paused� Leave battery plugged in and charging will resume soon�
• If top 2 or bottom 2 LED lights are flashing (Fig� C, Fig� D), call Customer Service at +44 (0)800 862 0453
Fig� A Fig� CFig� B Fig� D
NOTE: If vacuum still does not operate properly, contact Customer Service at +44 (0)800 862 0453
Loading ...
Loading ...