1.2/2.4KW CERAMIC HEATER - 110V
MODEL NO: CH30110V
Thank you for purchasing a Sealey product. Manufactured to a high standard, this product will, if used according to these instructions,
and properly maintained, give you years of trouble free performance.
IMPORTANT: PLEASE READ THESE INSTRUCTIONS CAREFULLY. NOTE THE SAFE OPERATIONAL REQUIREMENTS, WARNINGS & CAUTIONS. USE
THE PRODUCT CORRECTLY AND WITH CARE FOR THE PURPOSE FOR WHICH IT IS INTENDED. FAILURE TO DO SO MAY CAUSE DAMAGE AND/OR
PERSONAL INJURY AND WILL INVALIDATE THE WARRANTY. KEEP THESE INSTRUCTIONS SAFE FOR FUTURE USE.
1. SAFETY
1.1. ELECTRICAL SAFETY
WARNING! It is the user’s responsibility to check the following:
9 Check all electrical equipment and appliances to ensure that they are safe before using. Inspect power supply leads, plugs and all
electrical connections for wear and damage.
9 Sealey recommend that an RCD (Residual Current Device) is used with all electrical products.
9 If the heater is used in the course of business duties, it must be maintained in a safe condition and routinely PAT (Portable Appliance
Test) tested.
9 Electrical safety information, it is important that the following information is read and understood.
9 Ensure that the insulation on all cables and on the appliance is safe before connecting it to the power supply.
9 Regularly inspect power supply cables and plugs for wear or damage and check all connections to ensure that they are secure.
9 Ensure that the voltage rating on the appliance suits the power supply to be used.
8 DO NOT pull or carry the appliance by the power cable.
8 DO NOT pull the plug from the socket by the cable.
8 DO NOT use worn or damaged cables, plugs or connectors. Ensure that any faulty item is repaired or
replaced immediately by a qualied electrician.
9 This product is tted with a EN 60309 (110volt 32amp) plug.
9 If the cable or plug is damaged during use, switch the electricity supply and remove from use.
9 Replace a damaged plug with a EN 60309 (110volt 32amp) plug If in doubt contact a qualied electrician.
A) Connect the GREEN/YELLOW earth wire to the earth terminal ‘E’.
B) Connect the BROWN live wire to the live terminal ‘L’.
C) Connect the BLUE neutral wire to the neutral terminal ‘N’.
9 Ensure that the cable outer sheath extends inside the cable restraint and that the restraint is tight.
9 Sealey recommend that repairs are carried out by a qualied electrician.
1.2. GENERAL SAFETY
WARNING! Some parts of this product can become very hot and cause burns. Particular attention has to be
given to where children and vulnerable children are present.
WARNING! To reduce the risk of re, keep textiles, curtains or any other ammable material a minimum distance of 2m from the air
outlet.
WARNING! Disconnect the heater from the mains power supply before carrying out any servicing or maintenance.
9 Maintain the heater in good order and clean condition for best and safest performance. Replace or repair damaged parts.
9 Locate heater in a suitable work area and keep area clean, tidy and free from unrelated materials. Ensure there is adequate lighting and
keep the immediate area in front of the outlet grille clear.
9 Allow the unit to cool before storage. When not in use, disconnect from the mains power supply and store in a safe, cool, dry, childproof
area.
9 Use this heater on a horizontal and stable surface.
8 DO NOT use the heater where there are flammable liquids, solids or gases such as petrol, solvents, aerosols etc, or where heat sensitive
materials may be stored.
8 DO NOT place the heater near items that may be damaged by heat, allow at least 2m clearance in front of the heater.
8 DO NOT allow the heater to get wet as this may cause an electric shock, causing damage to the heater and possible personal injury.
8 DO NOT use this heater in small rooms when they are occupied by persons not capable of leaving the room on their own, unless constant
supervision is provided.
8 DO NOT let power lead hang over an edge (i.e. table), or touch a hot surface, lie in the beam of heat, or run under a carpet.
8 DO NOT use this heater in the immediate surroundings of a bath, a shower or a swimming pool.
8 DO NOT operate the heater when you are tired or under the influence of alcohol, drugs or intoxicating medication.
8 DO NOT insert or allow objects to enter any openings of heater as this may cause an electric shock, fire or damage to heater.
8 DO NOT use heater if the power cord, plug or the heater is damaged, or if the heater has become wet.
8 DO NOT use the heater for any purpose other than for which it is designed.
8 WARNING! If a fuse blows, ensure it is replaced with an identical fuse type and rating.
WARNING! If supply trips at consumer unit, ensure correct rating of supply and appliance. If further tripping occurs consult a
qualified electrician.
8 DO NOT use the heater with a programmer, timer or any other device that switches the heater on automatically.
Refer to
instruction
manual
Warning!
Hot surface
DO NOT
cover
Indoor use only Warning!
Electricity
Brown
(L)
Yellow/
Green
(E)
Cable
restraint
Blue(N)
Original Language Version
© Jack Sealey Limited
CH30110V Issue 3 (ALL) 26/06/23
ON/OFF | MODE | CLOCK | ELEMENT | UP/DOWN
8 DO NOT touch the lamps, even when cold.
8 DO NOT use the heater without the wheels fitted and locked.
8 DO NOT allow children to touch or to operate the heater.
8 DO NOT locate the heater below an electrical socket outlet.
8 DO NOT use the heater without the grille fitted.
8 DO NOT use the heater out of doors. These heaters are designed for indoor use only.
8 DO NOT use this heater if it has been dropped.
8 DO NOT use if there are visible signs of damage to the heater.
8 DO NOT cover heater when in use, and do not obstruct the air inlet and outlet grilles.
8 DO NOT place heater too close to yourself or any object, allow the air to circulate freely.
8 DO NOT touch the outlet grille of the heater during and immediately after use as it will be hot.
9 Children of less than 3 years should be kept away unless continuously supervised.
9 Children aged from 3 years and less than 8 years shall only switch on/off the appliance provided that it has been placed or installed in
its intended normal operating position and they have been given supervision or instruction concerning the use of the appliance in a safe
way and understand the hazards involved. Children aged from 3 years to less than 8 shall not plug in, regulate and clean the appliance or
perform user maintenance.
9 This appliance can be used by children aged from 8 years and above and persons with physical, sensory or mental capabilities or lack
of experience and knowledge if they have been given supervision or instruction concerning the use of the appliance in a safe way and
understand the hazards involved. Children shall not play with the appliance. Cleaning and user maintenance shall not be made by children
without supervision
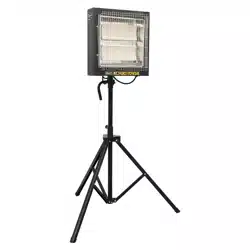
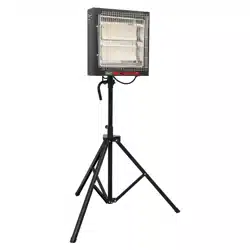
2. .INTRODUCTION
Portable powder coated metal construction. Adjustable thermostat control (15°C – 45°C). Soft-touch control panel with LED display.
Programmable 7-day timer function. Equipped with a tilt cut-out switch for added safety. Two ceramic heating elements provide instant
heat when required. Polished reflectors maximize heat emission. Carry handle allows for safe movement whilst in use. Sturdy legs provide
a secure base. Supplied with 1.5m cable fitted with 32A/110V plug.
3. SPECIFICATION
Model No: ......................................................CH30110V
Dimensions (W x D x H): .................. 395 x 387 x 668mm
Plug Type: ......................................... Yellow - 32A-2P+E
Power: .........................................................1200/2400W
Supply: ........................................................... 110V - 32A
4. OPERATION
WARNING! Ensure you read, understand and apply the safety instructions
in Section 1 before using the heater.
NOTE: The ceramic element is fragile and therefore it is important that it is not
subjected to any unnecessary shocks or vibration and is not moved when it is on
or until cooled down.
WARNING! During relocation the heater should be switched off and
disconnected from the power supply. Ensure the heater is at least 2m from any
object.
WARNING! DO NOT touch the top of the heater when in use as it becomes hot.
WARNING! Always allow elements to cool before moving the units. Use only on a
smooth even surface. Failure to do so will cause premature wear to the elements
and reduce their working life.
WARNING! DO NOT use this heater in small rooms when they are occupied
by persons not capable of leaving the room on their own, unless constant
supervision is provided.
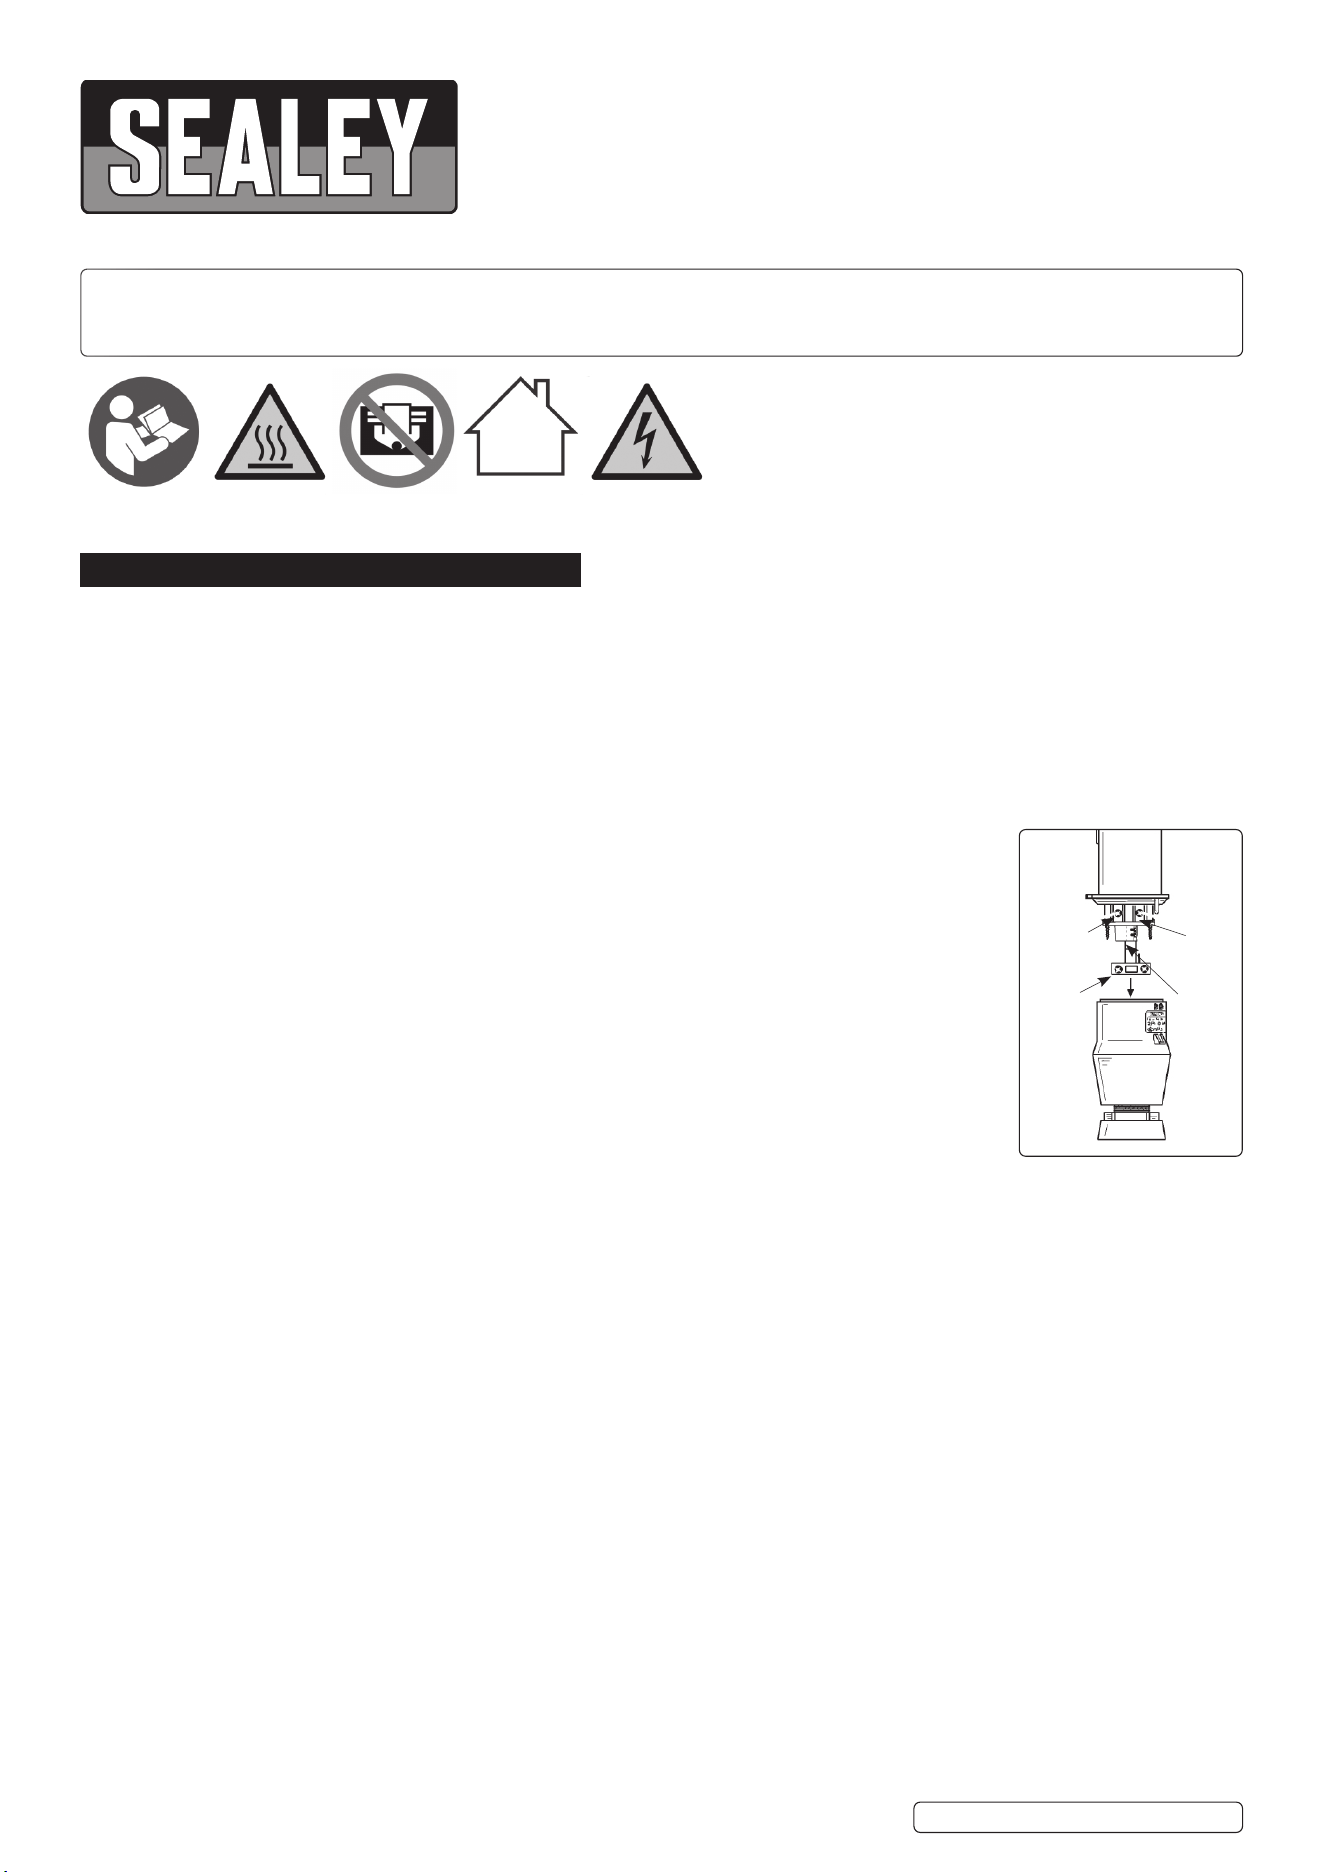
4.1. REFER TO FIG.1 FOR OPERATION
4.2. TILT SWITCH SAFETY MECHANISM
4.2.1. The heater has a built in tilt switch safety mechanism that switches off the unit if it is tilted beyond 25° either forwards or backwards. This
prevents fire in the event of the unit being knocked over.
4.2.2. The heater requires manual input to restart e.g. it does not restart automatically.
4.3. POSITIONING THE HEATER
4.3.1. Place the heater on a level floor in the area you require to heat.
4.3.2. Allow a minimum of 2m between the heater and adjacent objects.
4.4. POWER ON/OFF
4.4.1. Connect to mains supply and turn on the red rocker switch (g.1.2).
4.4.2. The heater in standby screen shows ‘OF’.
4.4.3. Press ON/OFF to start heater. The screen shows: week, time, ambient temperature and power indication.
4.4.4. Press ON/OFF again to turn the heater o. The screen returns to the standby screen and displays ‘OF’.
4.5. SETTING TEMPERATURE
4.5.1. The default temperature at power on is 30°C.
4.5.2. Press UP/DOWN to set temperature. One press = 1°C. The screen shows temperature only. Range is 15 to 45°C.
4.5.3. After 5 seconds screen defaults to ambient temperature.
4.5.4. The next setting will be based on the previous set temperature.
4.5.5. Heater will only work when ambient is lower than the set temperature.
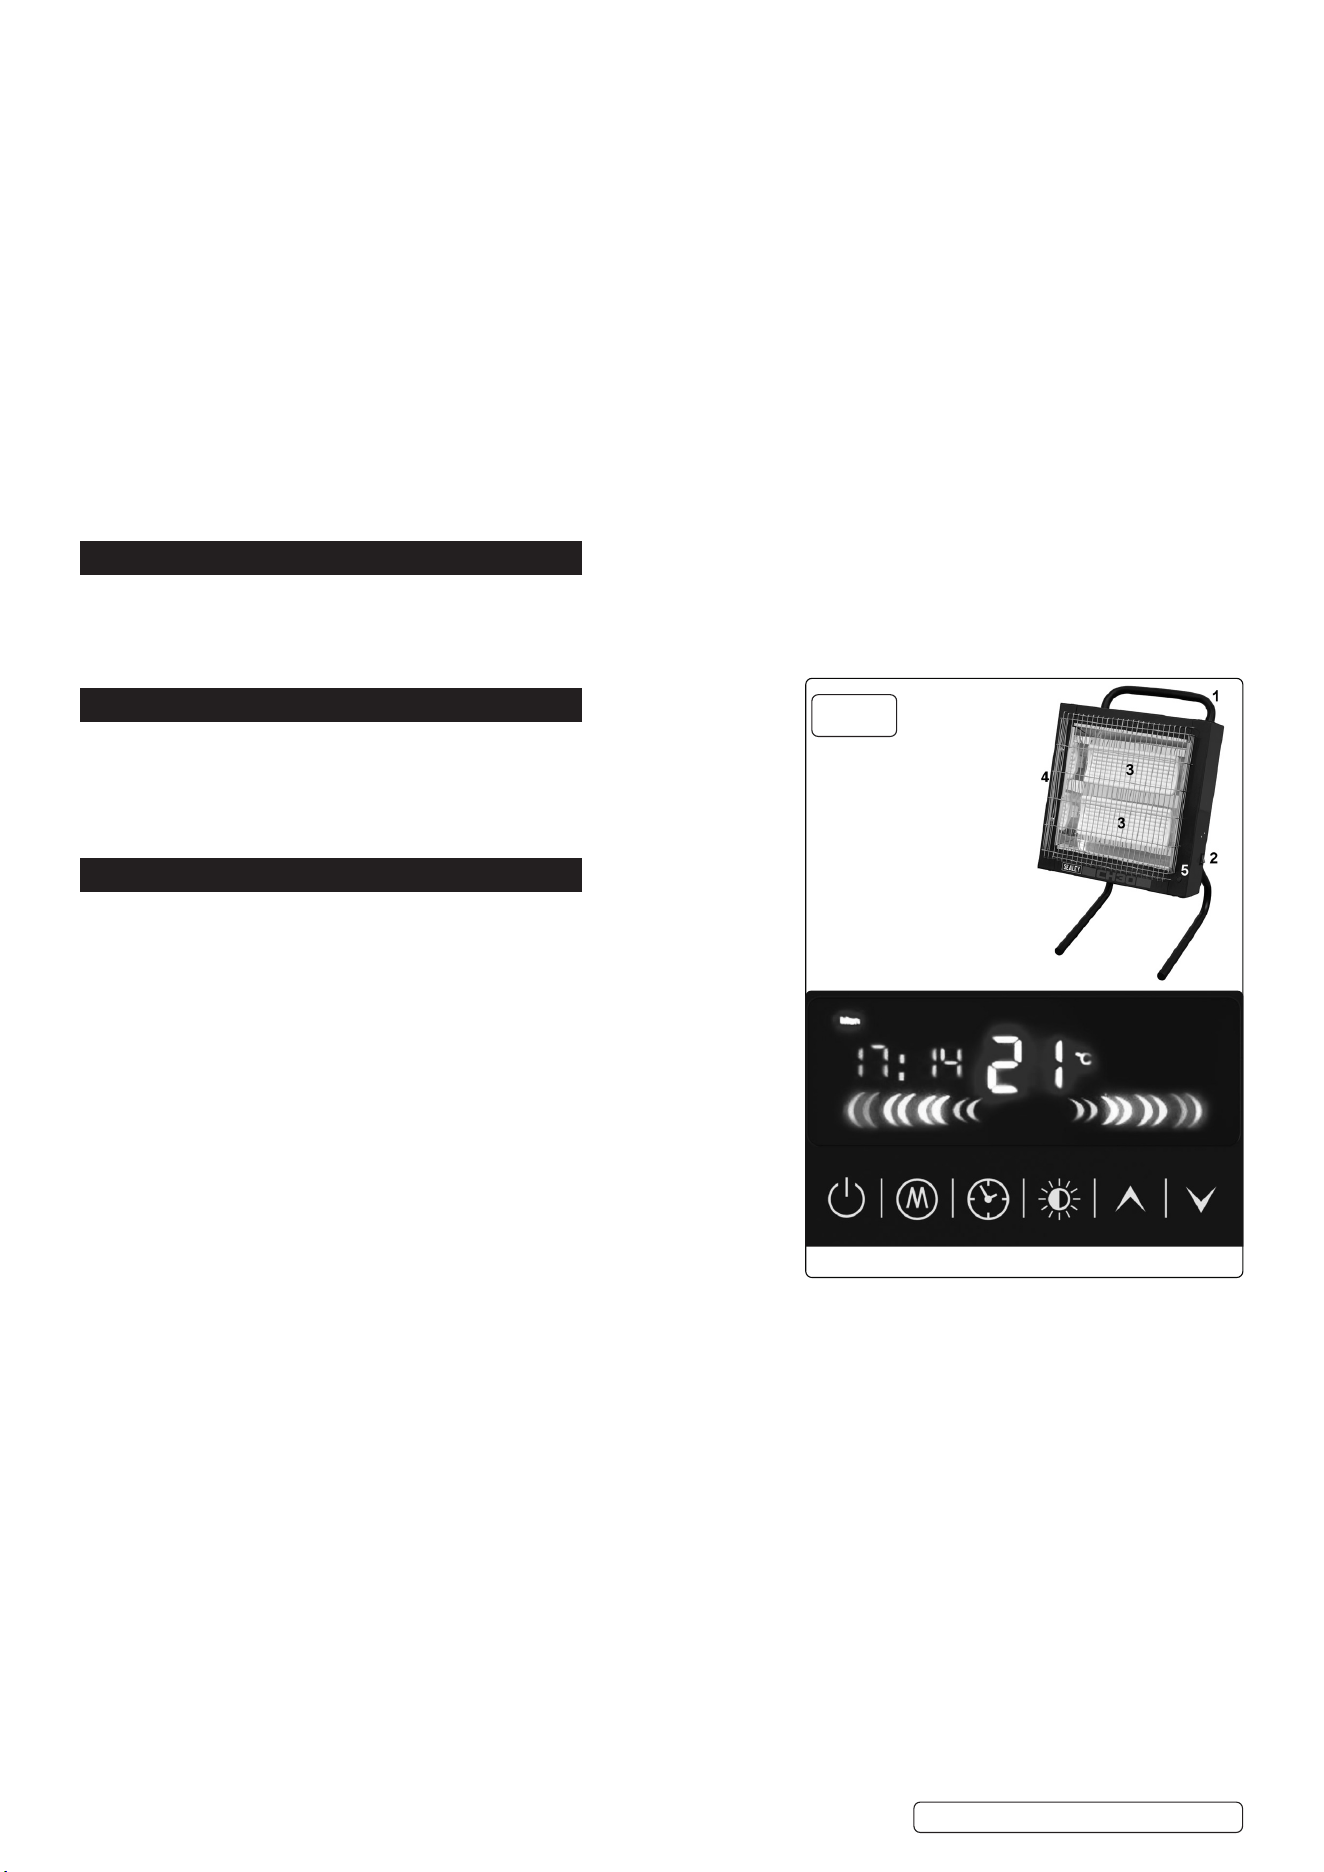
4.6. SETTING POWER
4.6.1. The heater has 3 power settings that can be adjusted by pressing the ELEMENT button.
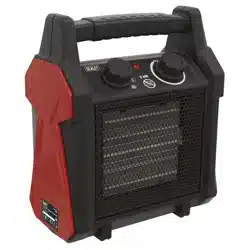
1 Handle
2 On/o
3 Element
4 Safety guard
5 Neon indicator
6 Control panel
Original Language Version
© Jack Sealey Limited
CH30110V Issue 3 (ALL) 26/06/23
fig.
1
4.7. SETTING CURRENT DATE AND TIME
4.7.1. After power on press CLOCK for 3 seconds to set current date and time.
4.7.1. When DAY symbol (Mon to Sun) ashes, use the UP/DOWN control to select the day.
4.7.2. Press CLOCK again and select HOUR using the UP/DOWN control, and again to select MINUTES.
4.7.3. Press CLOCK again to save the date and time, or wait 5 seconds without pressing the buttons and selected day and time will be saved.
4.8. SETTING DAYS OF WEEK WORKING TIME MODES
4.8.1. Power on. Press CLOCK once to set days of the week timer.
4.8.2. When MON ashes select days of the week by pressing UP/DOWN.
4.8.3. The heater has 7 daily programs and 3 working time modes that can be set up within each day.
4.8.4. Press CLOCK again and select working time modes 01, 02 03 by pressing UP/DOWN.
4.8.5. Press CLOCK again to set the timer for power on (hours rst, then minutes) by pressing UP/DOWN.
4.8.6. Press CLOCK again to set the timer for power o. Operation is the same as above (selected using UP/DOWN)
4.8.7. Then press CLOCK again to set temperature. Default temperature setting is 30°C.
4.8.8. Press CLOCK again to nish the timer setting for that day. Repeat the above procedure for other days.
4.8.9. Press MODE to activate or deactivate the days of week working time modes. When week and time symbols are both displayed it
means the days of week working time mode is active.
4.8.10. Repeat above procedures to change weekly working time modes timer.
4.8.11. To reset, enter process as far as day selection then press MODE for 3 seconds, all existing set programs for that day will be deleted
Users can only reset existing programs day by day.
4.9. OPEN WINDOW DETECTION FUNCTION
4.9.1. When ambient temperature drops over 5°C in 10 minutes, the heater will power o automatically and sound 3 alarm beeps.
4.9.2. Power on again by pressing ON/OFF.
4.10. NOTES
4.10.1. All set programs will be stored even if the power is o.
4.10.2. Temperature is only adjustable when the days of week working time modes is inactive.
4.10.3. The clock continues to work after power o. Charge battery after 3 hours of initial use (standby and working modes will both charge the
battery).
5. MAINTENANCE.
WARNING! Disconnect from the mains and allow to cool before moving or attempting any cleaning or maintenance.
5.1. CLEANING & STORAGE
5.1.1. Clean the heater and guard with a damp cloth and some mild detergent.
5.1.2. Use a vacuum cleaner outside the grille guard to clean dust from heater elements.
5.1.3. When not in use, store the heater carefully in a safe, dry, childproof location.
8 DO NOT use abrasive cleaners or polishes on casing or guard.
8 DO NOT touch the elements unless essential to do so.
5.2. REPLACEMENT PARTS
5.2.1. To replace any of the elements, contact your authorised Sealey stockists.
5.2.2. Should the power cord require replacement, a complete wiring loom should be purchased and fitted by a suitably qualified person. suitably qualified person.
5.3. BATTERY REPLACEMENT
5.3.1. Refer to Parts Diagram. The battery is located on the lower PCB.
5.3.2. It is recommended that this is replaced by a suitable qualified person.
Original Language Version
© Jack Sealey Limited
CH30110V Issue 3 (ALL) 26/06/23
Sealey Group, Kempson Way, Suffolk Business Park, Bury St Edmunds, Suffolk. IP32 7AR
01284 757500 sales@sealey.co.uk www.sealey.co.uk
ENVIRONMENT PROTECTION
Recycle unwanted materials instead of disposing of them as waste. All tools, accessories and packaging should be sorted,
taken to a recycling centre and disposed of in a manner which is compatible with the environment. When the product
becomes completely unserviceable and requires disposal, drain any fluids (if applicable) into approved containers and
dispose of the product and fluids according to local regulations.
Note: It is our policy to continually improve products and as such we reserve the right to alter data, specifications and component parts without prior
notice.
Important: No Liability is accepted for incorrect use of this product.
Warranty: Guarantee is 12 months from purchase date, proof of which is required for any claim.
WEEE REGULATIONS
Dispose of this product at the end of its working life in compliance with the EU Directive on Waste Electrical and Electronic Equipment
(WEEE). When the product is no longer required, it must be disposed of in an environmentally protective way. Contact your local solid
waste authority for recycling information.
REGISTER YOUR
PURCHASE HERE
POWER SETTING 1
TOP ELEMENT ON
POWER SETTING 2
BOTTOM ELEMENT ON
POWER SETTING 3
BOTH ELEMENTS ON
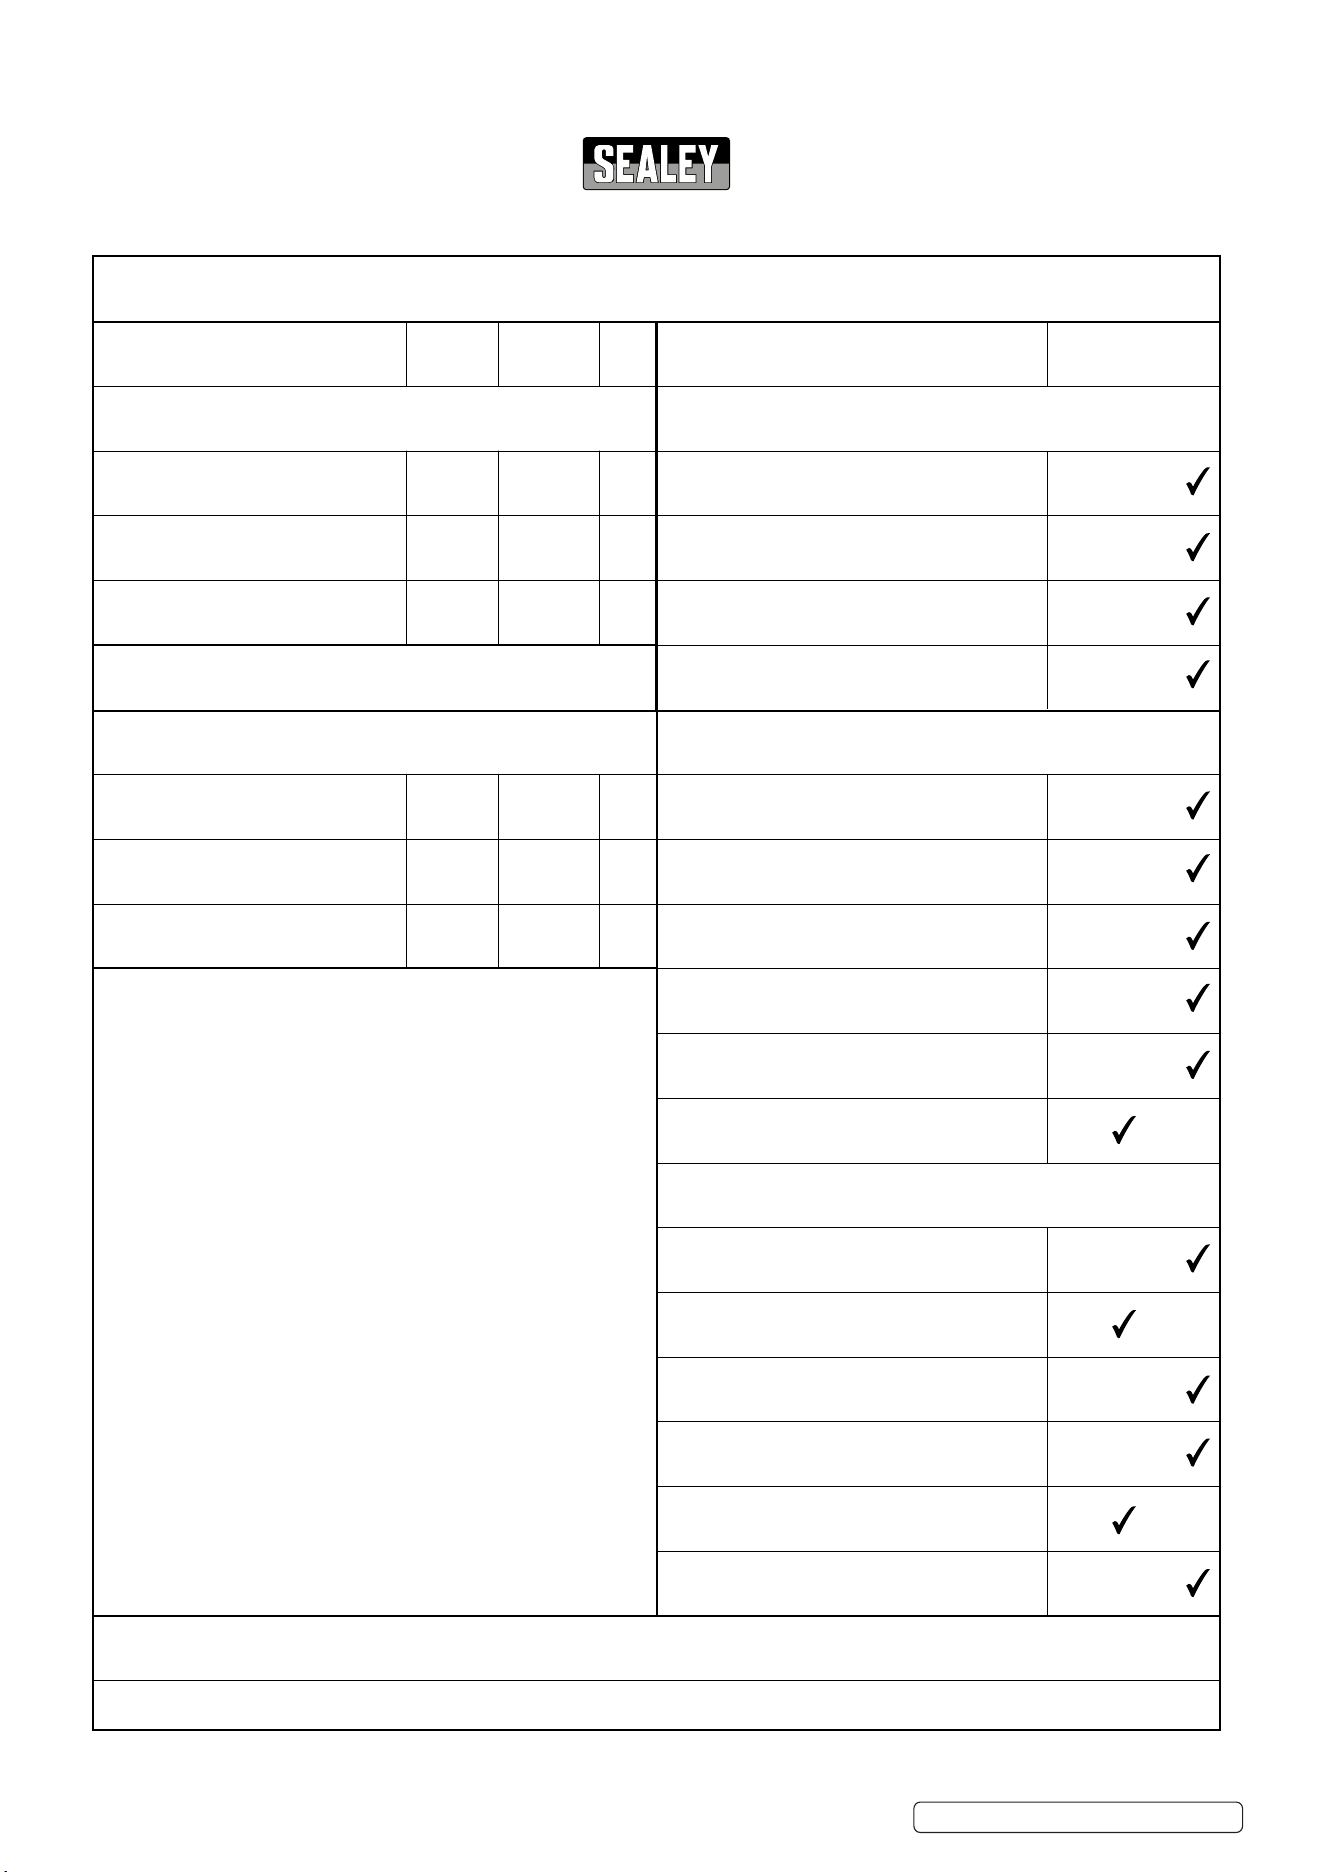
Information requirements for electric local space heaters
* Enter gure or NA
Model identier(s):
Item Symbol Value Unit Item Unit
Heat output
Type of heat input, for electric storage local space heaters
only (select one)
Nominal heat output
P
nom
kW
Manual heat charge control, with
Yes No
integrated thermostat
Minimum heat output (indicative)* P
min
kW
Manual heat charge control with room
Yes No
and/or outdoor temperature feedback
Maximum continuous heat output
P
max,c
kW
Electronic heat charge control with room
Yes No
and/or outdoor temperature feedback
Fan assisted heat output Yes No
Type of heat output/room temperature control (select one)
Single stage heat output and no room
Yes No
temperature control
Two or more manual stages, no room
Yes No
temperature control
With mechanic thermostat room
Yes No
temperature control
With electronic room temperature control Yes No
Electronic room temperature control plus
Yes No
day timer
Electronic room temperature control plus
Yes No
week timer
Other control options (multiple selections possible)
Room temperature control, with presence
Yes No
detection
Room temperature control, with open
Yes No
window detection
With distance control option Yes No
With adaptive start control Yes No
With working time limitation Yes No
With black bulb sensor Yes No
Contact details: Sealey Group, Kempson Way, Suolk Business Park, Bury St Edmunds, Suolk, IP32 7AR. www.sealey.co.uk
ERP Table 2
Auxiliary electricity consumption
At nominal heat output el
max
kW
At minimum heat output el
min
kW
In standby mode el
SB
kW
CH30110V.V1
2.340
N/A
0.00
N/A
N/A
2.4
v1
Original Language Version
© Jack Sealey Limited
CH30110V Issue 3 (ALL) 26/06/23