
Please give us a chance to make it right and do better !
Contact our friendly customer service department for help first.
Replacements for missing or damaged parts will be shipped ASAP !
Contact Us!
Do NOT return this item.
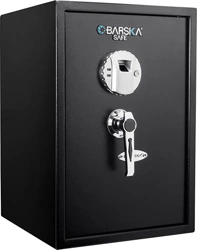
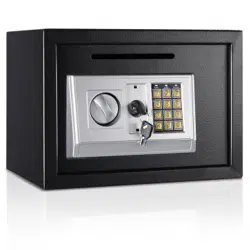
Safe Box
EL10004
USER’S MANUAL
THIS INSTRUCTION BOOKLET CONTAINS IMPORTANT SAFETY INFORMATION. PLEASE READ AND KEEP FOR FUTURE REFERENCE.
US office: Fontana UK office: Ipswich AU office: Truganina
DE office: Hamburg
FR office: Saint Vigor d'Ymonville
PL office: Gdańsk
US:cs.us@costway.com
UK:cs.uk@costway.com
Before You Start
Please read all instructions carefully.
Retain instructions for future reference.
Separate and count all parts and hardware.
Read through each step carefully and follow the proper order.
We recommend that, where possible, all items are assembled
near to the area in which they will be placed in use, to avoid
moving the product unnecessarily once assembled.
Always place the product on a flat, steady and stable surface.
Keep all small parts and packaging materials for this product
away from babies and children as they potentially pose a serious
choking hazard.
Please do not keep emergency keys in your safe!
Dear valued customer:
Thank you for choosing our products! You've taken an important
step in organizing and protecting your most valued possessions.
Every series of our safes is professionally made and designed to
provide safety. Please take time to read and familiarize yourself with
the proper operating procedures of your new safe presented on the
following pages.
Again, thank you for choosing our products!
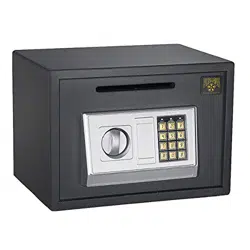
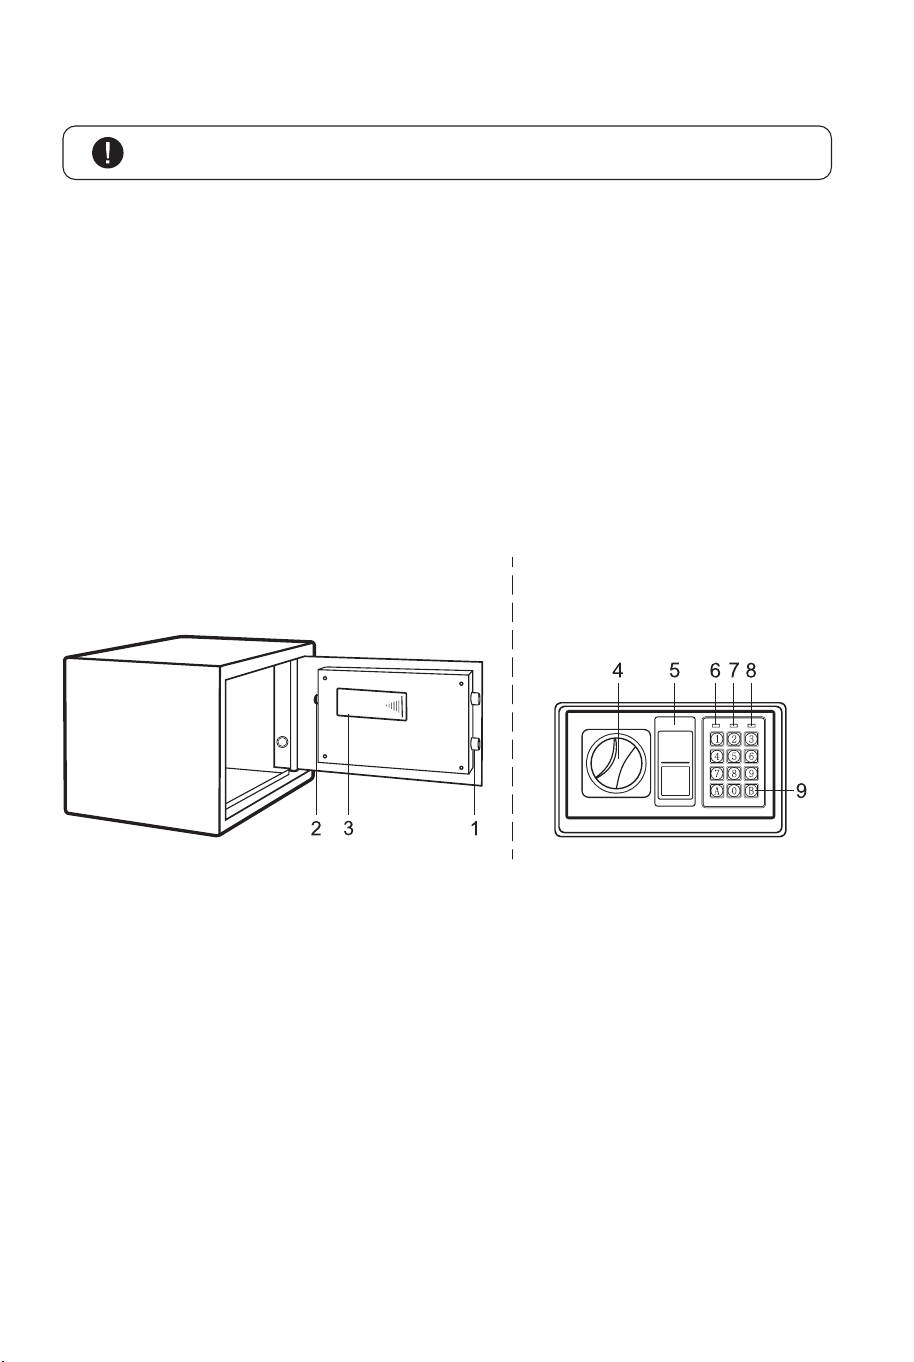
Schematic drawing of case Schematic drawing of
control panel
1. Bolts
2. Reset Button
3. Battery
Compartment
4. Knob (Master Key)
5. Emergency Lock
Cover
6. Green Light
7. Red Light
8. Yellow Light
9. Confirming button
10. Power supply: 4 X
AA batteries
02 03
Before You Start
Please read all instructions carefully.
Retain instructions for future reference.
Separate and count all parts and hardware.
Read through each step carefully and follow the proper order.
We recommend that, where possible, all items are assembled
near to the area in which they will be placed in use, to avoid
moving the product unnecessarily once assembled.
Always place the product on a flat, steady and stable surface.
Keep all small parts and packaging materials for this product
away from babies and children as they potentially pose a serious
choking hazard.
Please do not keep emergency keys in your safe!
Dear valued customer:
Thank you for choosing our products! You've taken an important
step in organizing and protecting your most valued possessions.
Every series of our safes is professionally made and designed to
provide safety. Please take time to read and familiarize yourself with
the proper operating procedures of your new safe presented on the
following pages.
Again, thank you for choosing our products!
Schematic drawing of case Schematic drawing of
control panel
1. Bolts
2. Reset Button
3. Battery
Compartment
4. Knob (Master Key)
5. Emergency Lock
Cover
6. Green Light
7. Red Light
8. Yellow Light
9. Confirming button
10. Power supply: 4 X
AA batteries
02 03
Upon first opening, users should open the safe with the emergency
key. The operation in details refers to "opening the safe with the
emergency key".
● Remove emergency lock cover, then insert the emergency key,
and turn it count clockwise.
● Tur the knob (master key) clockwise to open the door.
CAUTION: Finish operation, pull out the emergency key and
keep it in a safe place.
CAUTION: The user preset code“159". Please input the user
code again if the yellow light flashes with three buzzer beeps.
CAUTION: The key pad would be disabled during the beeping.
You can only stop the beeps by opening the safe with emergency
key and power-cut by removing the battery.
CAUTION: Replace 4 new batteries by lining them up in a
manner as indicated by the "+" and "-" signs.When outage for
longer than thirty minutes, you should reset the user' s code.
OPENING YOUR SAFE FOR THE FIRST TIME
● Open the door.
● Insert 4 X AA batteries into the battery compartment.
● Under normal condition, if both of the red and the green lights are
on at the same time, it means the voltage is low and you should
insert new batteries.
INSERTING THE BATTERIES
● Tum he knob (master key) counter clockwise to close the door.
CLOSING DOOR
● 3 continuously wrong entries will activate the warming beep for
20 seconds.
AUTOMATIC LOCK
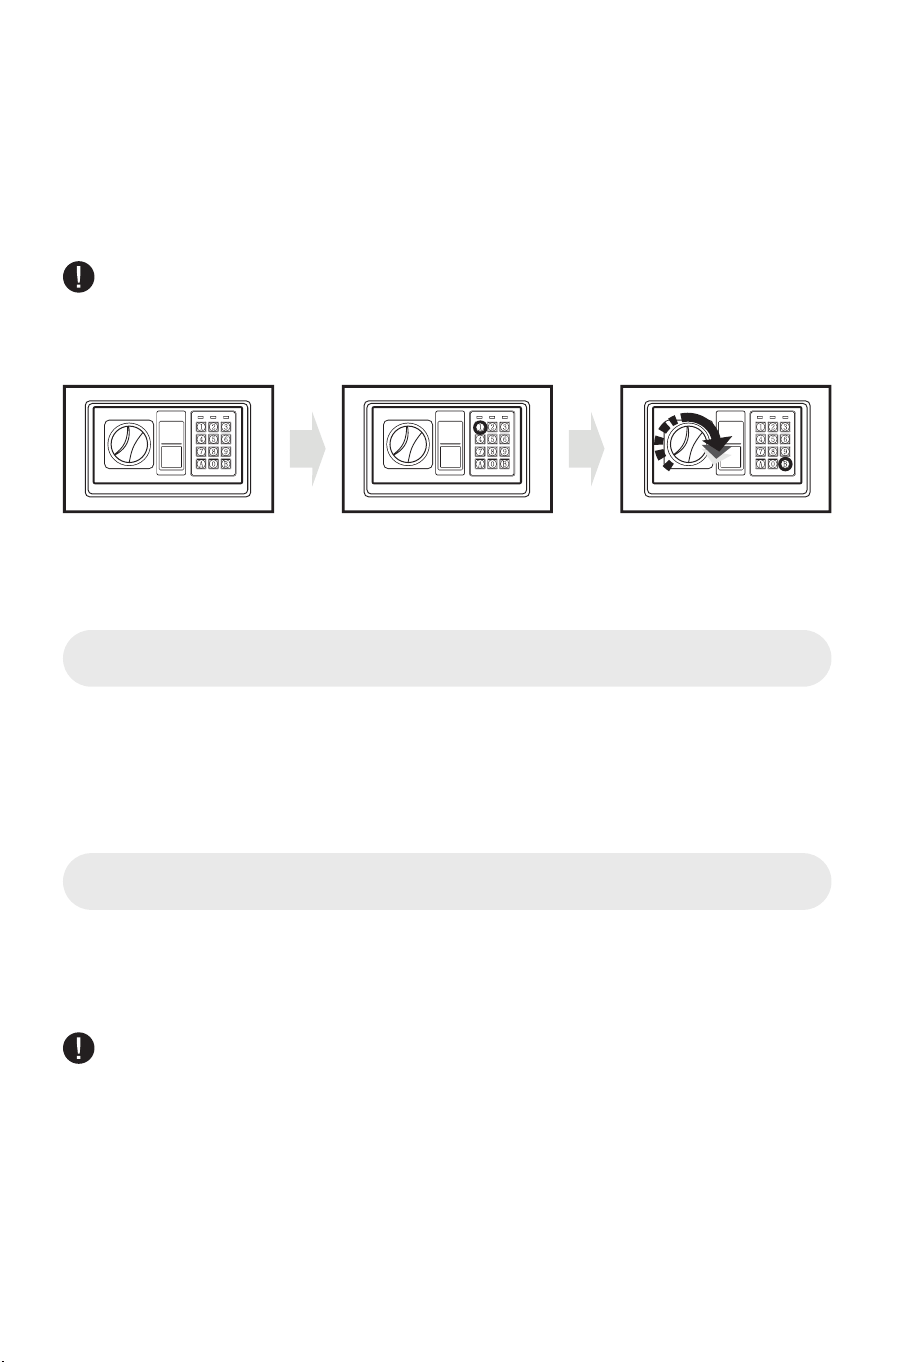
●Input your user's code (3 to 8 digits), each pressing results one
buzzer beep and yellow light flashes.
OPENING DOOR
● Press“A"(C/#)or“B"(E/ *) button, the green light will be on.
● Rotate the knob (master key) clockwise and pull outwards within
5 seconds, the door is opened.
04 05
Upon first opening, users should open the safe with the emergency
key. The operation in details refers to "opening the safe with the
emergency key".
● Remove emergency lock cover, then insert the emergency key,
and turn it count clockwise.
● Tur the knob (master key) clockwise to open the door.
CAUTION: Finish operation, pull out the emergency key and
keep it in a safe place.
CAUTION: The user preset code“159". Please input the user
code again if the yellow light flashes with three buzzer beeps.
CAUTION: The key pad would be disabled during the beeping.
You can only stop the beeps by opening the safe with emergency
key and power-cut by removing the battery.
CAUTION: Replace 4 new batteries by lining them up in a
manner as indicated by the "+" and "-" signs.When outage for
longer than thirty minutes, you should reset the user' s code.
OPENING YOUR SAFE FOR THE FIRST TIME
● Open the door.
● Insert 4 X AA batteries into the battery compartment.
● Under normal condition, if both of the red and the green lights are
on at the same time, it means the voltage is low and you should
insert new batteries.
INSERTING THE BATTERIES
● Tum he knob (master key) counter clockwise to close the door.
CLOSING DOOR
● 3 continuously wrong entries will activate the warming beep for
20 seconds.
AUTOMATIC LOCK
●Input your user's code (3 to 8 digits), each pressing results one
buzzer beep and yellow light flashes.
OPENING DOOR
● Press“A"(C/#)or“B"(E/ *) button, the green light will be on.
● Rotate the knob (master key) clockwise and pull outwards within
5 seconds, the door is opened.
04 05
● With the door open, press the reset button one, start setting code
when the yellow lights goes on.
● Input new code (3-8 digits), and press the"A"(C1#)or"B"((E/*)
button to confirm with 2 buzzer beeps, which indicates the
acceptance and storage of the new code.
● If the yellow light flashes with 3 buzzer beeps, which means the
code changing is not effective, and you need to try again.
SETTING THE USER CODE
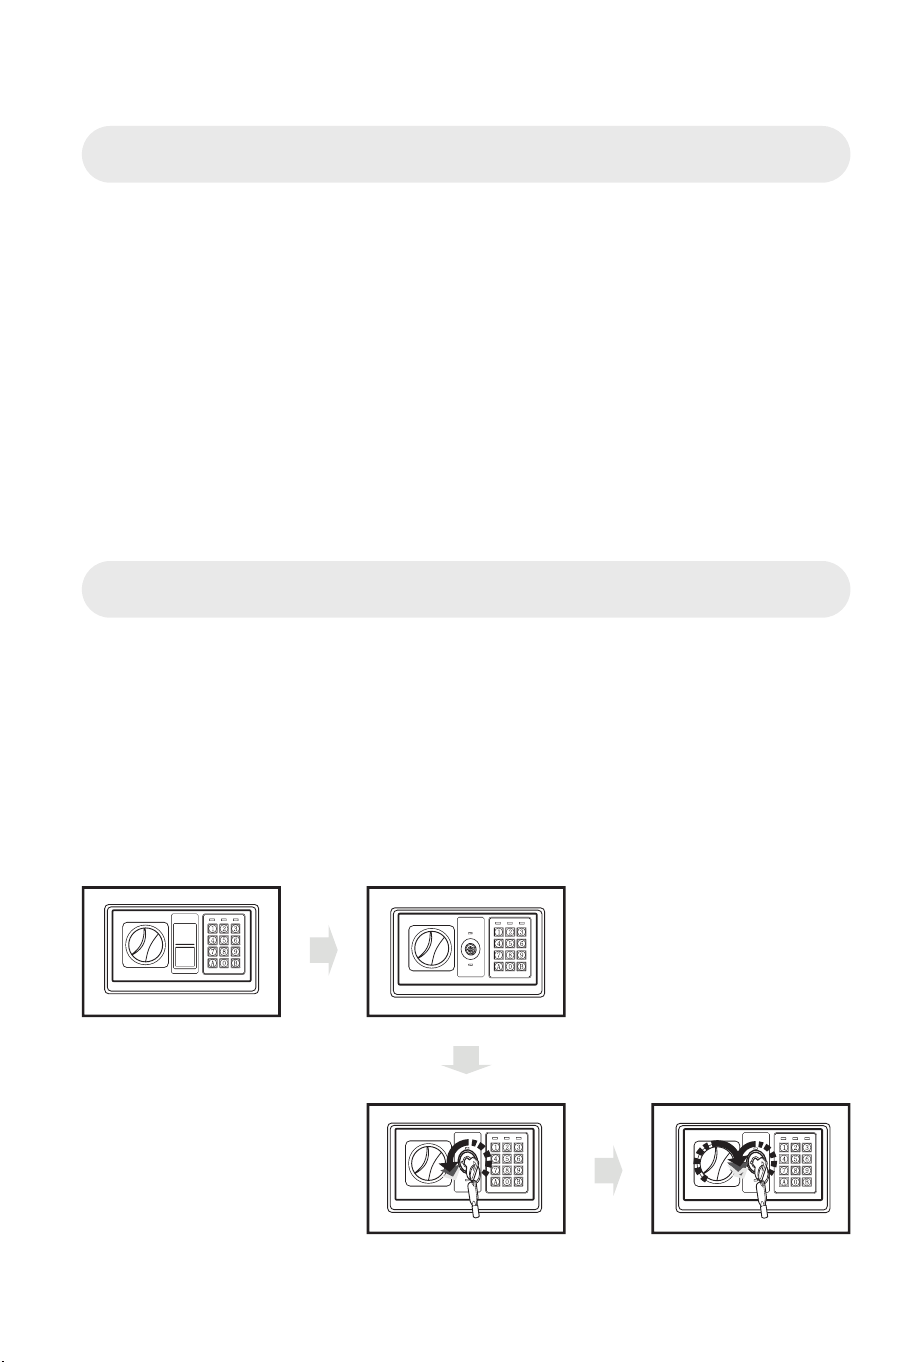
Upon first receipt of the safe, or either the electronic circuit
malfunction or codes unknown. You could also use the emergency
key to open the sale.
●Remove the cover of the emergency lock.
●Insert the emergency key, turn it count clockwise, then turn the
knob (master key) clockwise to open the door.
OPENING THE SAFE WITH THE EMERGENCY KEY
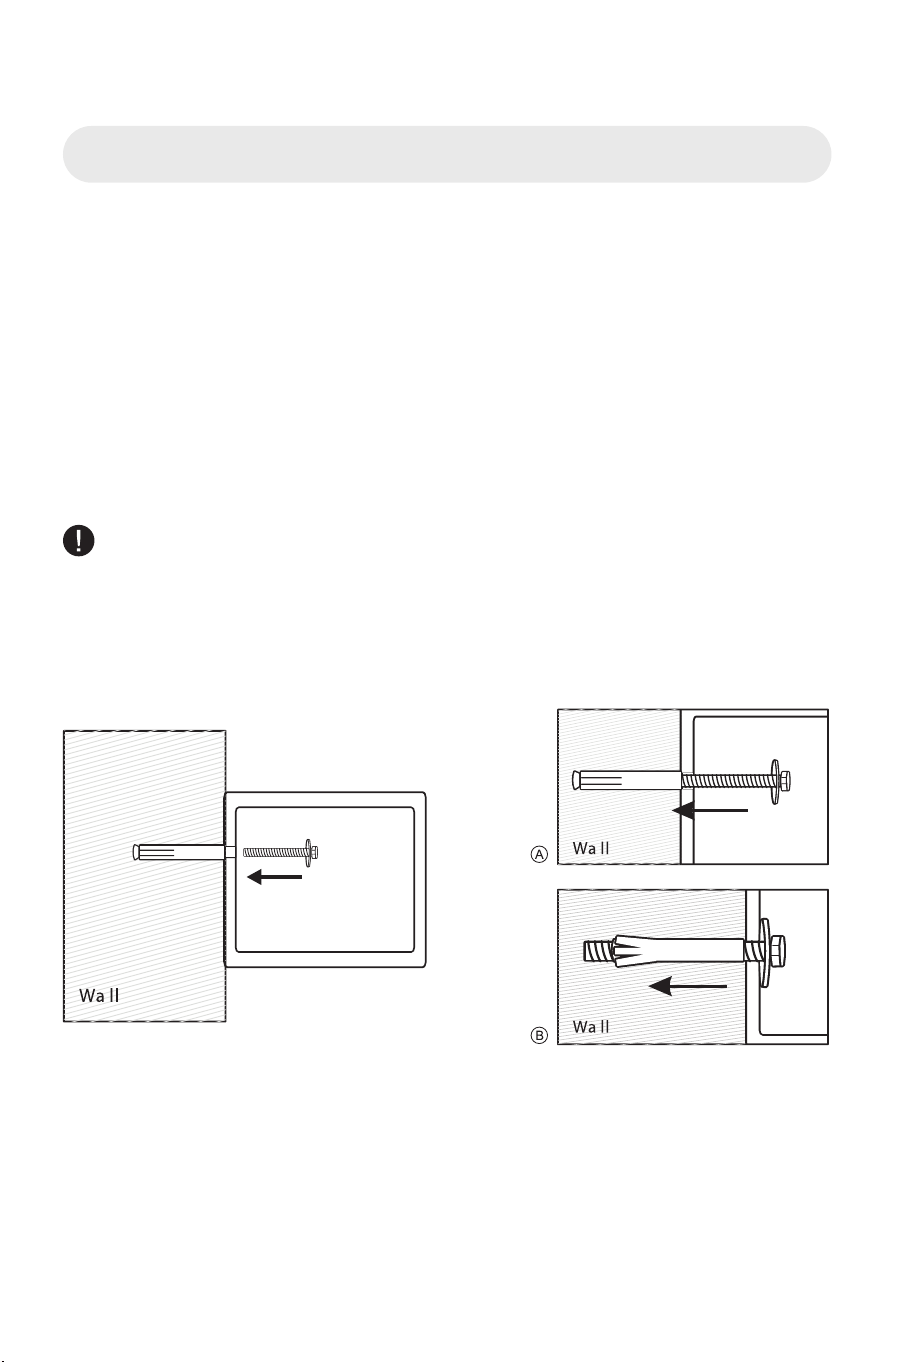
Fix the safe. in the place which is not easy ta move
● Drill holes for expansion bolts (or clamping screws) in the right
place.
● Turn the expansion bolts counter clockwise to separate.
● Use the expansion bolts (or clamping screws) to secure the case
to the wall.
● Make sure the case is mounted in place as required and then
tighten all screws.
MOUNTING METHOD
CAUTION: Use the expansion bolt when there is a concrete wall
surface. Use the clamping screw when there is a wooden wall
surface.
06 07
● With the door open, press the reset button one, start setting code
when the yellow lights goes on.
● Input new code (3-8 digits), and press the"A"(C1#)or"B"((E/*)
button to confirm with 2 buzzer beeps, which indicates the
acceptance and storage of the new code.
● If the yellow light flashes with 3 buzzer beeps, which means the
code changing is not effective, and you need to try again.
SETTING THE USER CODE
Upon first receipt of the safe, or either the electronic circuit
malfunction or codes unknown. You could also use the emergency
key to open the sale.
●Remove the cover of the emergency lock.
●Insert the emergency key, turn it count clockwise, then turn the
knob (master key) clockwise to open the door.
OPENING THE SAFE WITH THE EMERGENCY KEY
Fix the safe. in the place which is not easy ta move
● Drill holes for expansion bolts (or clamping screws) in the right
place.
● Turn the expansion bolts counter clockwise to separate.
● Use the expansion bolts (or clamping screws) to secure the case
to the wall.
● Make sure the case is mounted in place as required and then
tighten all screws.
MOUNTING METHOD
CAUTION: Use the expansion bolt when there is a concrete wall
surface. Use the clamping screw when there is a wooden wall
surface.
06 07
Please give us a chance to make it right and do better !
Contact our friendly customer service department for help first.
Replacements for missing or damaged parts will be shipped ASAP !
Contact Us!
Do NOT return this item.
Safe Box
EL10004
USER’S MANUAL
THIS INSTRUCTION BOOKLET CONTAINS IMPORTANT SAFETY INFORMATION. PLEASE READ AND KEEP FOR FUTURE REFERENCE.
US office: Fontana UK office: Ipswich AU office: Truganina
DE office: Hamburg
FR office: Saint Vigor d'Ymonville
PL office: Gdańsk
US:cs.us@costway.com
UK:cs.uk@costway.com