
Loading ...
Loading ...
Loading ...
Options en-us
11
Tip:You can use the Home Connect app to download
additional Cycles and Options and save them.
1
Options
6 Options
Options
Here is an overview of the different options available on
your dishwasher.
Option Use
Extra Dry
¡ For a better drying result, the final
rinse temperature is increased
and the drying phase extended.
¡ Especially suitable for drying
plastic parts.
¡ There is a slight increase in
energy consumption and the run
time is extended.
Sanitize
¡ To ensure a higher hygiene status
for the appliance and dishware,
the temperature is increased and
maintained for an extra-long
period.
¡ Especially suitable for cleaning
chopping boards or baby bottles.
¡ Continuous use of this option
improves the hygiene status.
¡ This will increase the run time and
energy consumption.
WARNING
Concerning dishware sanitation, be aware of the following.
▶ Only sanitizing cycles have been designed to meet the
requirements for soil removal and sanitation efficacy.
There is no intention, either directly or indirectly, to
imply that all cycles on a certified machine have passed
the sanitization performance test.
Features
7 Features
Features
You can find an overview of the possible features of your
appliance and how to use them here.
These features depend on your appliance model.
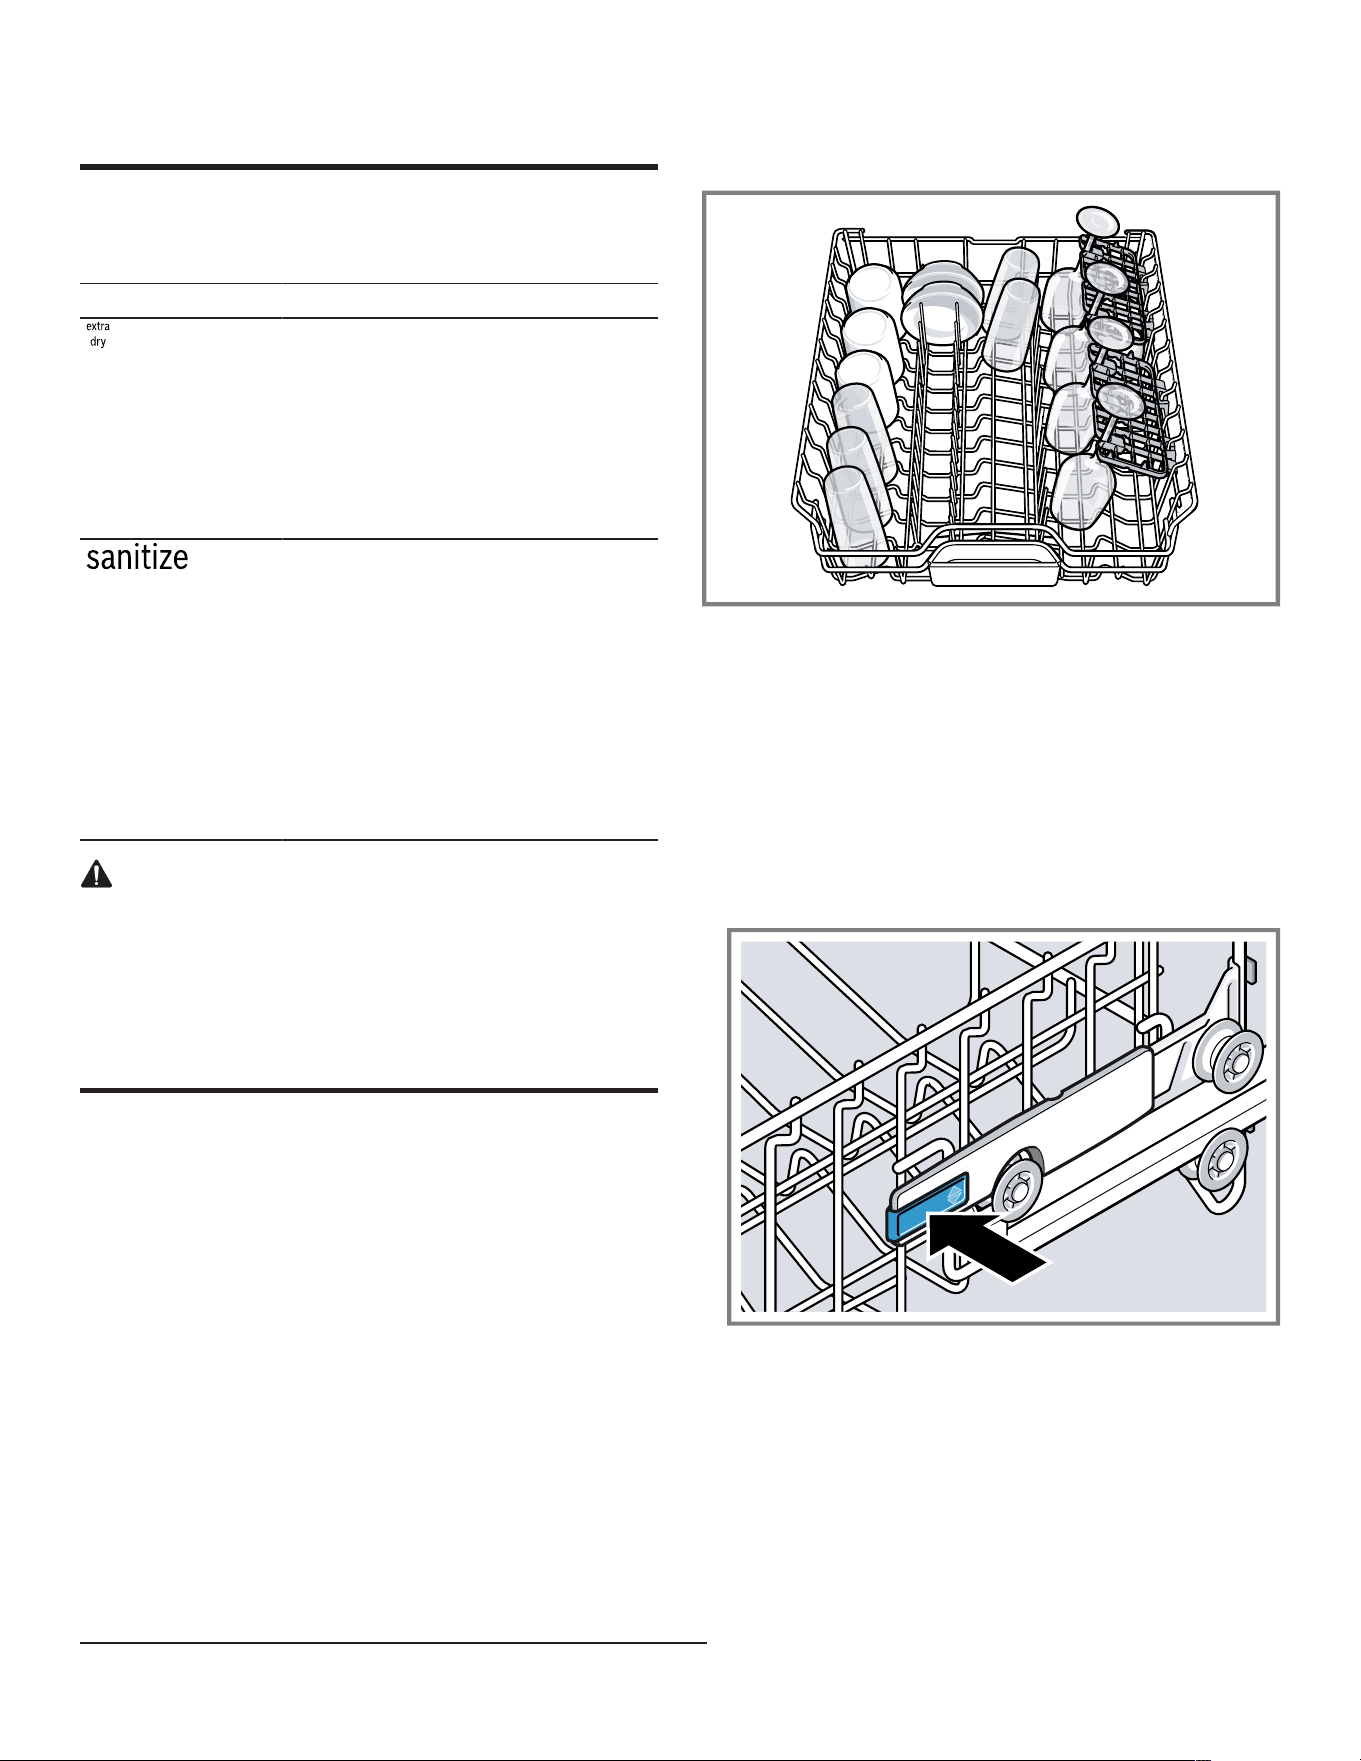
7.1 Upper rack
Arrange cups, glasses, and small tableware items in the
top rack.
You can adjust the height of the upper rack to make room
for larger items.
Adjusting upper rack with RackMatic®
To wash large items in the racks, adjust the shelf height of
the upper rack.
1. Pull out the upper rack.
2. To prevent the rack from suddenly dropping down, hold
the side of the rack by the top edge.
3. Press in the right and left hand levers on the outside of
the rack.
1
Depending on the appliance specifications
Loading ...
Loading ...
Loading ...