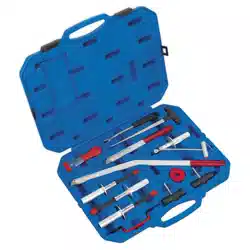
CVJ REMOVAL TOOL
MODEL NO: VS710
Thank you for purchasing a Sealey product. Manufactured to a high standard, this product will, if used according to these instructions,
and properly maintained, give you years of trouble free performance.
IMPORTANT: PLEASE READ THESE INSTRUCTIONS CAREFULLY. NOTE THE SAFE OPERATIONAL REQUIREMENTS, WARNINGS & CAUTIONS. USE
THE PRODUCT CORRECTLY AND WITH CARE FOR THE PURPOSE FOR WHICH IT IS INTENDED. FAILURE TO DO SO MAY CAUSE DAMAGE AND/OR
PERSONAL INJURY AND WILL INVALIDATE THE WARRANTY. KEEP THESE INSTRUCTIONS SAFE FOR FUTURE USE.
1. SAFETY
WARNING! Ensure all Health and Safety, local authority, and general workshop practice regulations are strictly adhered to when using this
tool.
8 DO NOT use this tool if damaged or worn.
9 Maintain this tool in good and clean condition for best and safest performance.
9 Ensure vehicle is adequately supported with axle stands, ramps, etc. as appropriate.
9 Wear suitable clothing to avoid snagging. Do not wear jewellery. Tie back long hair.
9 Wear approved eye protection. A full range of personal safety equipment is available from your Sealey stockist.
IMPORTANT: Always refer to the vehicle manufacturer’s service instructions, or proprietary manual, to establish the correct procedure and
data. These instructions for use are provided as a guide only.
2. INTRODUCTION
Quickly removes the CV joint from the drive shaft without damaging the joint, and keeps hands-free for releasing retaining circlip. Reduces risk
of damage to transmission. Saves on labour time and suitable for most vehicles.
3. SPECIFICATION
Model No: ................................................................... VS710
Length: .......................................................................230mm
Maximum Joint Diameter: ......................................... Ø95mm
4. OPERATION
4.1. Raise the vehicle and ensure that it is adequately supported
before beginning work.
4.2. Referring to the manufacturer’s servicing manual, dismantle the
suspension/wheel hub as directed until the outer end of the drive
shaft (H) is free and accessible as shown below.
4.3. Detach the rubber boot (G) from the back of the constant velocity
joint (K) and slide it up the drive shaft. Clean the grease from the
joint and the drive shaft especially in the grooved/ shouldered
area (J).
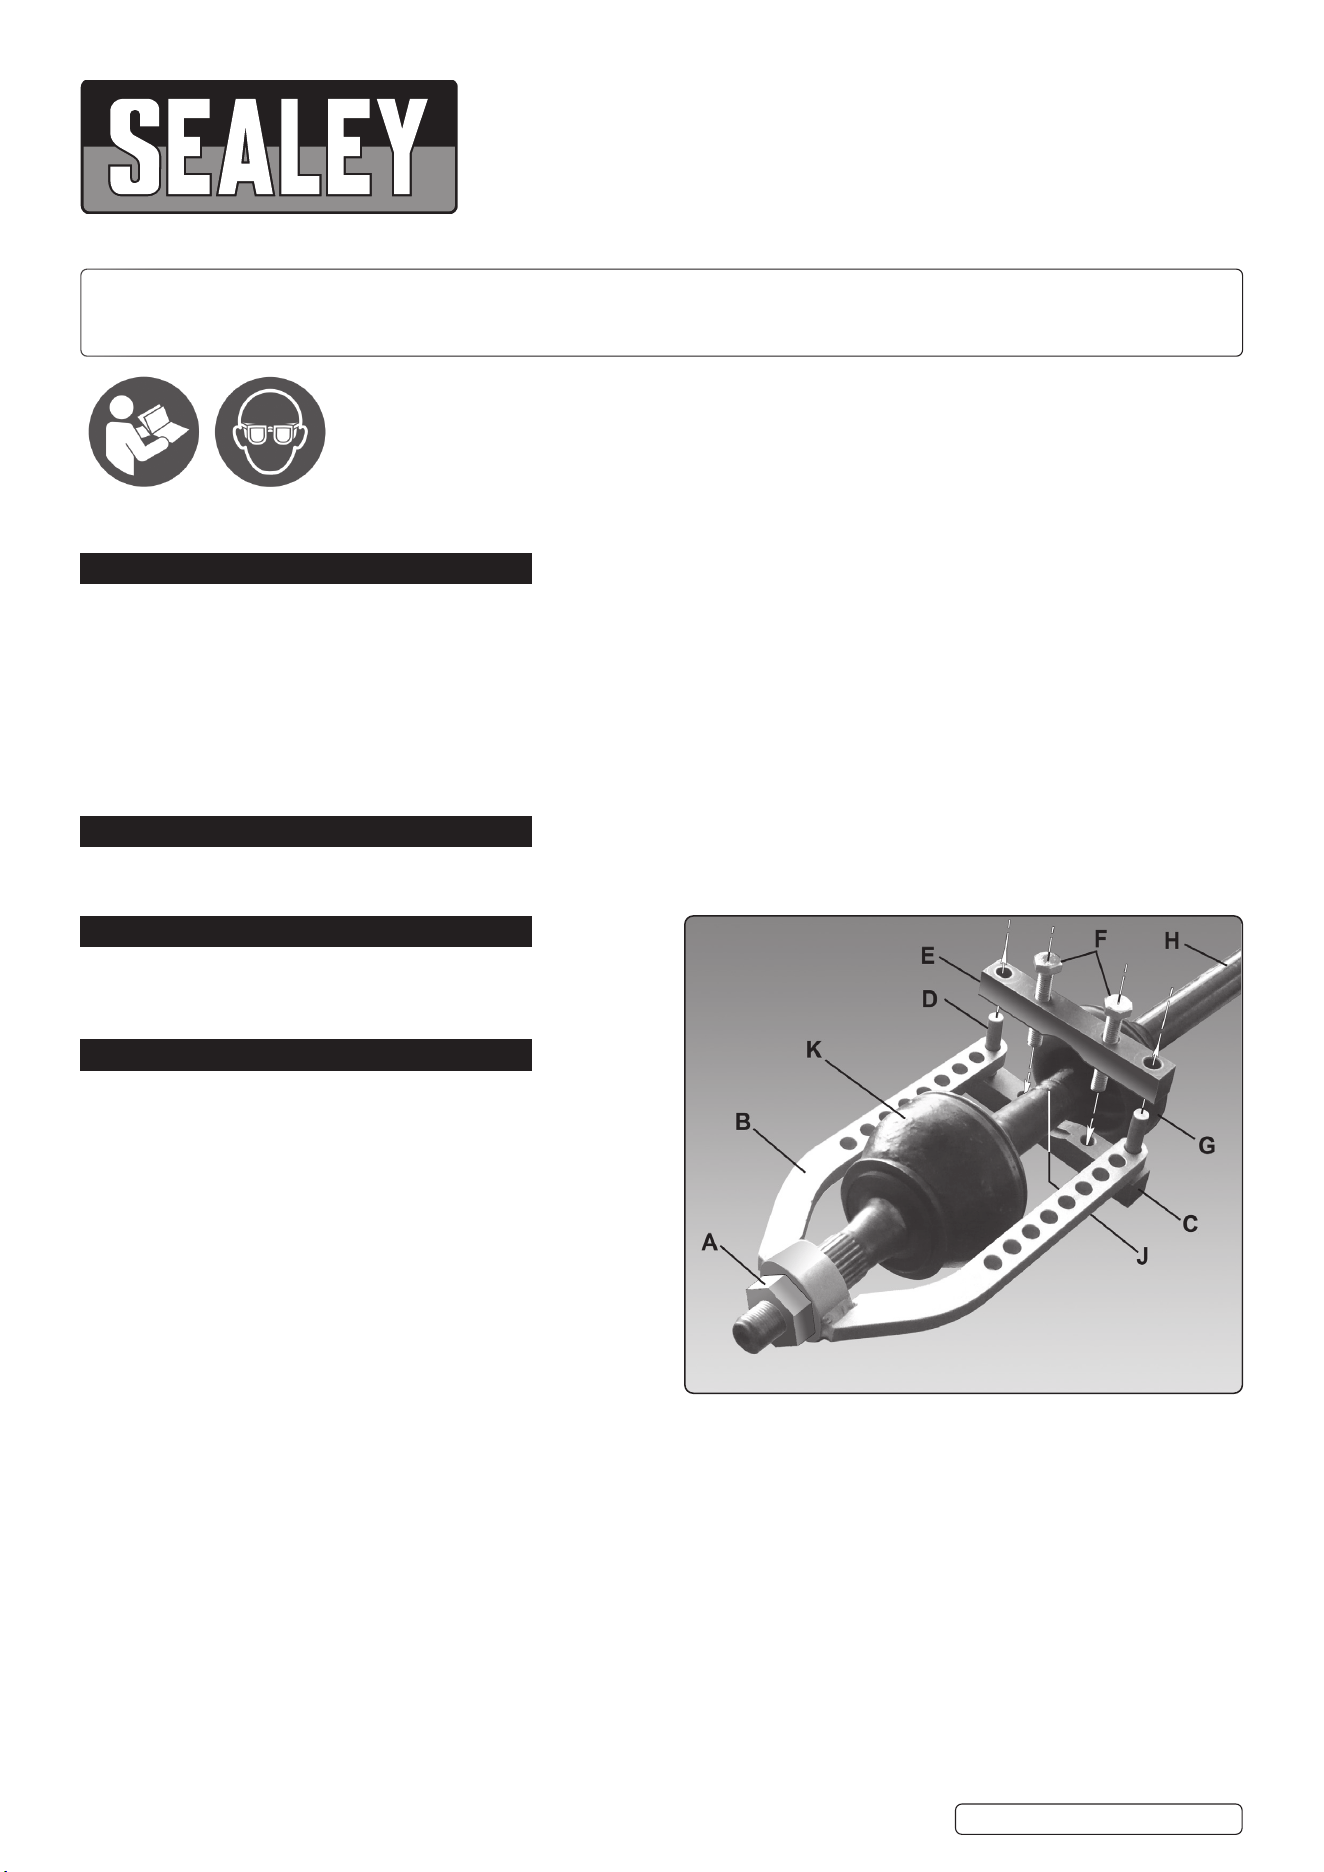
4.4. Assemble the tool to the drive shaft as follows:
4.4.1. Take the main tool (B) and slide the ring over the end of the drive
shaft so that the arms lie either side of the constant velocity joint
and at least 5mm of the threaded end of the shaft lies within the
ring.
4.4.2. Take the lower clamp (C) and insert the two pins (D) through the holes in the clamp arms so that the clamp touches the drive shaft
within the grooved/ shouldered area (J).
4.4.3. Lower the upper clamp (E) over the lower clamp pins (D). Insert the two bolts (F) and thread them into the lower clamp as shown
belowandtightenequallyuntilthetoolisrmlyattachedtothedriveshaft.
4.4.4. Screw the hub nut (A) onto the end of the drive shaft until it faces onto the ring. Do not tighten yet.
4.5. Releasing joint retained by sprung ring (no circlip).
4.6. Gradually tighten the hub nut to compress the sprung ring. Continue winding the hub nut until the joint is released.
4.7. Releasing joint retained by a circlip.
4.7.1. Where the joint is retained by a circlip it will be necessary to compress the clip using a suitable tool. Keep the circlip under tension
whilst winding the hub nut until the joint is released.
4.7.2. Disassemble the tool from the drive shaft and remove the joint.
Refer to
instruction
manual
Wear eye
protection
VS710 Issue:2 (H,F) 24/06/24
Original Language Version
© Jack Sealey Limited

Original Language Version
© Jack Sealey Limited
VS710 Issue:2 (H,F) 24/06/24
Sealey Group, Kempson Way, Suffolk Business Park, Bury St Edmunds, Suffolk. IP32 7AR
01284 757500 sales@sealey.co.uk www.sealey.co.uk
ENVIRONMENT PROTECTION
Recycle unwanted materials instead of disposing of them as waste. All tools, accessories and packaging should be sorted,
taken to a recycling centre and disposed of in a manner which is compatible with the environment. When the product
becomes completely unserviceable and requires disposal, drain any fluids (if applicable) into approved containers and
dispose of the product and fluids according to local regulations.
Note: It is our policy to continually improve products and as such we reserve the right to alter data, specifications and component parts without prior
notice.
Important: No Liability is accepted for incorrect use of this product.
Warranty: Guarantee is 12 months from purchase date, proof of which is required for any claim.
REGISTER YOUR
PURCHASE HERE