©2005 AMERICAN INTERNATIONAL INDUSTRIES, INC.
Ver. 9/05
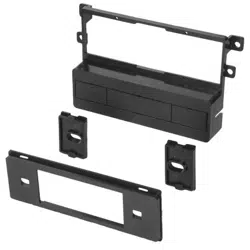
ND-K711 Mounting Kit
Nissan
1990-96 300Z
VEHICLE APPLICATIONS
Automotive Products Division
1040 Avenida Acaso • Camarillo, CA 93012, U.S.A.
USA Sales (800) 336-6500
Canada Sales (888) 922-3006 • USA Fax (805) 388-7950
For information about other American International automotive
accessories visit our website at:
http://www.americaninternational.net
CUSTOMER HELP LINE
USA 800-323-4329 • Canada 800-245-8777
iNDK711
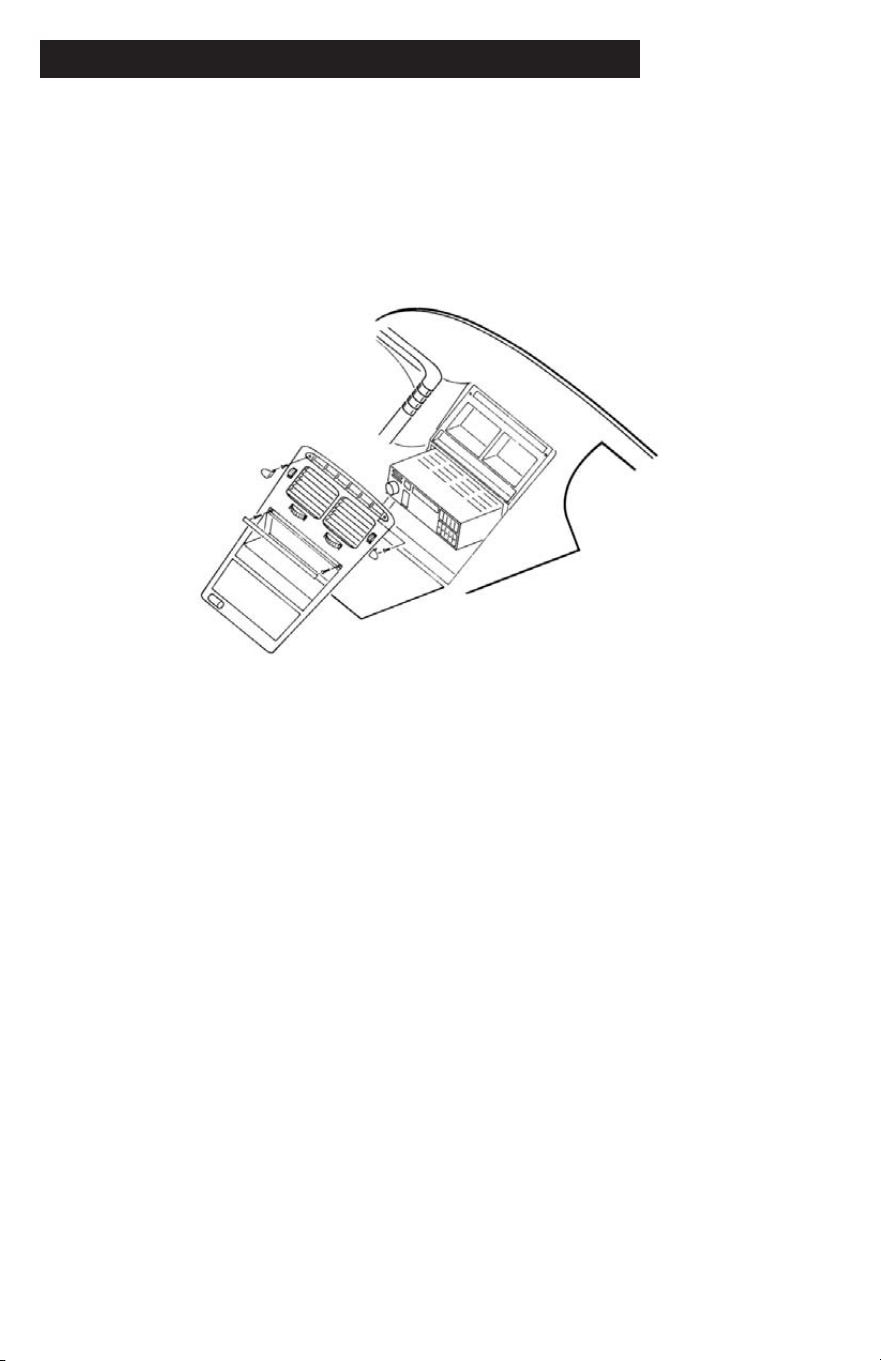
1. Gently pry off plastic trim caps on left and right of vent.
2. Remove one screw from behind each cap.
3. Gently pry off plastic bar above radio.
4. Remove two srews from behind bar.
5. Pull top of dash trim outward and upward.
6. Remove four screws securing radio to dashboard.
7. Disconnect all electrical connections.
DASH DISASSEMBLY INSTRUCTIONS
SHAFT RADIOS
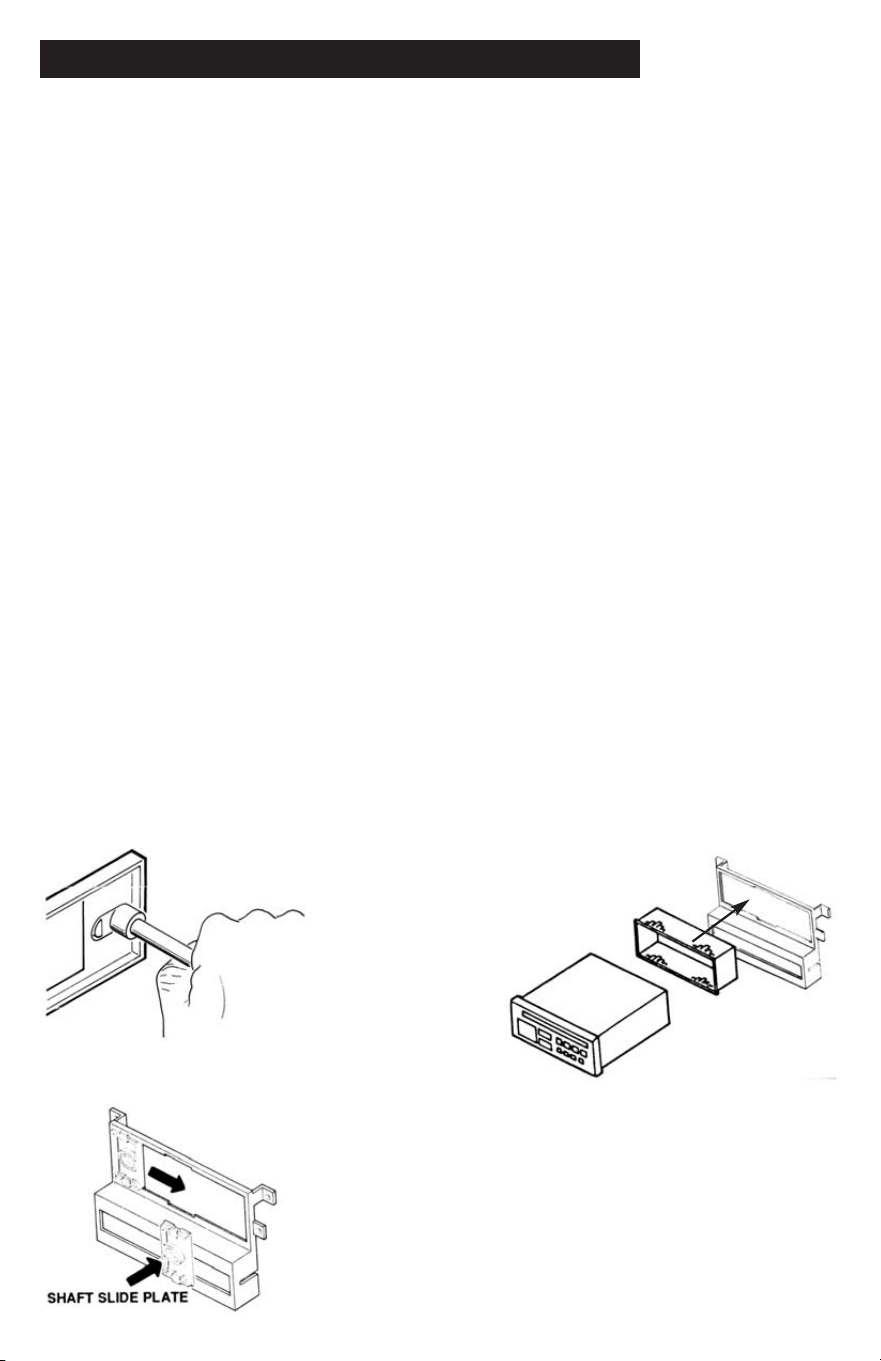
1. Compare radio shaft spacing to shaft open ings in kit faceplate. Use a screwdriver or
nut driver and snap out the necessary open ing. See Fig. 1 below.
2. Mount radio to kit/faceplate using knobs, trimplate, shaftnuts, washers, and spacers
supplied with radio. Adjust the nosepiece so it is flush with the front of the trimpanel.
DIN RADIOS
1. Remove shaft slide plates by pushing to the center of the radio opening. See Fig. 2.
2.
Insert DIN sleeve from your new radio into the installation kit.
See Fig. 3 below
3. Depress the tabs from inside the sleeves opening upward, outward, and downward
to secure sleeve to the installation kit.
4. Install radio into sleeve and lock into place.
EQUALIZERS
NOTE: IF AN EQUALIZER IS NOT BEING USED, SNAP TRIMPLATE INTO PLACE AND PROCEED TO
WIRING INSTRUCTIONS.
1. Place equalizer into opening and secure to mounting frame using hardware supplied
with equalizer.
WIRING
Radios Only
Follow wiring instruction supplied with radio. Test radio/speakers. If you wish to keep
the factory wiring intact, a wiring harness may be pur chased.
(American Intertional part# NWH-700)
Radios AND EQUALIZERS
Follow wiring instruction supplied with radio and equalizer. Test radio/speakers. If you
wish to keep the factory wiring intact, a wiring harness may be purchased.
(American Intertional part# NWH-700)
RADIO & KIT INSTALLATION INSTRUCTIONS
Shaft Radio Installation
DIN Radio Installation
DIN Radio Installation
Fig. 1
Fig. 2
Fig. 3
1. Gently pry off plastic trim caps on left and right of vent.
2. Remove one screw from behind each cap.
3. Gently pry off plastic bar above radio.
4. Remove two srews from behind bar.
5. Pull top of dash trim outward and upward.
6. Remove four screws securing radio to dashboard.
7. Disconnect all electrical connections.
DASH DISASSEMBLY INSTRUCTIONS
SHAFT RADIOS
1. Compare radio shaft spacing to shaft open ings in kit faceplate. Use a screwdriver or
nut driver and snap out the necessary open ing. See Fig. 1 below.
2. Mount radio to kit/faceplate using knobs, trimplate, shaftnuts, washers, and spacers
supplied with radio. Adjust the nosepiece so it is flush with the front of the trimpanel.
DIN RADIOS
1. Remove shaft slide plates by pushing to the center of the radio opening. See Fig. 2.
2.
Insert DIN sleeve from your new radio into the installation kit.
See Fig. 3 below
3. Depress the tabs from inside the sleeves opening upward, outward, and downward
to secure sleeve to the installation kit.
4. Install radio into sleeve and lock into place.
EQUALIZERS
NOTE: IF AN EQUALIZER IS NOT BEING USED, SNAP TRIMPLATE INTO PLACE AND PROCEED TO
WIRING INSTRUCTIONS.
1. Place equalizer into opening and secure to mounting frame using hardware supplied
with equalizer.
WIRING
Radios Only
Follow wiring instruction supplied with radio. Test radio/speakers. If you wish to keep
the factory wiring intact, a wiring harness may be pur chased.
(American Intertional part# NWH-700)
Radios AND EQUALIZERS
Follow wiring instruction supplied with radio and equalizer. Test radio/speakers. If you
wish to keep the factory wiring intact, a wiring harness may be purchased.
(American Intertional part# NWH-700)
RADIO & KIT INSTALLATION INSTRUCTIONS
Shaft Radio Installation
DIN Radio Installation
DIN Radio Installation
Fig. 1
Fig. 2
Fig. 3

©2005 AMERICAN INTERNATIONAL INDUSTRIES, INC.
Ver. 9/05
ND-K711 Mounting Kit
Nissan
1990-96 300Z
VEHICLE APPLICATIONS
Automotive Products Division
1040 Avenida Acaso • Camarillo, CA 93012, U.S.A.
USA Sales (800) 336-6500
Canada Sales (888) 922-3006 • USA Fax (805) 388-7950
For information about other American International automotive
accessories visit our website at:
http://www.americaninternational.net
CUSTOMER HELP LINE
USA 800-323-4329 • Canada 800-245-8777
iNDK711
