THIS INSTRUCTION BOOKLET CONTAINS IMPORTANT SAFETY INFORMATION. PLEASE READ AND KEEP FOR FUTURE REFERENCE.
Follow Costway
Please give us a chance to make it right and do better!
Contact our friendly customer service department for help first.
Replacements for missing or damaged parts will be shipped ASAP!
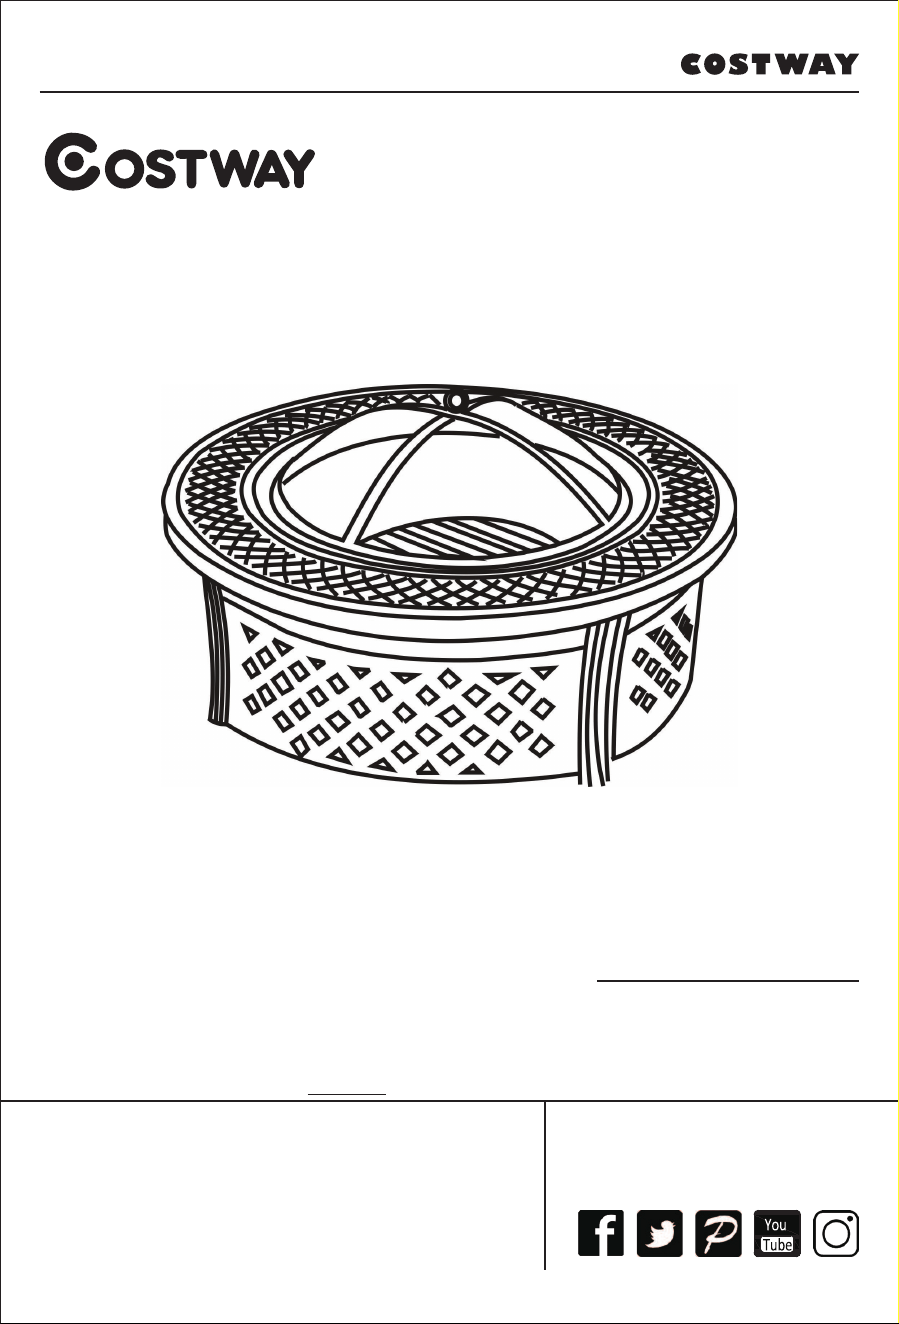
USER’S MANUAL
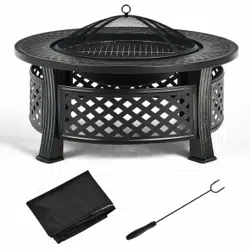
Round Fire Pit
JV10178
E-mail
US: cs.us@costway.com
UK: cs.uk@costway.com
02
Assembly Instructions
Round Fire Pit
Please check all packing material carefully before discarding, as some parts
may be encased in the packing material.
We have been working on providing high quality products for you. However,
in the rare instance that your product is defective, missing parts or there are
some issues during assembly, please don't hesitate to contact our customer
service to submit parts requirements, assembly suggestion, or warranty
claims, and we will give the best solution in the first time. If necessary, we
need you to provide some more clear pictures of the issue.
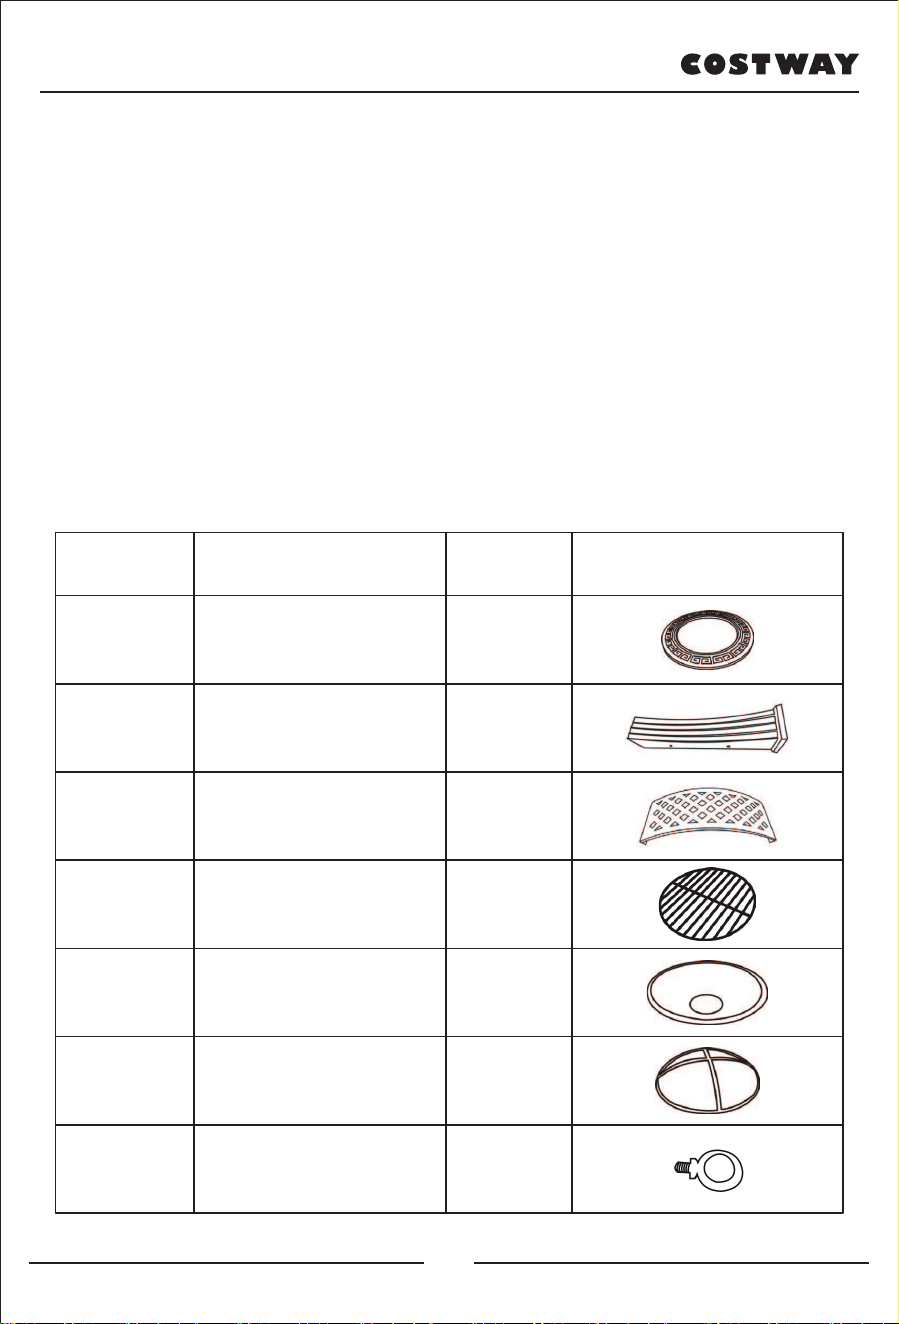
Part List :
Part No. Description Qty. Photos
Top Frame
Leg
Frame Support Part
Log Grate
Fire Bowl
Mesh Lid
Lid Ring
A
B
C
D
E
F
G
1
4
4
1
1
1
1
03

Tool required: Allen Wrench (provided)
Assembly Instructions
Estimated Assembly Time: 20 Minutes
DO NOT over tighten hardware!
Step 1: Place parts on a flat surface.
Assemble Legs (B) to Top Frame (A)
with Bolts (H) as shown. Repeat the
same steps for other legs. Tighten all
bolts by hand.
Part No. Description Qty. Photos
Bolt (M6x8mm)
Poker
Allen Wrench
Nut
BBQ Grill
Protective Cover
H
I
J
K
L
M
20
1
1
1
1
1
04

Step 2: Attach Frame Support Parts (C) to Legs (B) by Bolts (H) as shown.
Repeat the same steps for the other Frame Support Parts. Tighten all bolts by
Allen Wrench (J)
Step 3: Turn over the assembled fire pit frame and stand up. Place Fire Bowl
(E) in the center of Top Frame (A) and then put Log Grate (D) and BBQ Grill
(L) in the Fire bowl (E). Fix Lid Ring (G) on Mesh Lid (F) by Nut (K), then
place the assembled mesh lid on the fire bowl as shown.
Step 4: Cover the fire pit with a Protective Cover (M) when the fire pit is not
in use. Ensure the fire pit has completely cooled down before using the
Protective Cover.
Your Fire Pit is ready for use now!
05

WARNING: FOR OUTDOOR USE ONLY
FOR YOUR SAFETY:
1. Improper installation, adjustment,alteration,service or maintenance can
cause injury or property damage.
2. Read the installation, operation, and maintenance instructions thoroughly
before installing or servicing this equipment.
3. Failure to follow these instructions could result in fire or explosion, which
could cause property damage, personal injury, or death.
OPERATING INSTRUCTIONS
Lighting
1. Make sure there is only a small amount of ash in the bottom of the bowl.
2. Place a layer of dry kindling or a natural firestarter onto the center of the
grate.
3. Place above that a layer of dry seasoned hardwood that is cut to lengths no
more than 3/4 the diameter of the bowl.
4. Use a match to light kindling or firestarter.
5. Using a hook and heat resistant gloves,replace spark guard once the
kindling or firestarter is lit.
Tending the fire
You may need to shift and/or add logs for an ideal experience.
CAUTION: DO NOT place a hot spark guard or hot fire bowl tools onto
combustible surfaces such as grass, wooden deck or furniture.
1. Using a hook and heat resistant gloves, carefully remove spark guard.
2. While using a long handled fire pit tool, shift coals and logs to allow
additional airflow.
3. DO NOT add gasoline, kerosene, diesel fuel, lighter fluid or alcohol to
relight or enhance an existing fire.
4. Wait until glowing coals have developed before adding any additional
wood. If additional wood is required, place wood on top coals. Be careful not
to shift ashes.
5. Using a hook and heat resistant gloves, replace spark guard.
06

Extinguishing
1. Allow fire to burn out.
2. DO NOT use water to extinguish as this is dangerous and can cause
damage to this outdoor fire pit.
CLEANING AND CARE
Inspecting
This outdoor fire pit should be inspected on a regular basis to ensure product
safety and longer product life.
CAUTION: DO NOT attempt to inspect this outdoor fire pit until the fire
is completely out.
1. Check handles to make sure they are secure.
2. Check components for any signs of damage or rust.
3. If damage to any components is detected, DO NOT operate until repairs
are executed.
Cleaning
This outdoor fire pit should be inspected on a regular basis to ensure product
safety and longer product life.
Note: After repeated use, a slight discoloration of the finish may occur.
CAUTION: DO NOT attempt to inspect this outdoor fire pit unitl the fire
is COMPLETELY out.
CAUTION: DO NOT use oven cleaner or abrasive cleaners as they will
damage this product.
CAUTION: DO NOT clean any part of this outdoor fire pit in a self
cleaning oven as it may damage the finish.
1. Wipe exterior surfaces with a mild dishwashing detergent or baking soda.
2. For stubborn surfaces use a citrus based degreaser and a nylon scrubbing
brush.
3. Rinse clean with water.
4. Remove built-up creosote from components with a chimney cleaning
product.
Storage
CAUTION: DO NOT move or store this outdoor fire pit until the fire is
completely out.
1. Once the fire is out, coals are cold and outdoor fire pit is cool to the touch,
remove ashes and properly dispose.
2. Store in a location away from children and pets.
07
Welcome to visit our website and purchase our quality products!
this product and giving us valuable feedbacks.
With your inspiring rating, COSTWAY will be more consistent to offer you
EASY SHOPPING EXPERIENCE, GOOD PRODUCTS and EFFICIENT SERVICE!
US office: Fontana, California
UK office: Ipswich
Reward Points
Exclusive Customer Service
Permanent Shopping Cart
Order History
08